
 29/04/26(Wed)17:15  (330.7 Kb, 200x112) |
 28/04/26(Tue)18:21
|
| 28/04/26(Tue)13:04
|
| 27/04/26(Mon)08:47  (730.1 Kb, 1300x956)
|
| 25/04/26(Sat)17:00
|
| 25/04/26(Sat)00:23
|
| 23/04/26(Thu)00:51
|
| 22/04/26(Wed)10:56  (2087.6 Kb, 2139x2643)
|
| 22/04/26(Wed)10:53  (1883.1 Kb, 1126x2000) Oh yeah!
|
| 25/03/26(Wed)11:50
|
 24/03/26(Tue)08:59 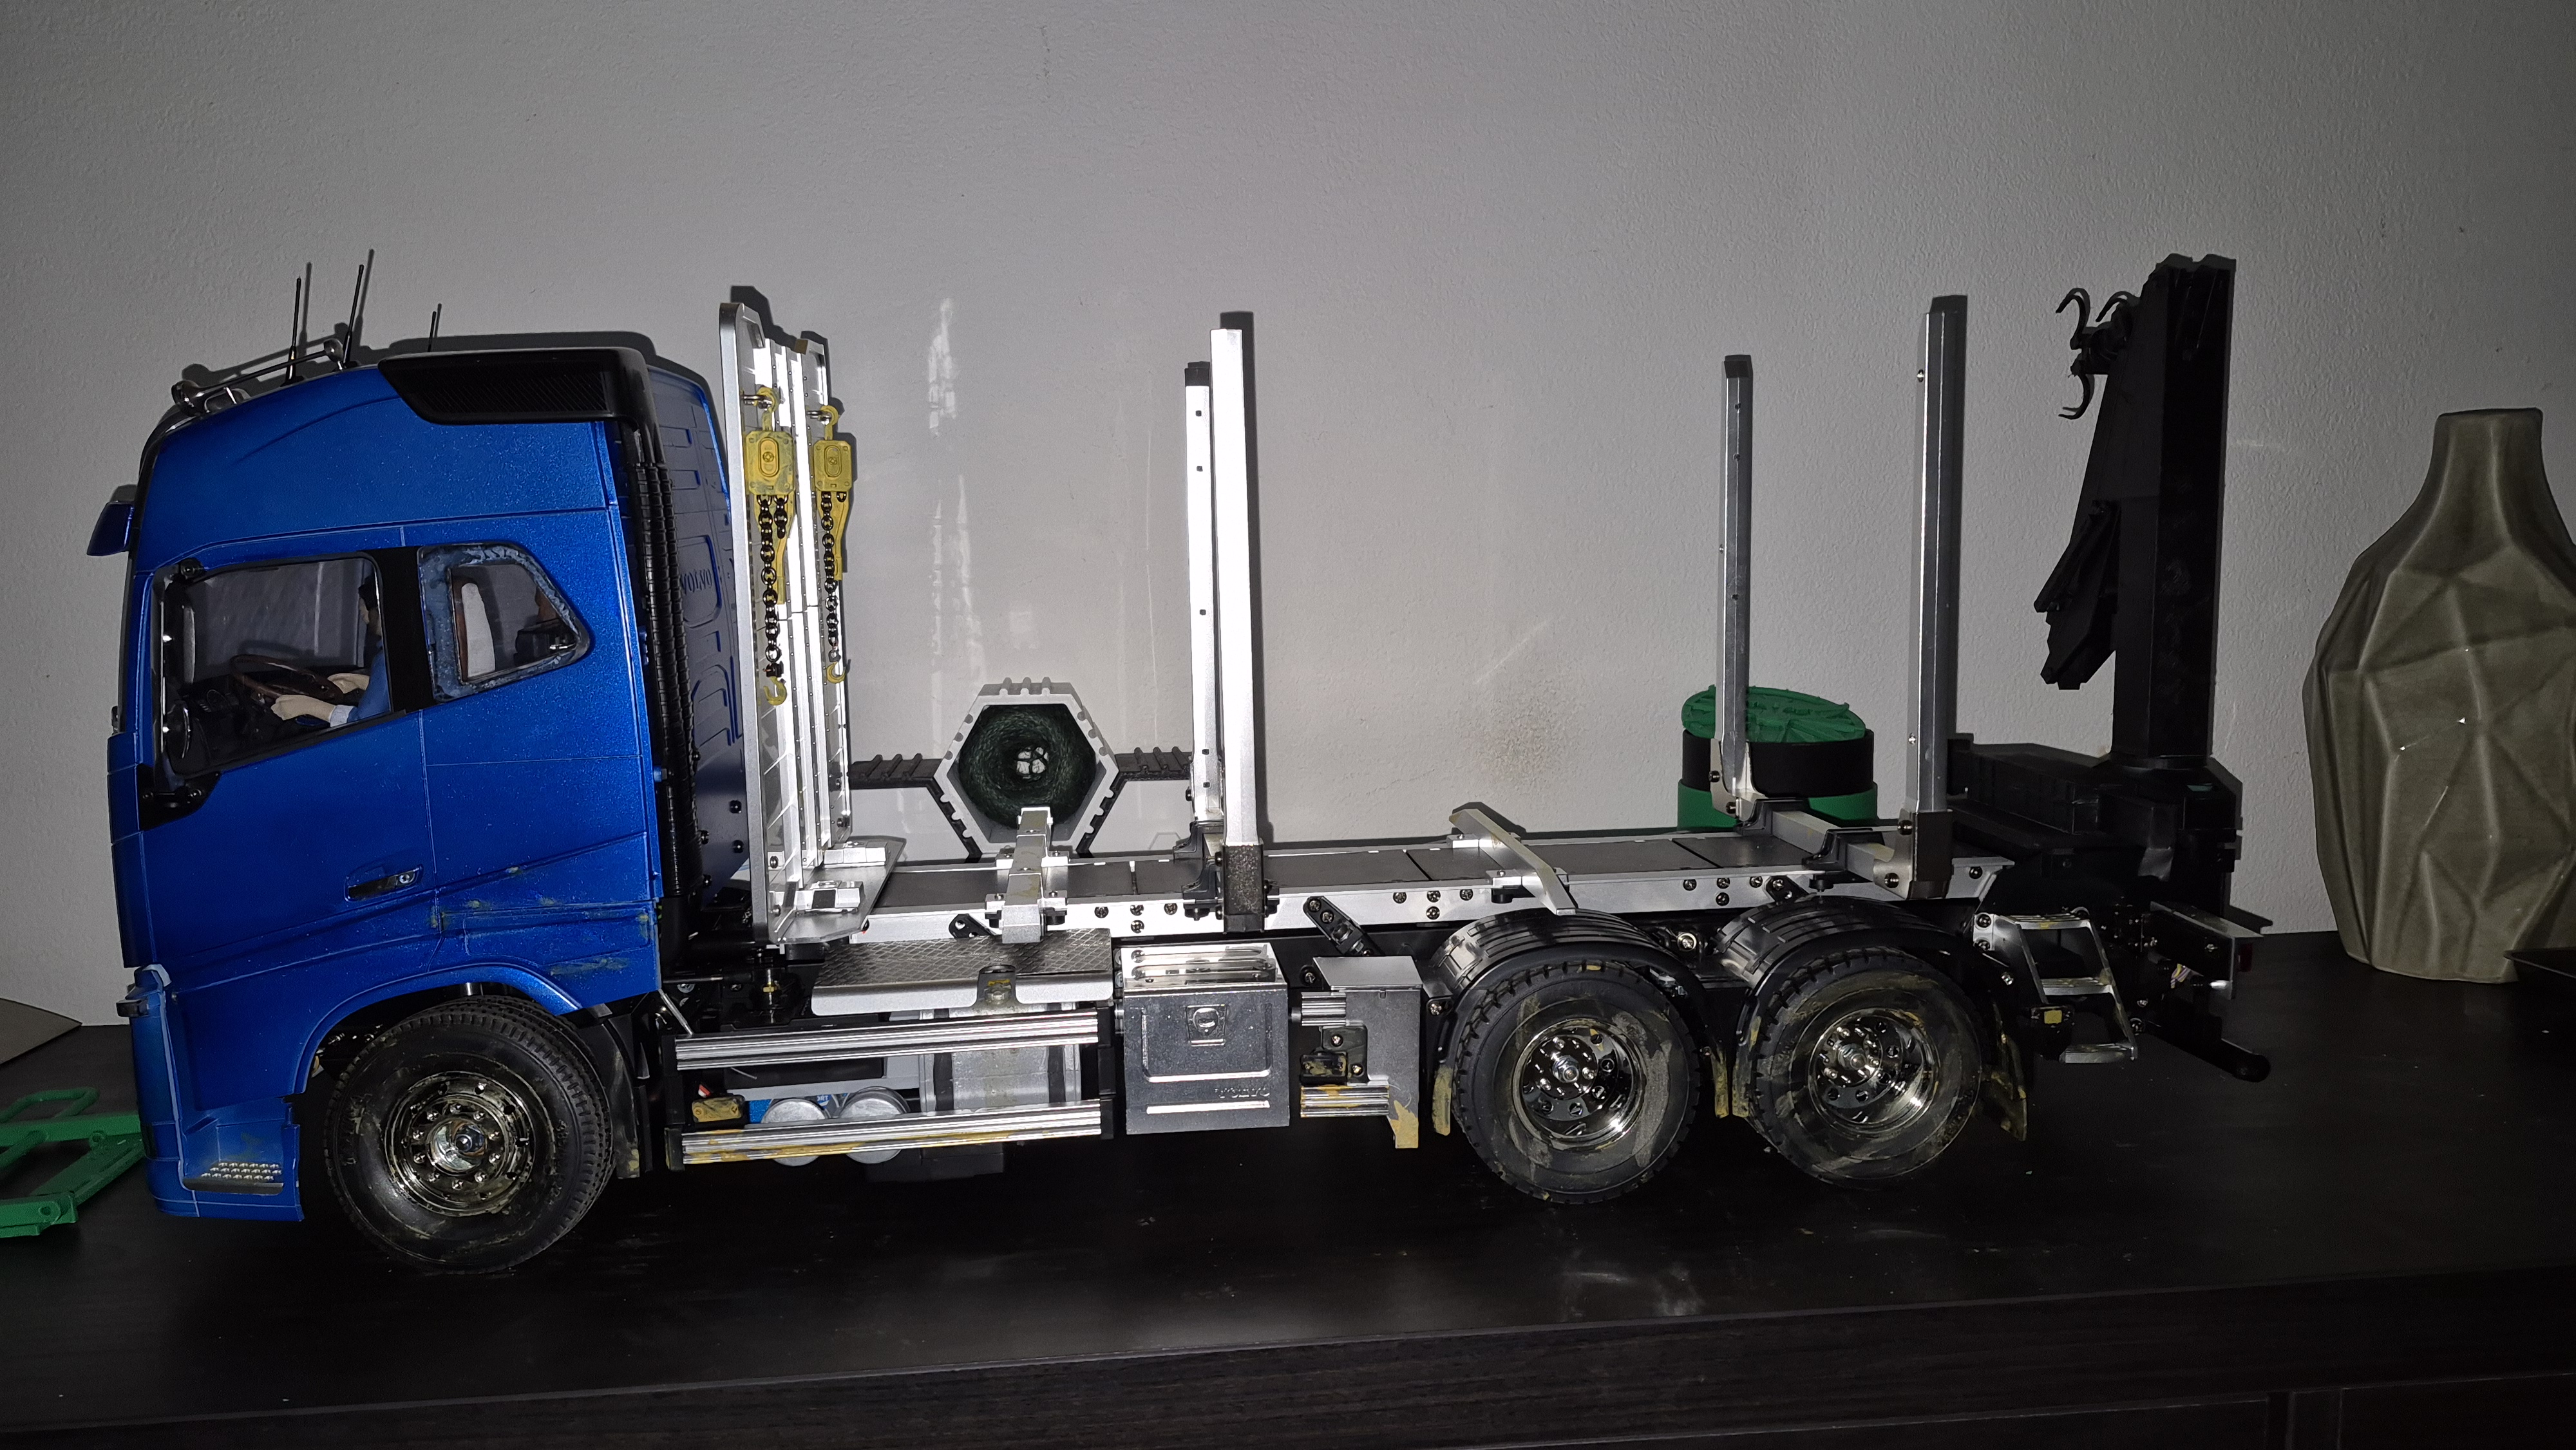 (2886.1 Kb, 4000x2252)
|
| 24/03/26(Tue)08:37 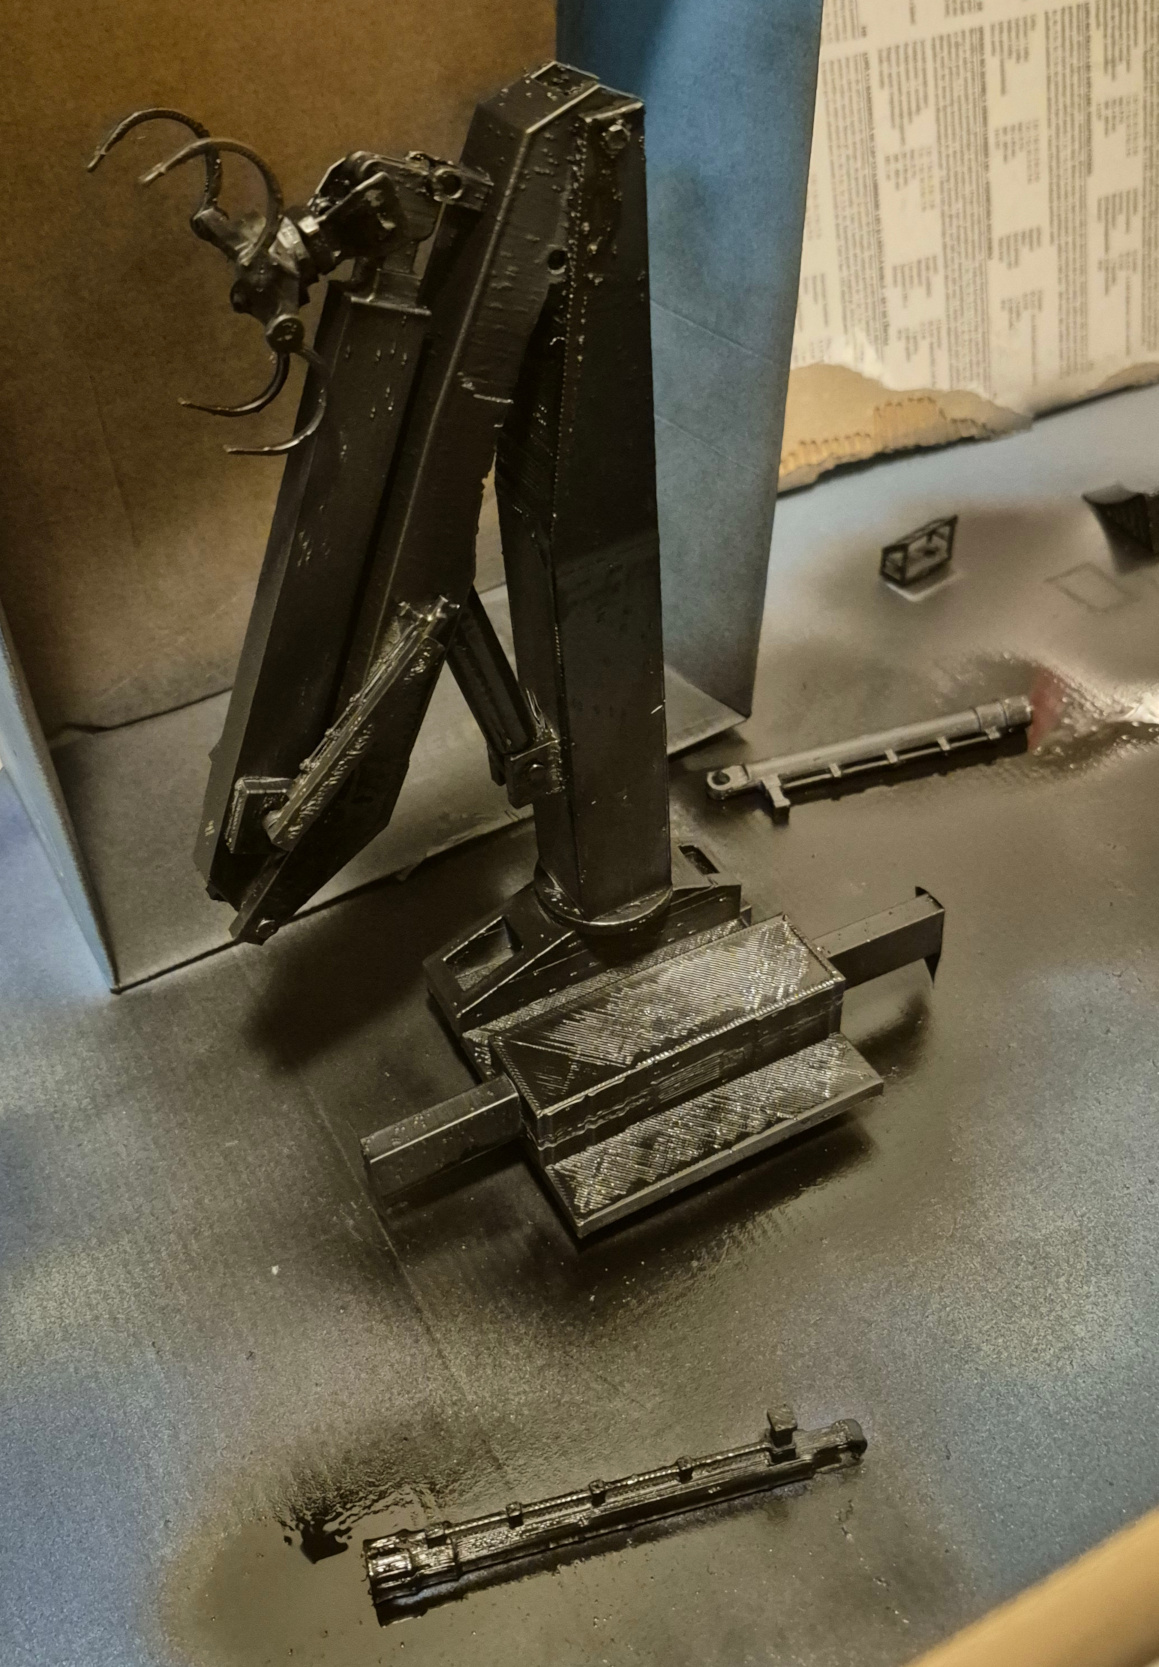 (660.7 Kb, 1159x1667) version 1 is almost done
|
| 20/03/26(Fri)12:40
|
| 20/03/26(Fri)10:32
|
| 18/03/26(Wed)22:04 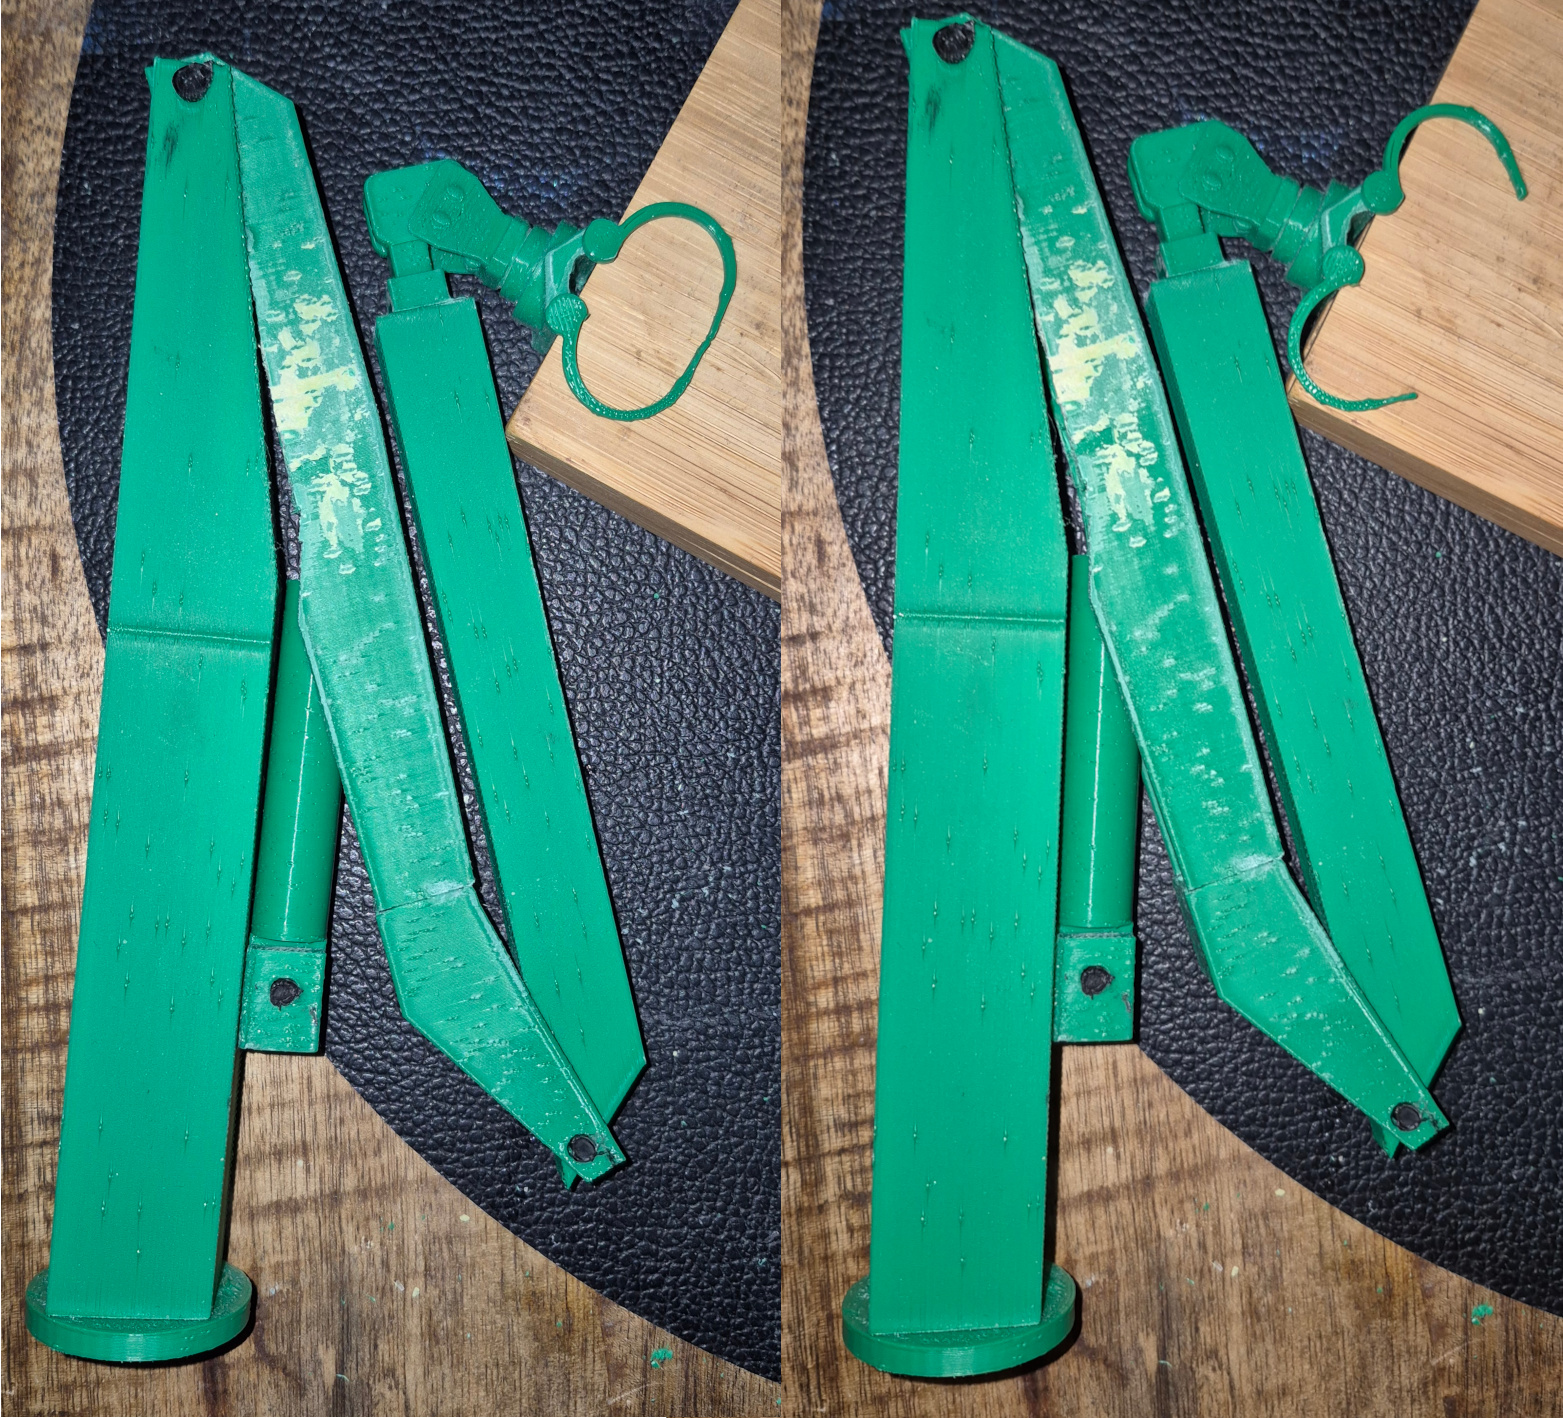 (1153.9 Kb, 1563x1418) The clawing question
|
| 17/03/26(Tue)14:03
|
| 16/03/26(Mon)20:07 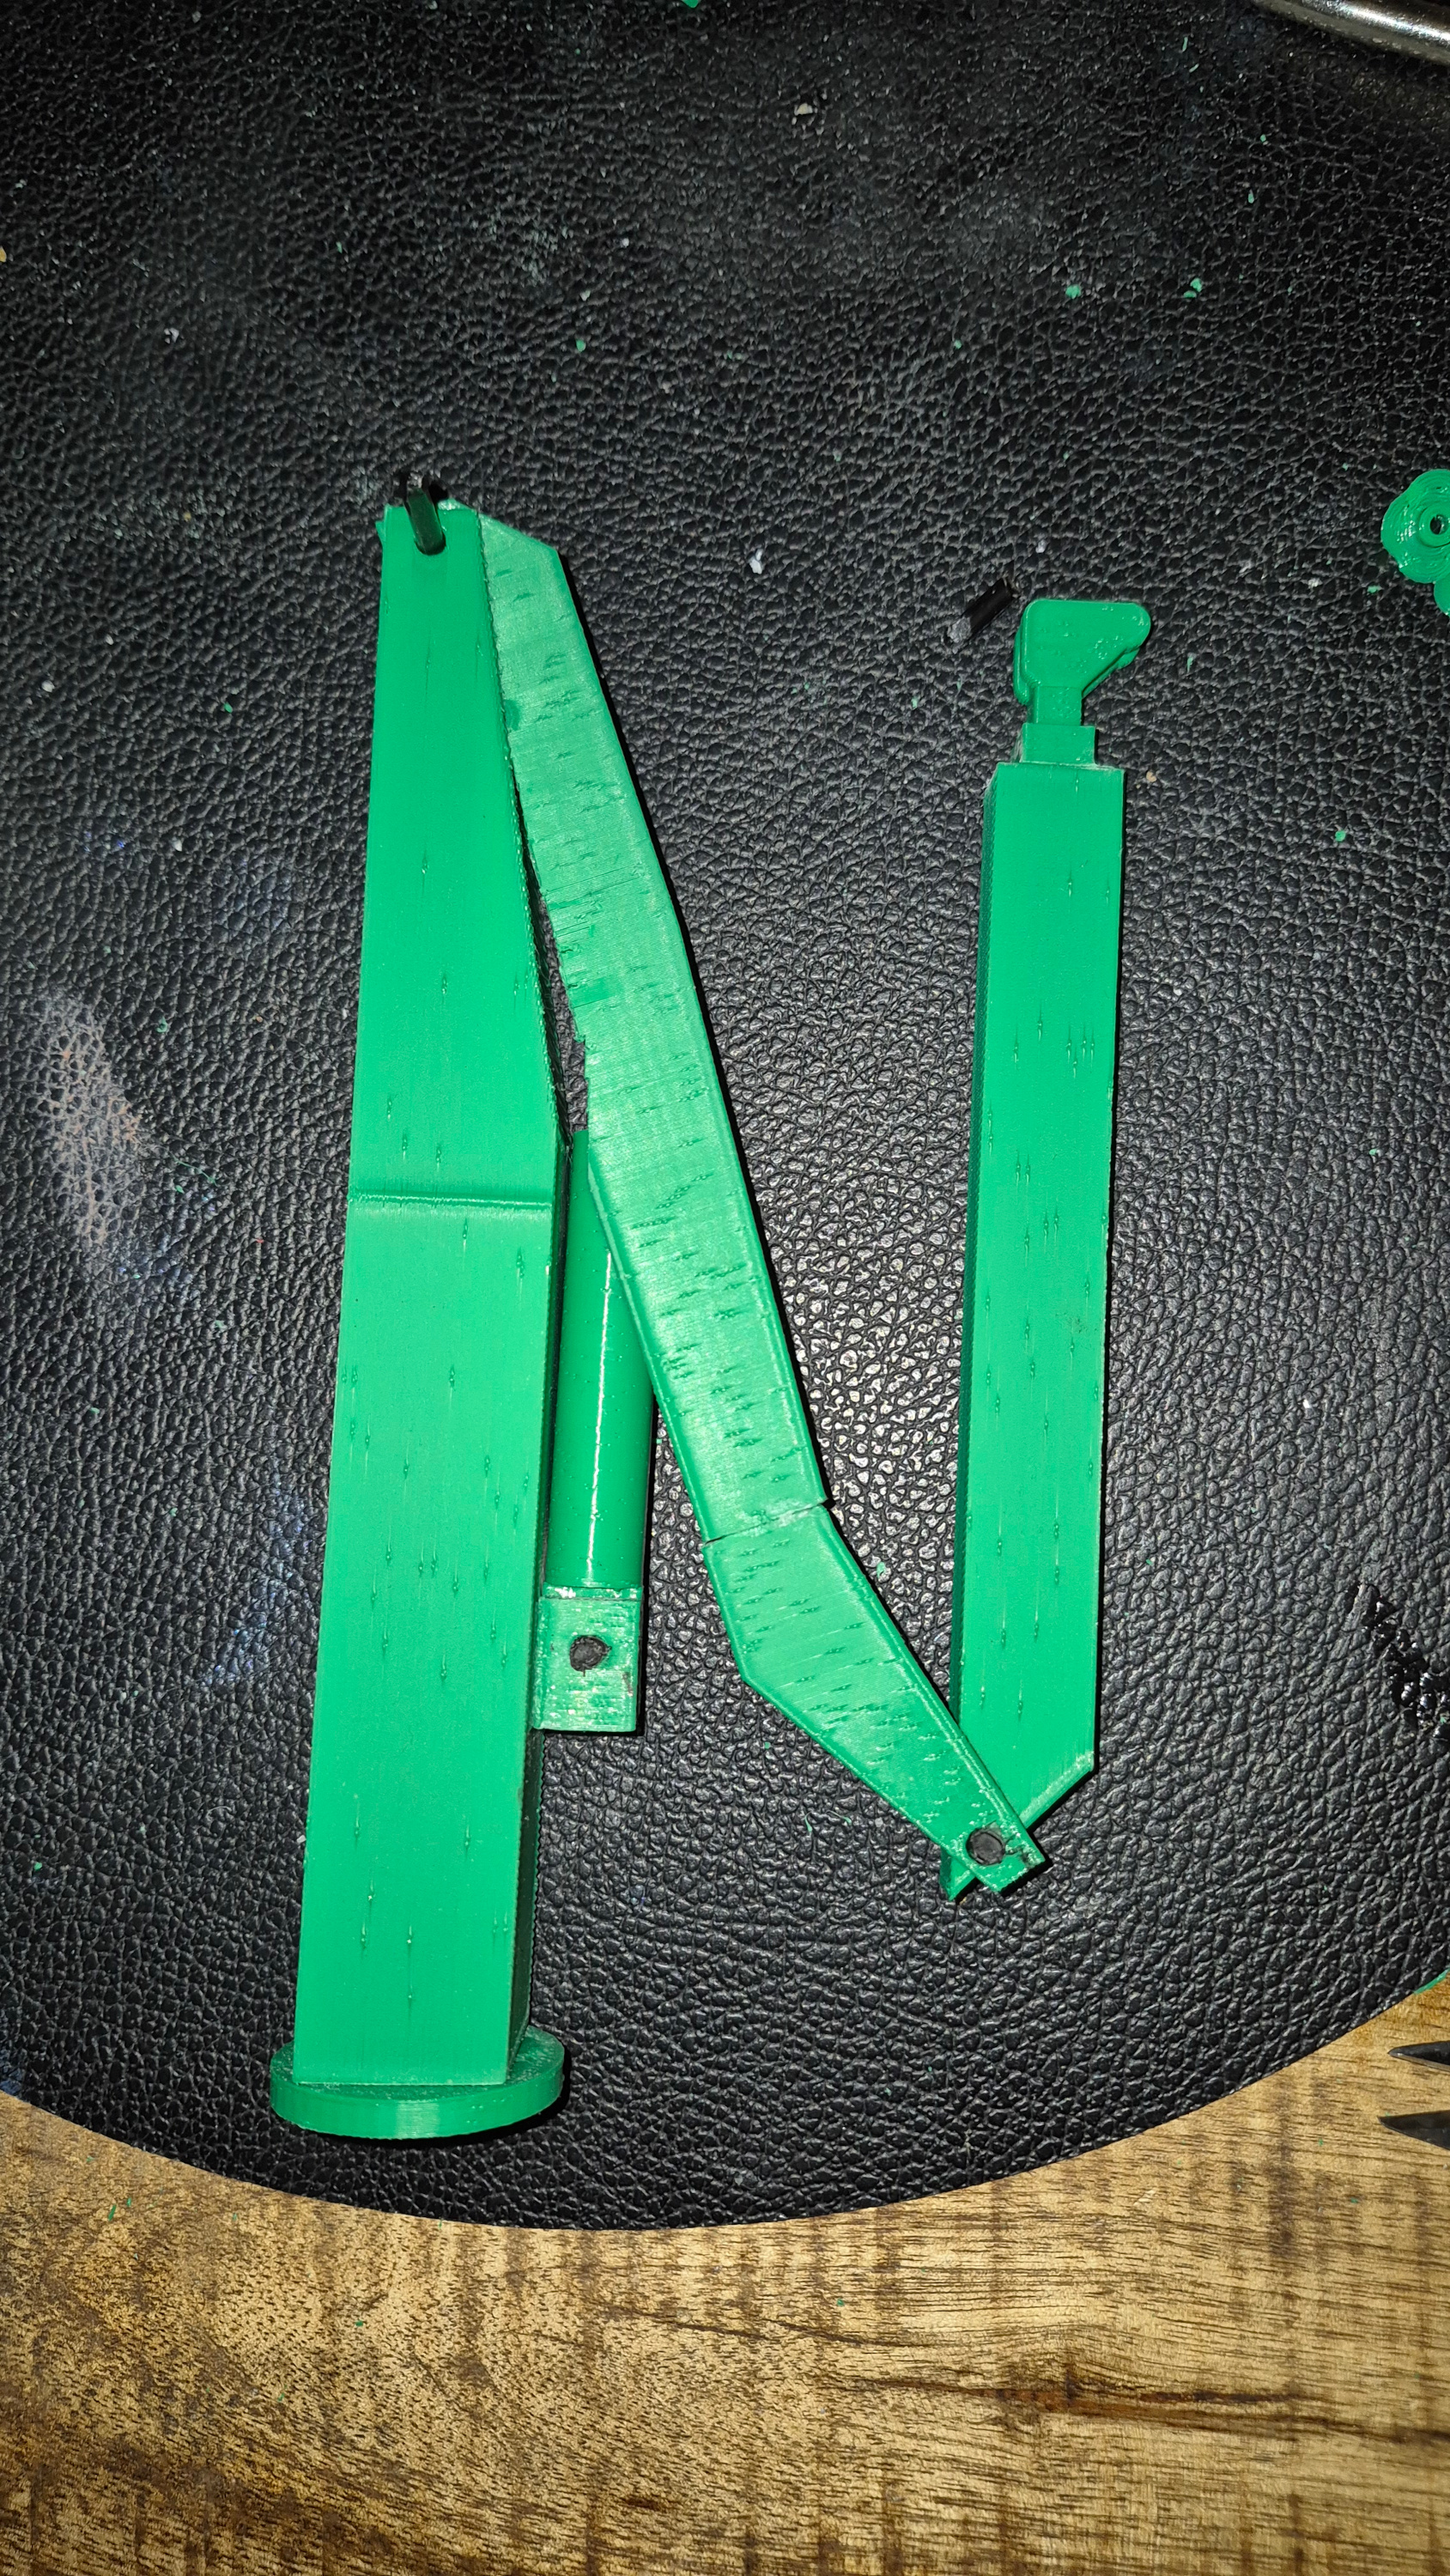 (2665.1 Kb, 1689x3000) N for ..craNe
|
| 16/03/26(Mon)20:04 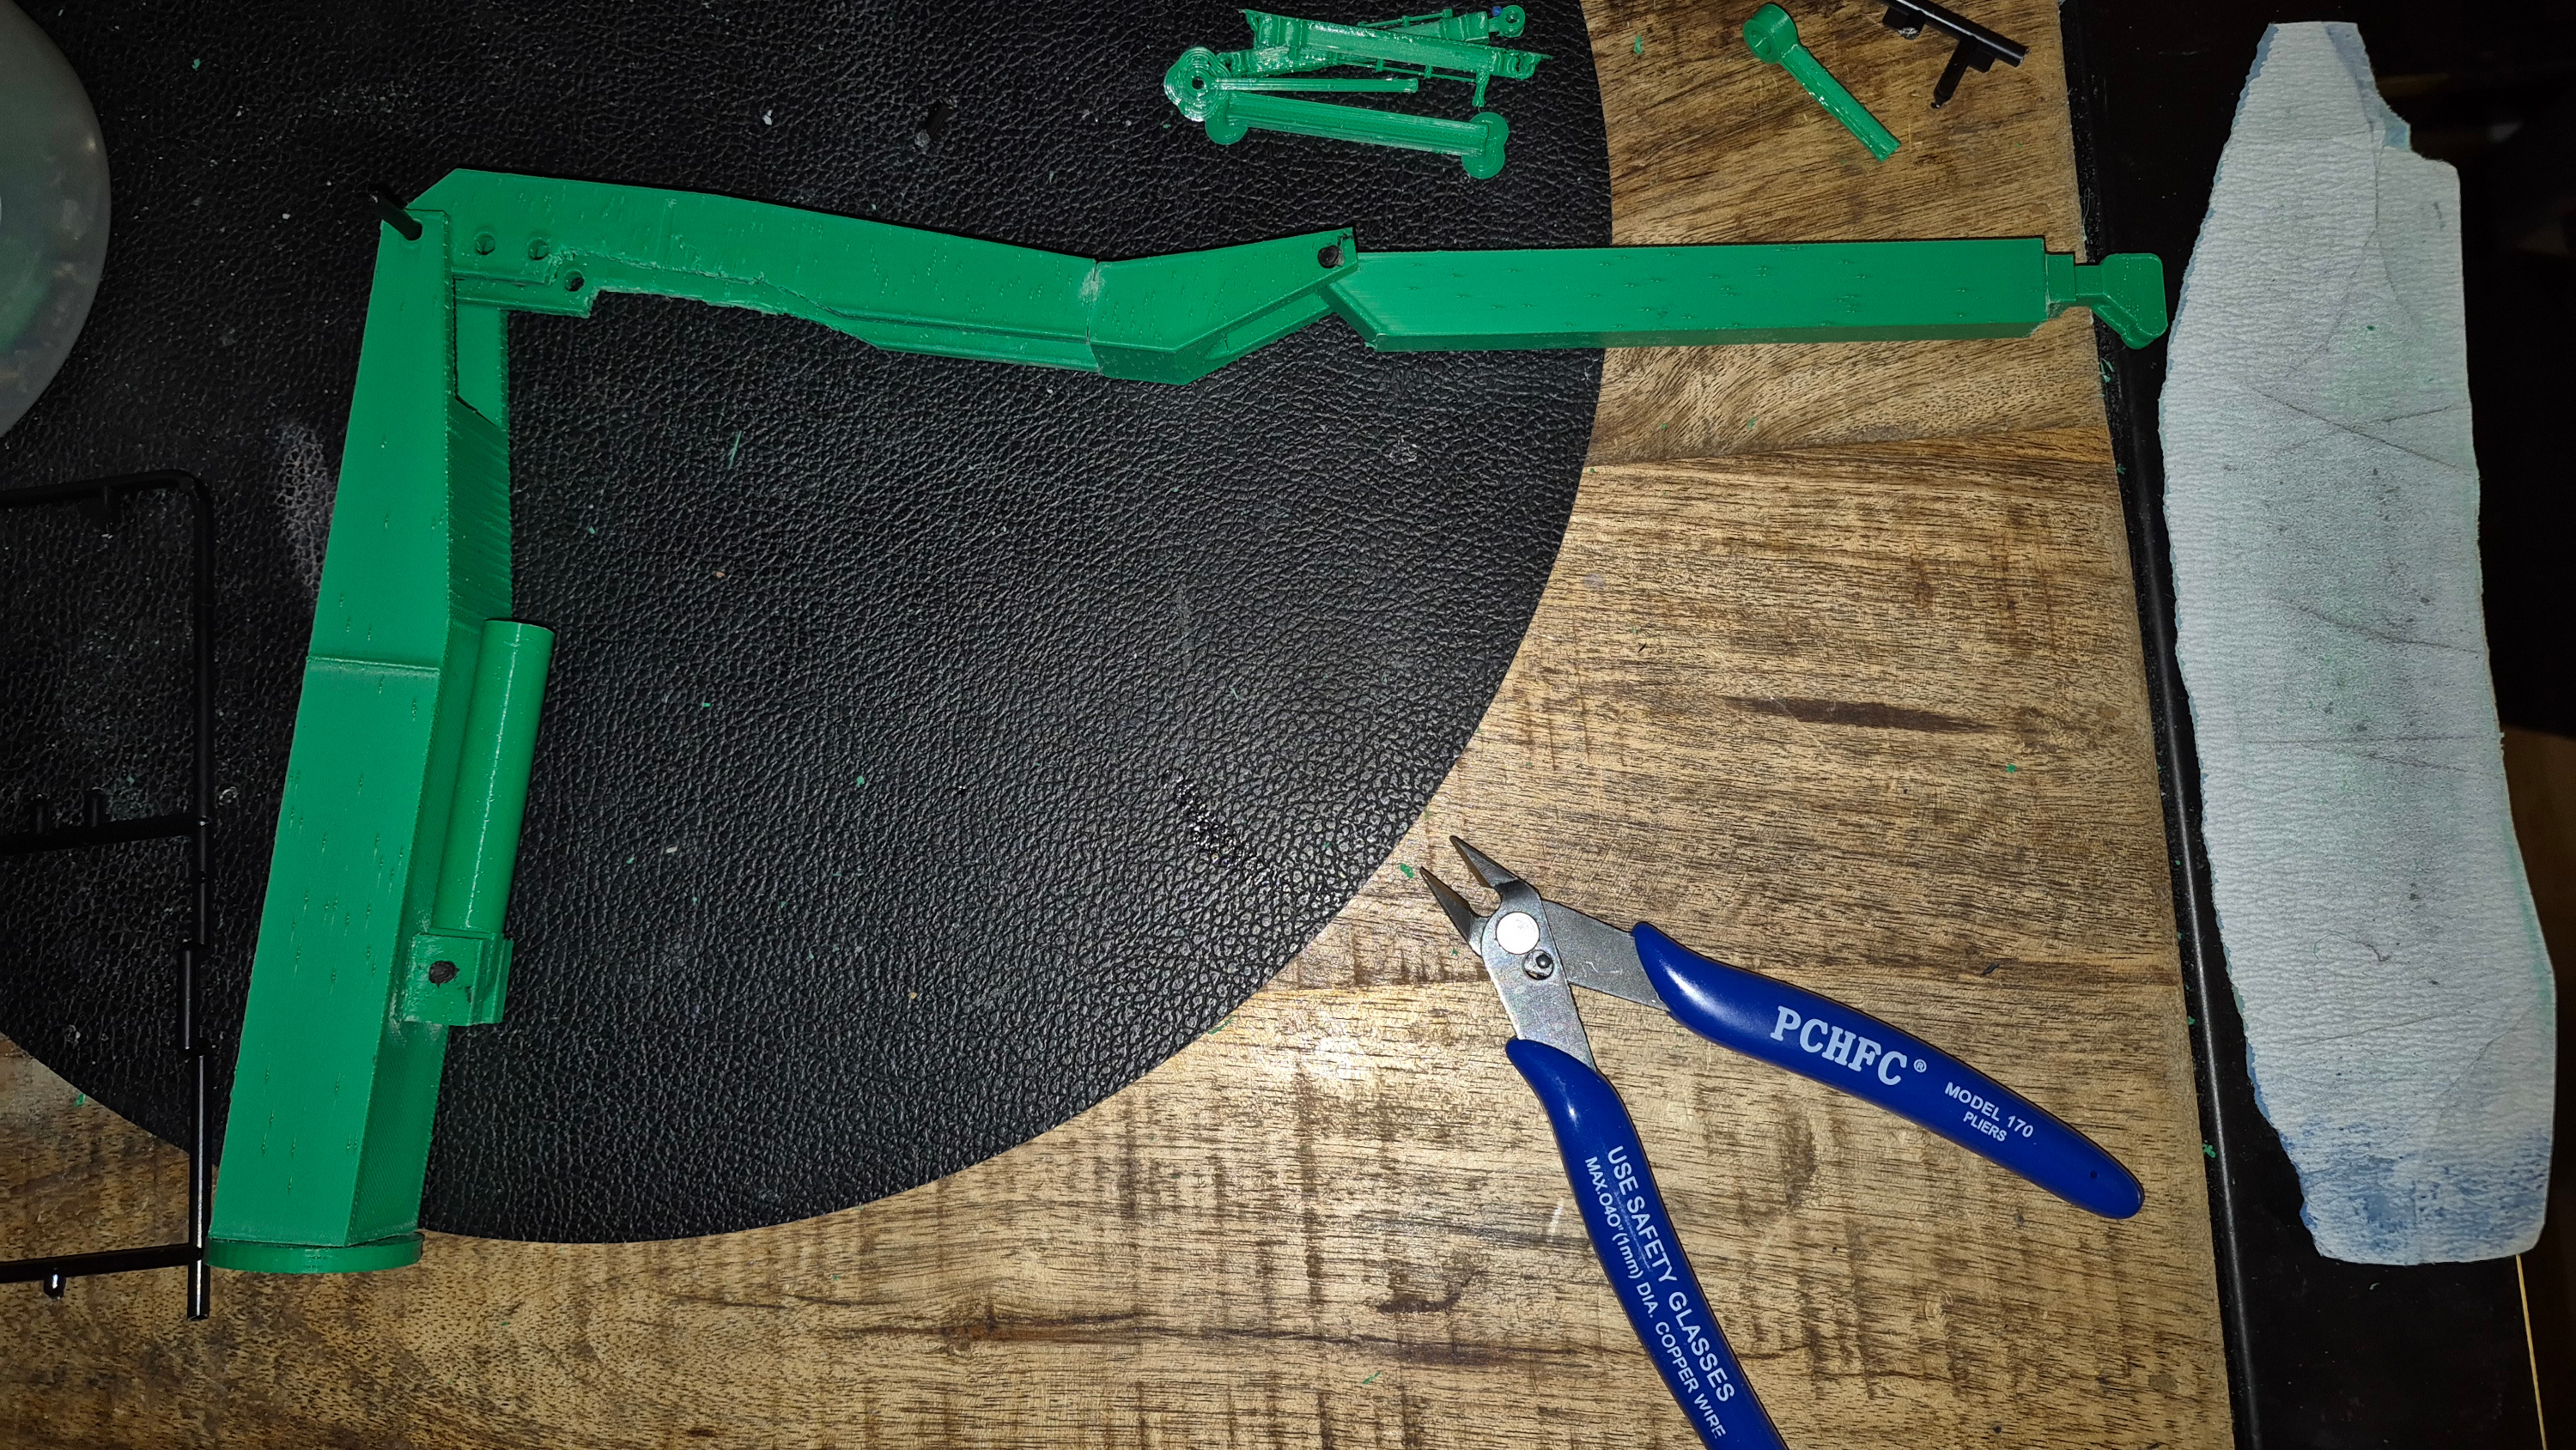 (2449.0 Kb, 3000x1689)
|
| 11/03/26(Wed)15:22
|
| 10/03/26(Tue)15:46 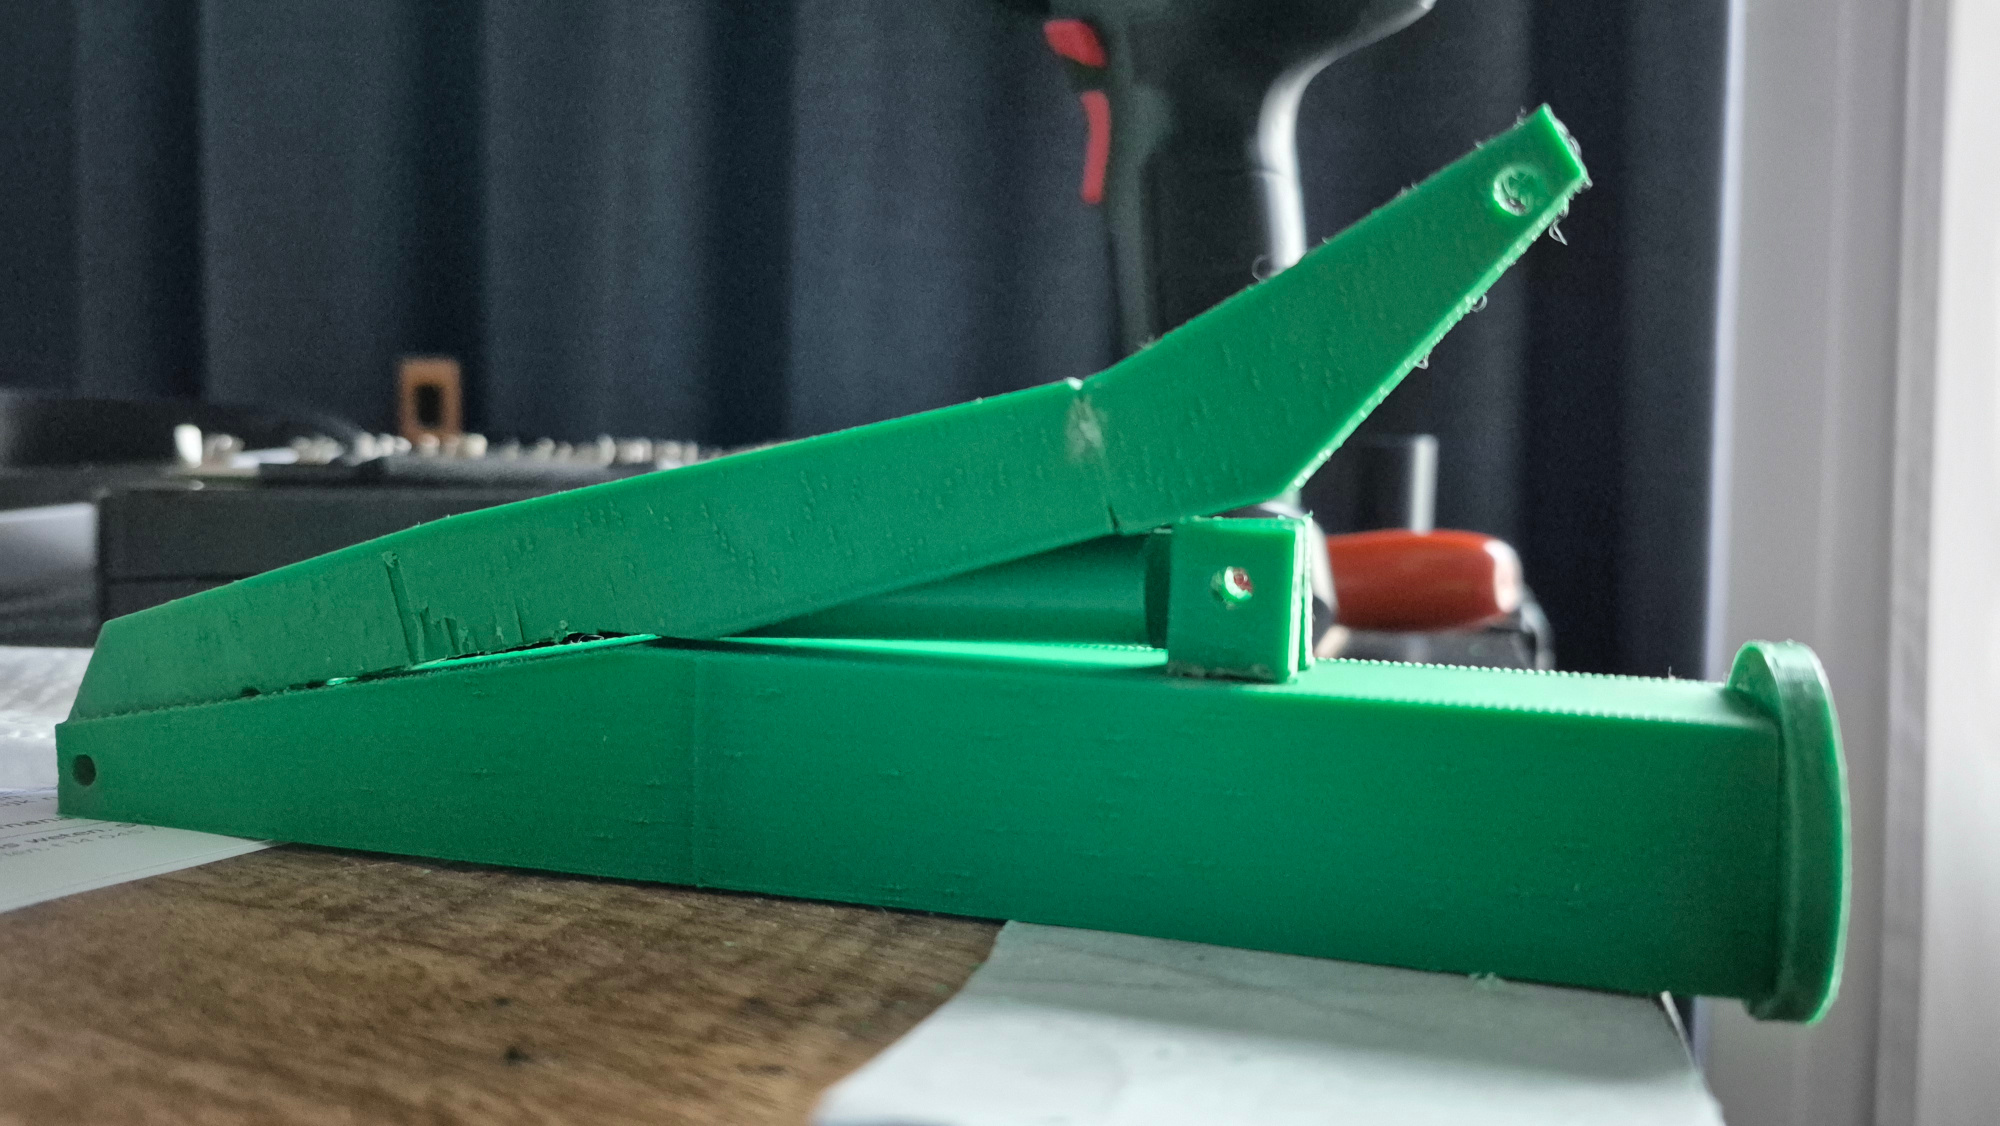 (668.3 Kb, 2000x1126) crane tower with arm
|
| 10/03/26(Tue)15:41  (1678.7 Kb, 1689x3000) I'm gonna need some milliput (putty).
|
| 10/03/26(Tue)13:41
|
| 09/03/26(Mon)18:30  (1377.5 Kb, 3000x1689)
|
| 09/03/26(Mon)14:25
|
| 07/03/26(Sat)22:15 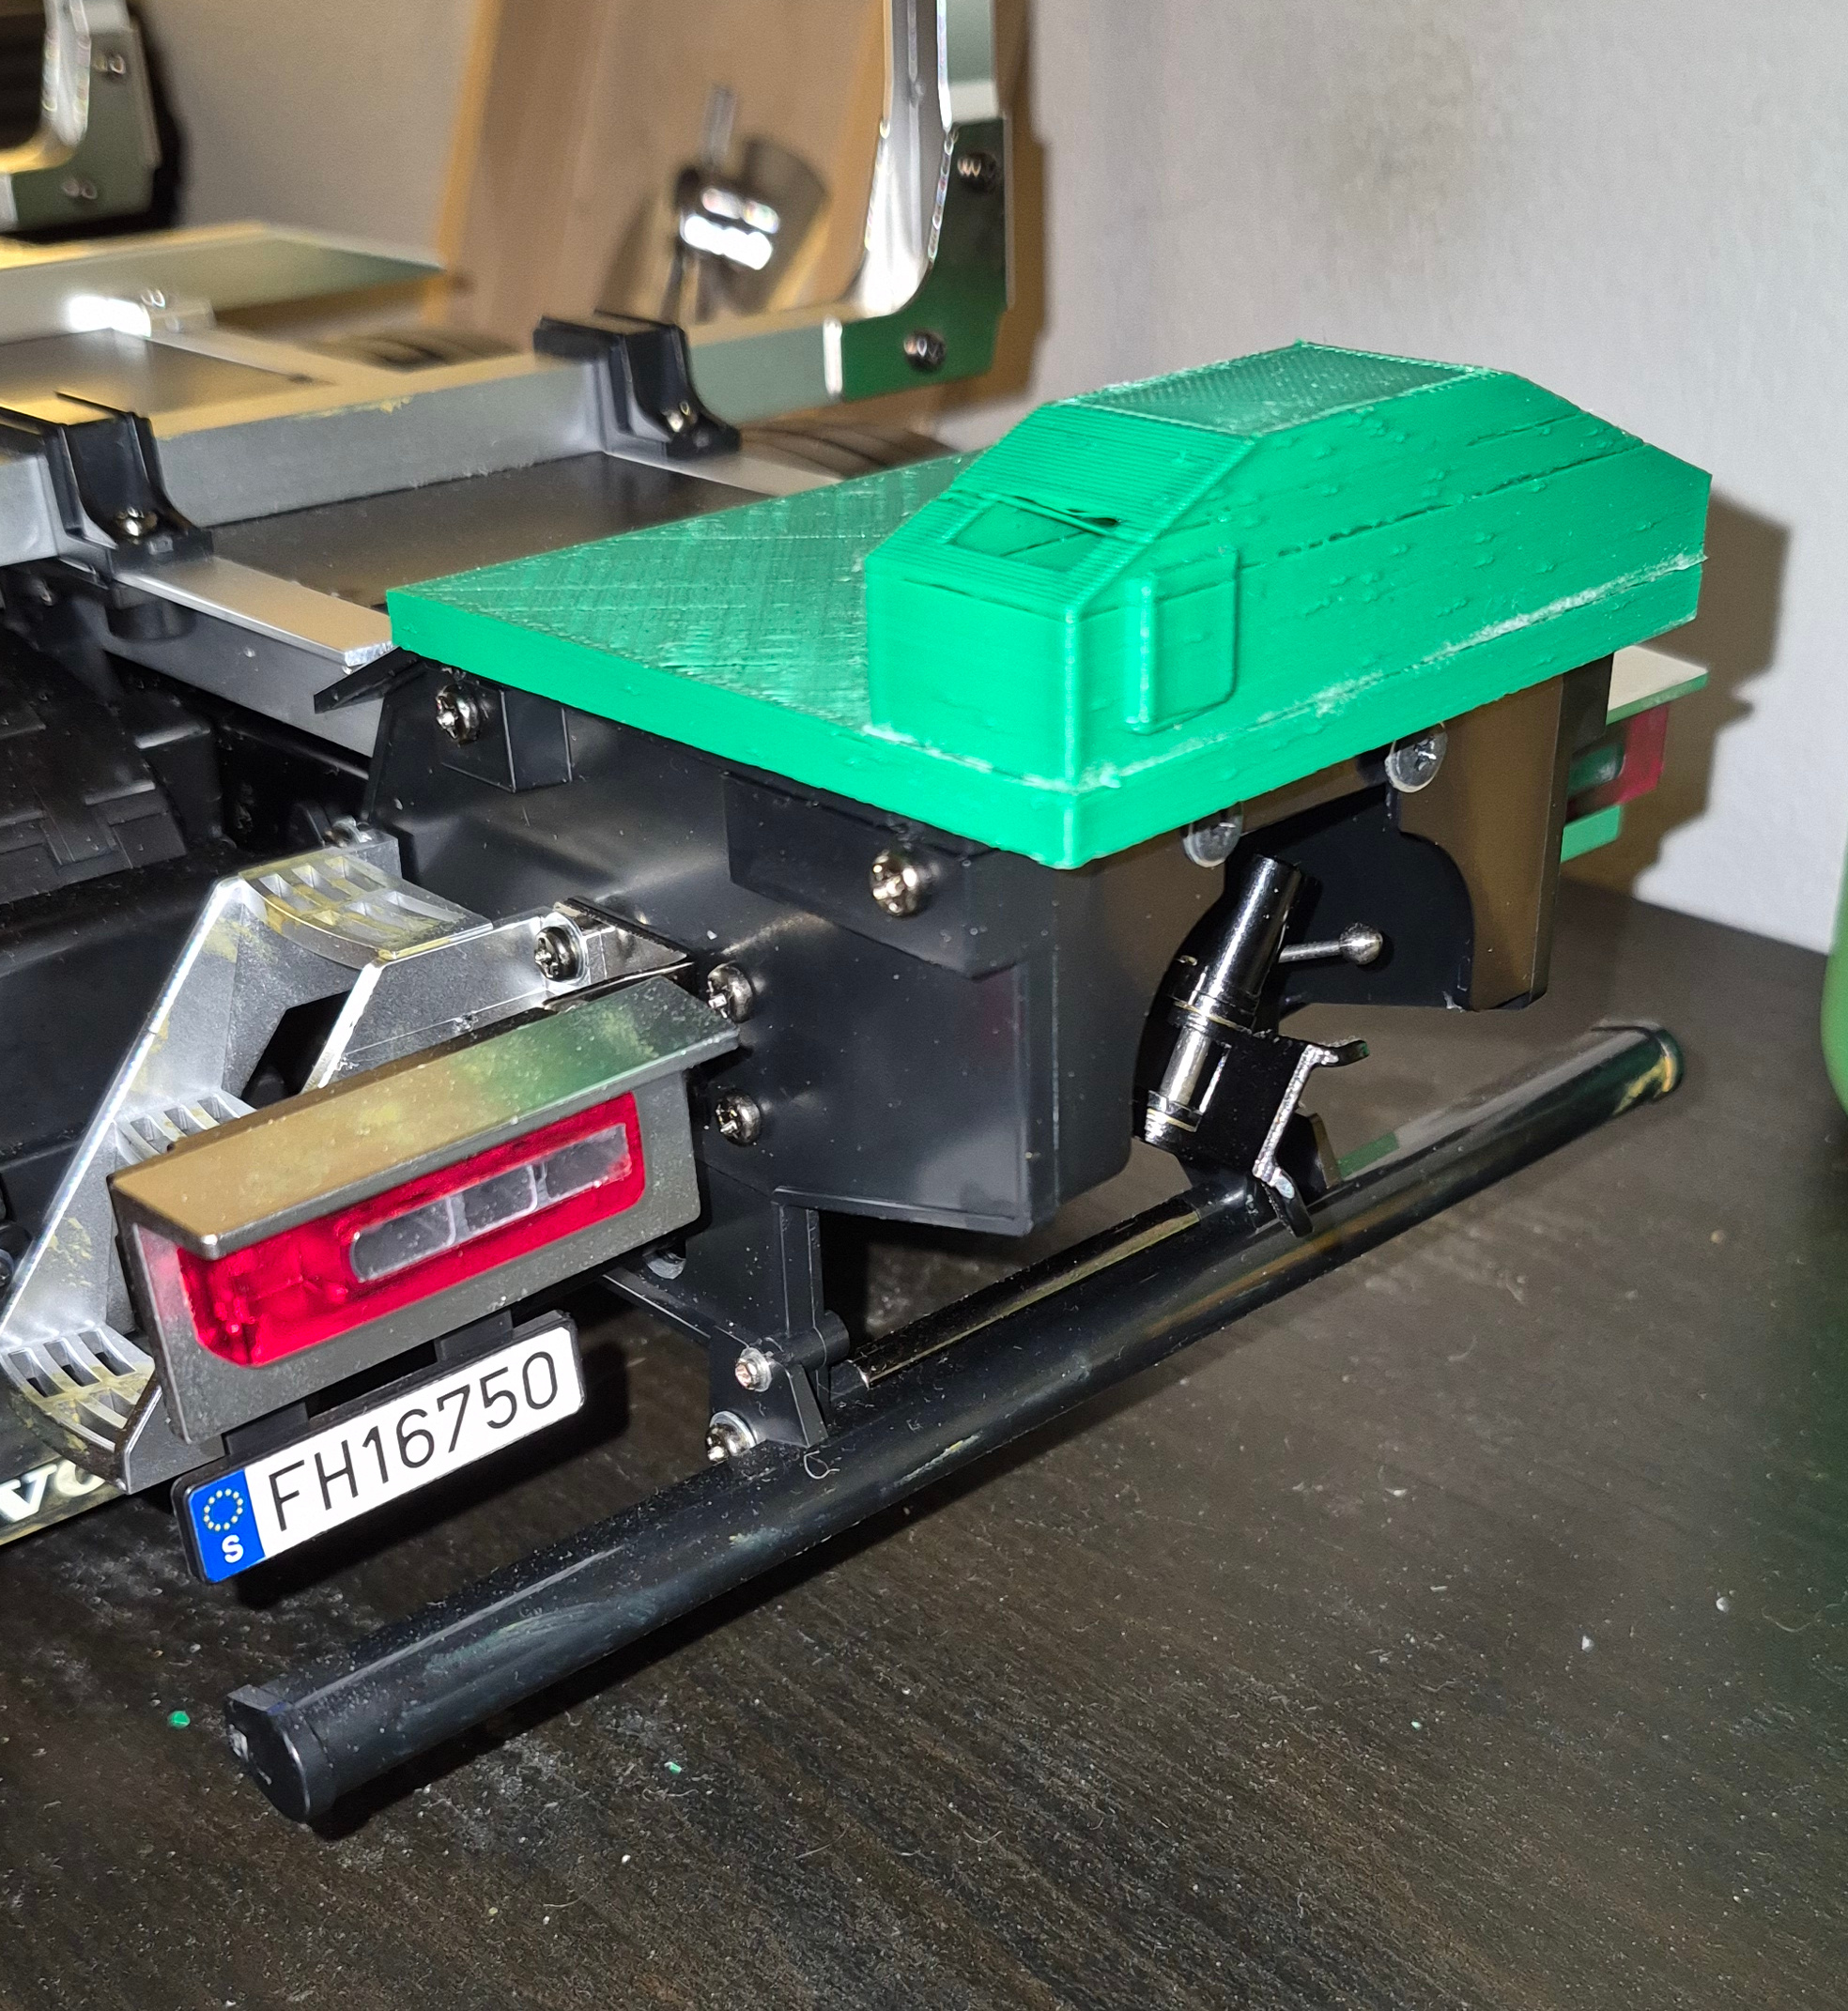 (1562.8 Kb, 1968x2142)
|
| 07/03/26(Sat)22:12 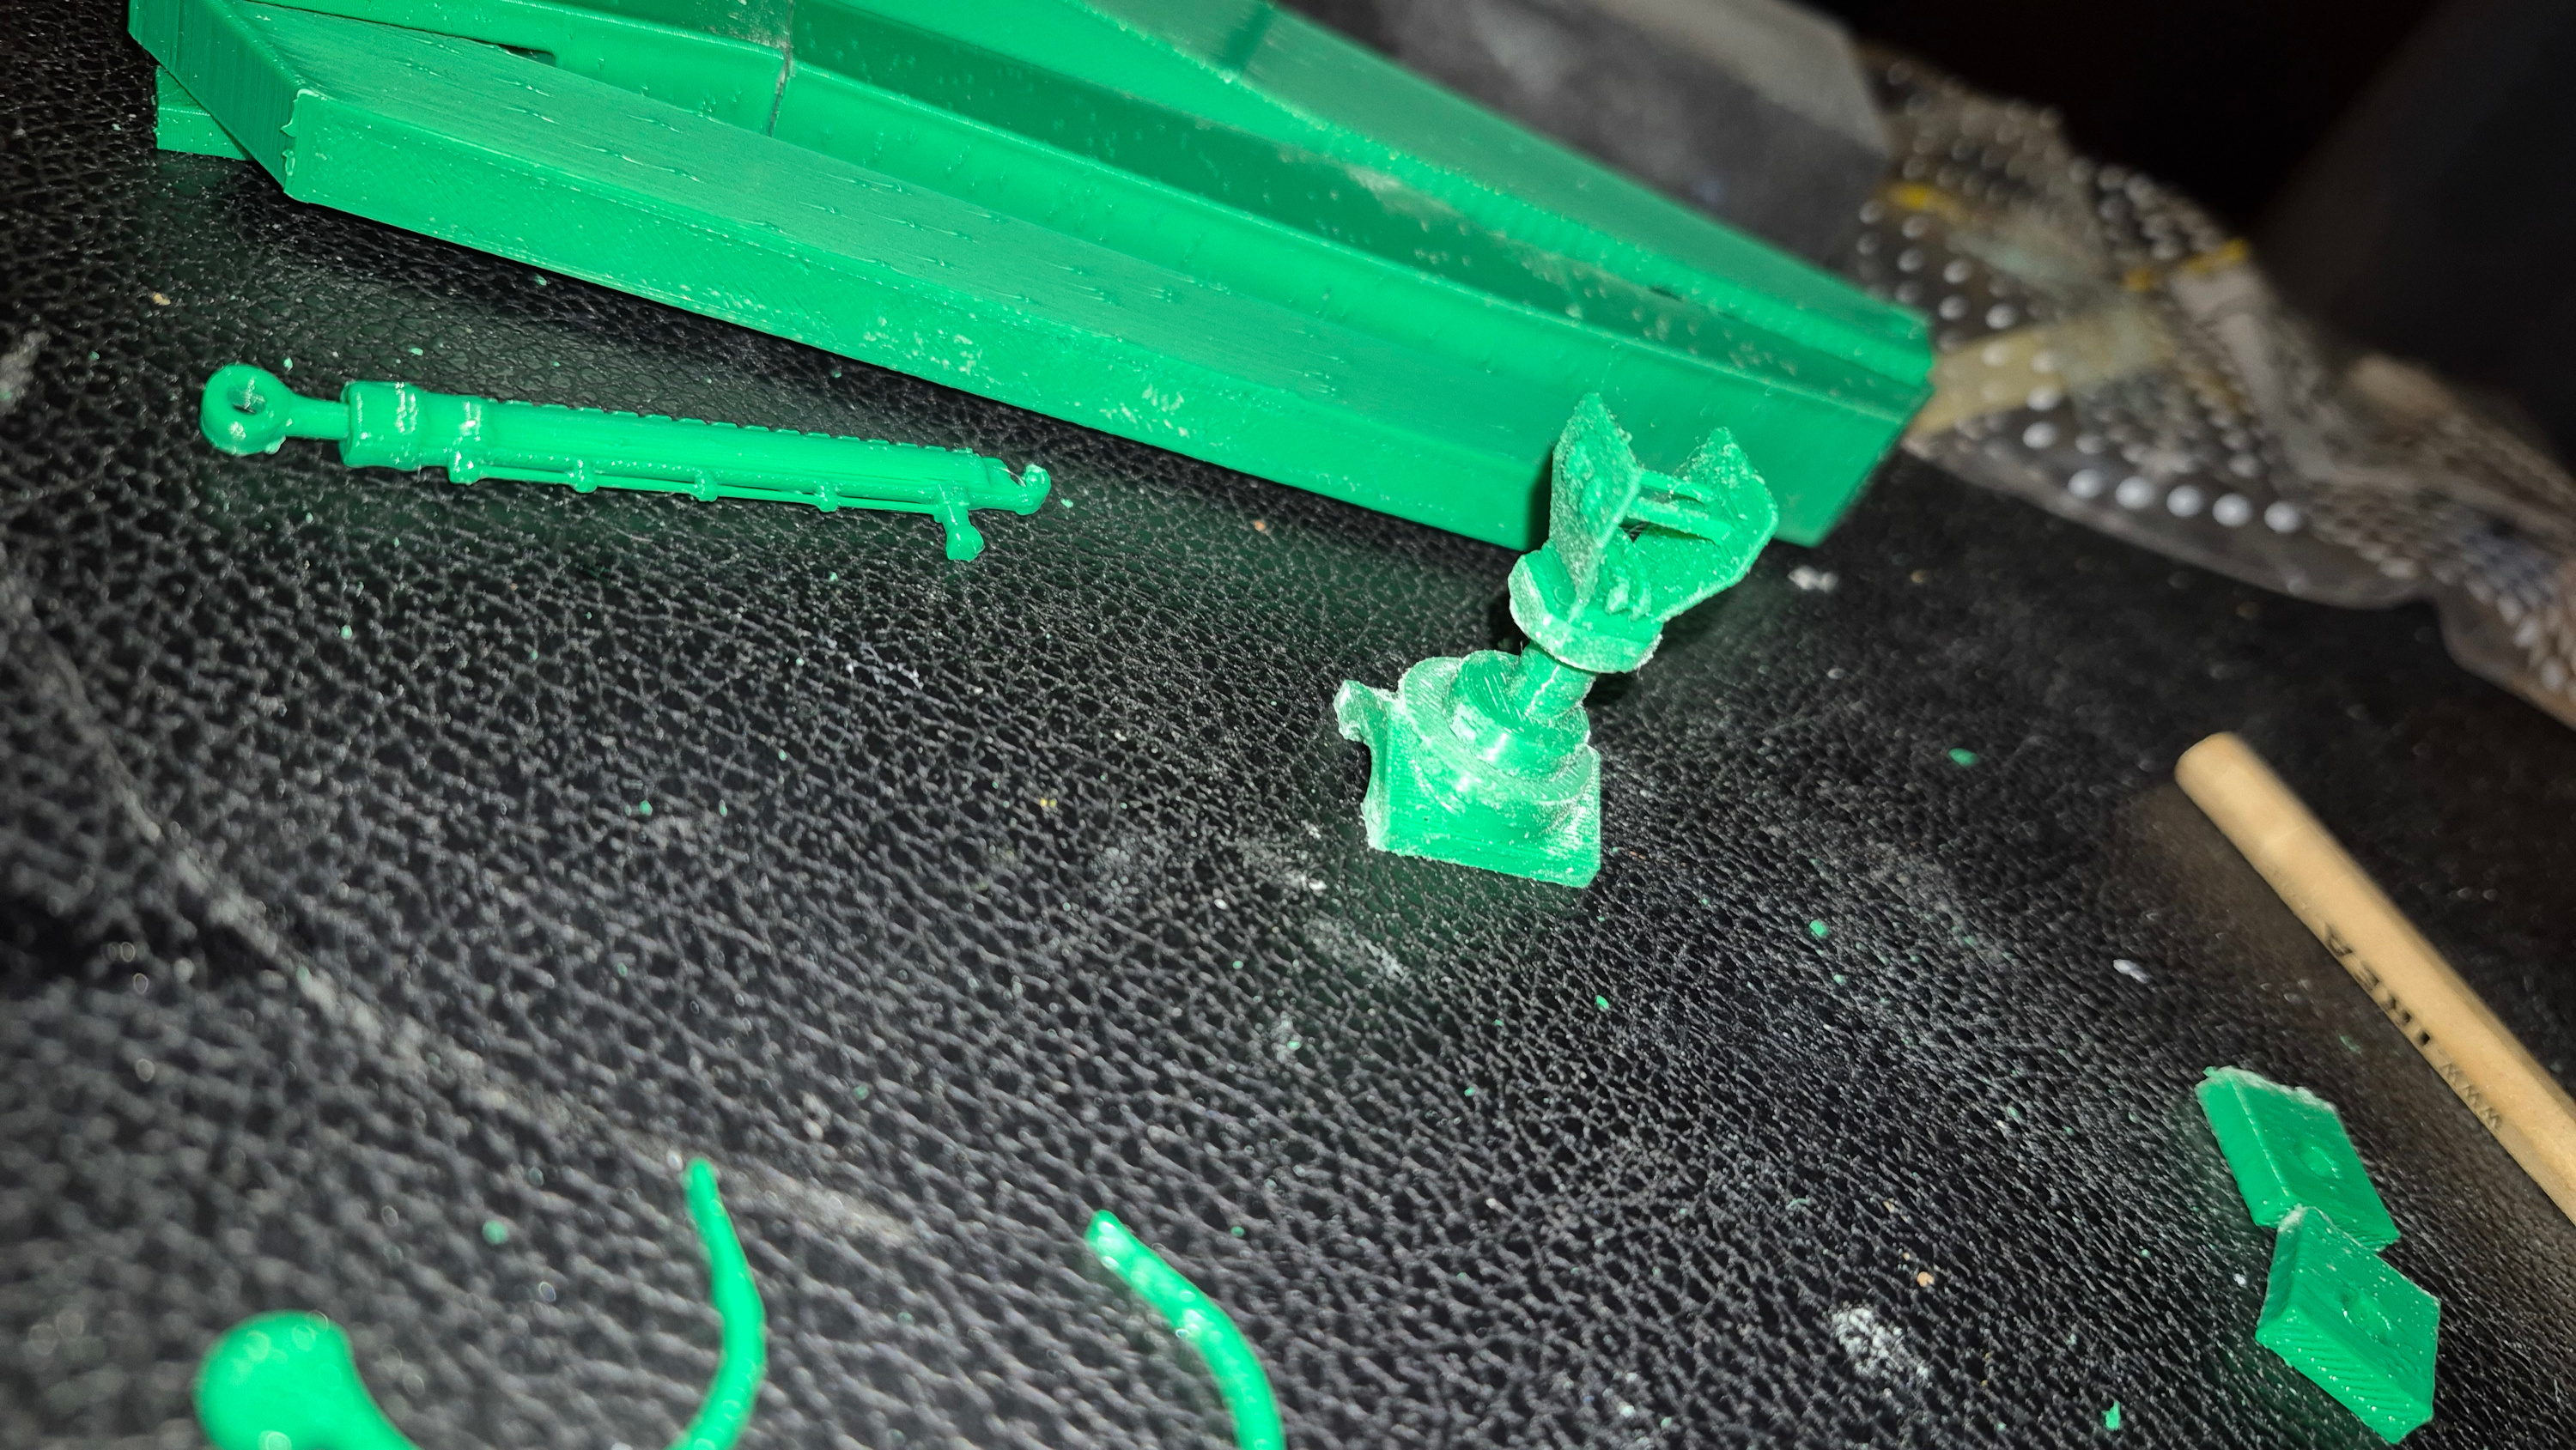 (1987.5 Kb, 3000x1689) Close-up of the claw attachment
|
| 07/03/26(Sat)22:11 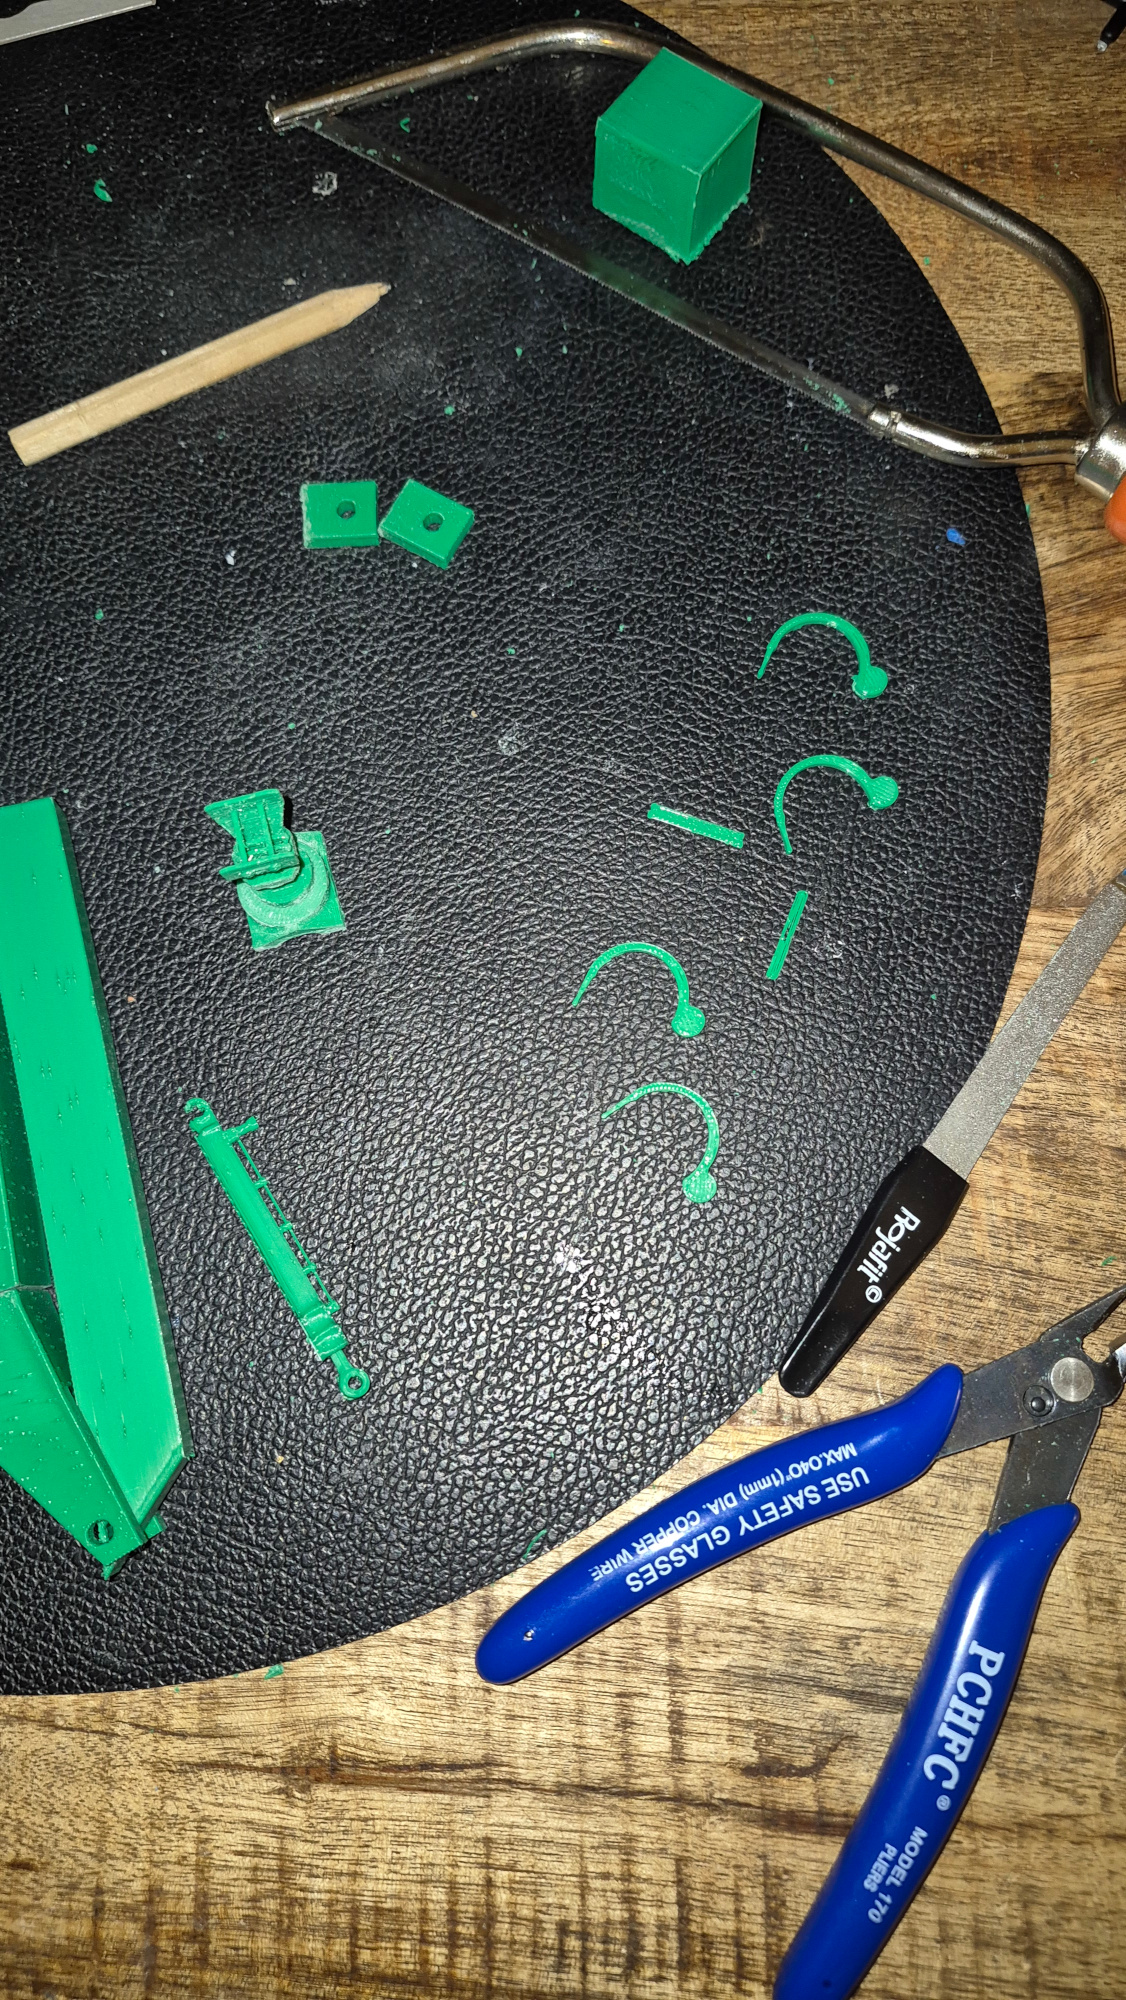 (1340.5 Kb, 1126x2000)
|
| 07/03/26(Sat)22:09 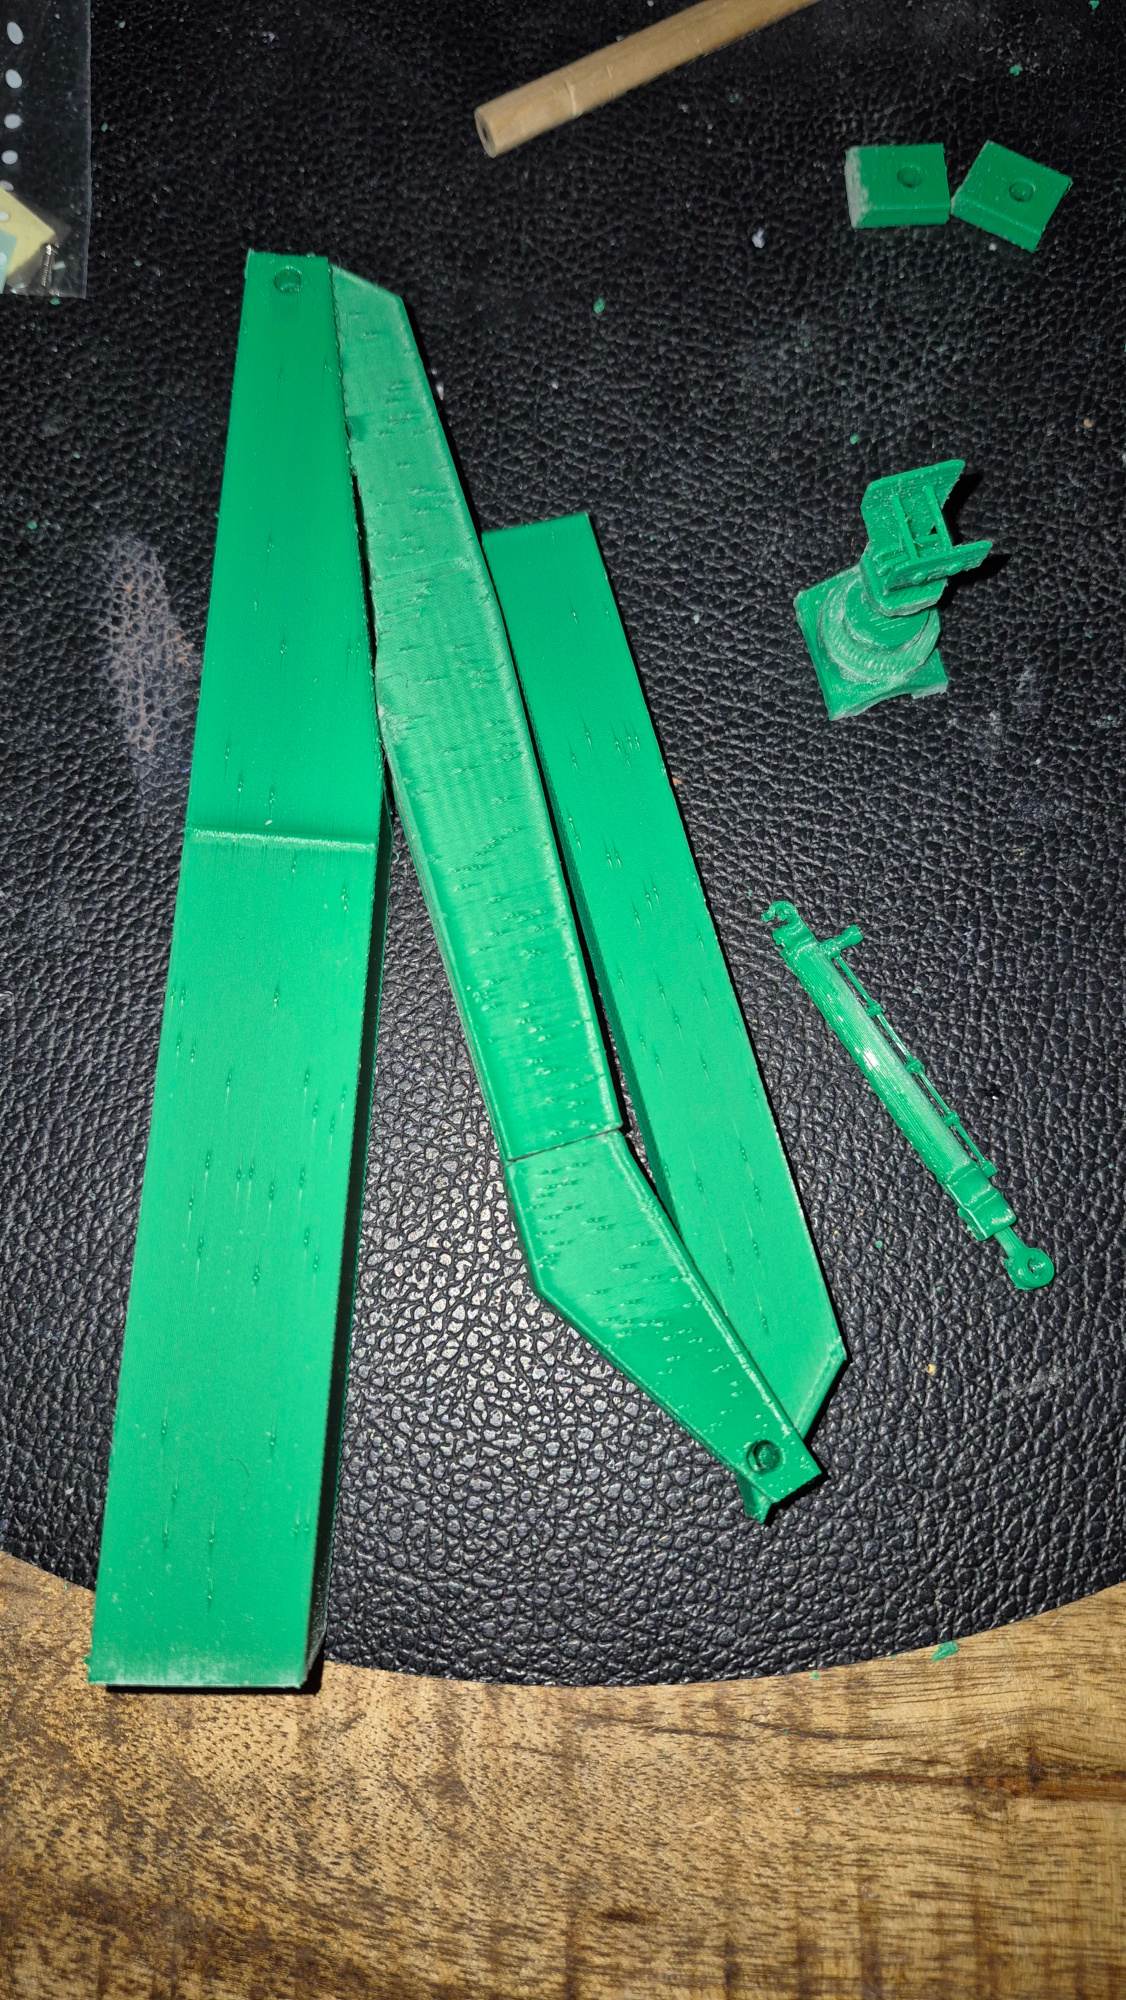 (1228.7 Kb, 1126x2000)
|
| 06/03/26(Fri)19:01
|
| 04/03/26(Wed)19:38 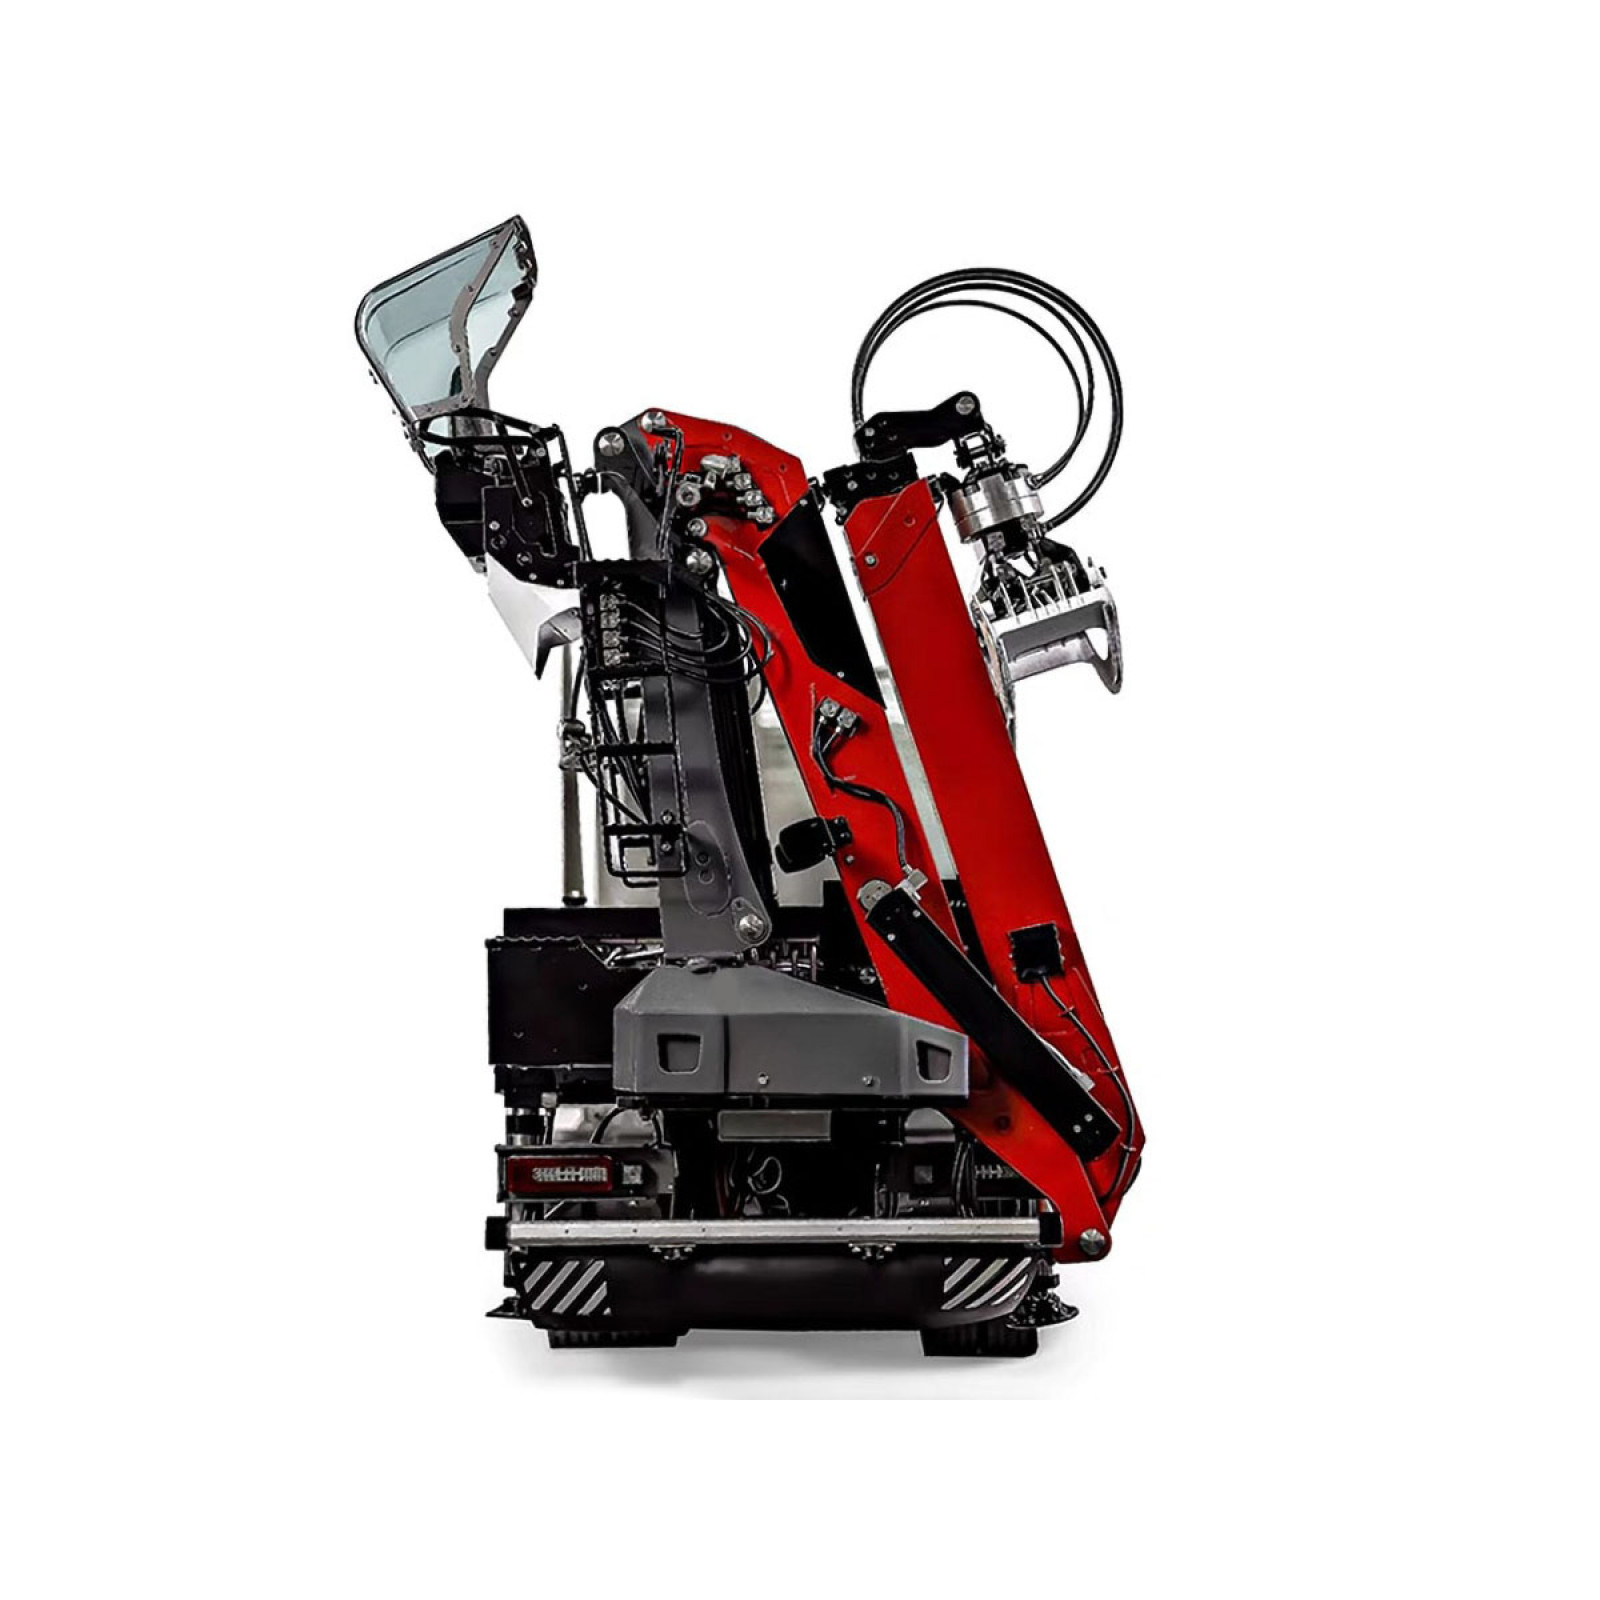 (452.0 Kb, 1600x1600) Fold-it
|
| 04/03/26(Wed)19:36 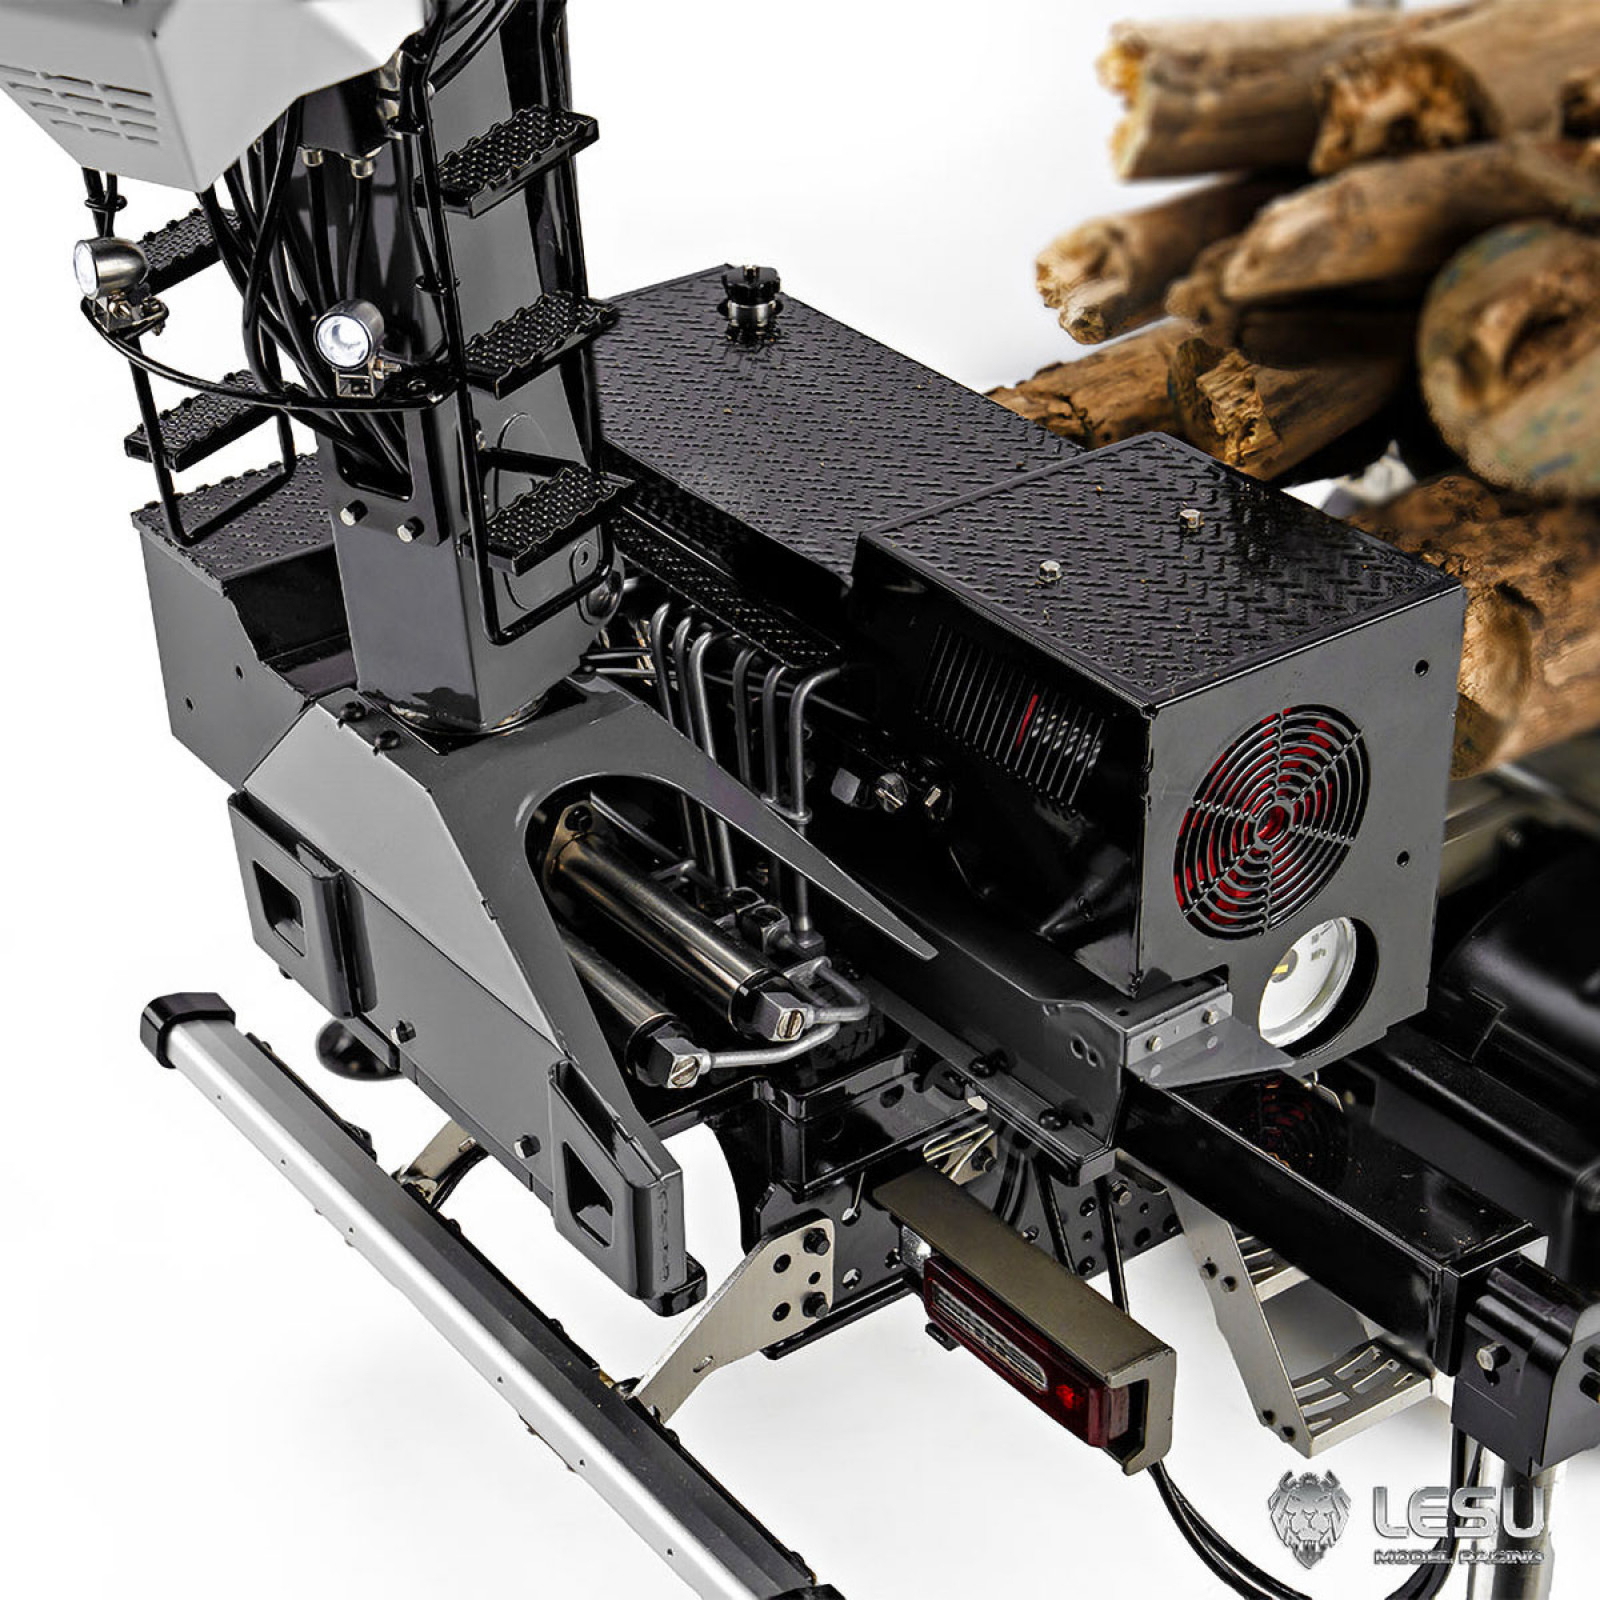 (1212.6 Kb, 1600x1600) The Lesu crane
|
| 04/03/26(Wed)19:34 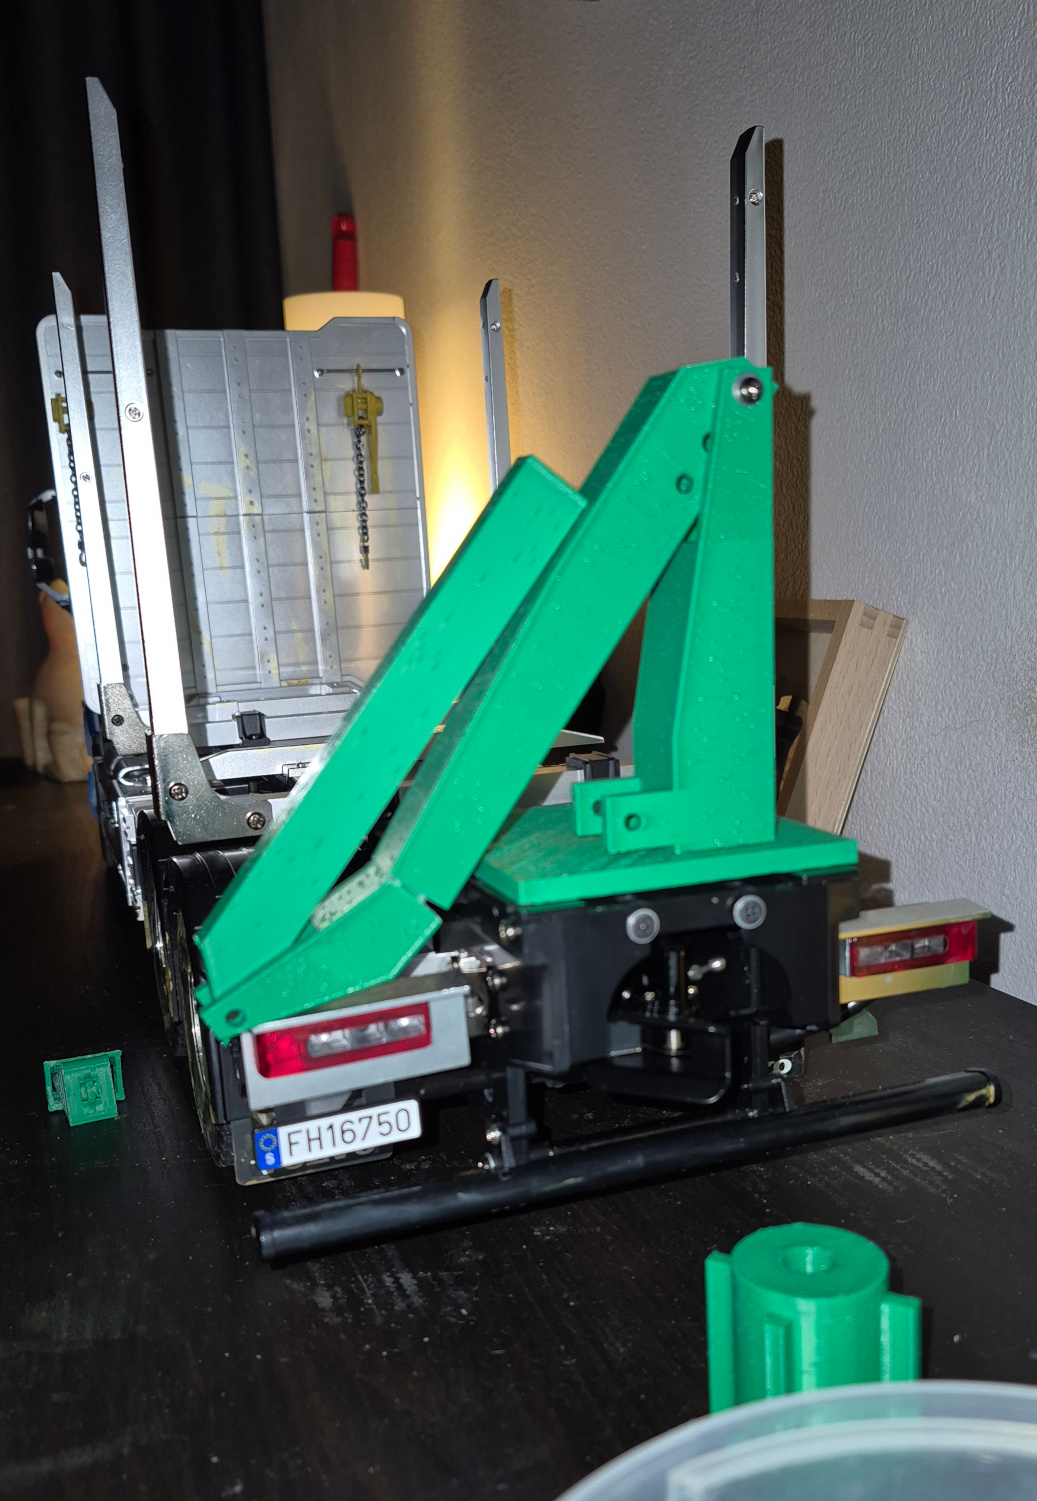 (510.9 Kb, 1037x1501)
|
| 01/03/26(Sun)15:13
|
| 01/03/26(Sun)14:33 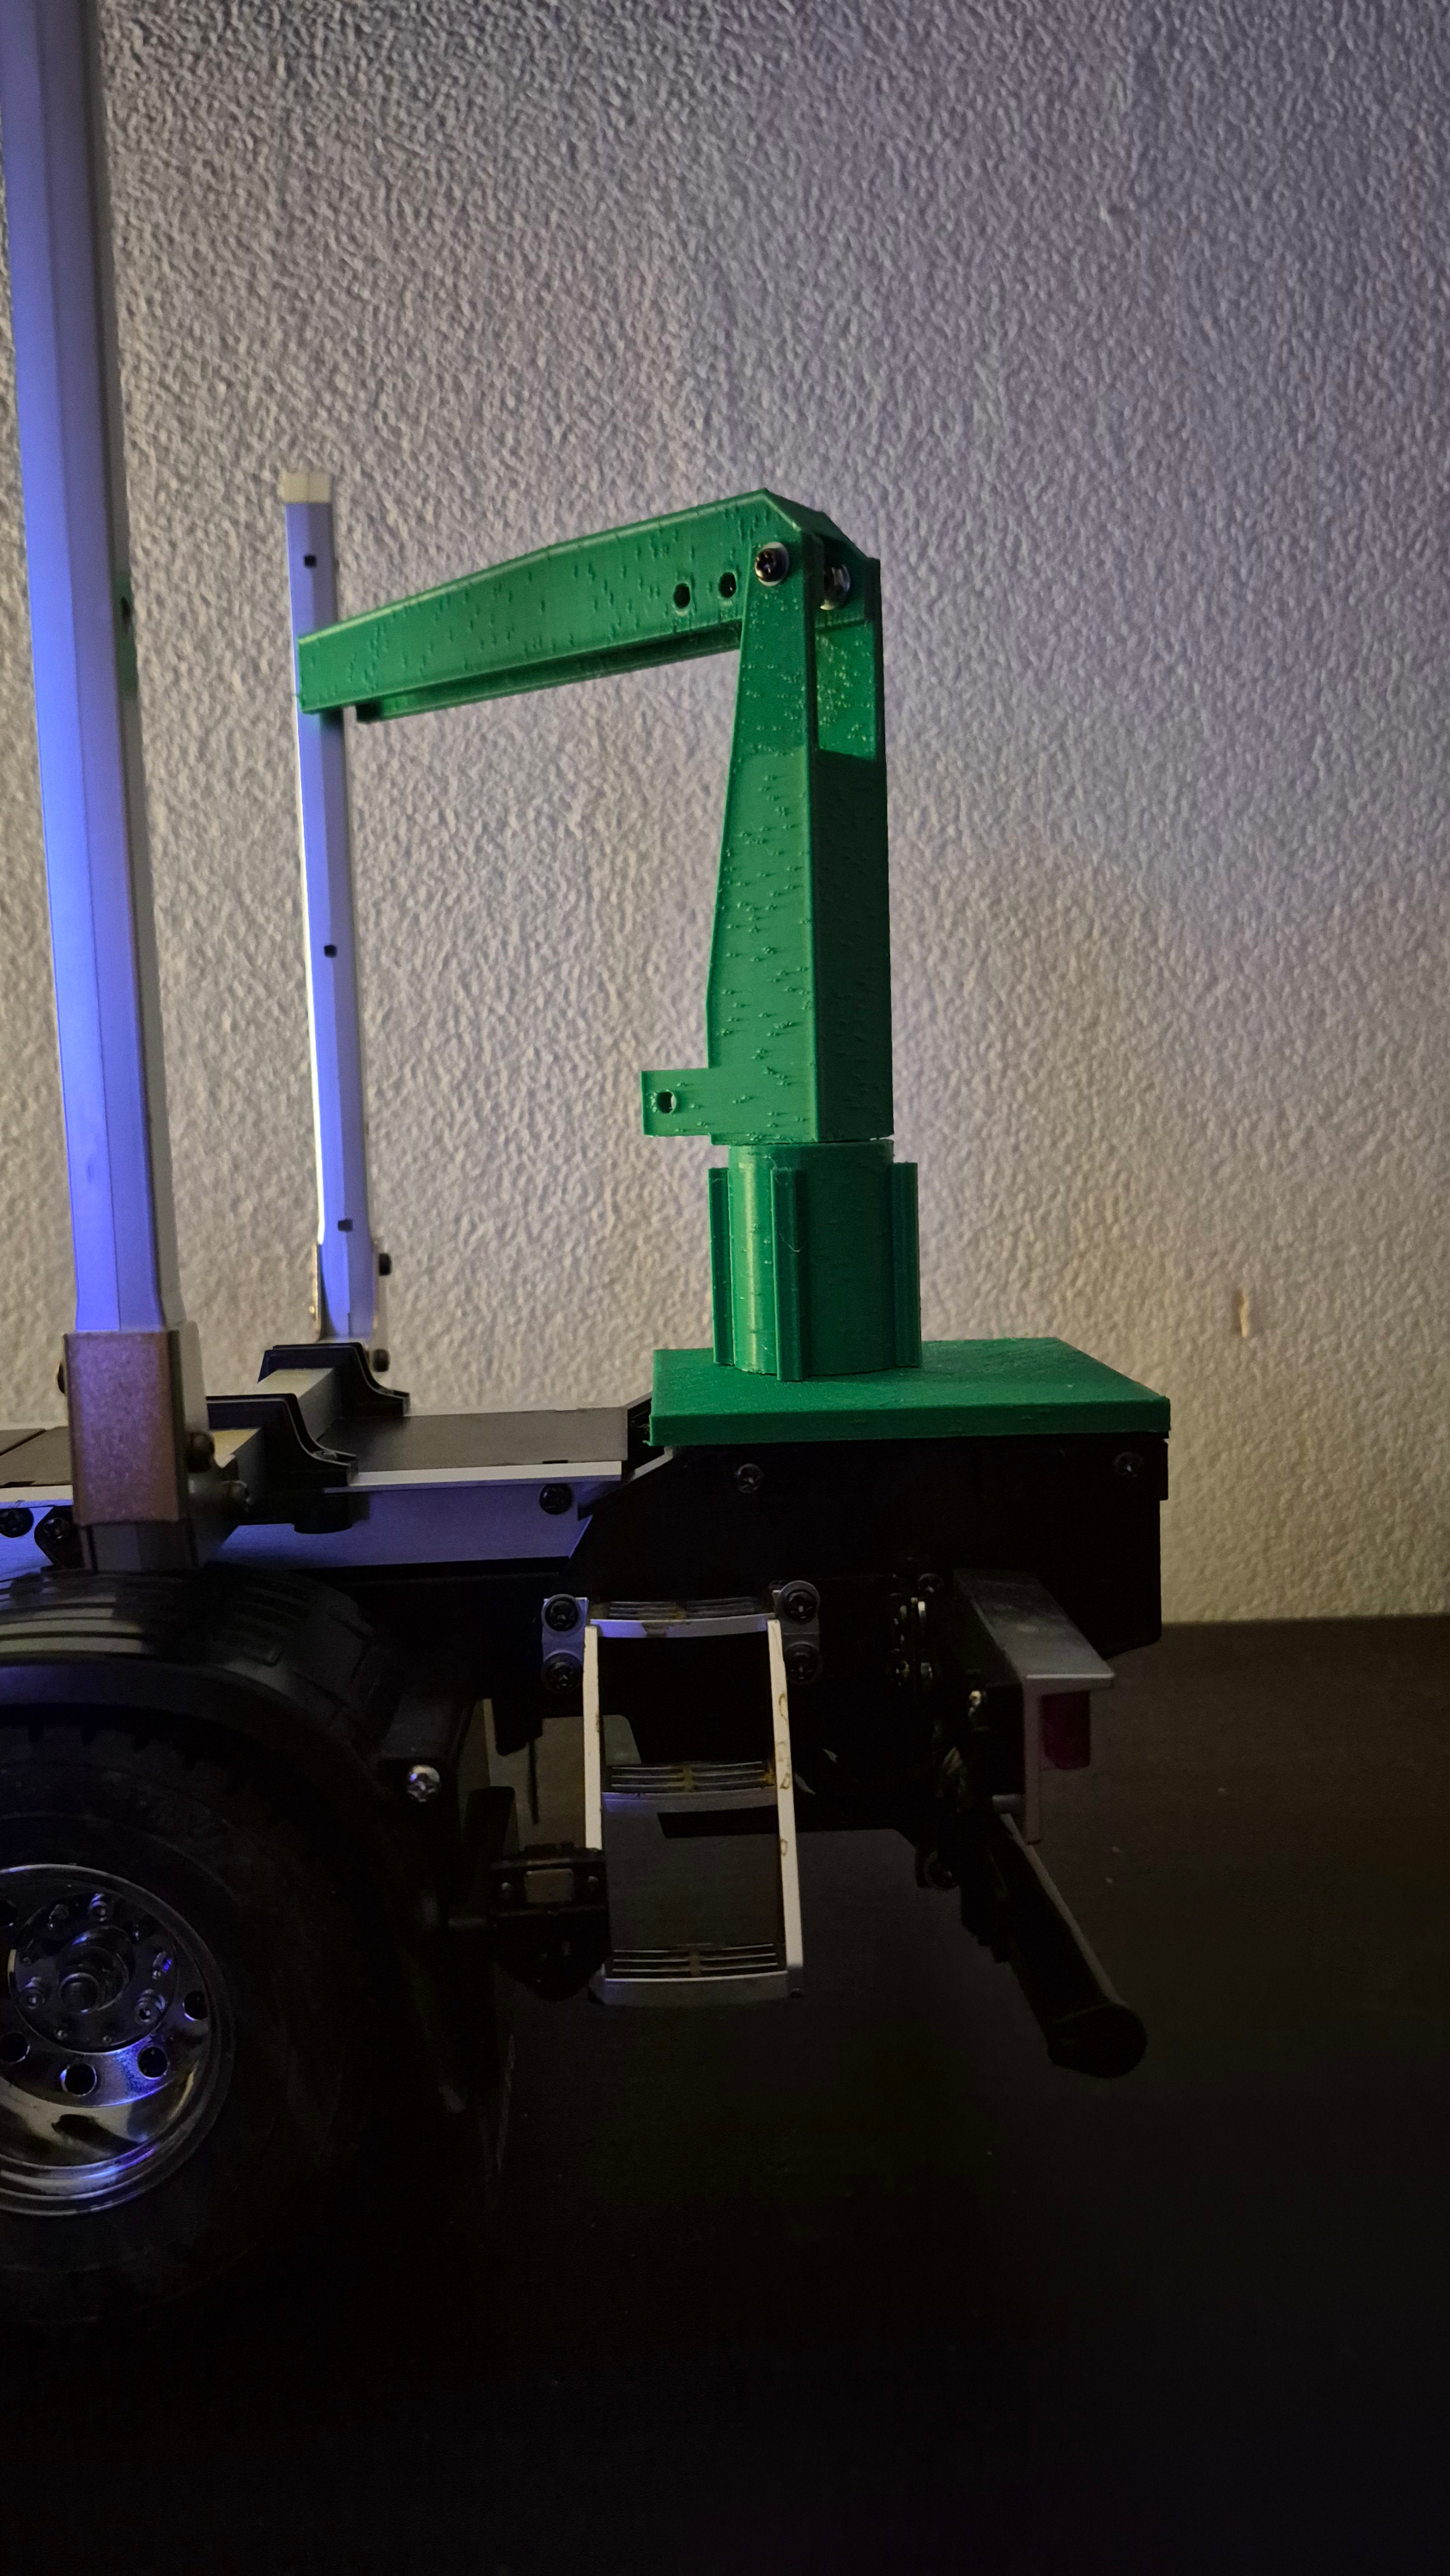 (1428.4 Kb, 1689x3000)
|
| 01/03/26(Sun)14:31 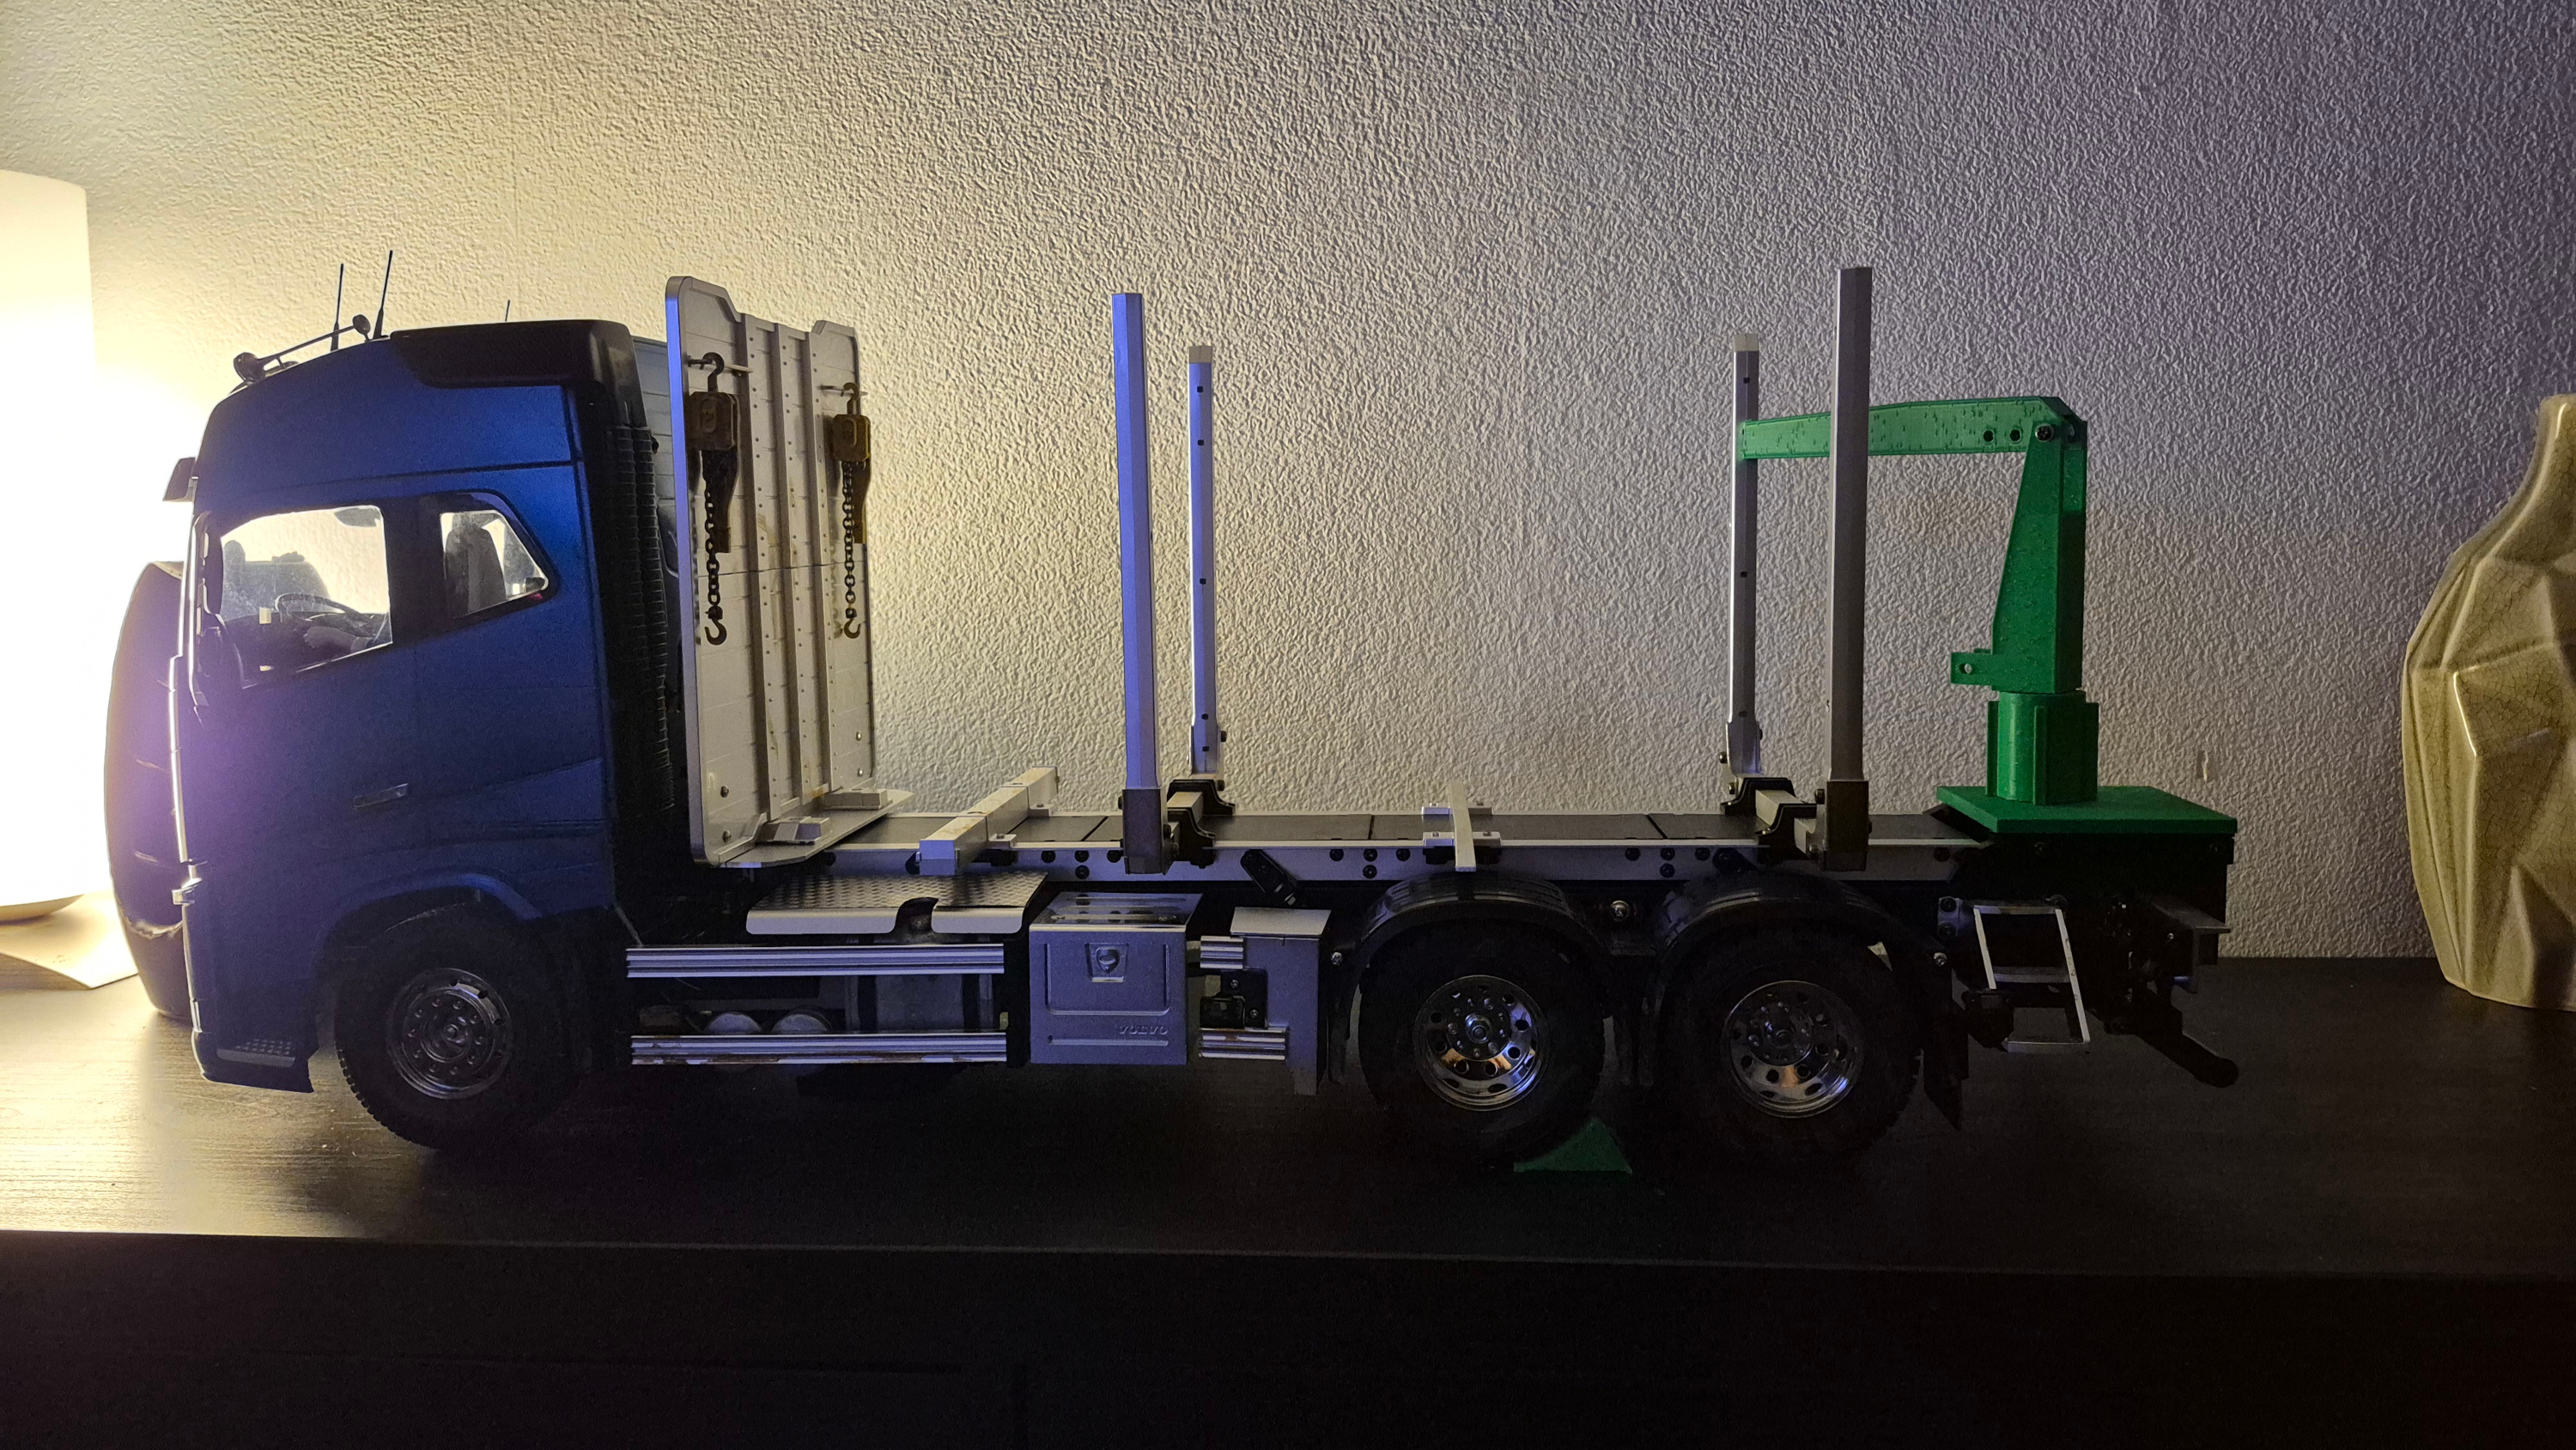 (1997.0 Kb, 3000x1689)
|
| 01/03/26(Sun)14:25 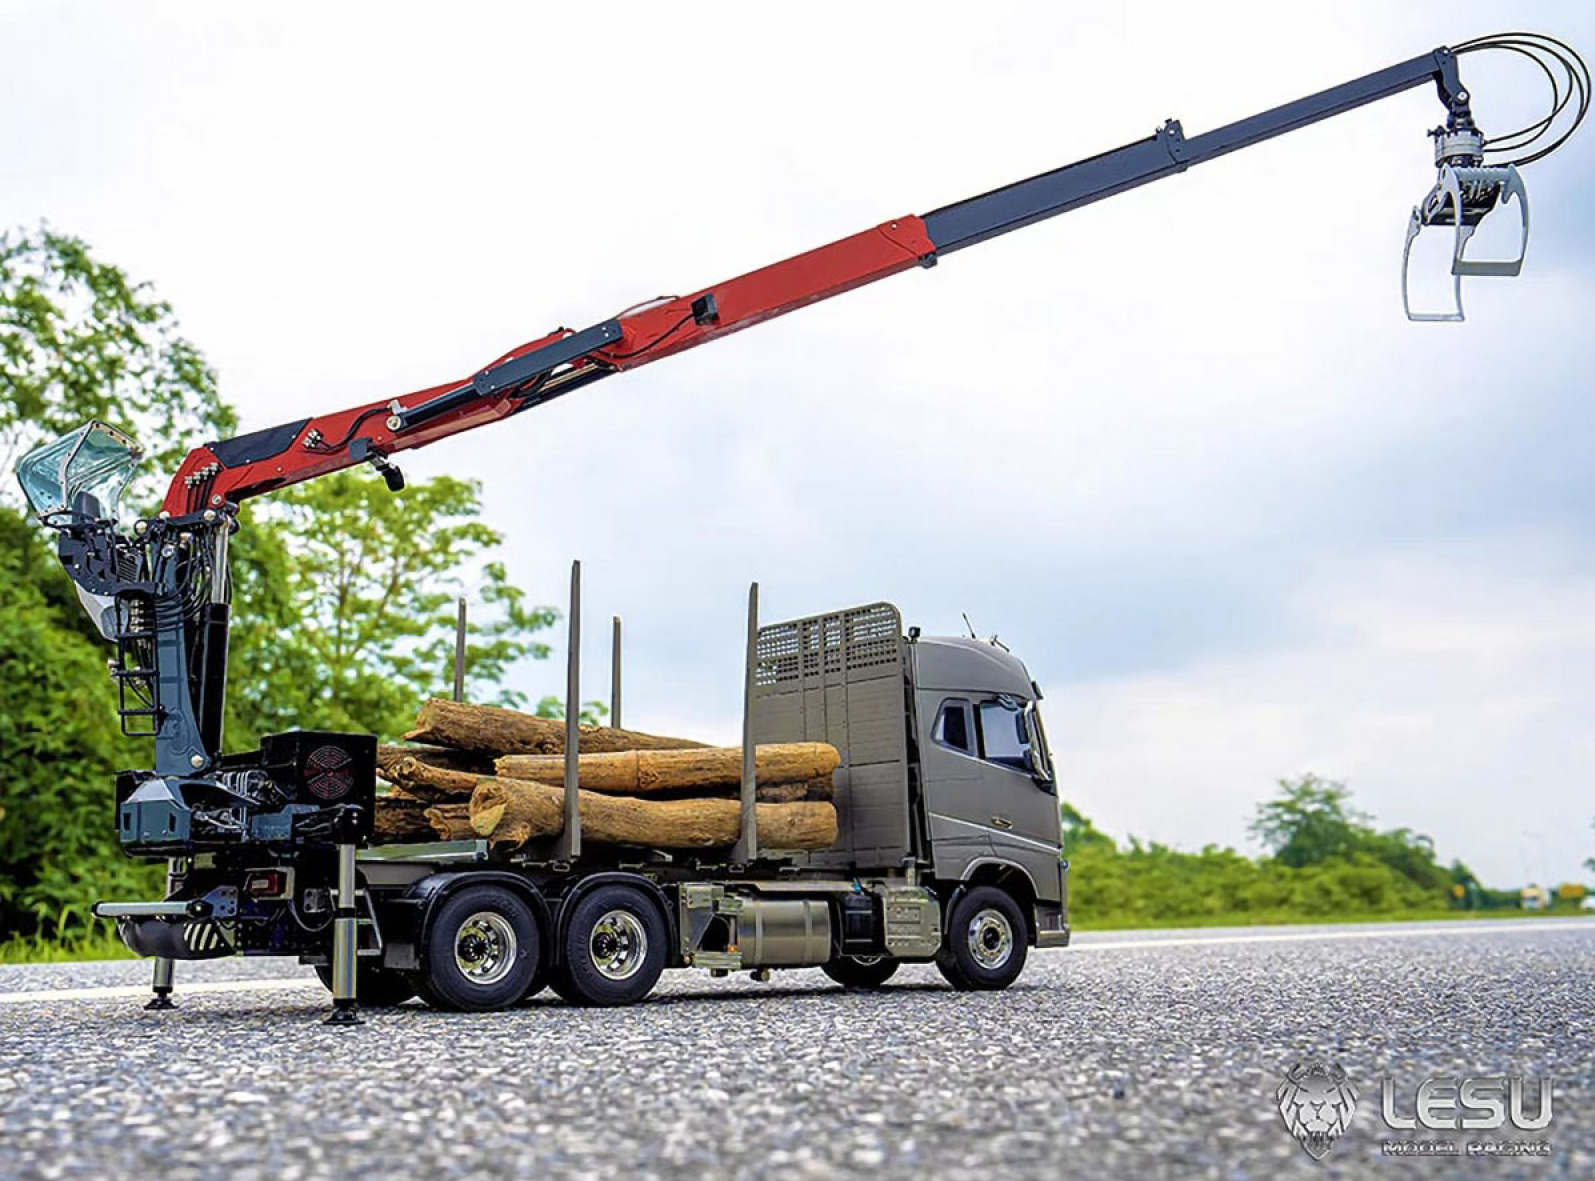 (1112.1 Kb, 1595x1181)
|
| 01/03/26(Sun)14:21 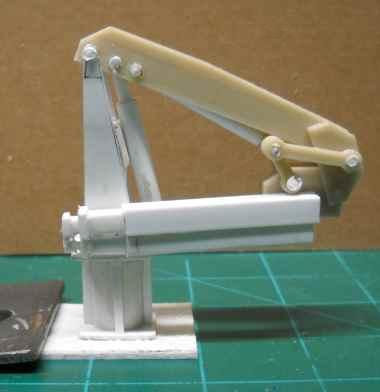 (65.4 Kb, 380x392)
|
| 18/02/26(Wed)16:34  (199.9 Kb, 535x466)
|
| 17/02/26(Tue)16:07 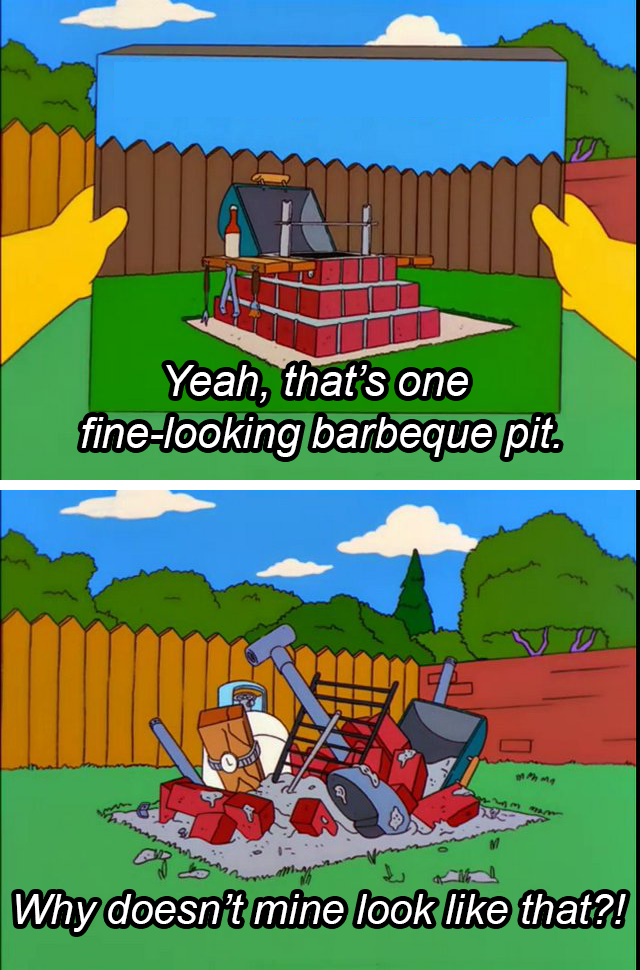 (757.7 Kb, 640x970)
|
| 16/02/26(Mon)15:05  (409.1 Kb, 400x433) Let there be light
|
| 15/02/26(Sun)16:01
|
| 15/02/26(Sun)15:27 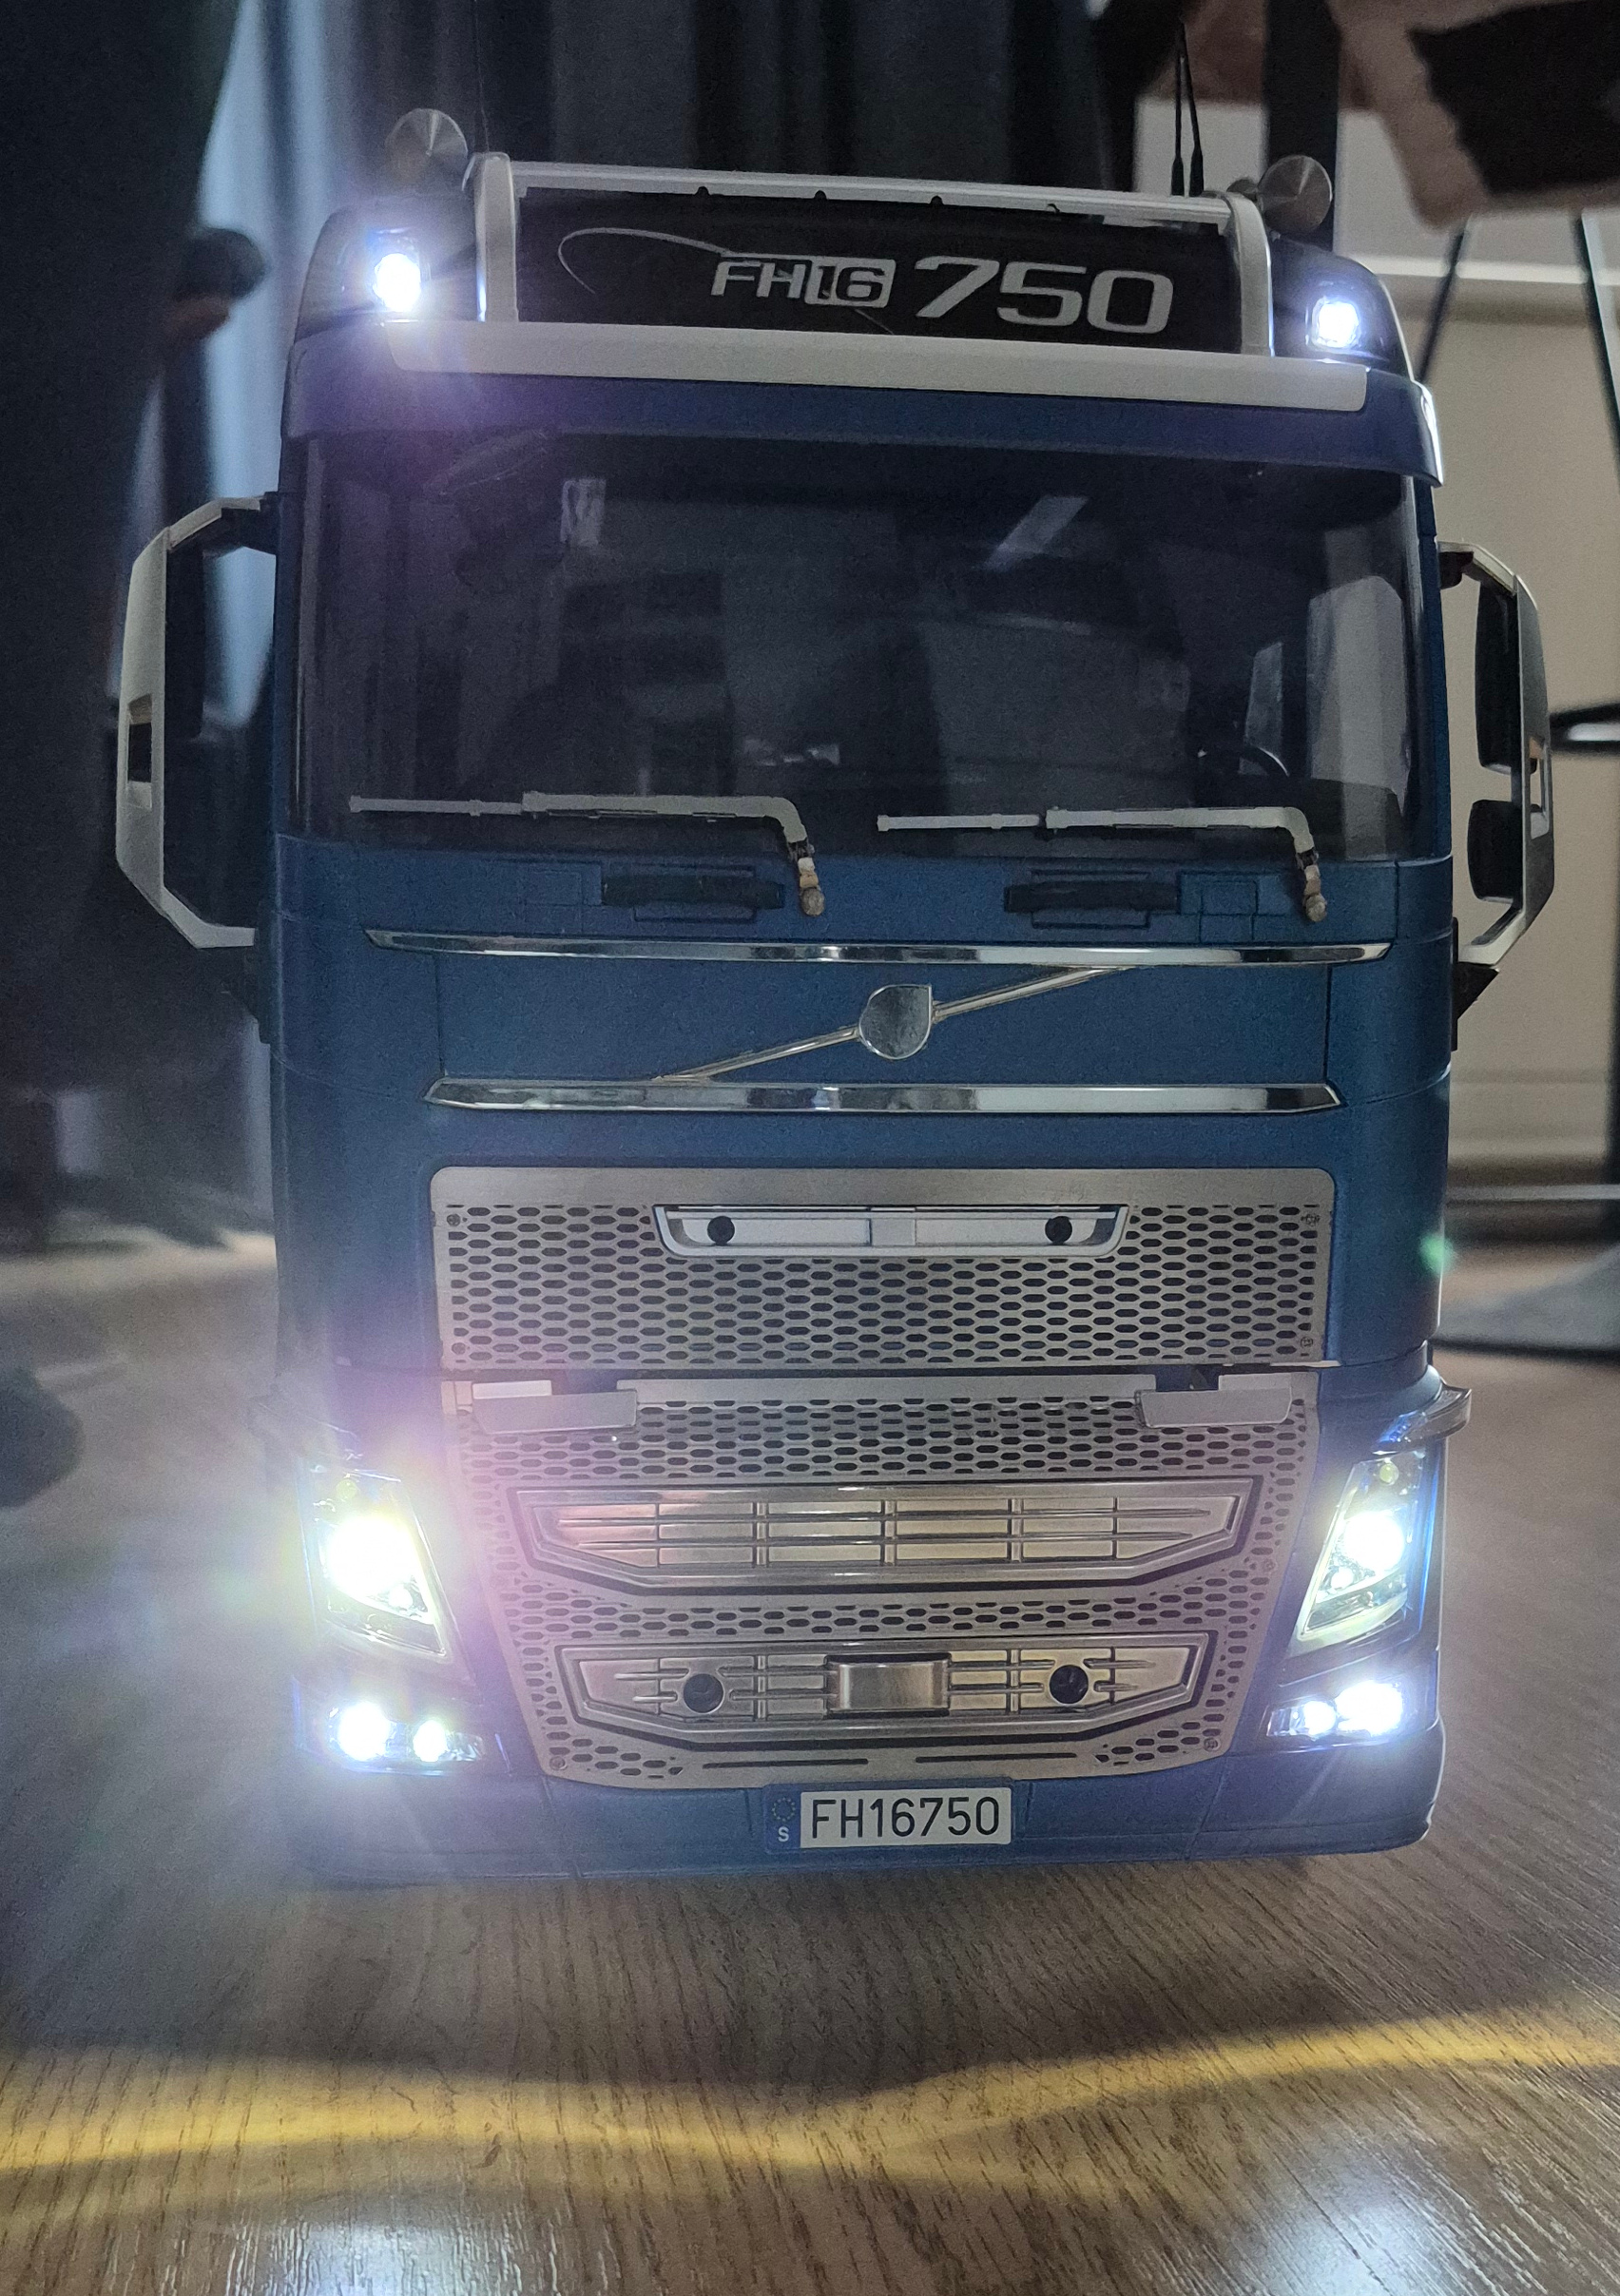 (1503.8 Kb, 1704x2415)
|
| 15/02/26(Sun)15:26  (1437.9 Kb, 1752x2379)
|
| 15/02/26(Sun)15:23  (6339.4 Kb, 2252x4000)
|
| 13/02/26(Fri)15:48
|
| 12/02/26(Thu)15:25 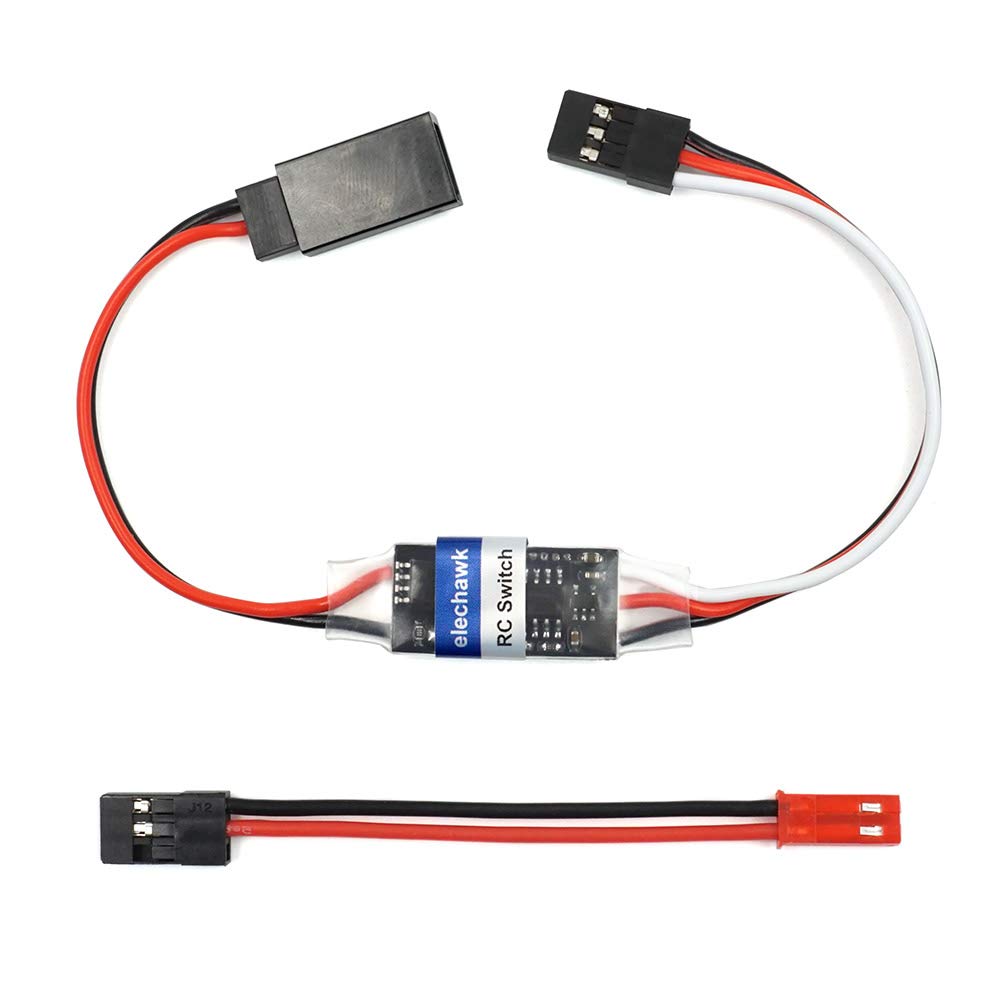 (48.6 Kb, 1000x1000)
|
| 12/02/26(Thu)15:22 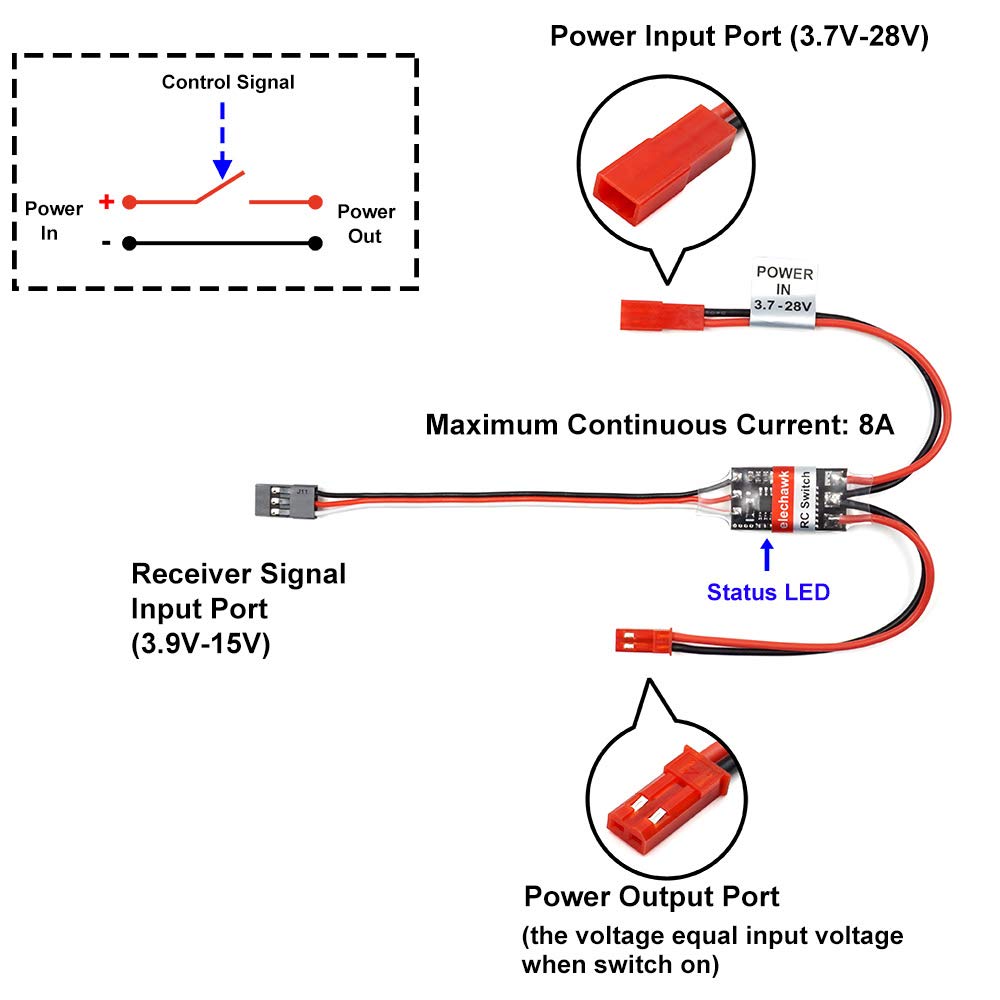 (77.3 Kb, 1000x1000)
|
| 11/02/26(Wed)08:28  (1265.9 Kb, 3000x1689) Rubber cable management coils
|
| 10/02/26(Tue)17:02  (457.4 Kb, 1600x1600)
|
| 10/02/26(Tue)16:26  (14.7 Kb, 550x343)
|
| 10/02/26(Tue)10:53  (433.5 Kb, 1081x571)
|
| 09/02/26(Mon)18:01 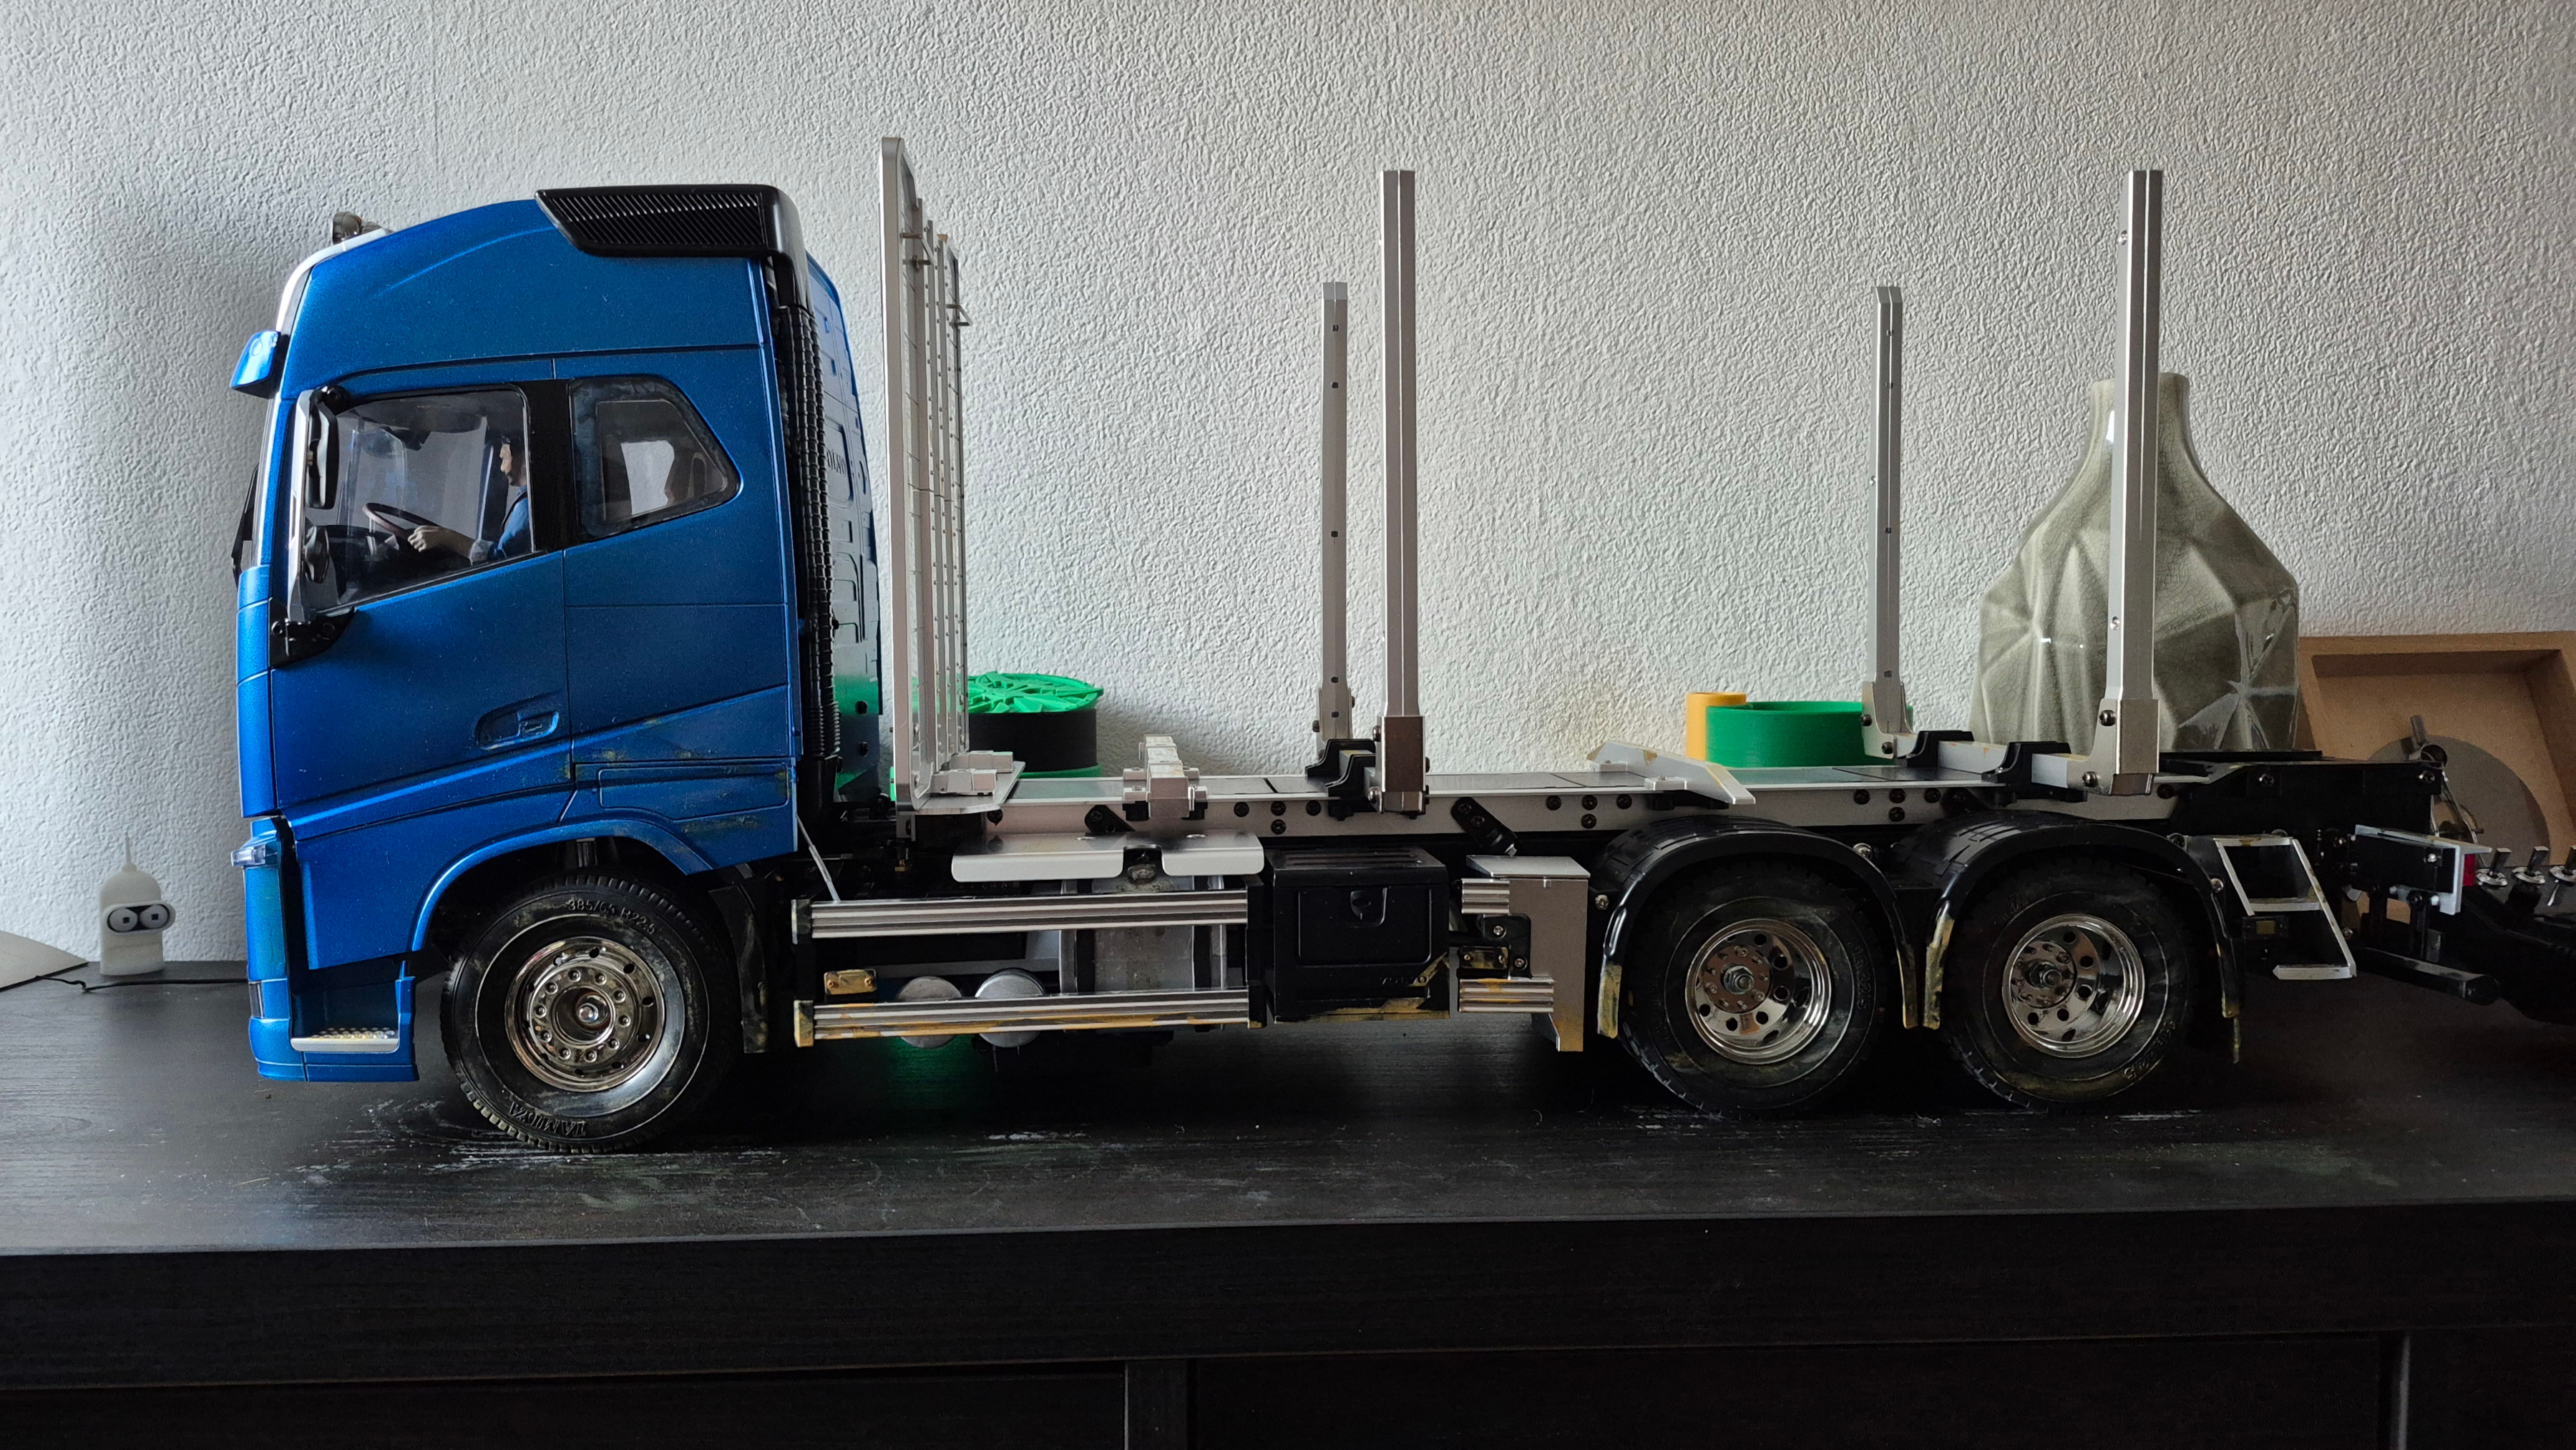 (2684.4 Kb, 3600x2027) Weathering done
|
| 09/02/26(Mon)14:59
|
| 08/02/26(Sun)11:37 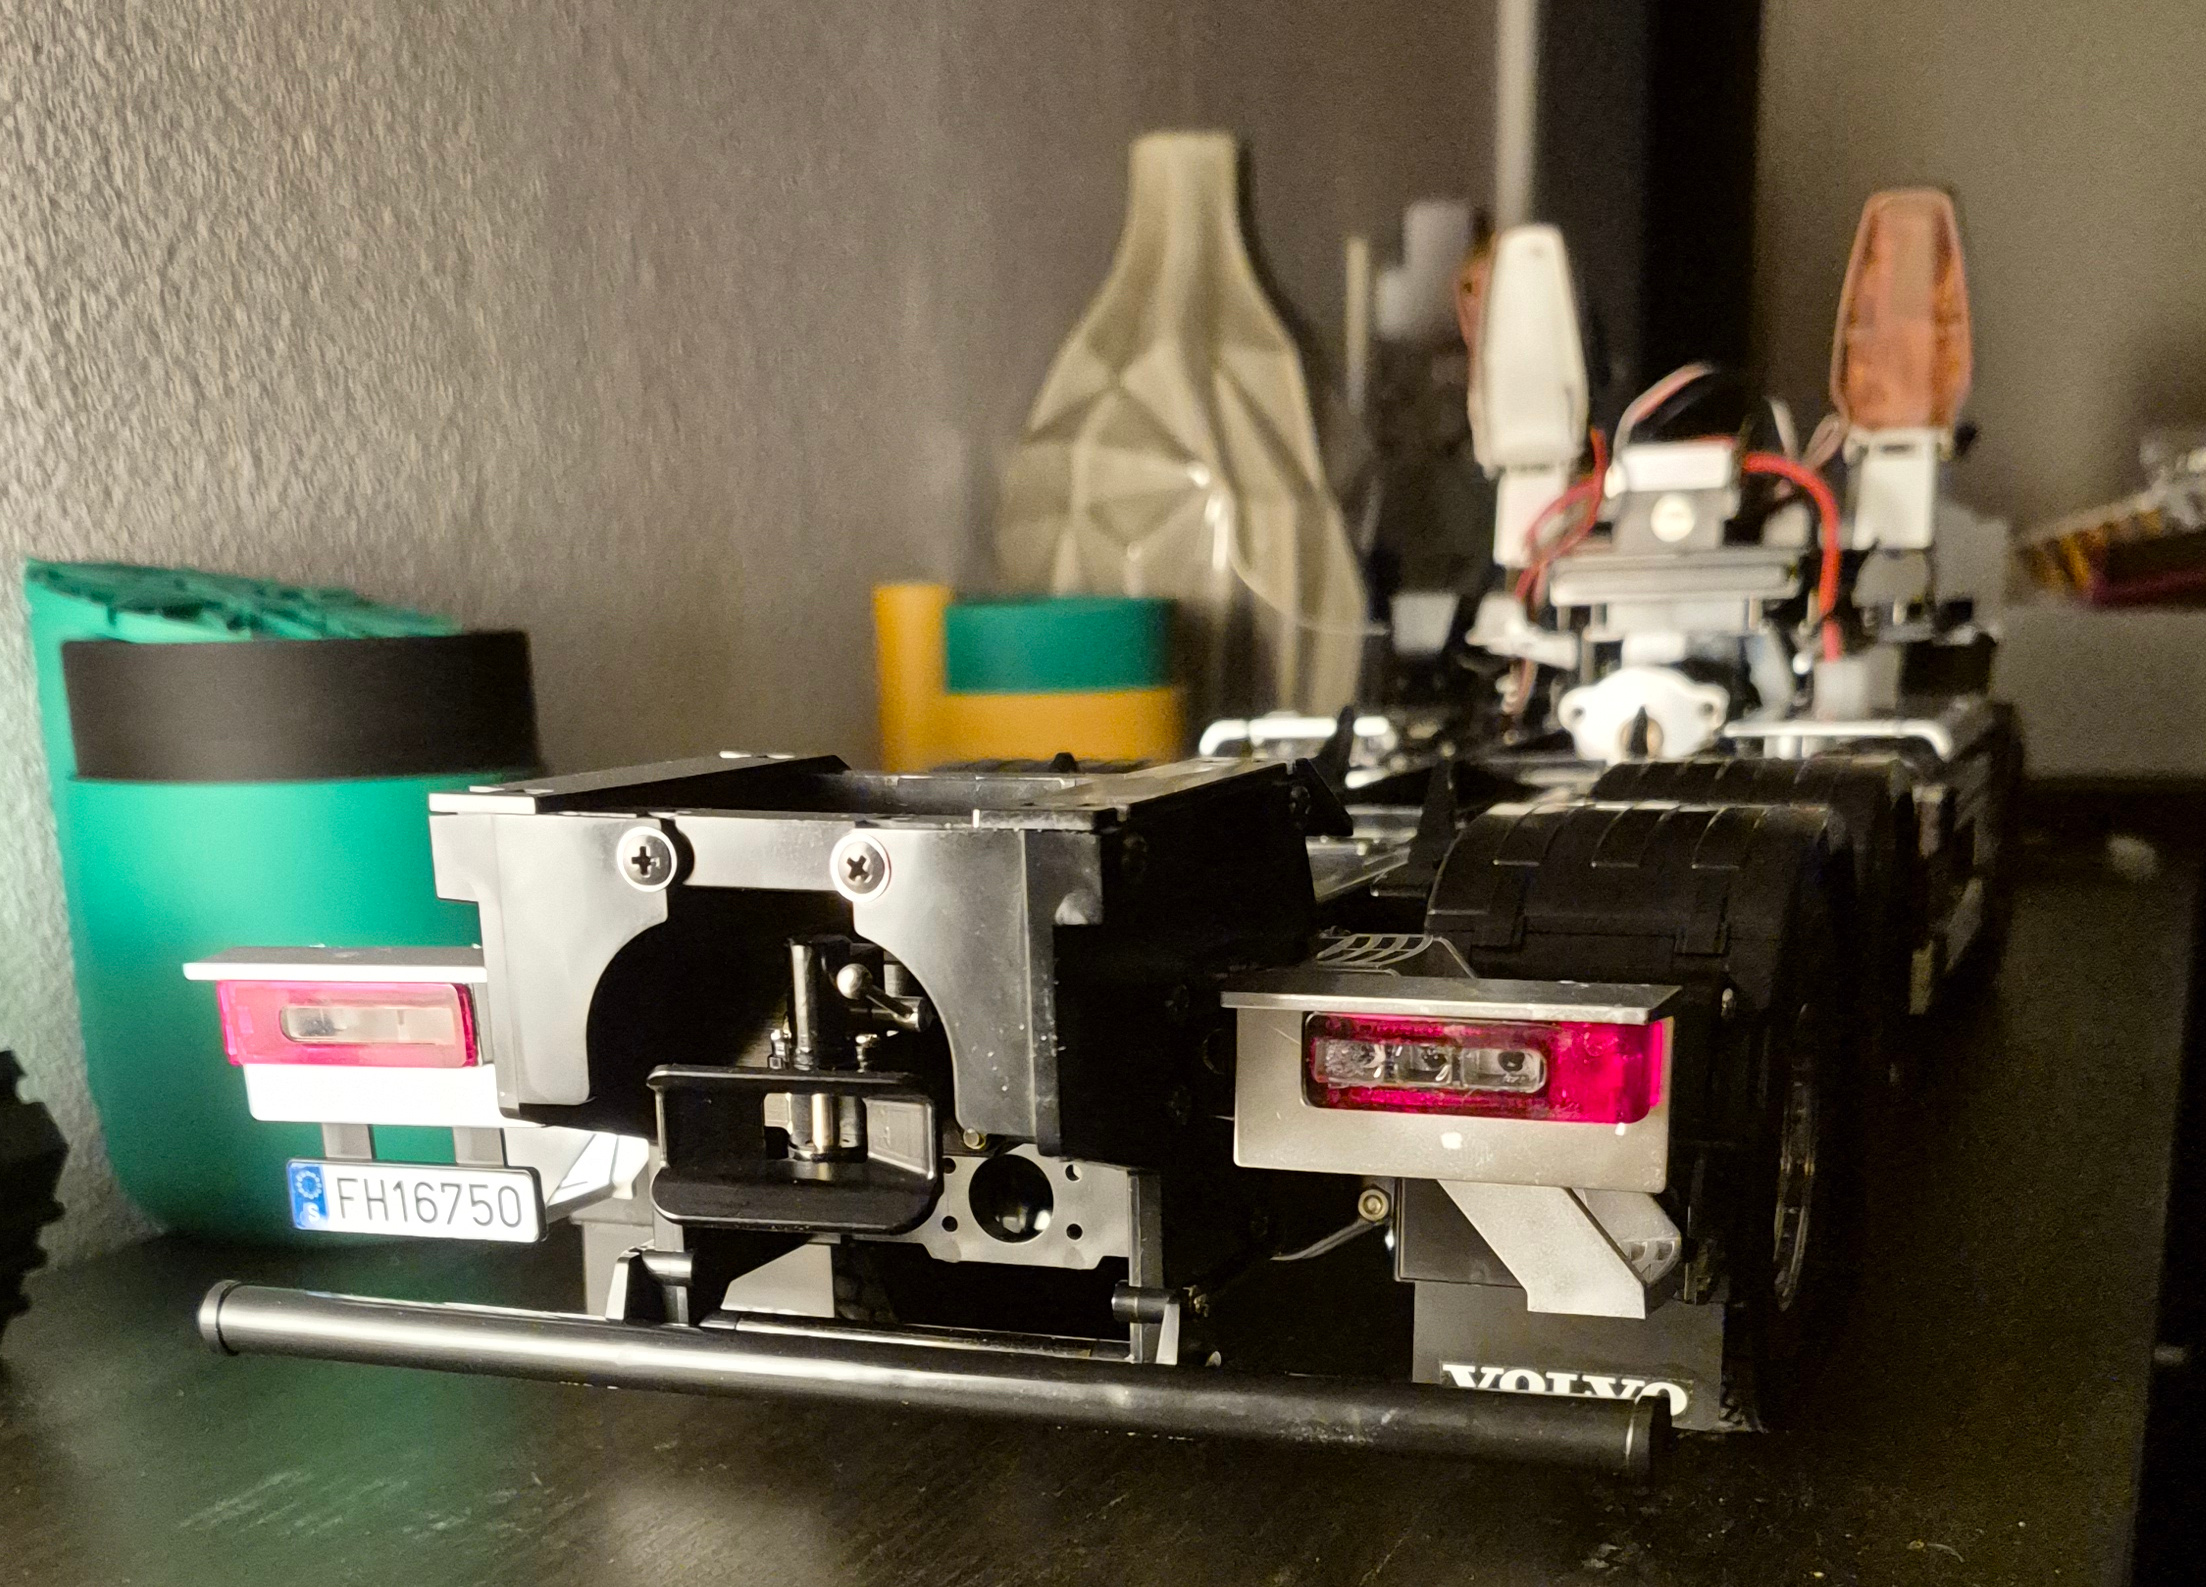 (1276.7 Kb, 2206x1587) Trailer coupling (vangmuilkoppeling)
|
| 07/02/26(Sat)15:19  (1258.2 Kb, 2421x1914)
|
| 06/02/26(Fri)23:19
|
| 06/02/26(Fri)15:38  (199.4 Kb, 570x570) So yeah..sigh
|
| 05/02/26(Thu)18:29  (735.1 Kb, 1600x1600)
|
| 05/02/26(Thu)13:42  (1787.8 Kb, 1844x1149)
|
| 04/02/26(Wed)15:11
|
| 04/02/26(Wed)12:16  (127.9 Kb, 1280x720)
|
| 04/02/26(Wed)11:43 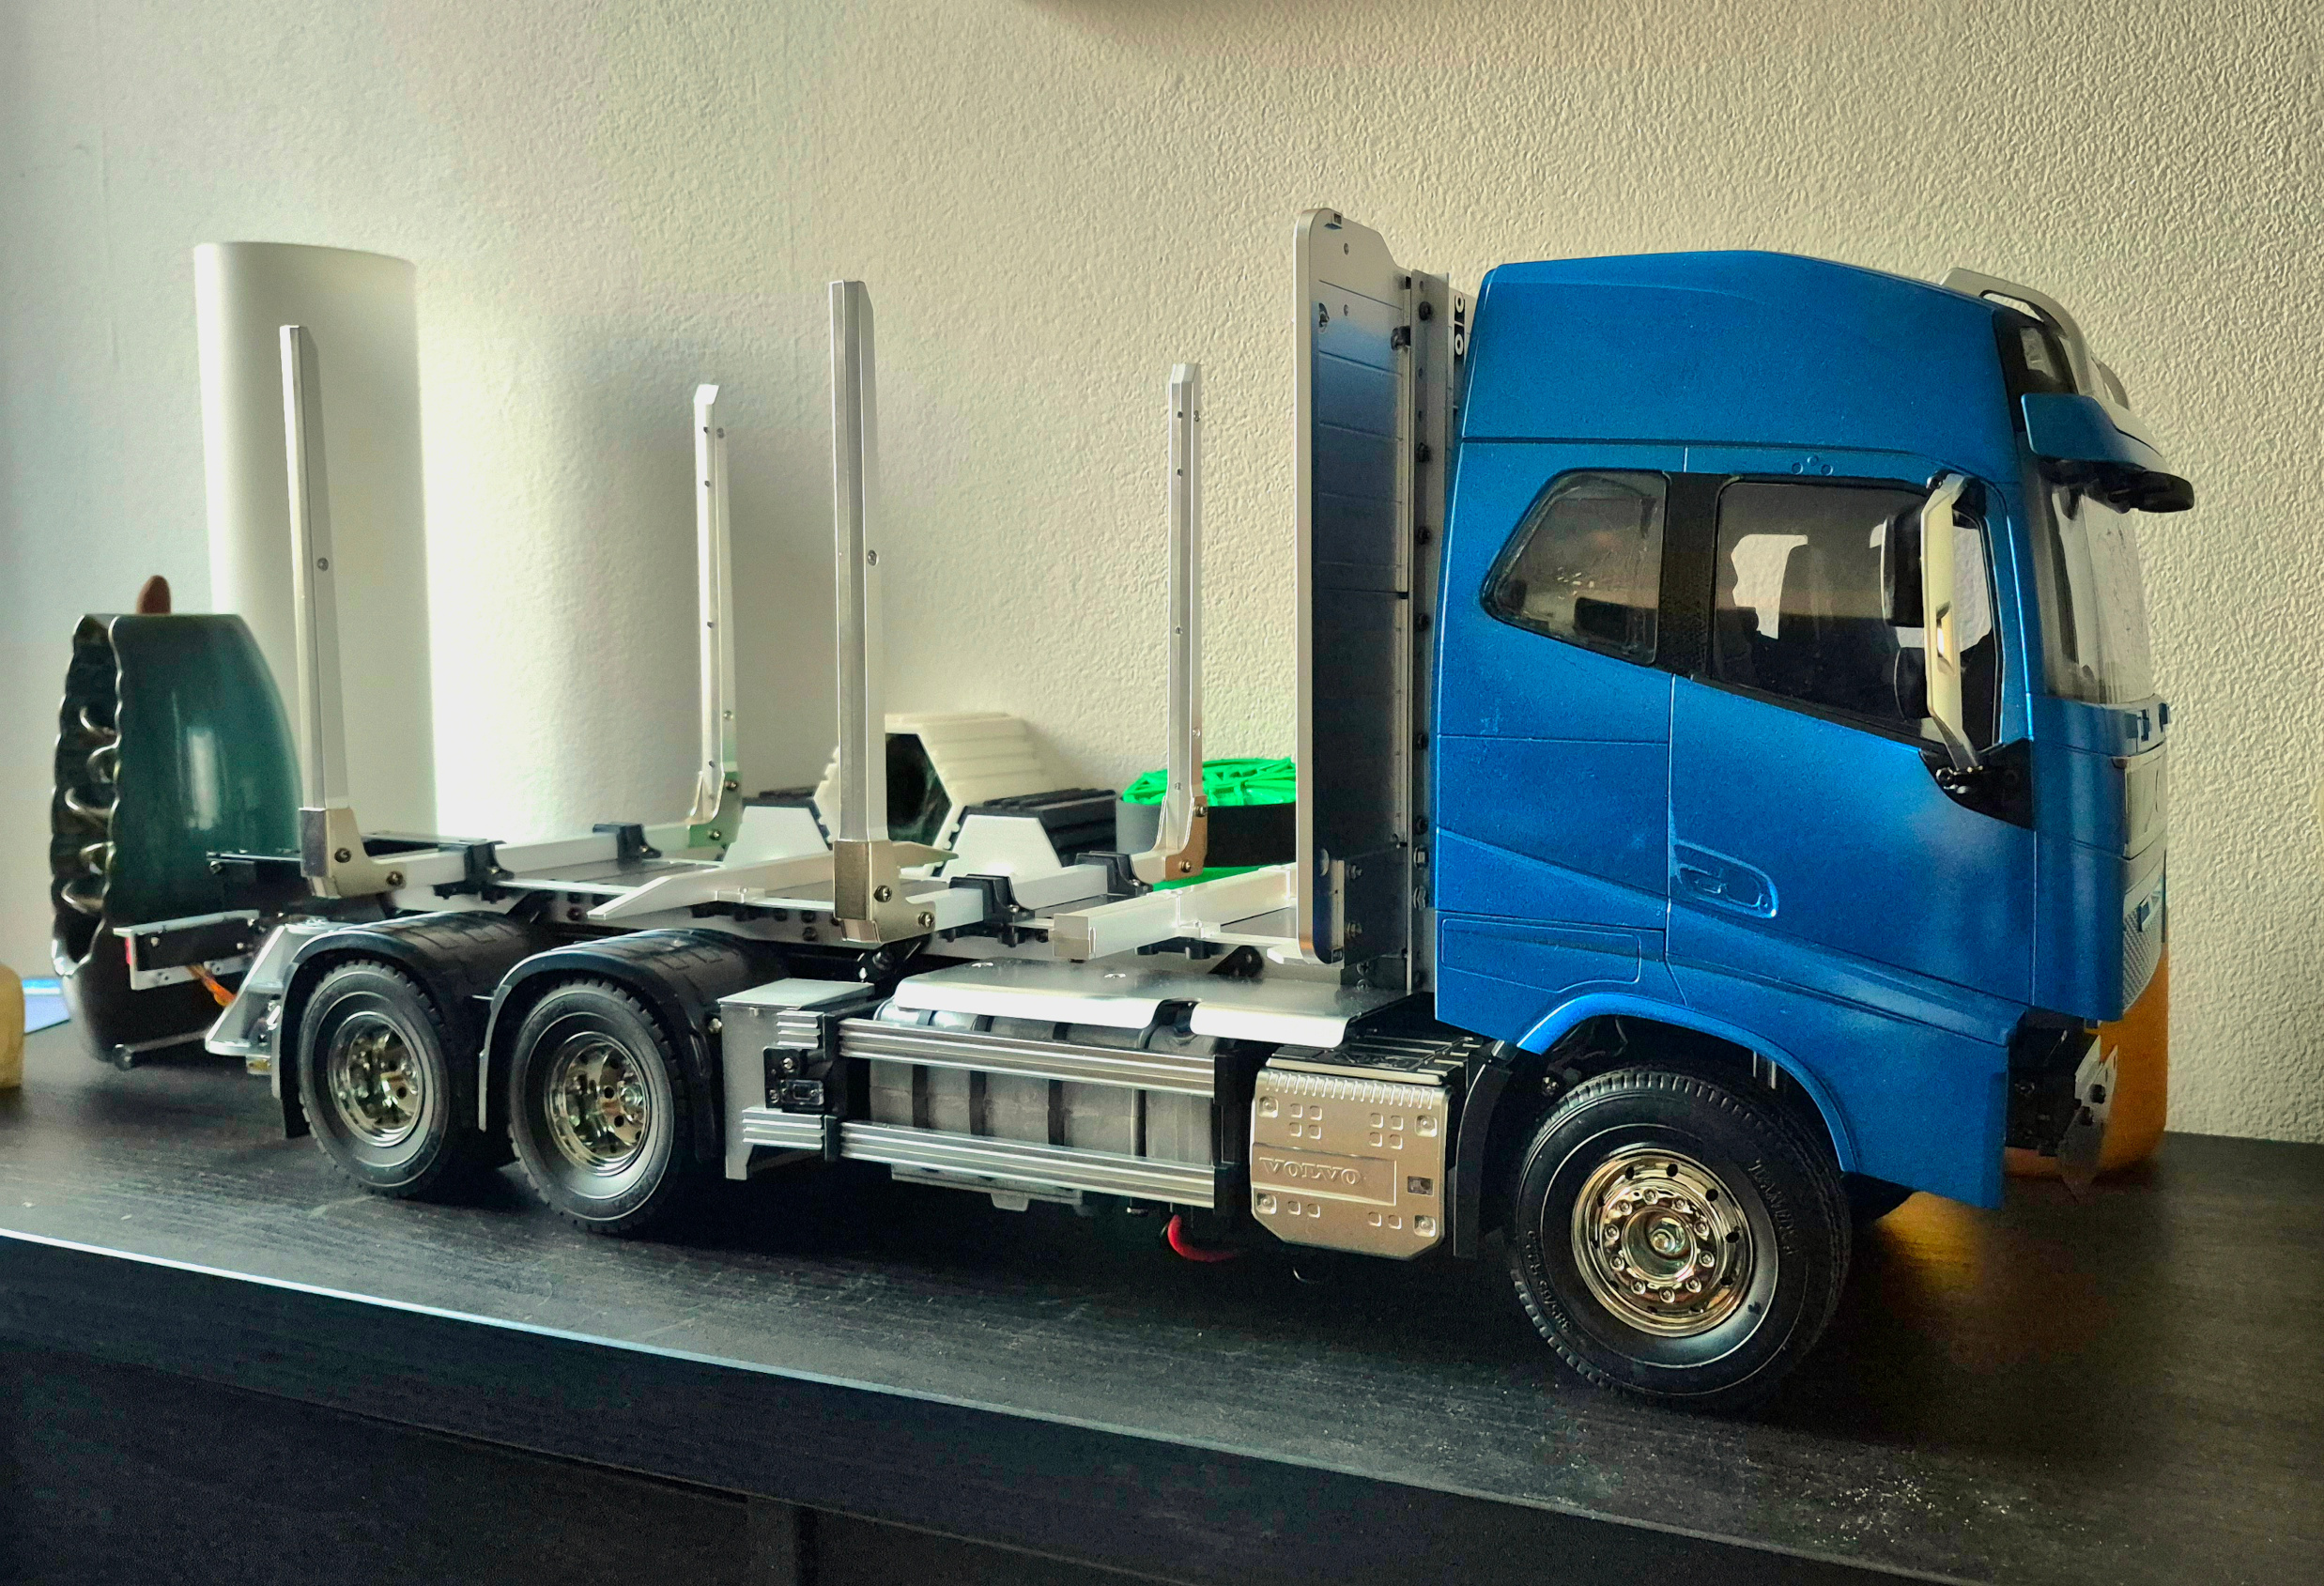 (1861.9 Kb, 2475x1689)
|
| 04/02/26(Wed)11:41 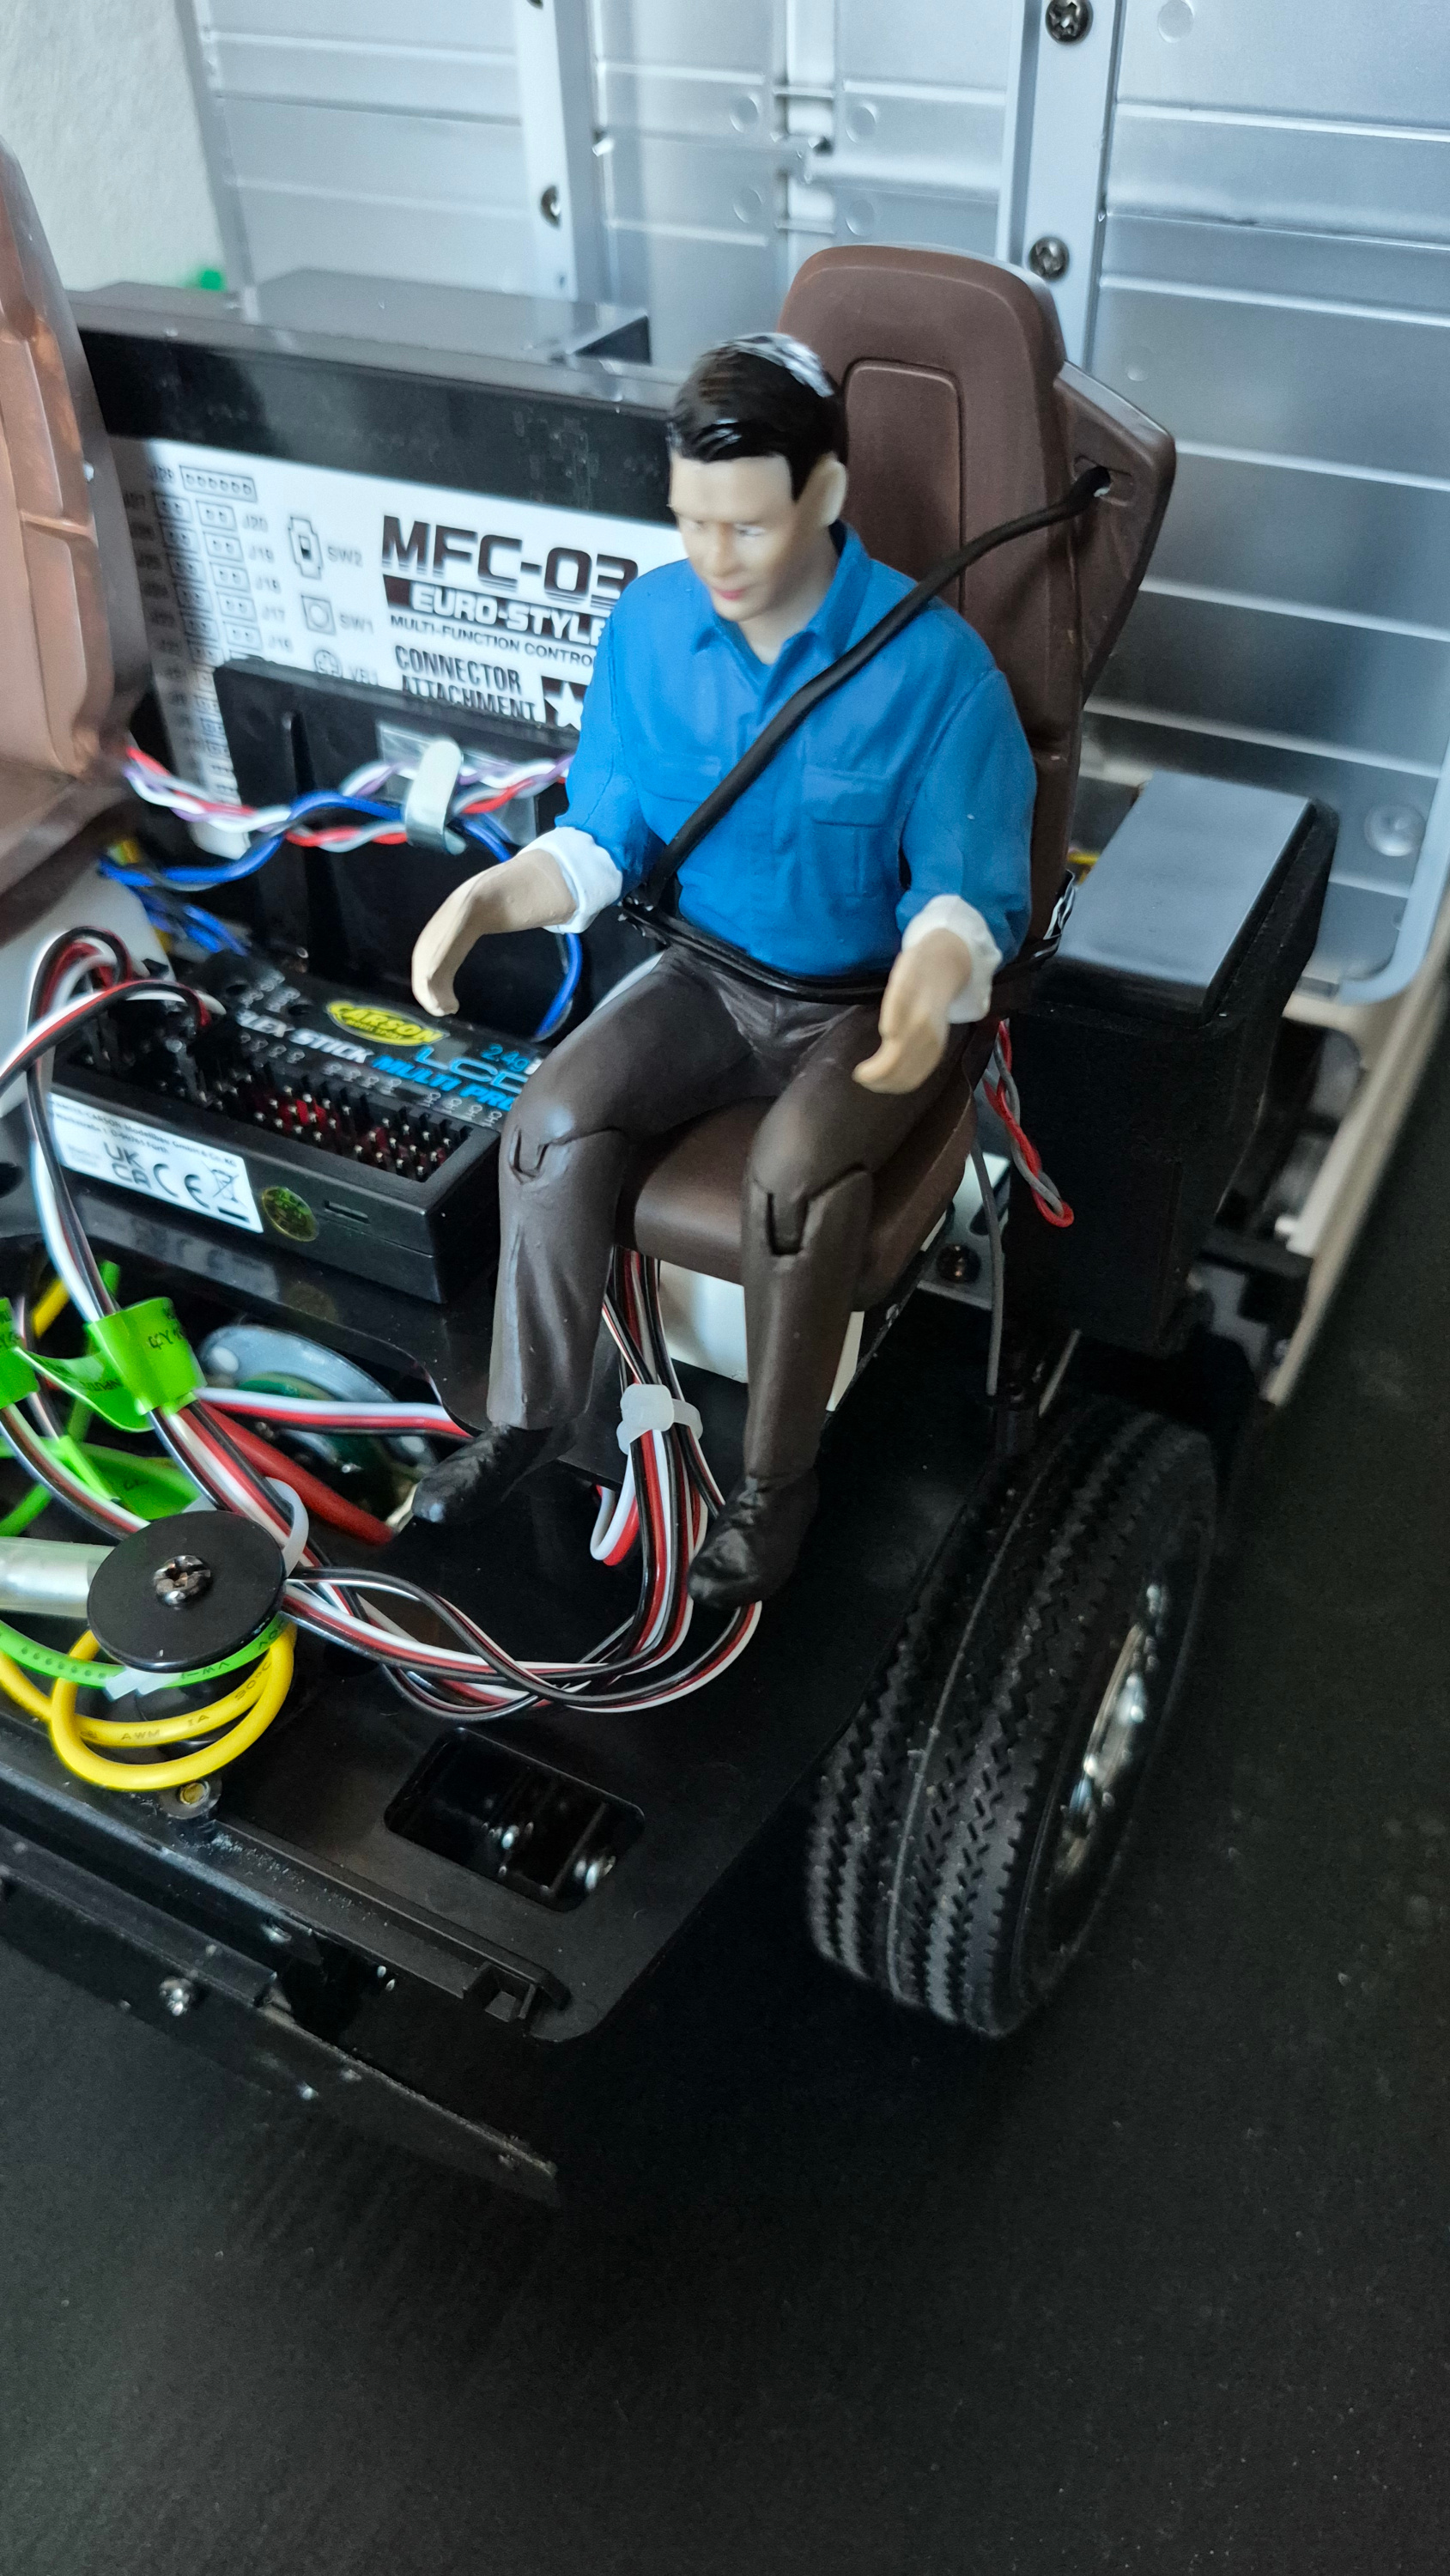 (1609.2 Kb, 1689x3000)
|
| 03/02/26(Tue)19:53  (1698.2 Kb, 1884x2469)
|
| 03/02/26(Tue)19:48 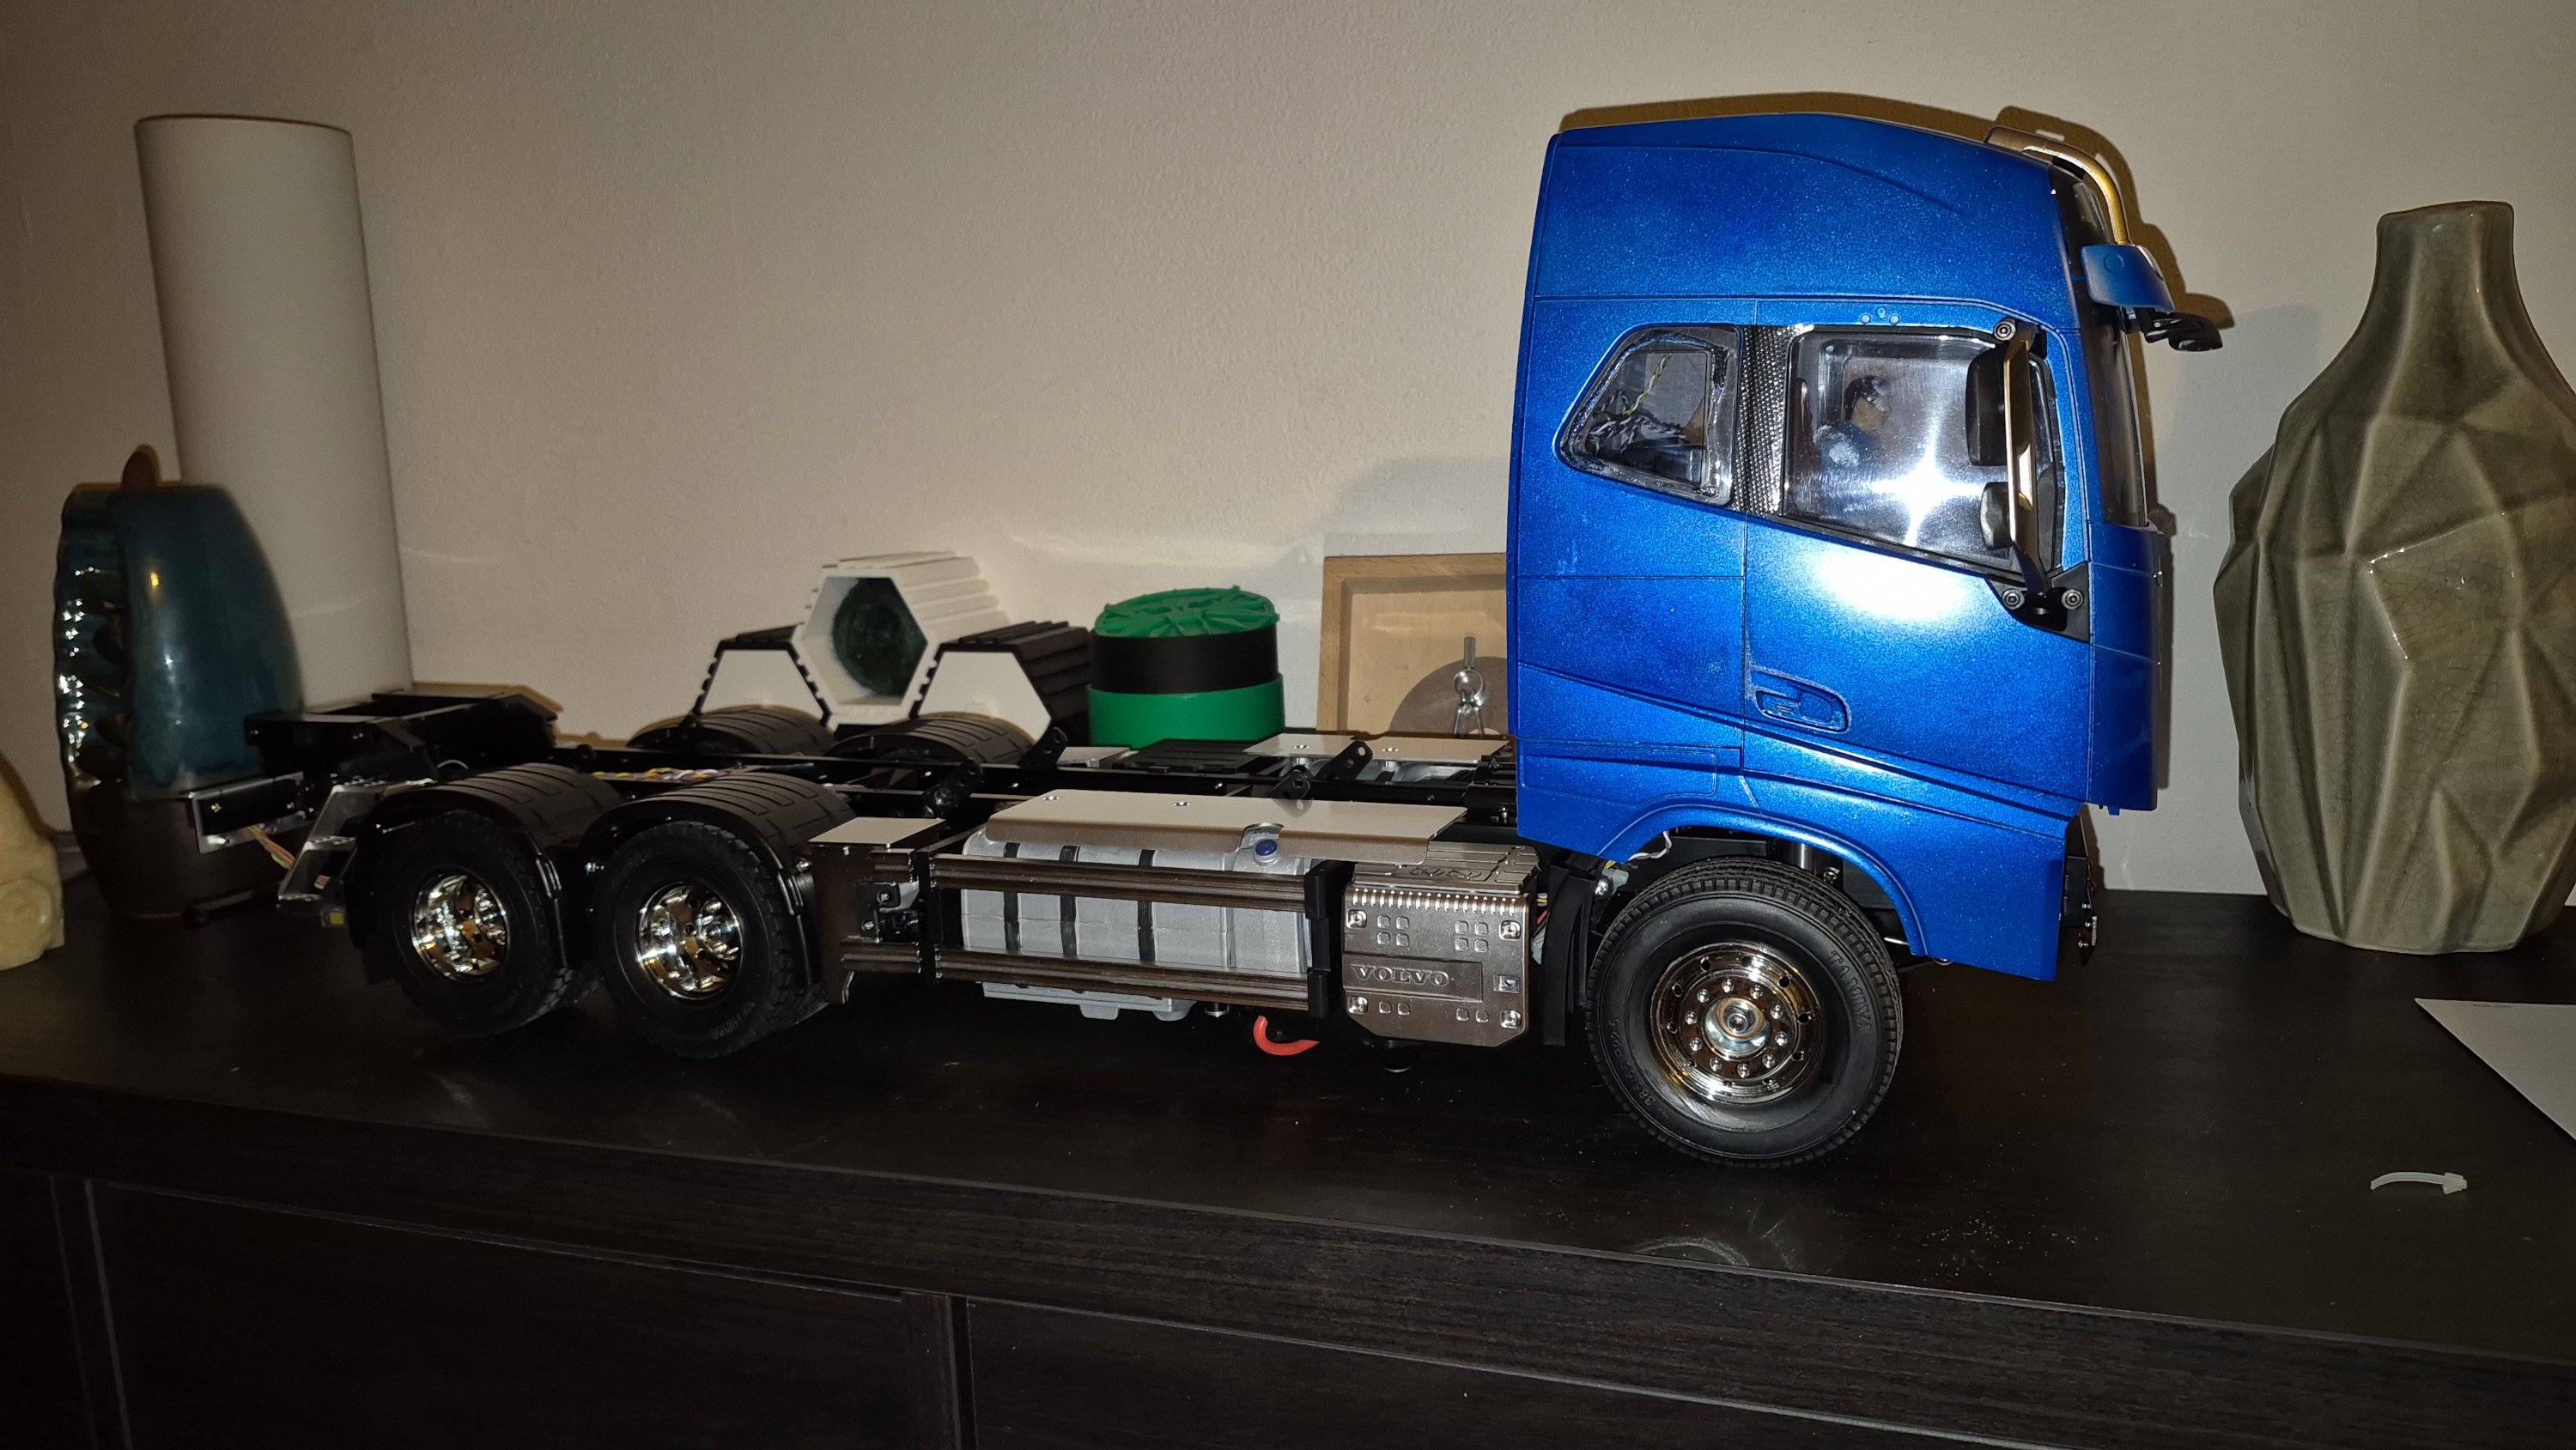 (1657.3 Kb, 3000x1689)
|
| 03/02/26(Tue)15:11
|
| 03/02/26(Tue)13:21 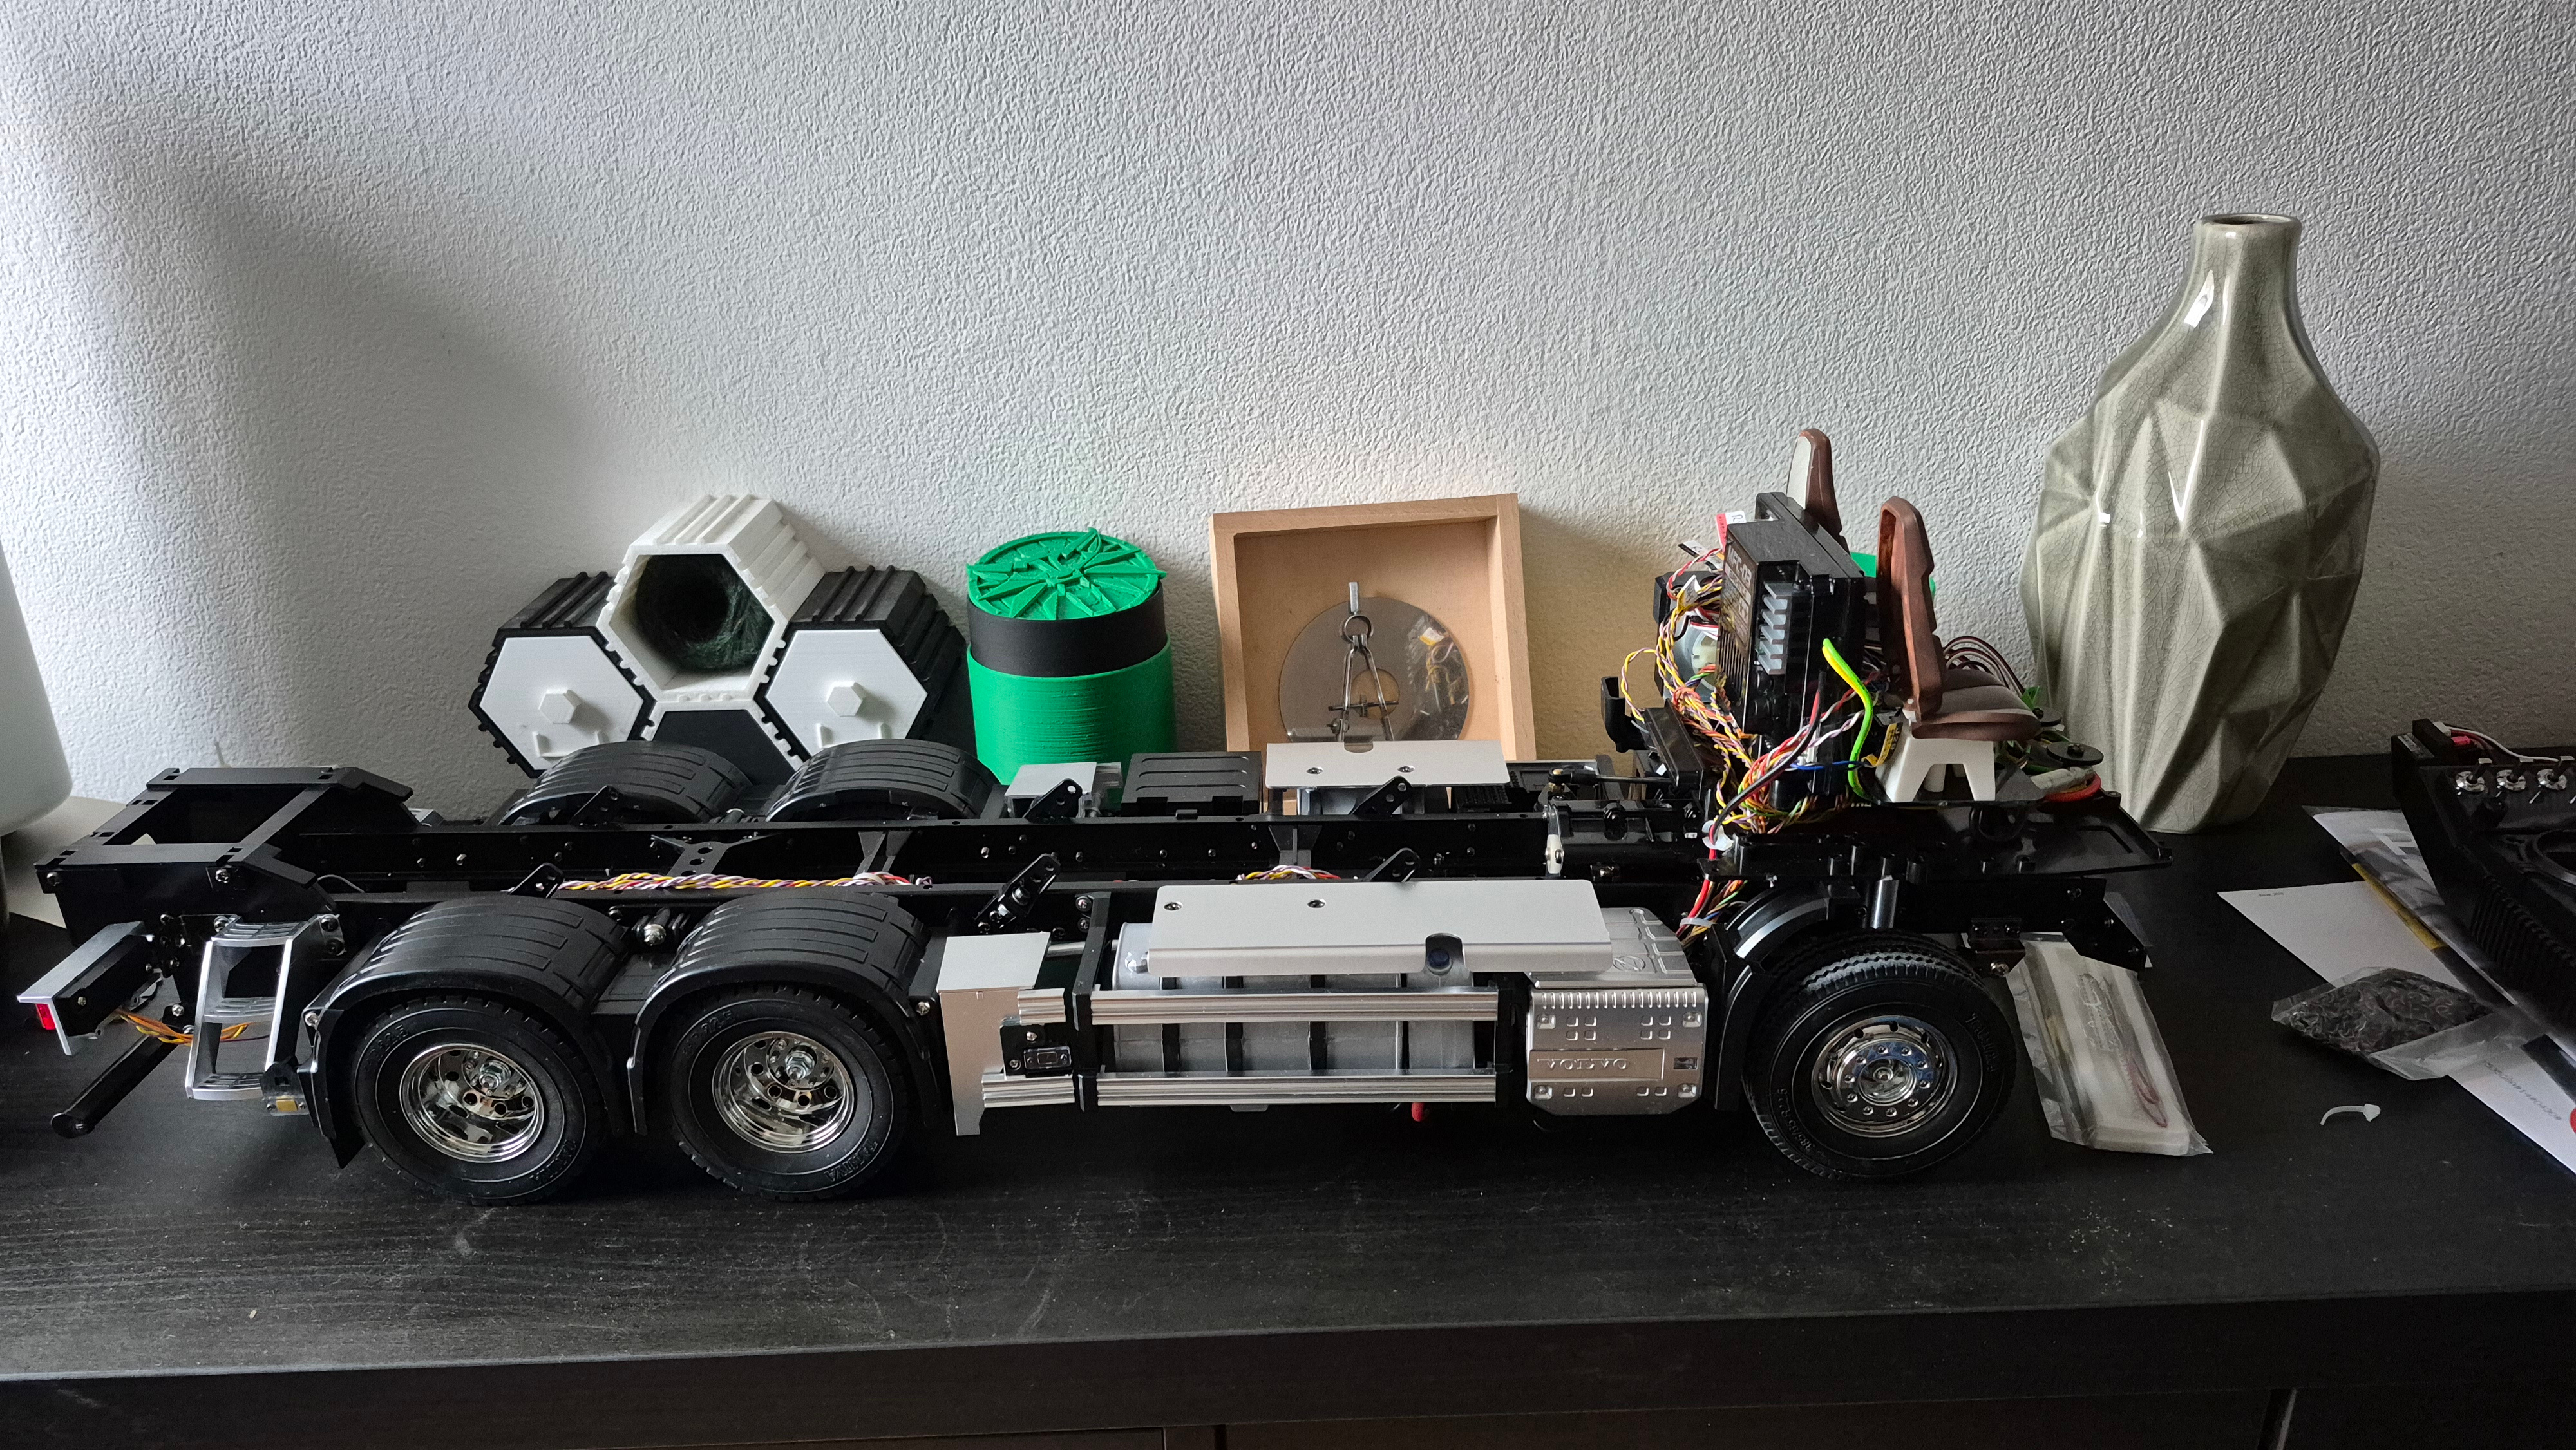 (3432.2 Kb, 4000x2252) Wheelie good!
|
| 02/02/26(Mon)18:20
|
| 02/02/26(Mon)18:17 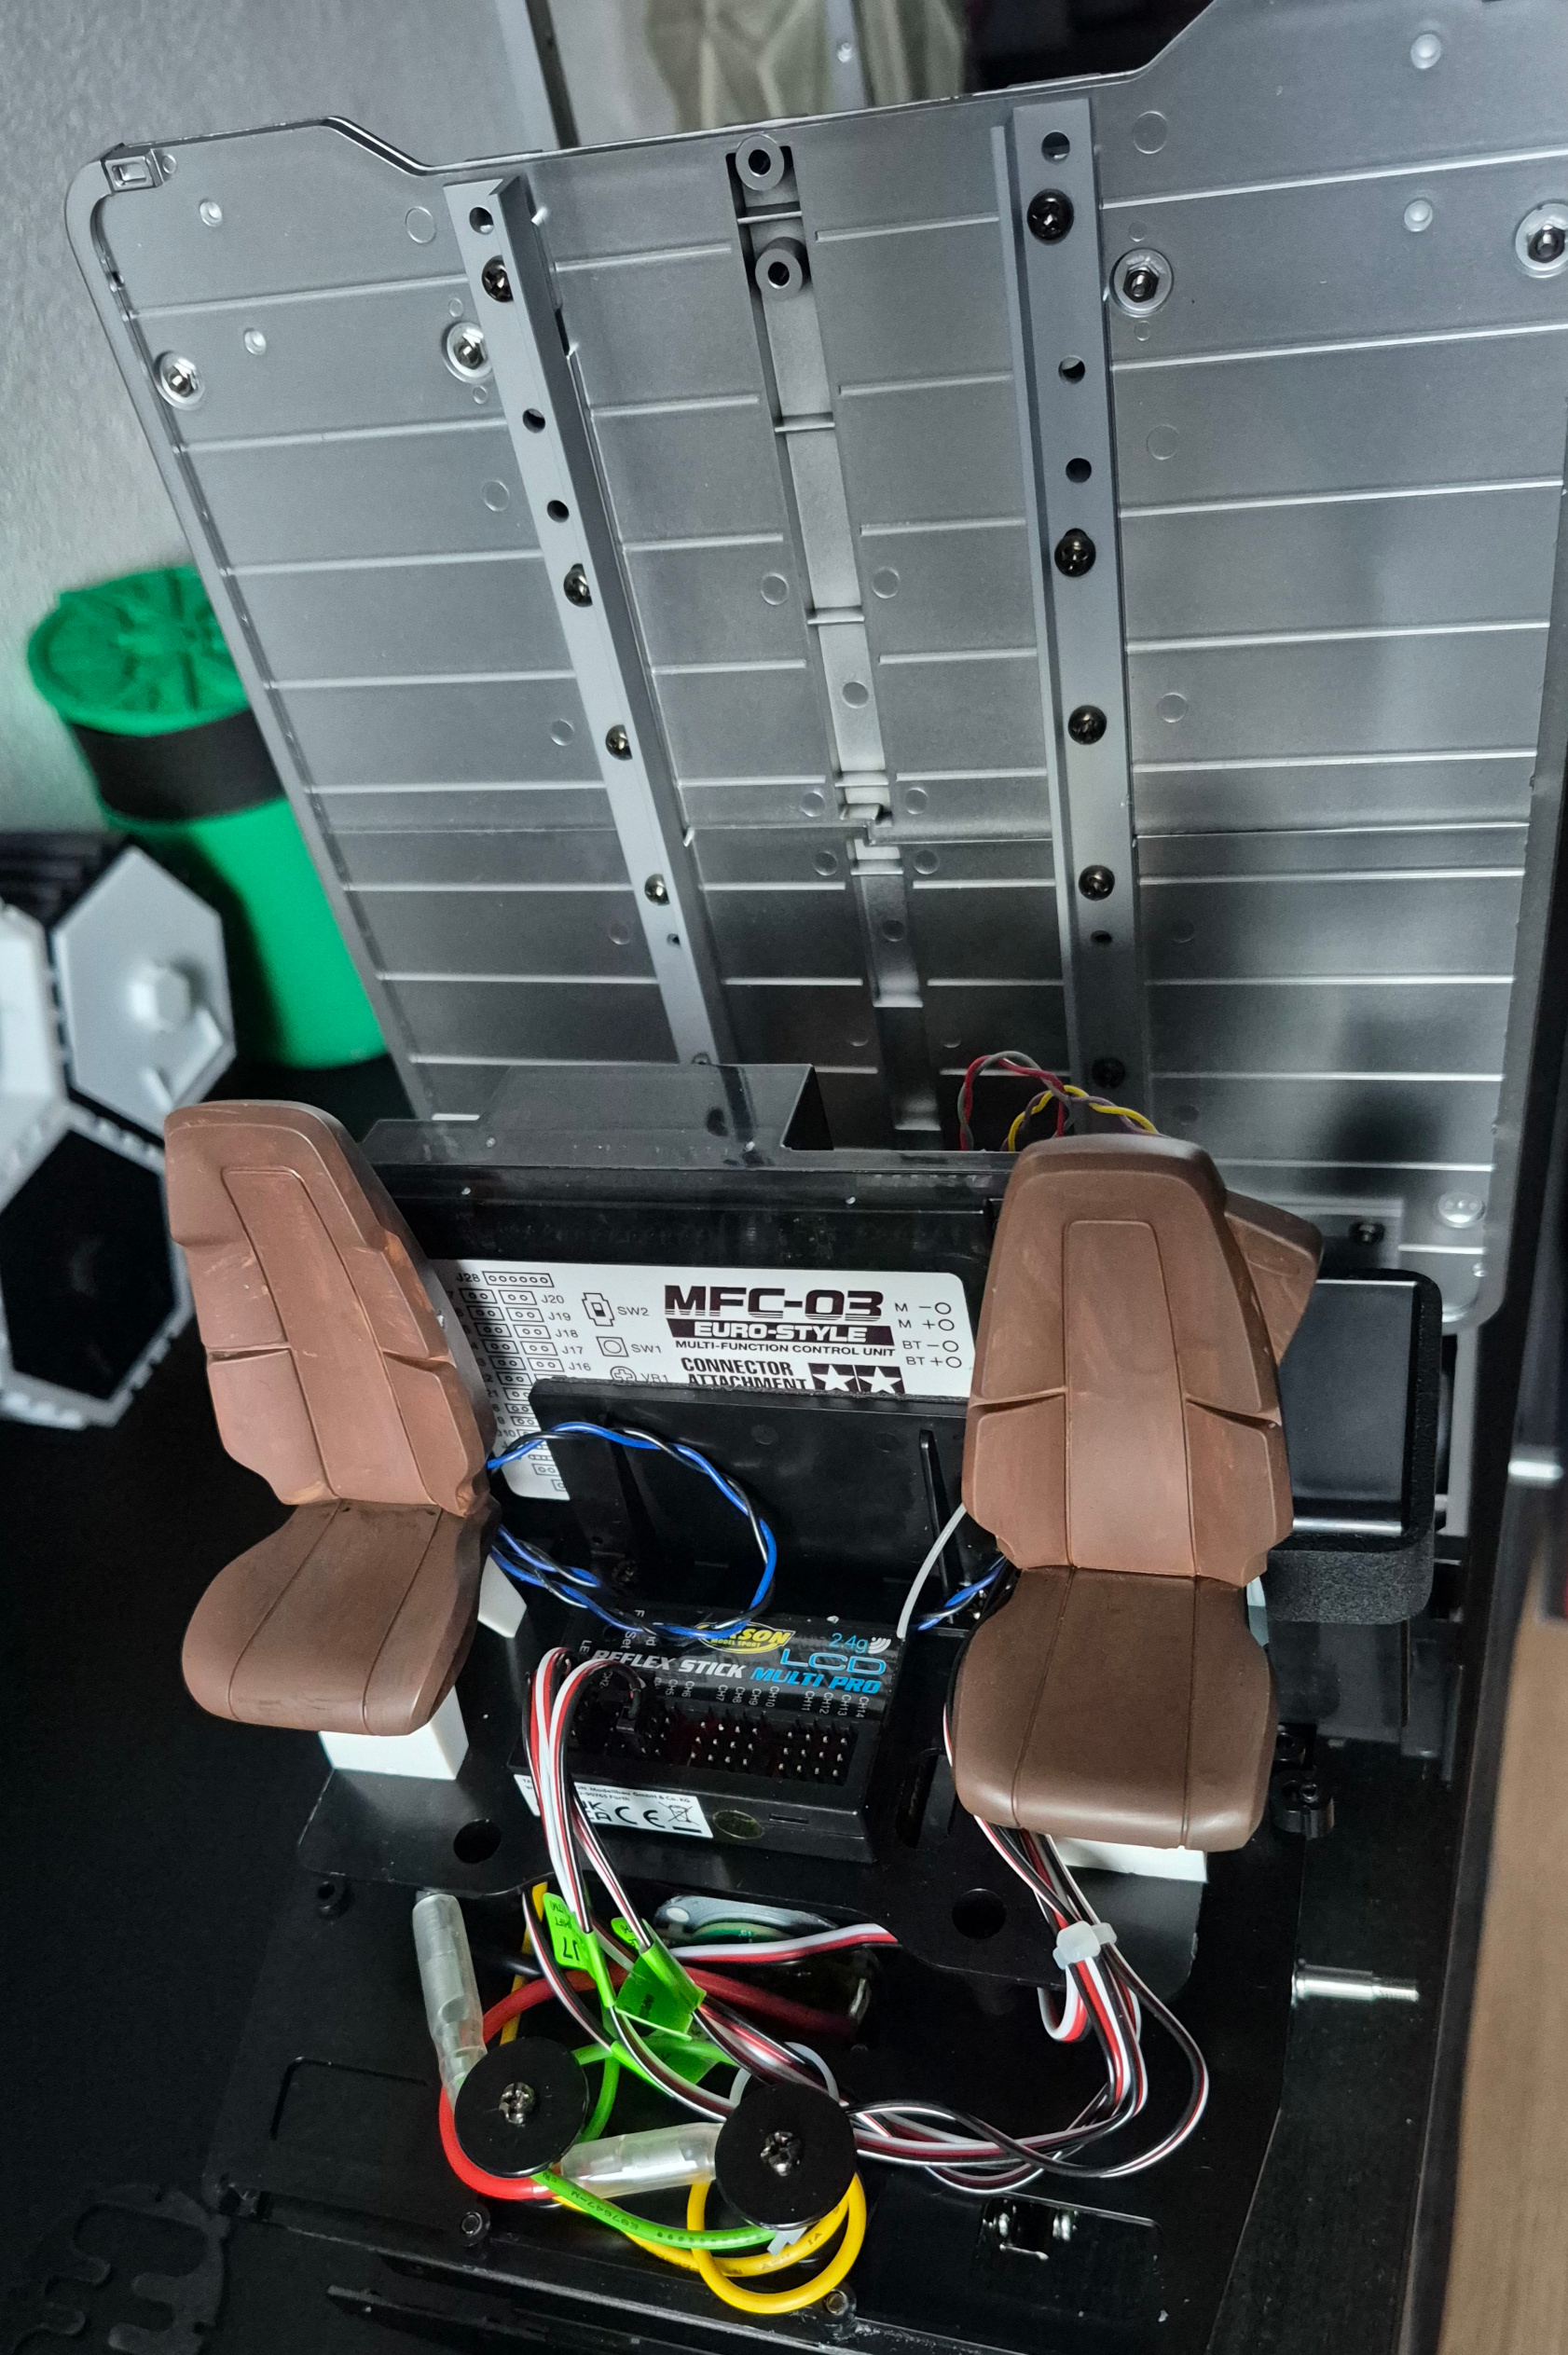 (1362.2 Kb, 1682x2526)
|
| 02/02/26(Mon)18:16  (1684.5 Kb, 3000x1689)
|
| 02/02/26(Mon)18:15 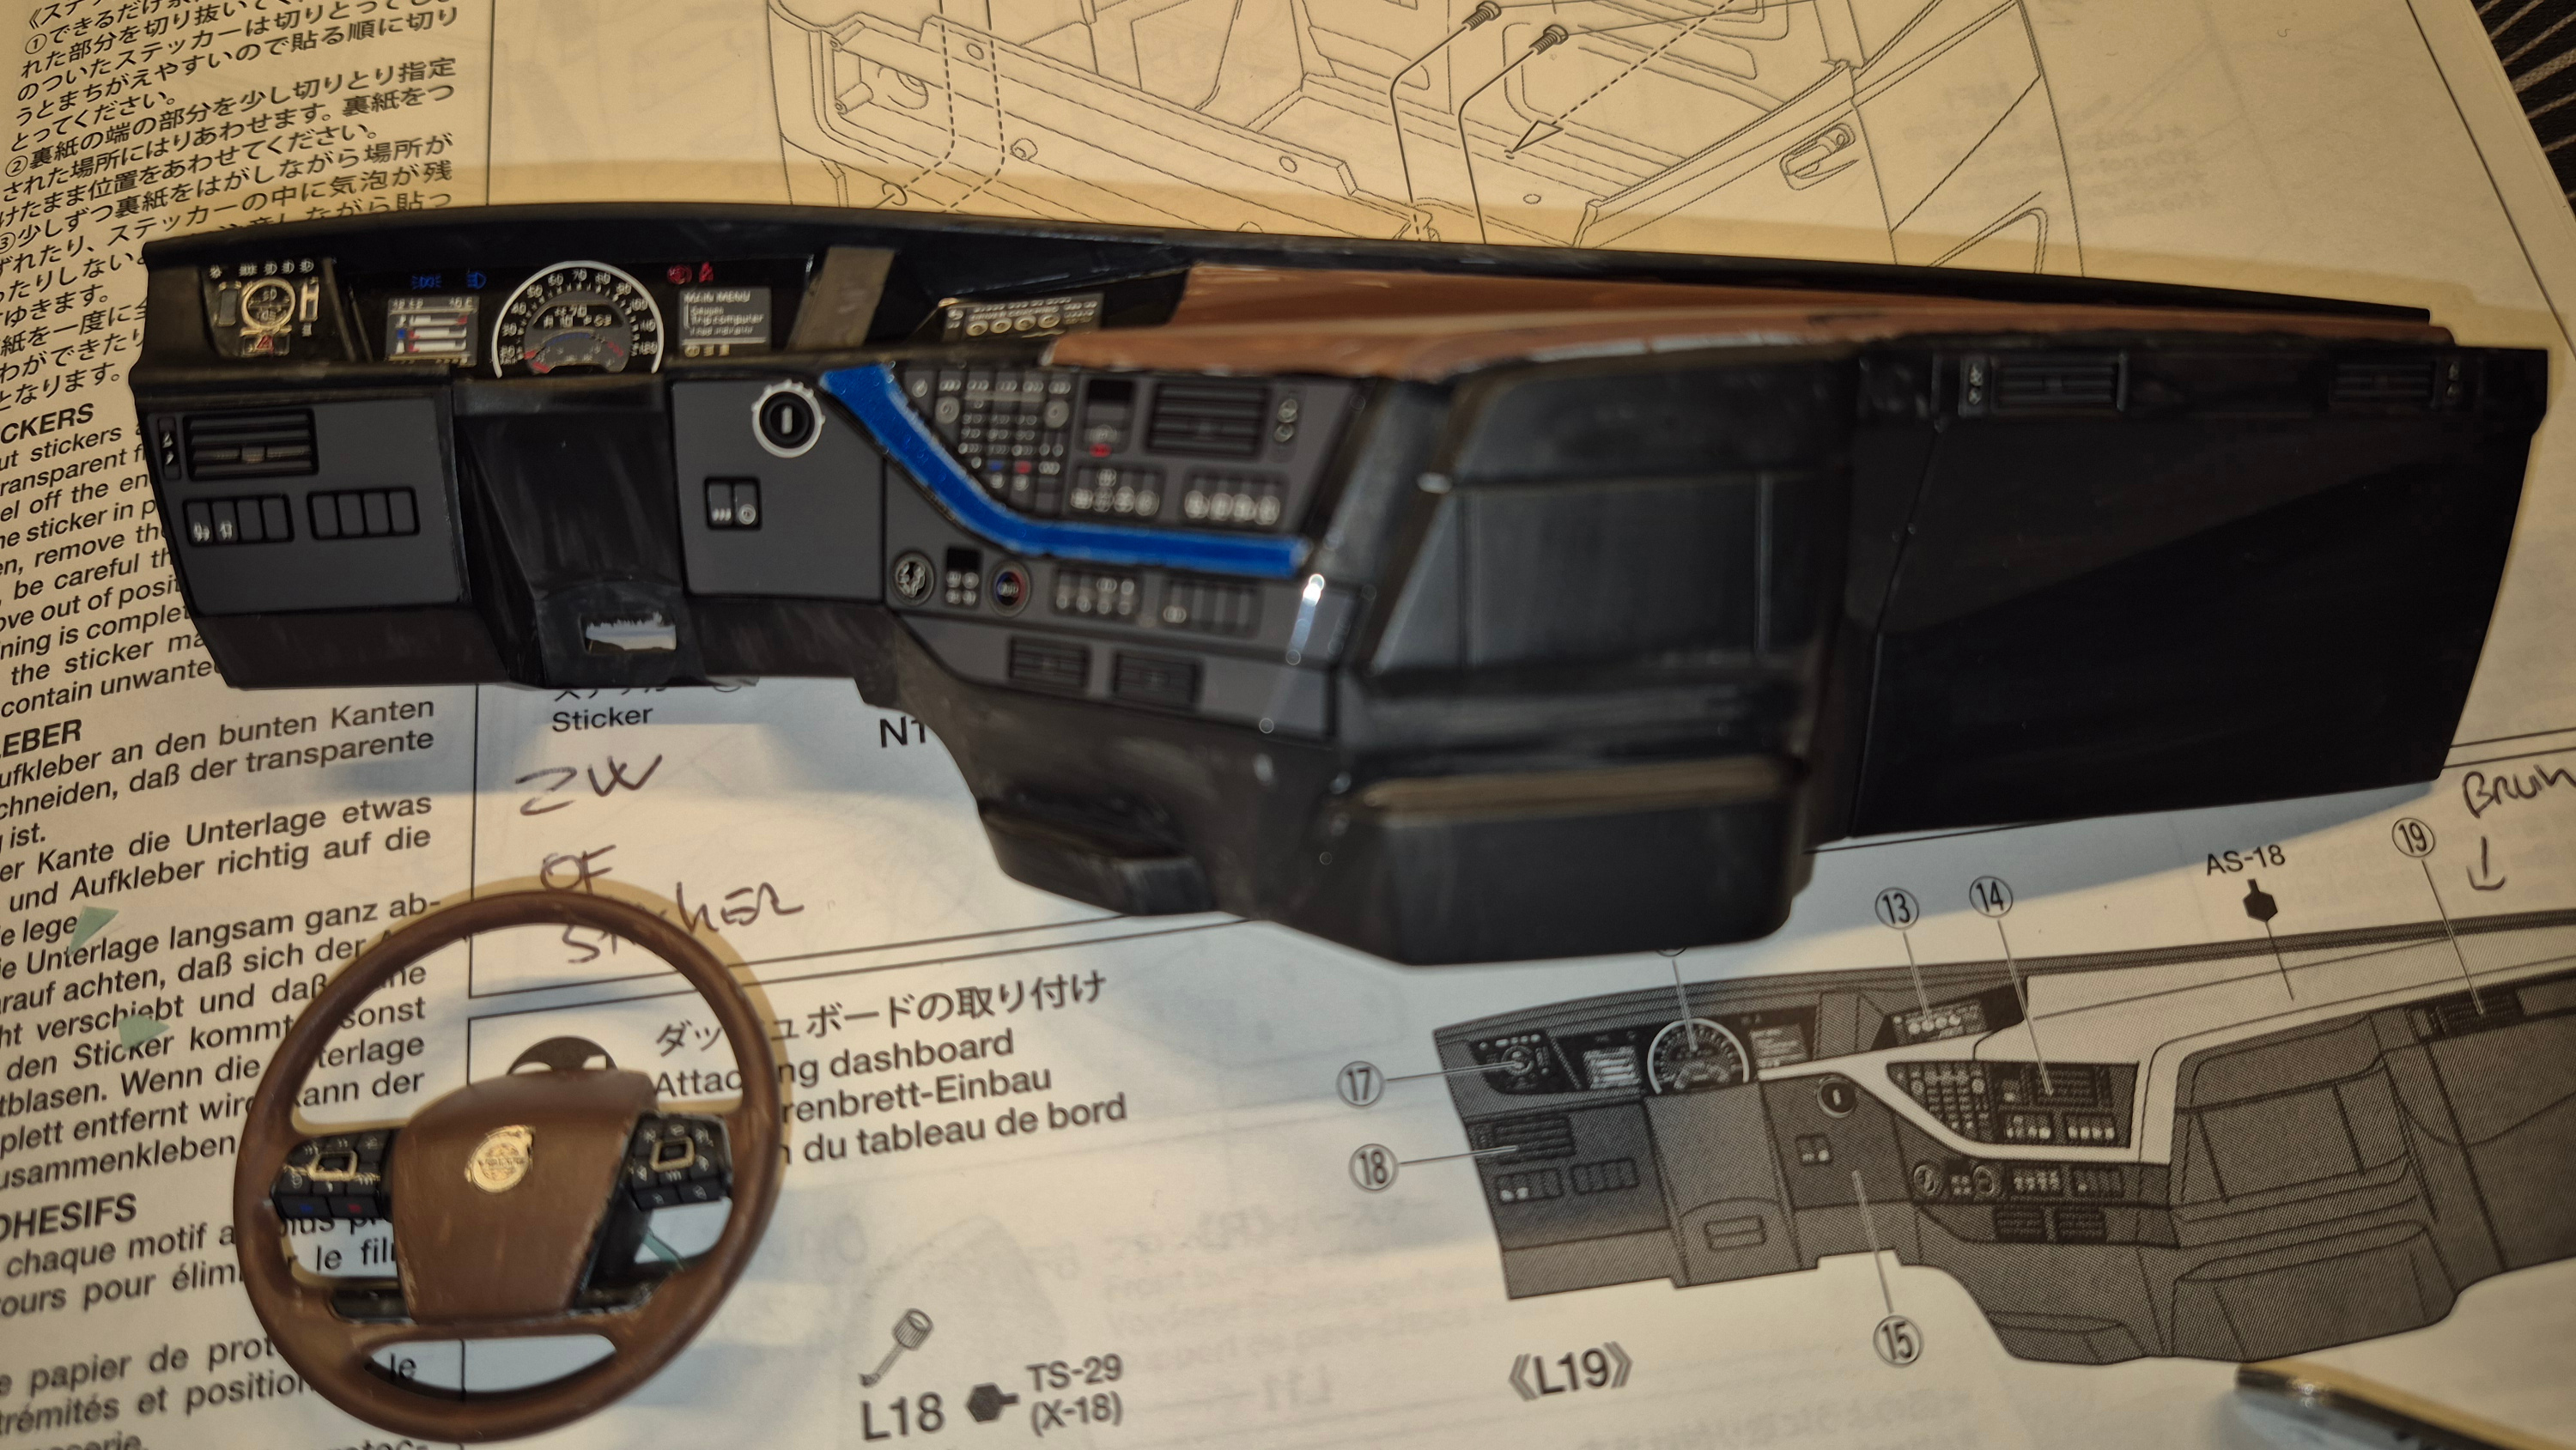 (1539.8 Kb, 3000x1689)
|
| 02/02/26(Mon)18:14 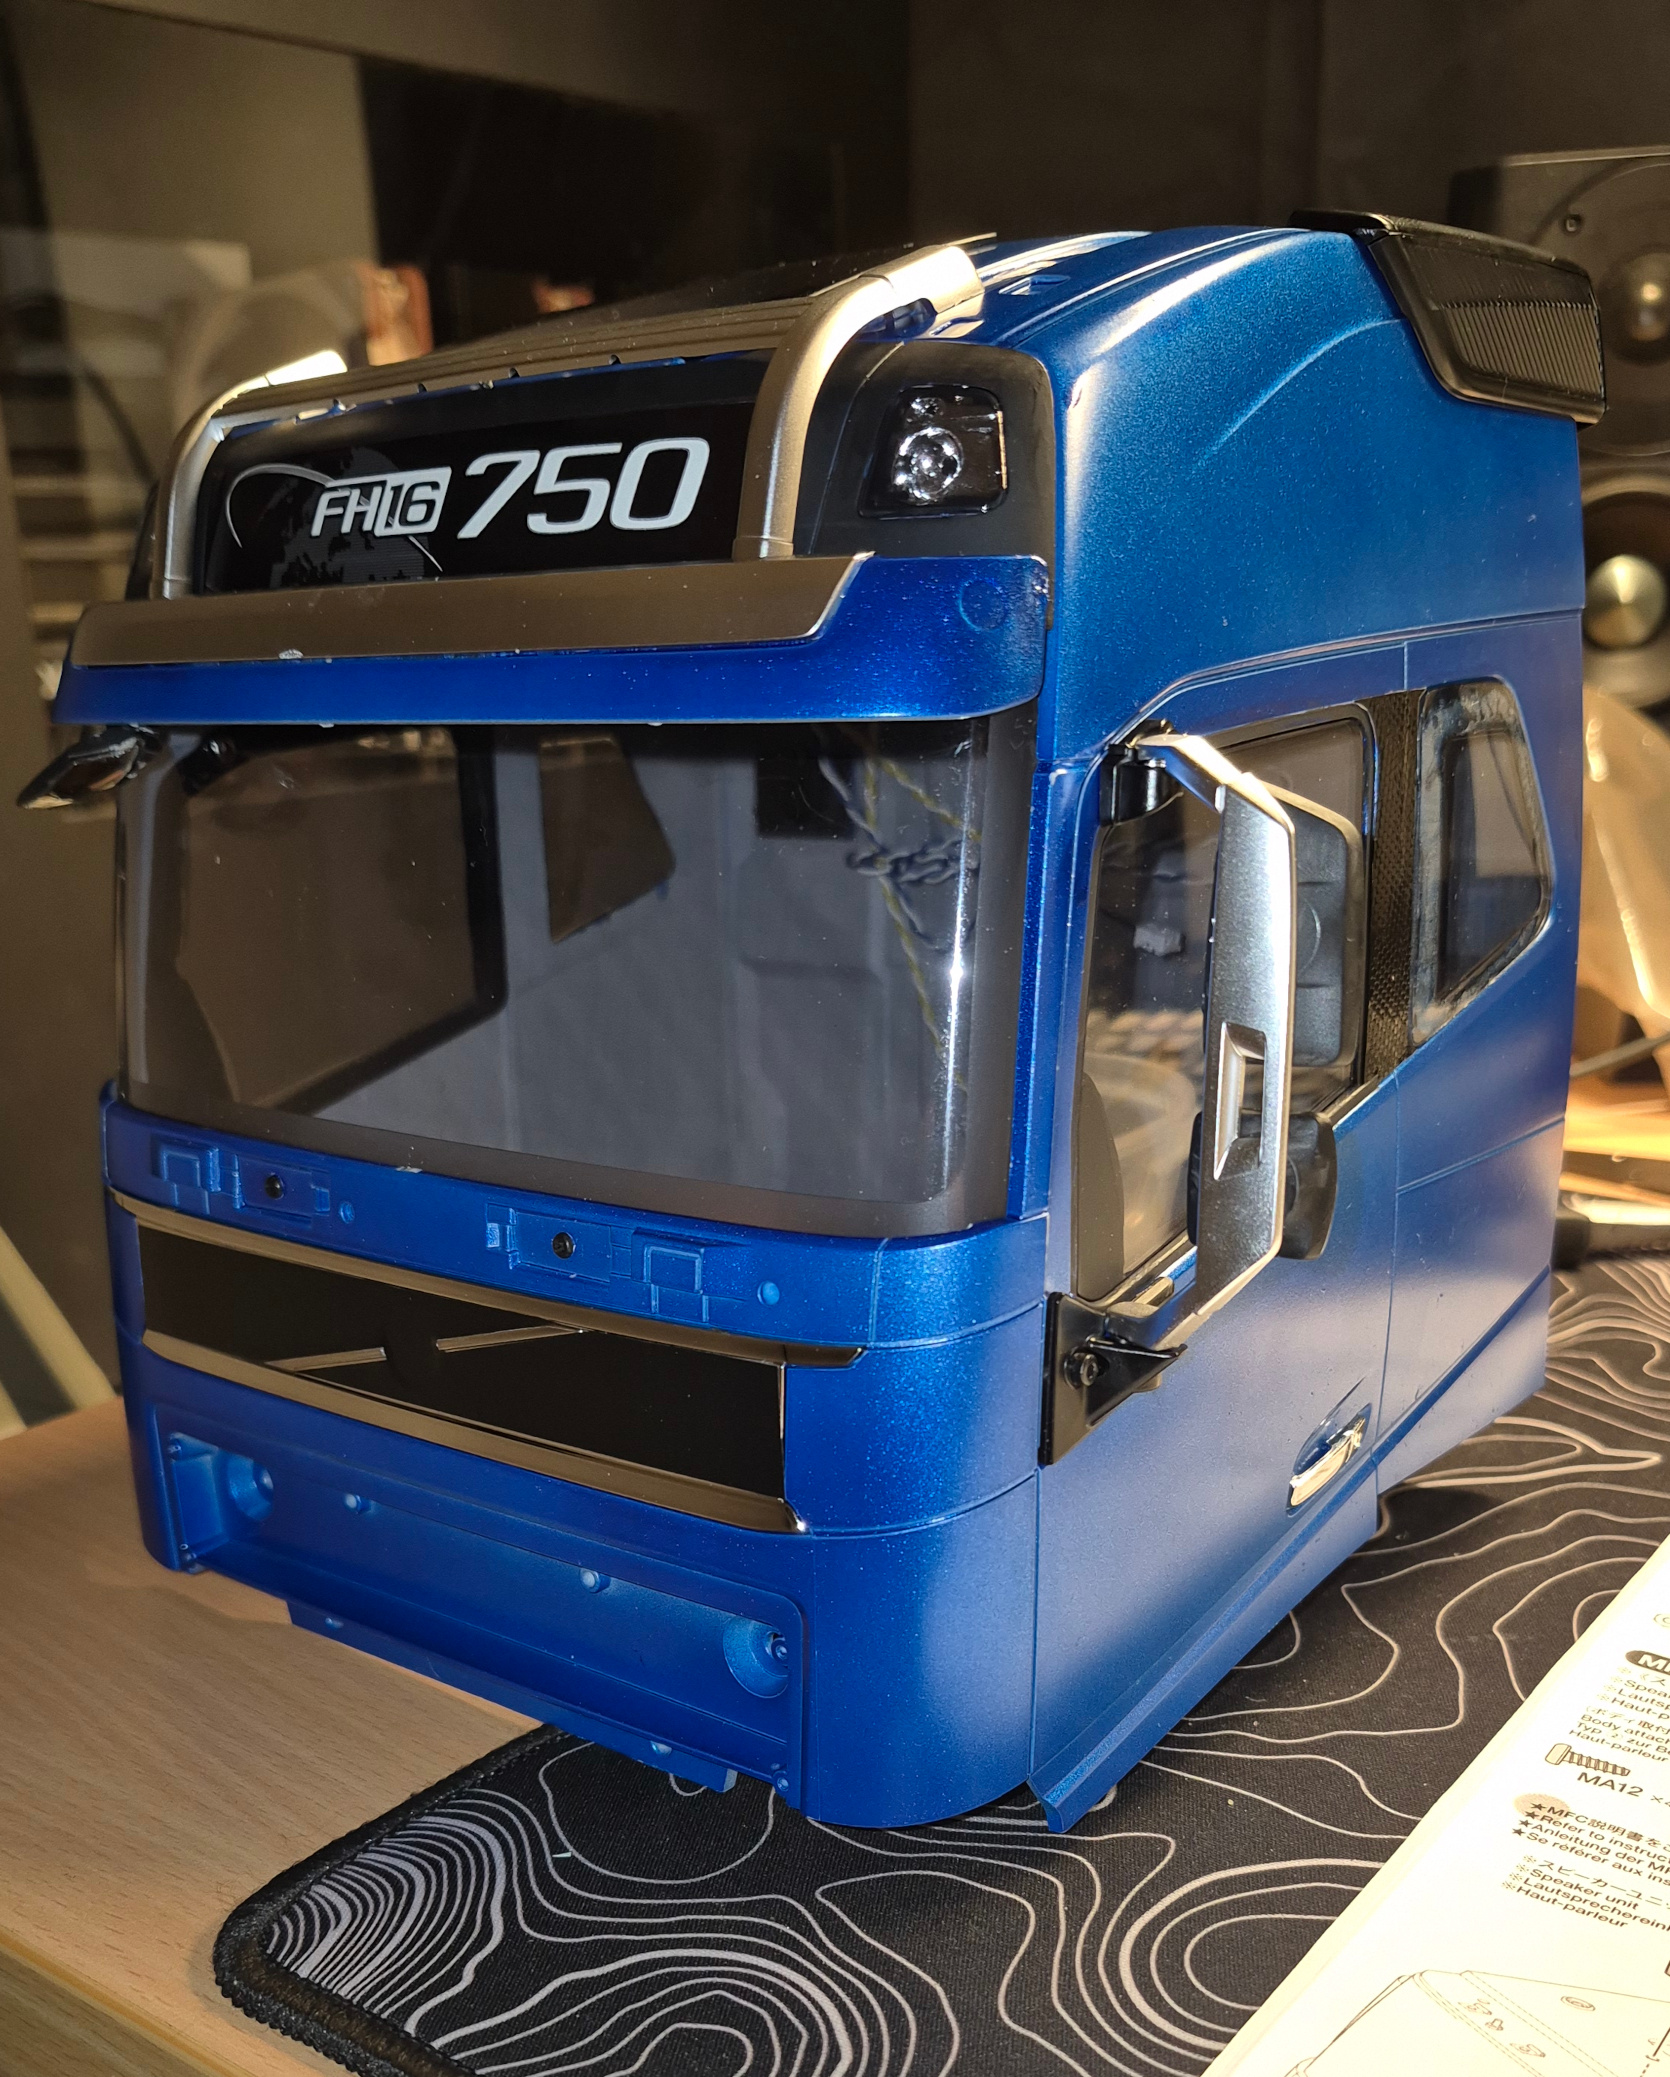 (1291.8 Kb, 1670x2077) The good side
|
| 02/02/26(Mon)18:02  (208.7 Kb, 522x491) god damn butterfingers
|
| 30/01/26(Fri)15:12
|
| 30/01/26(Fri)14:34 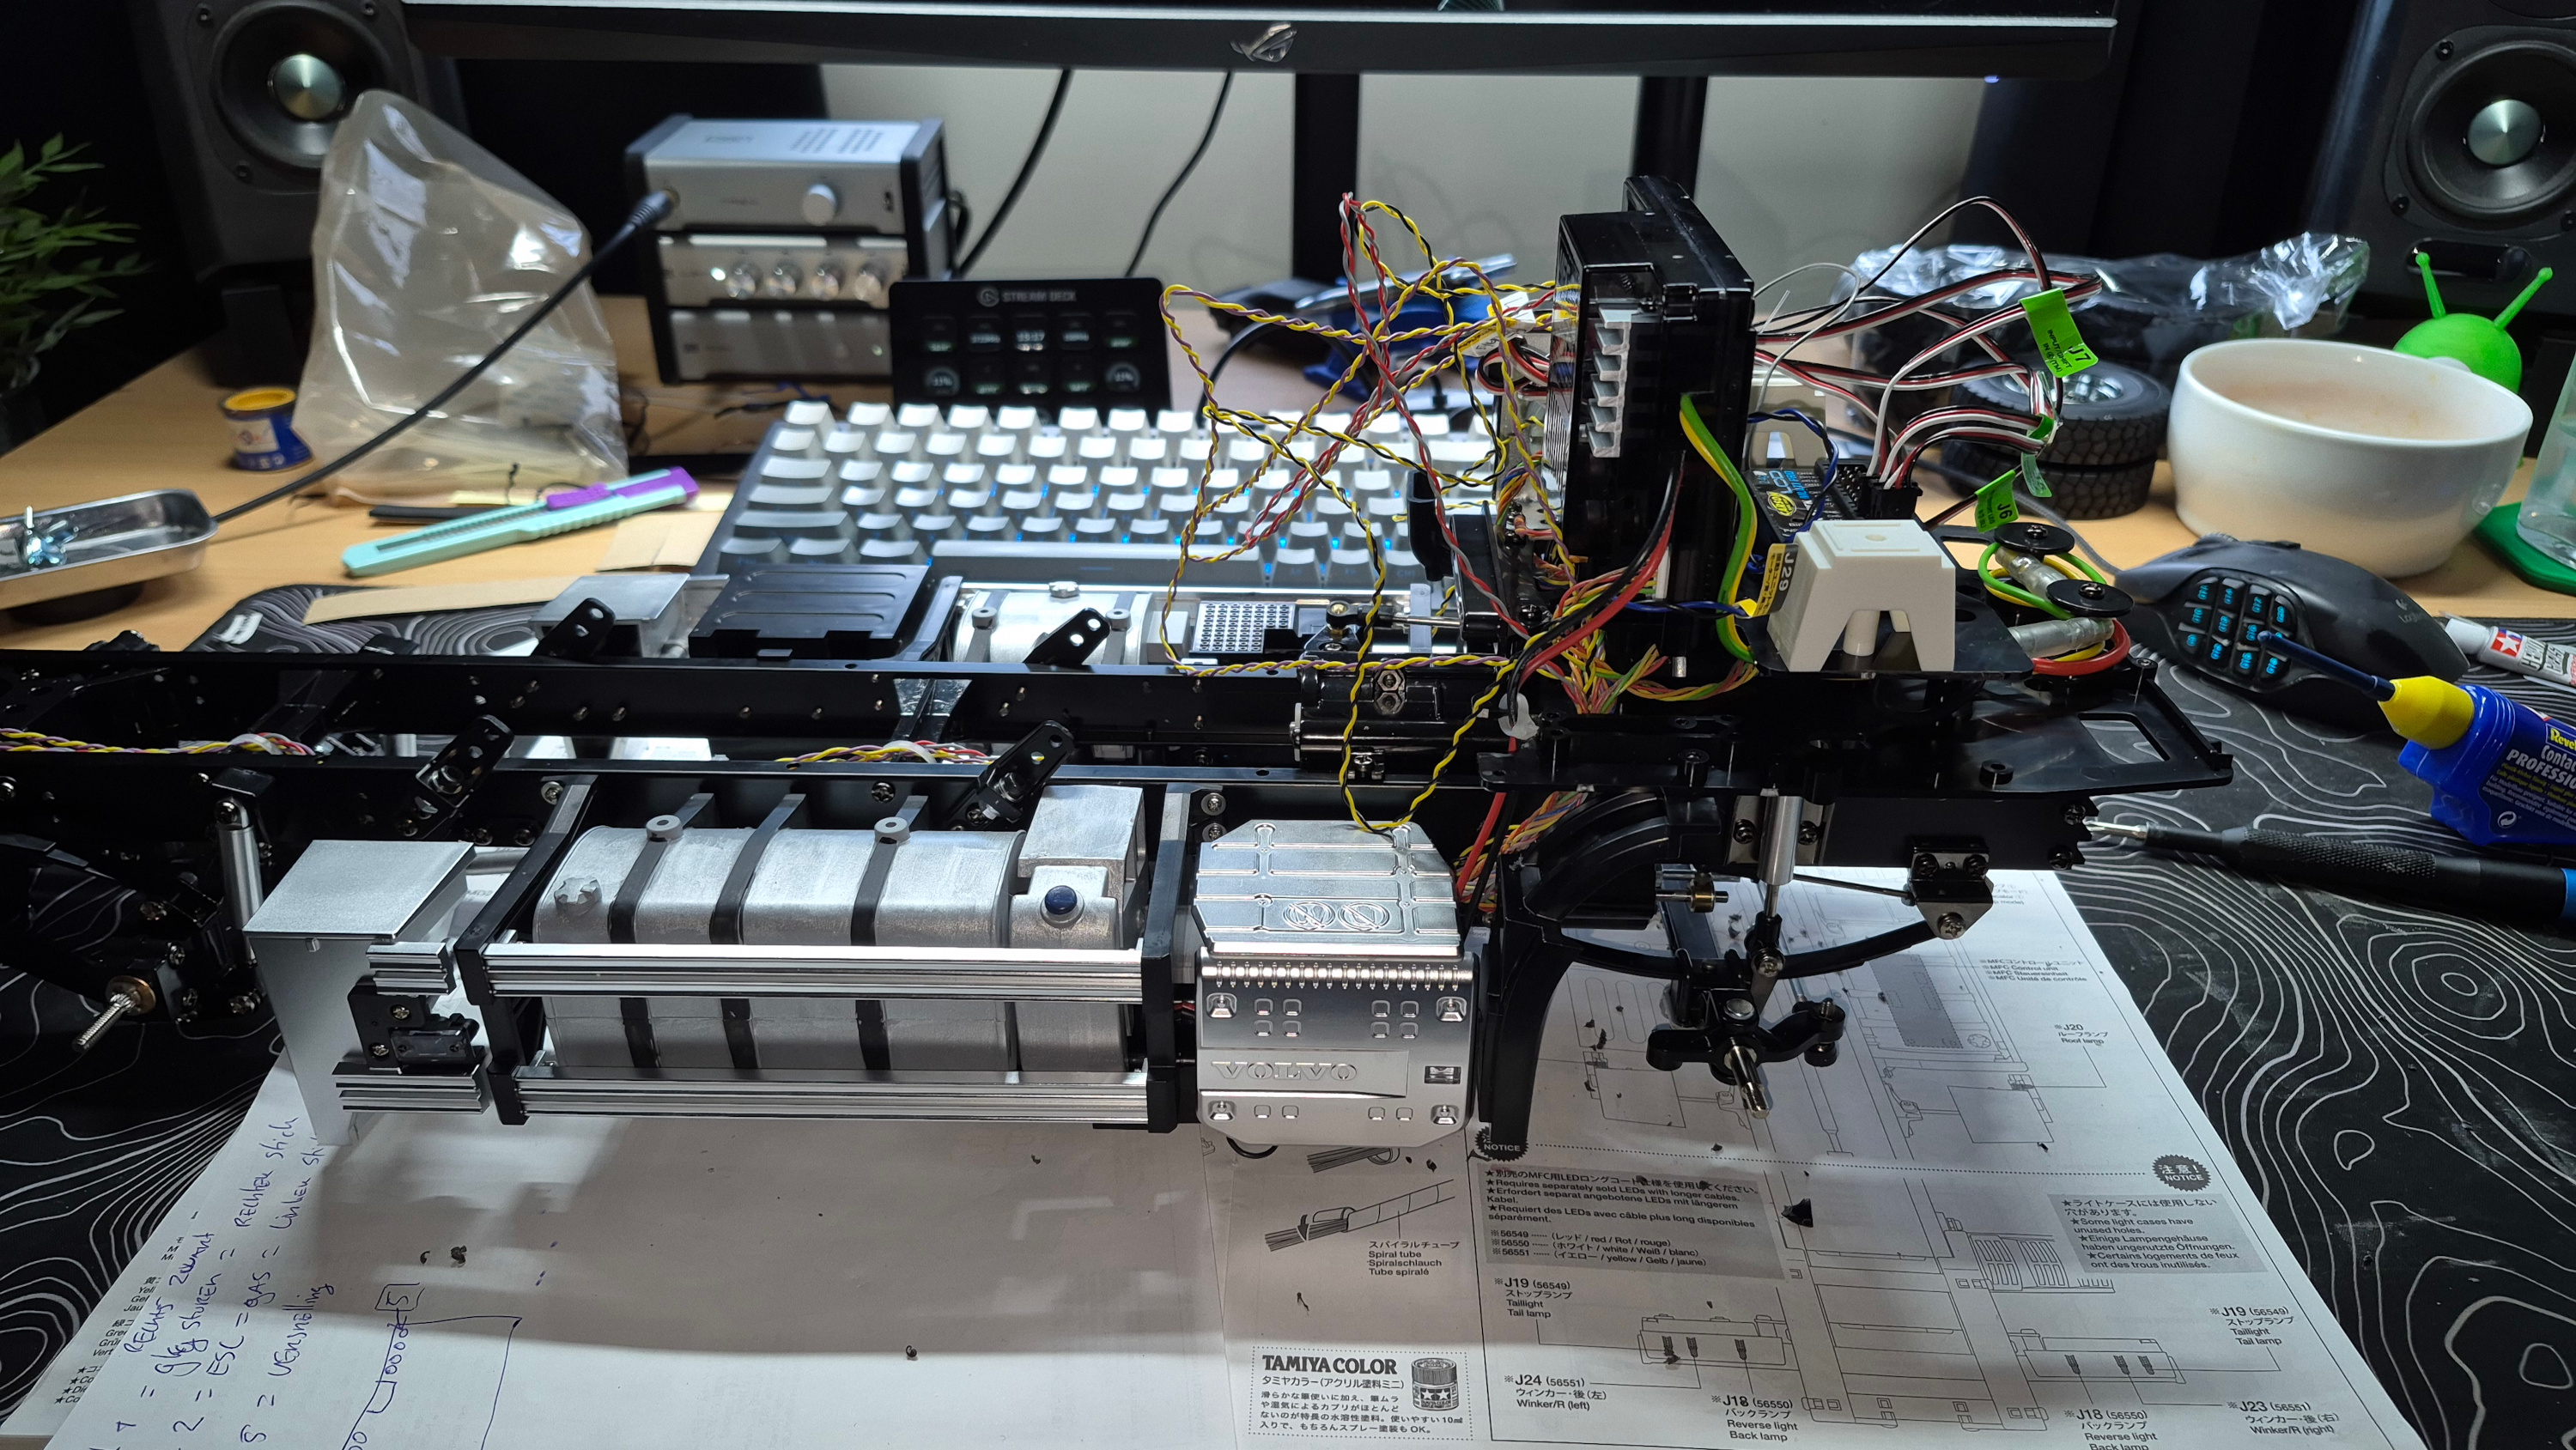 (1790.7 Kb, 3000x1689) Now for cable management
|
| 29/01/26(Thu)17:58 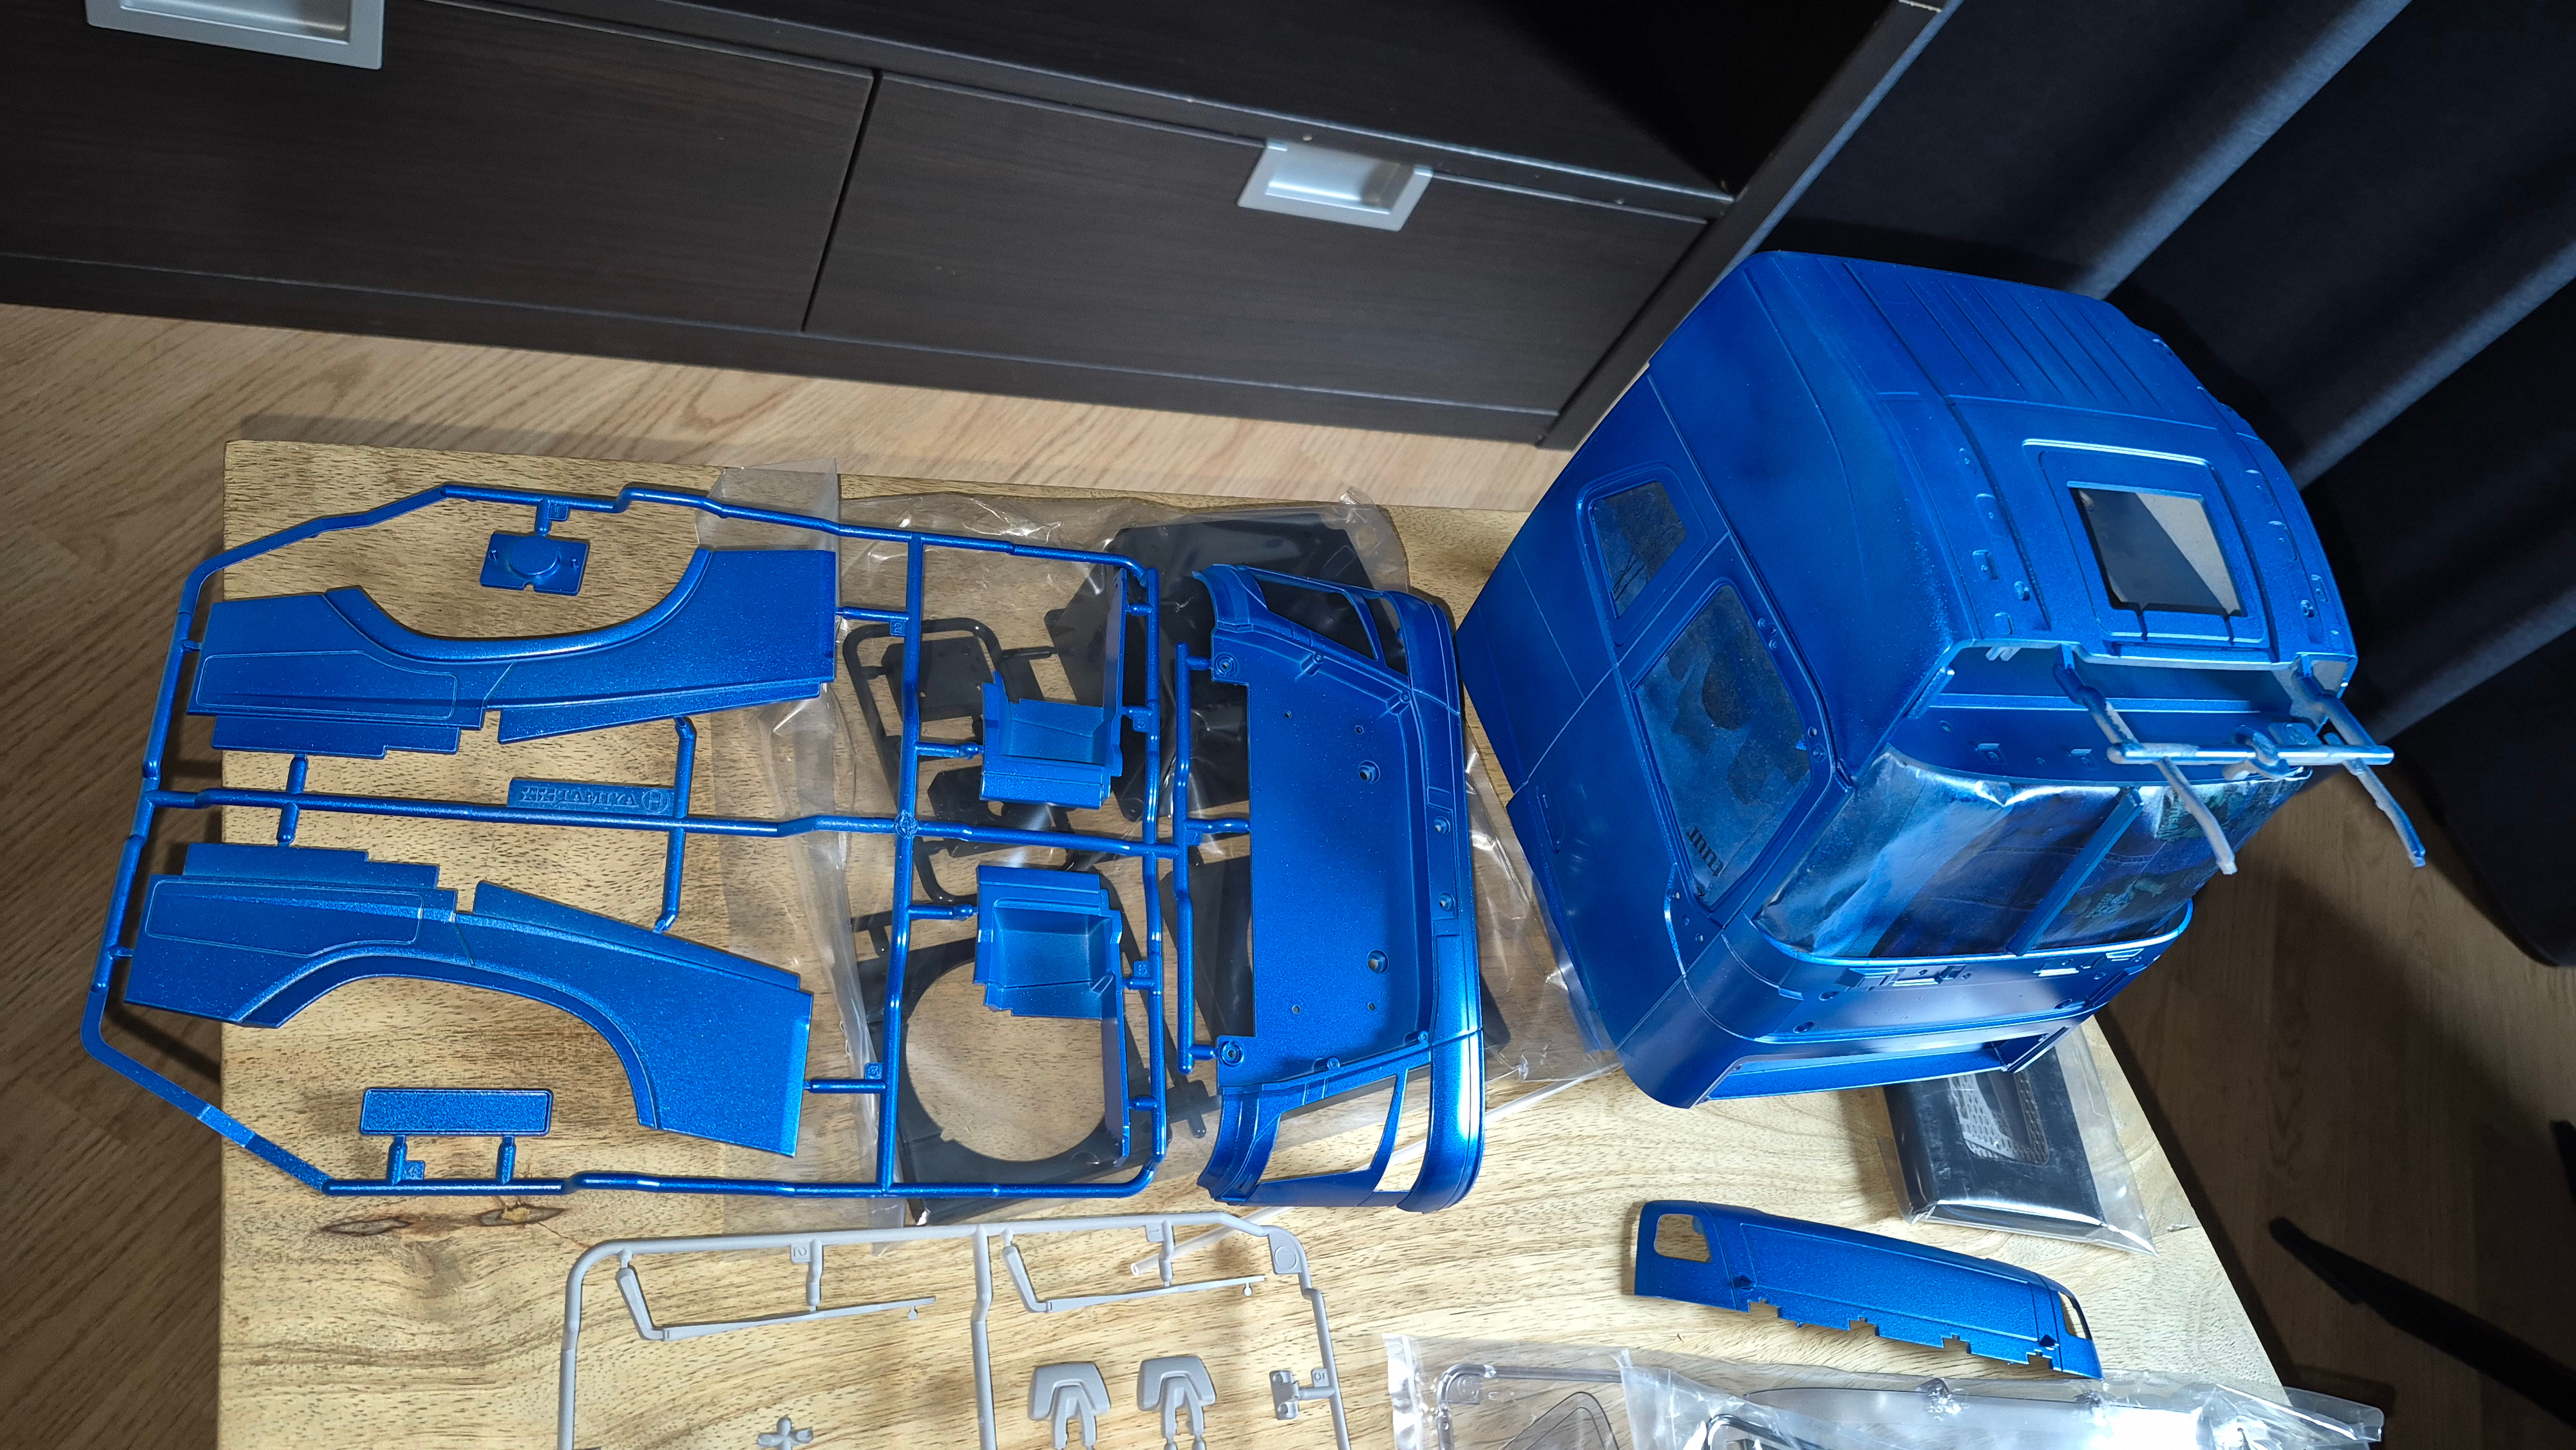 (3607.9 Kb, 4000x2252)
|
| 29/01/26(Thu)17:57 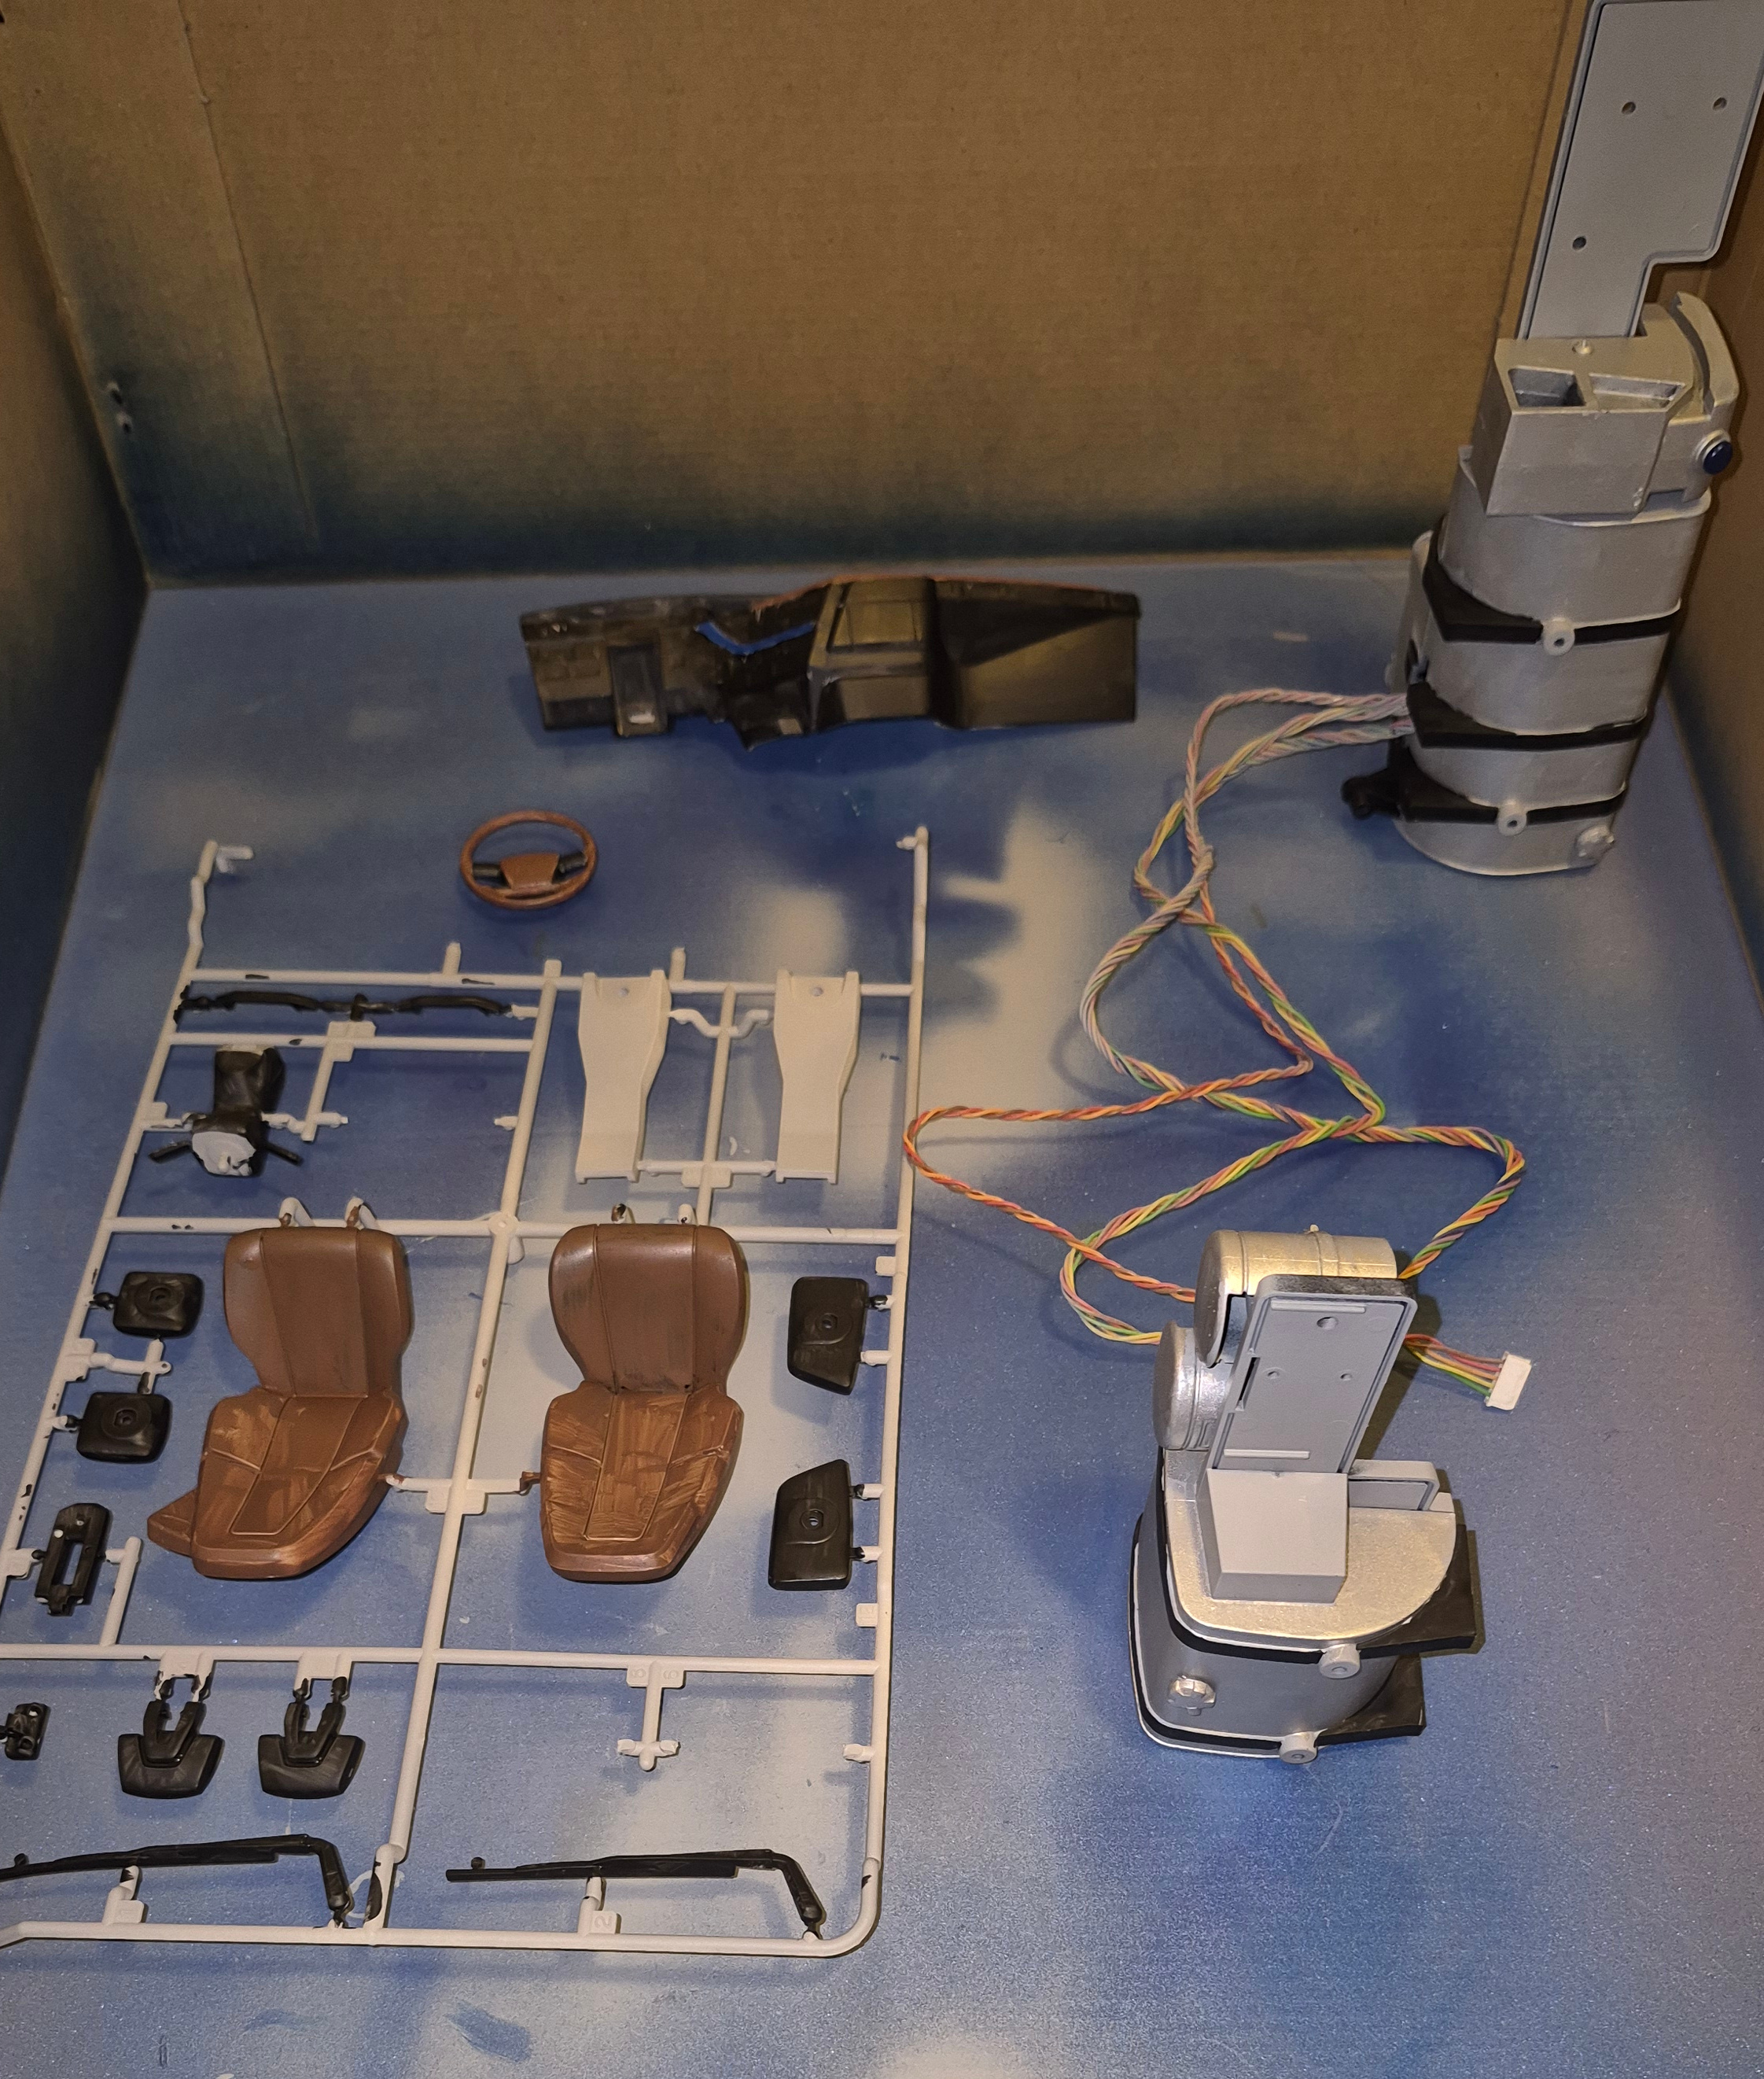 (2065.9 Kb, 2243x2643)
|
| 29/01/26(Thu)14:14
|
| 28/01/26(Wed)20:52 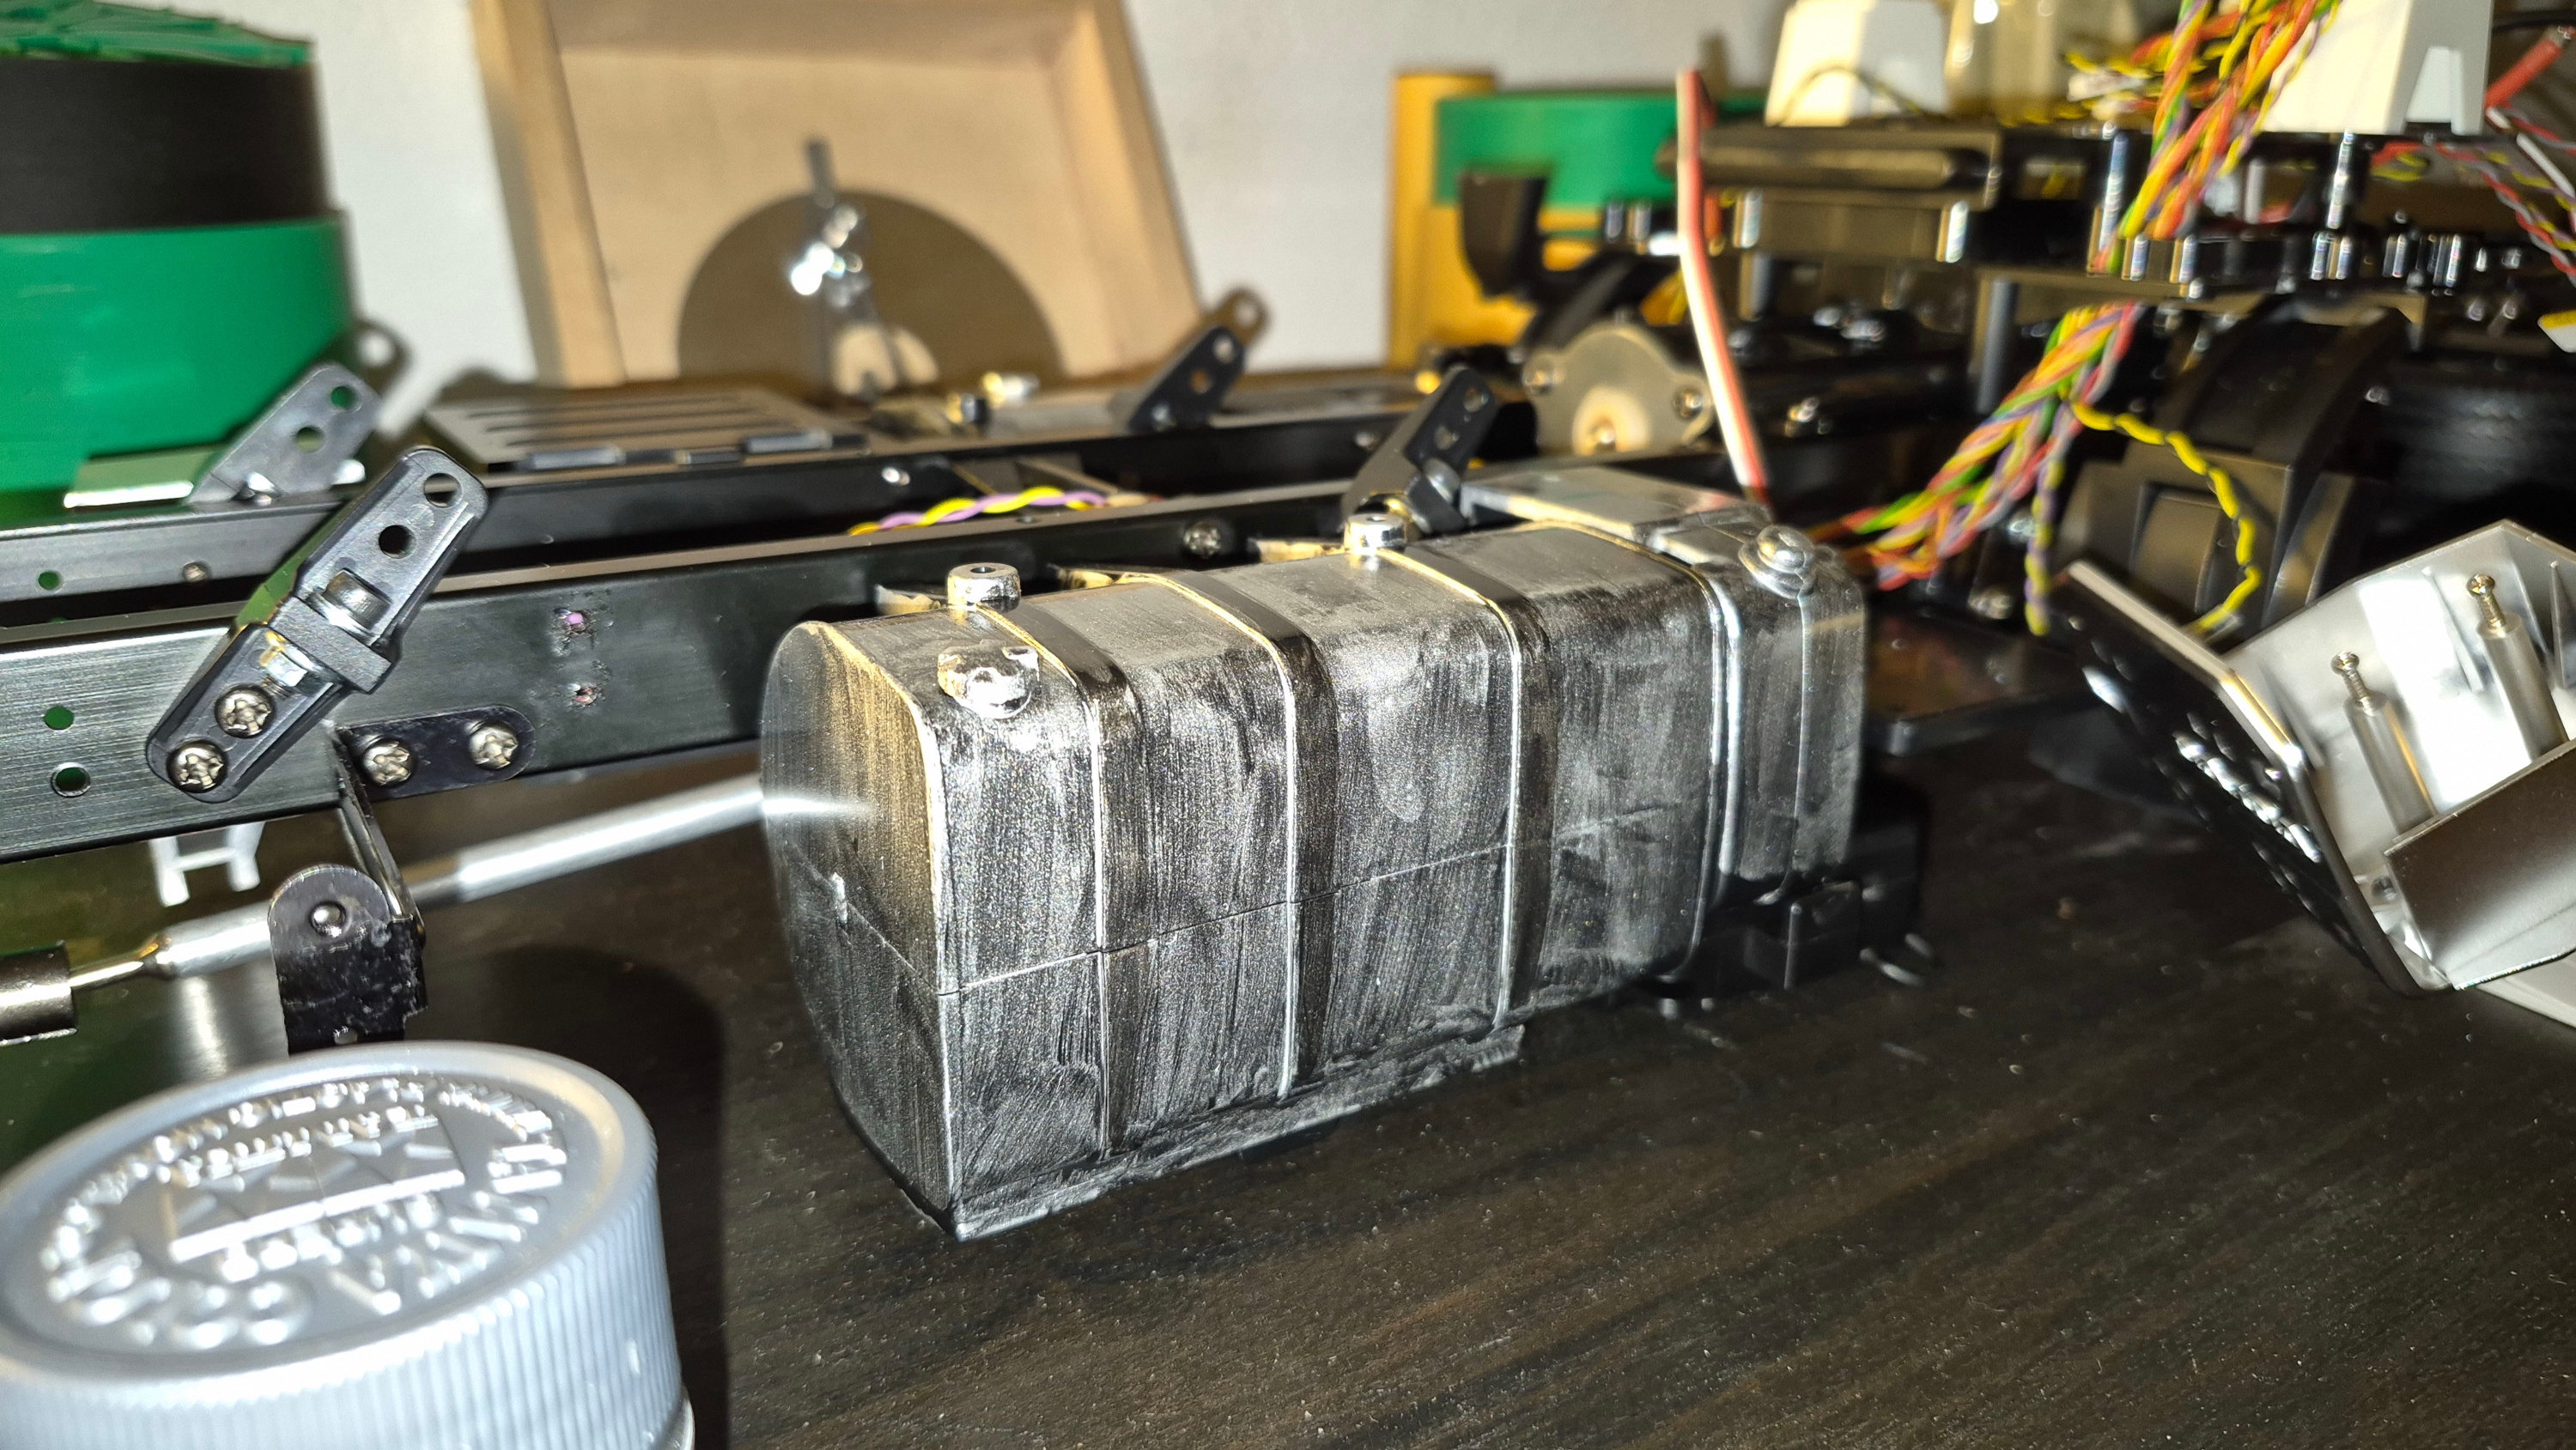 (1823.9 Kb, 3000x1689) Derp
|
| 28/01/26(Wed)13:40
|
| 28/01/26(Wed)12:26
|
| 28/01/26(Wed)11:47
|
| 27/01/26(Tue)18:21
|
| 27/01/26(Tue)16:36
|
| 27/01/26(Tue)14:37 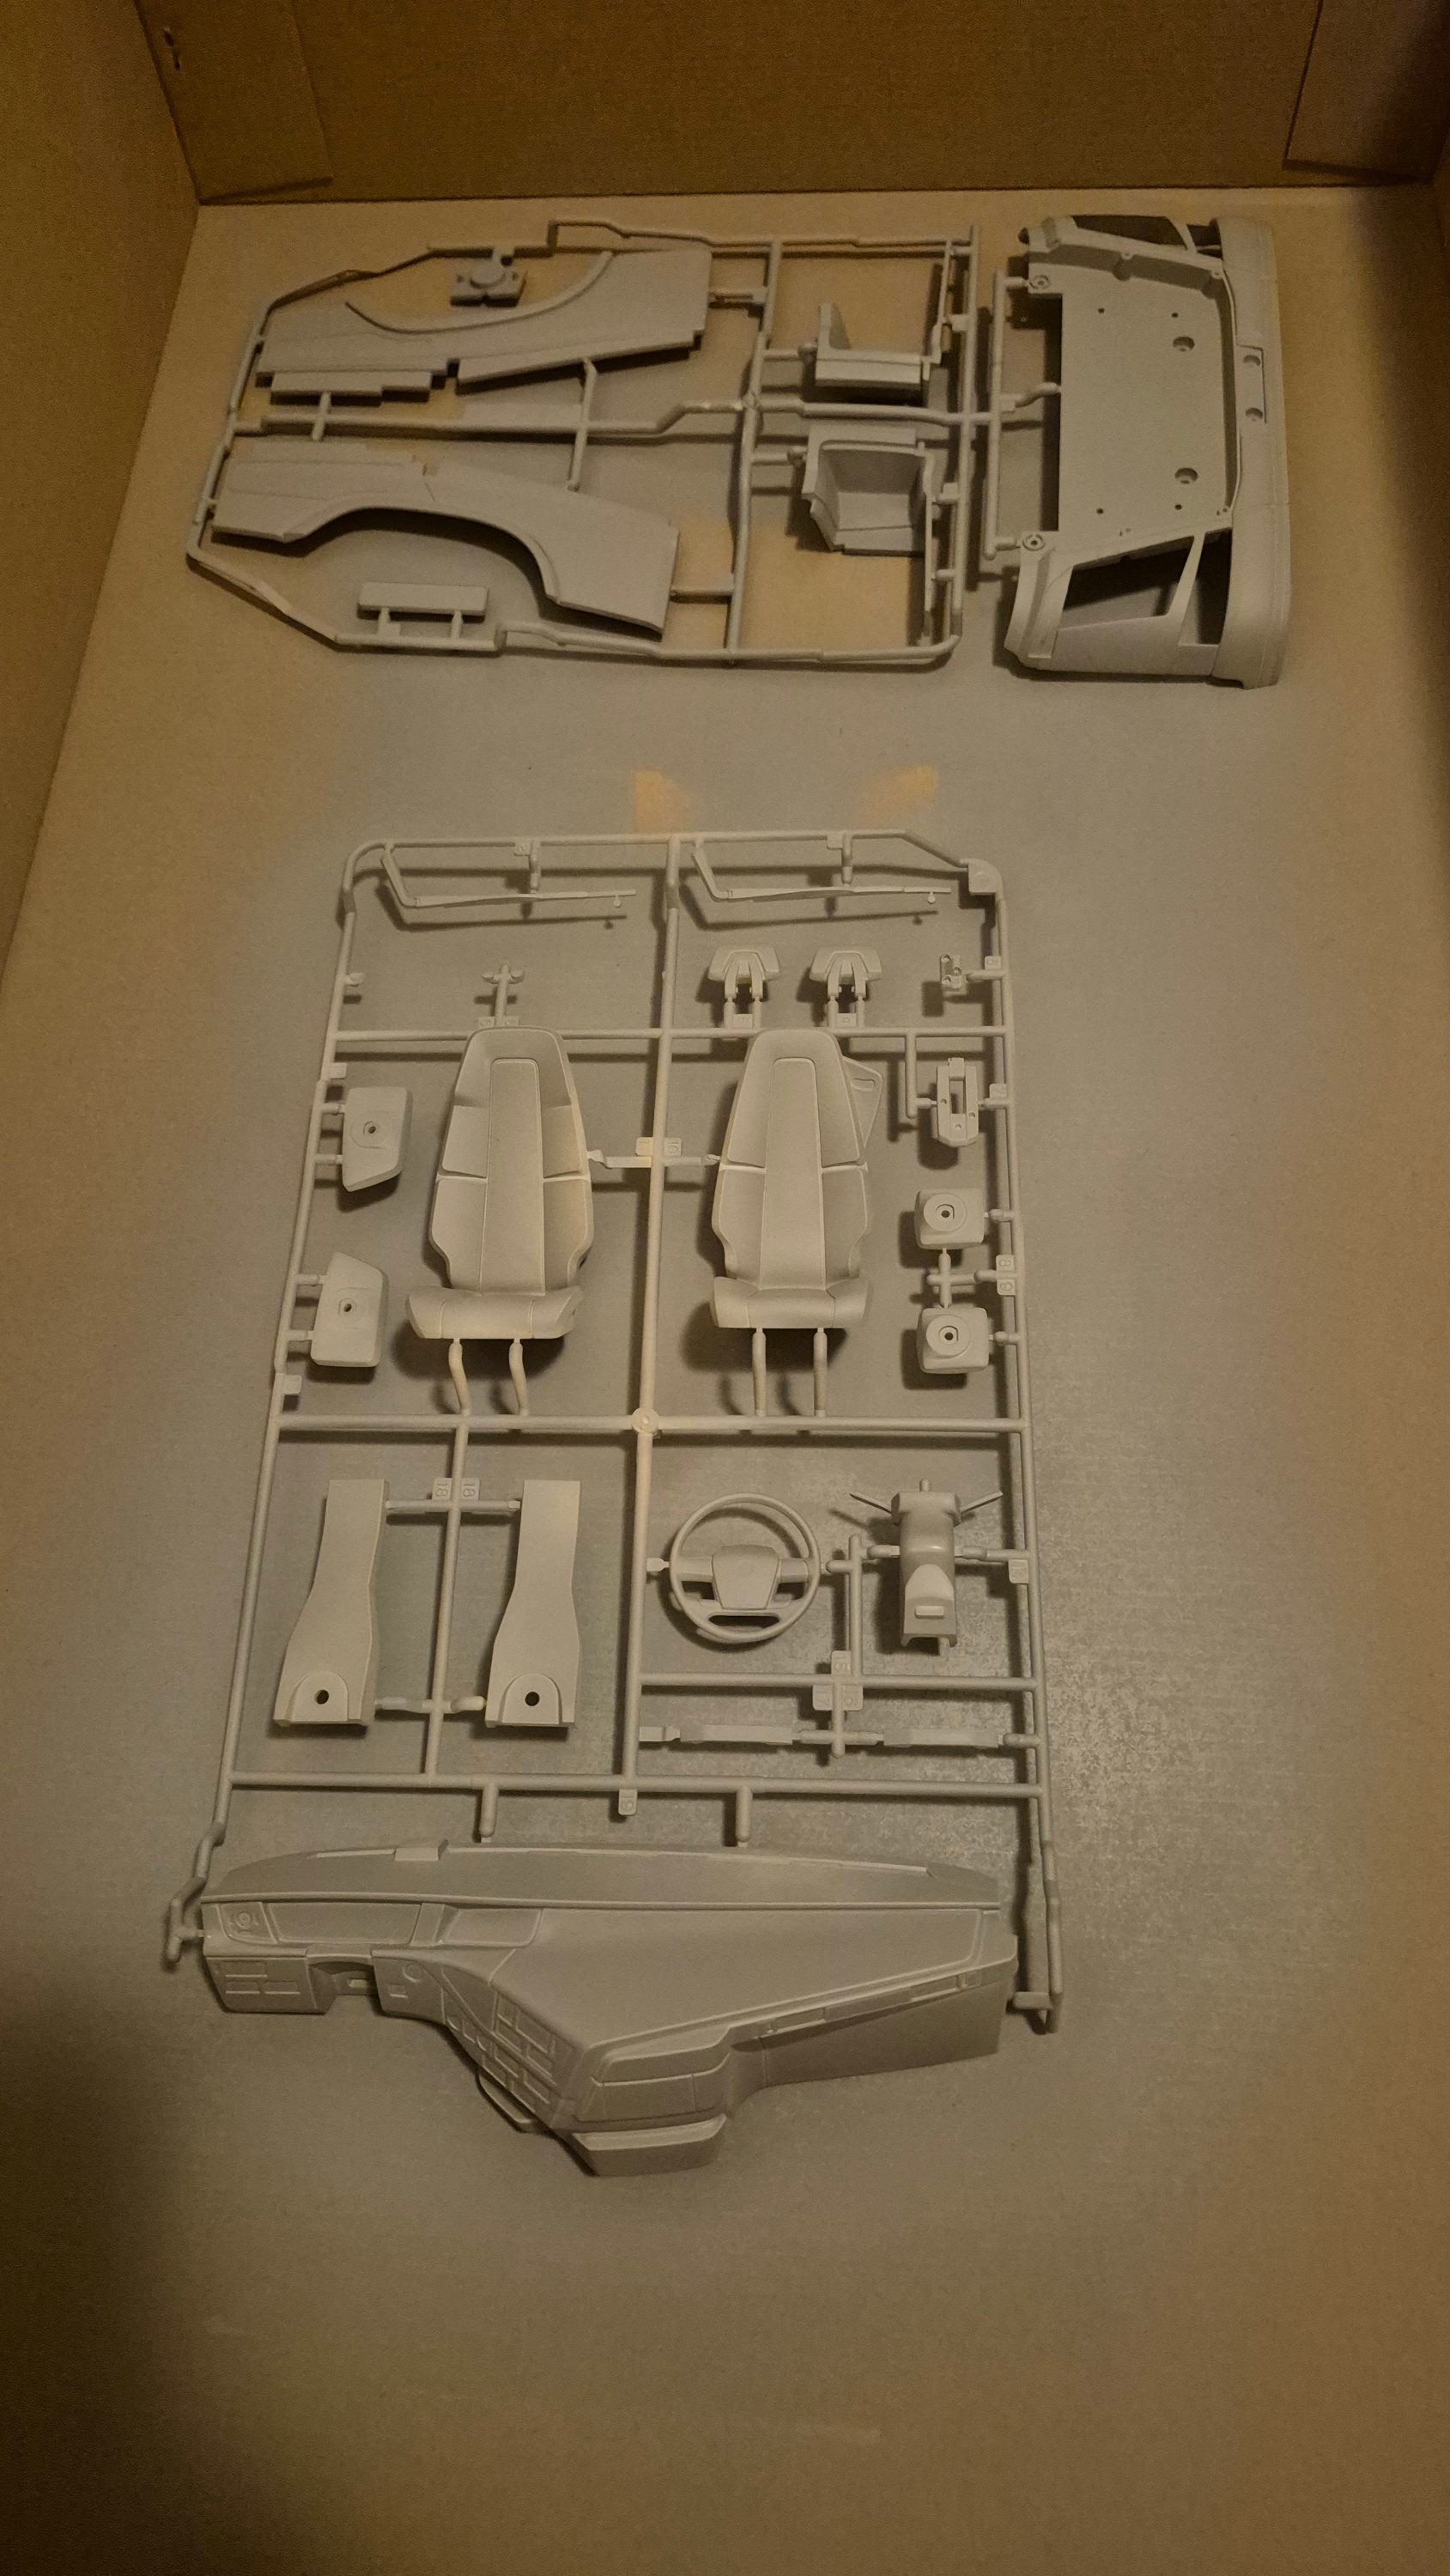 (1493.5 Kb, 1689x3000) Top = front & side, bottom = inners
|
| 27/01/26(Tue)14:34 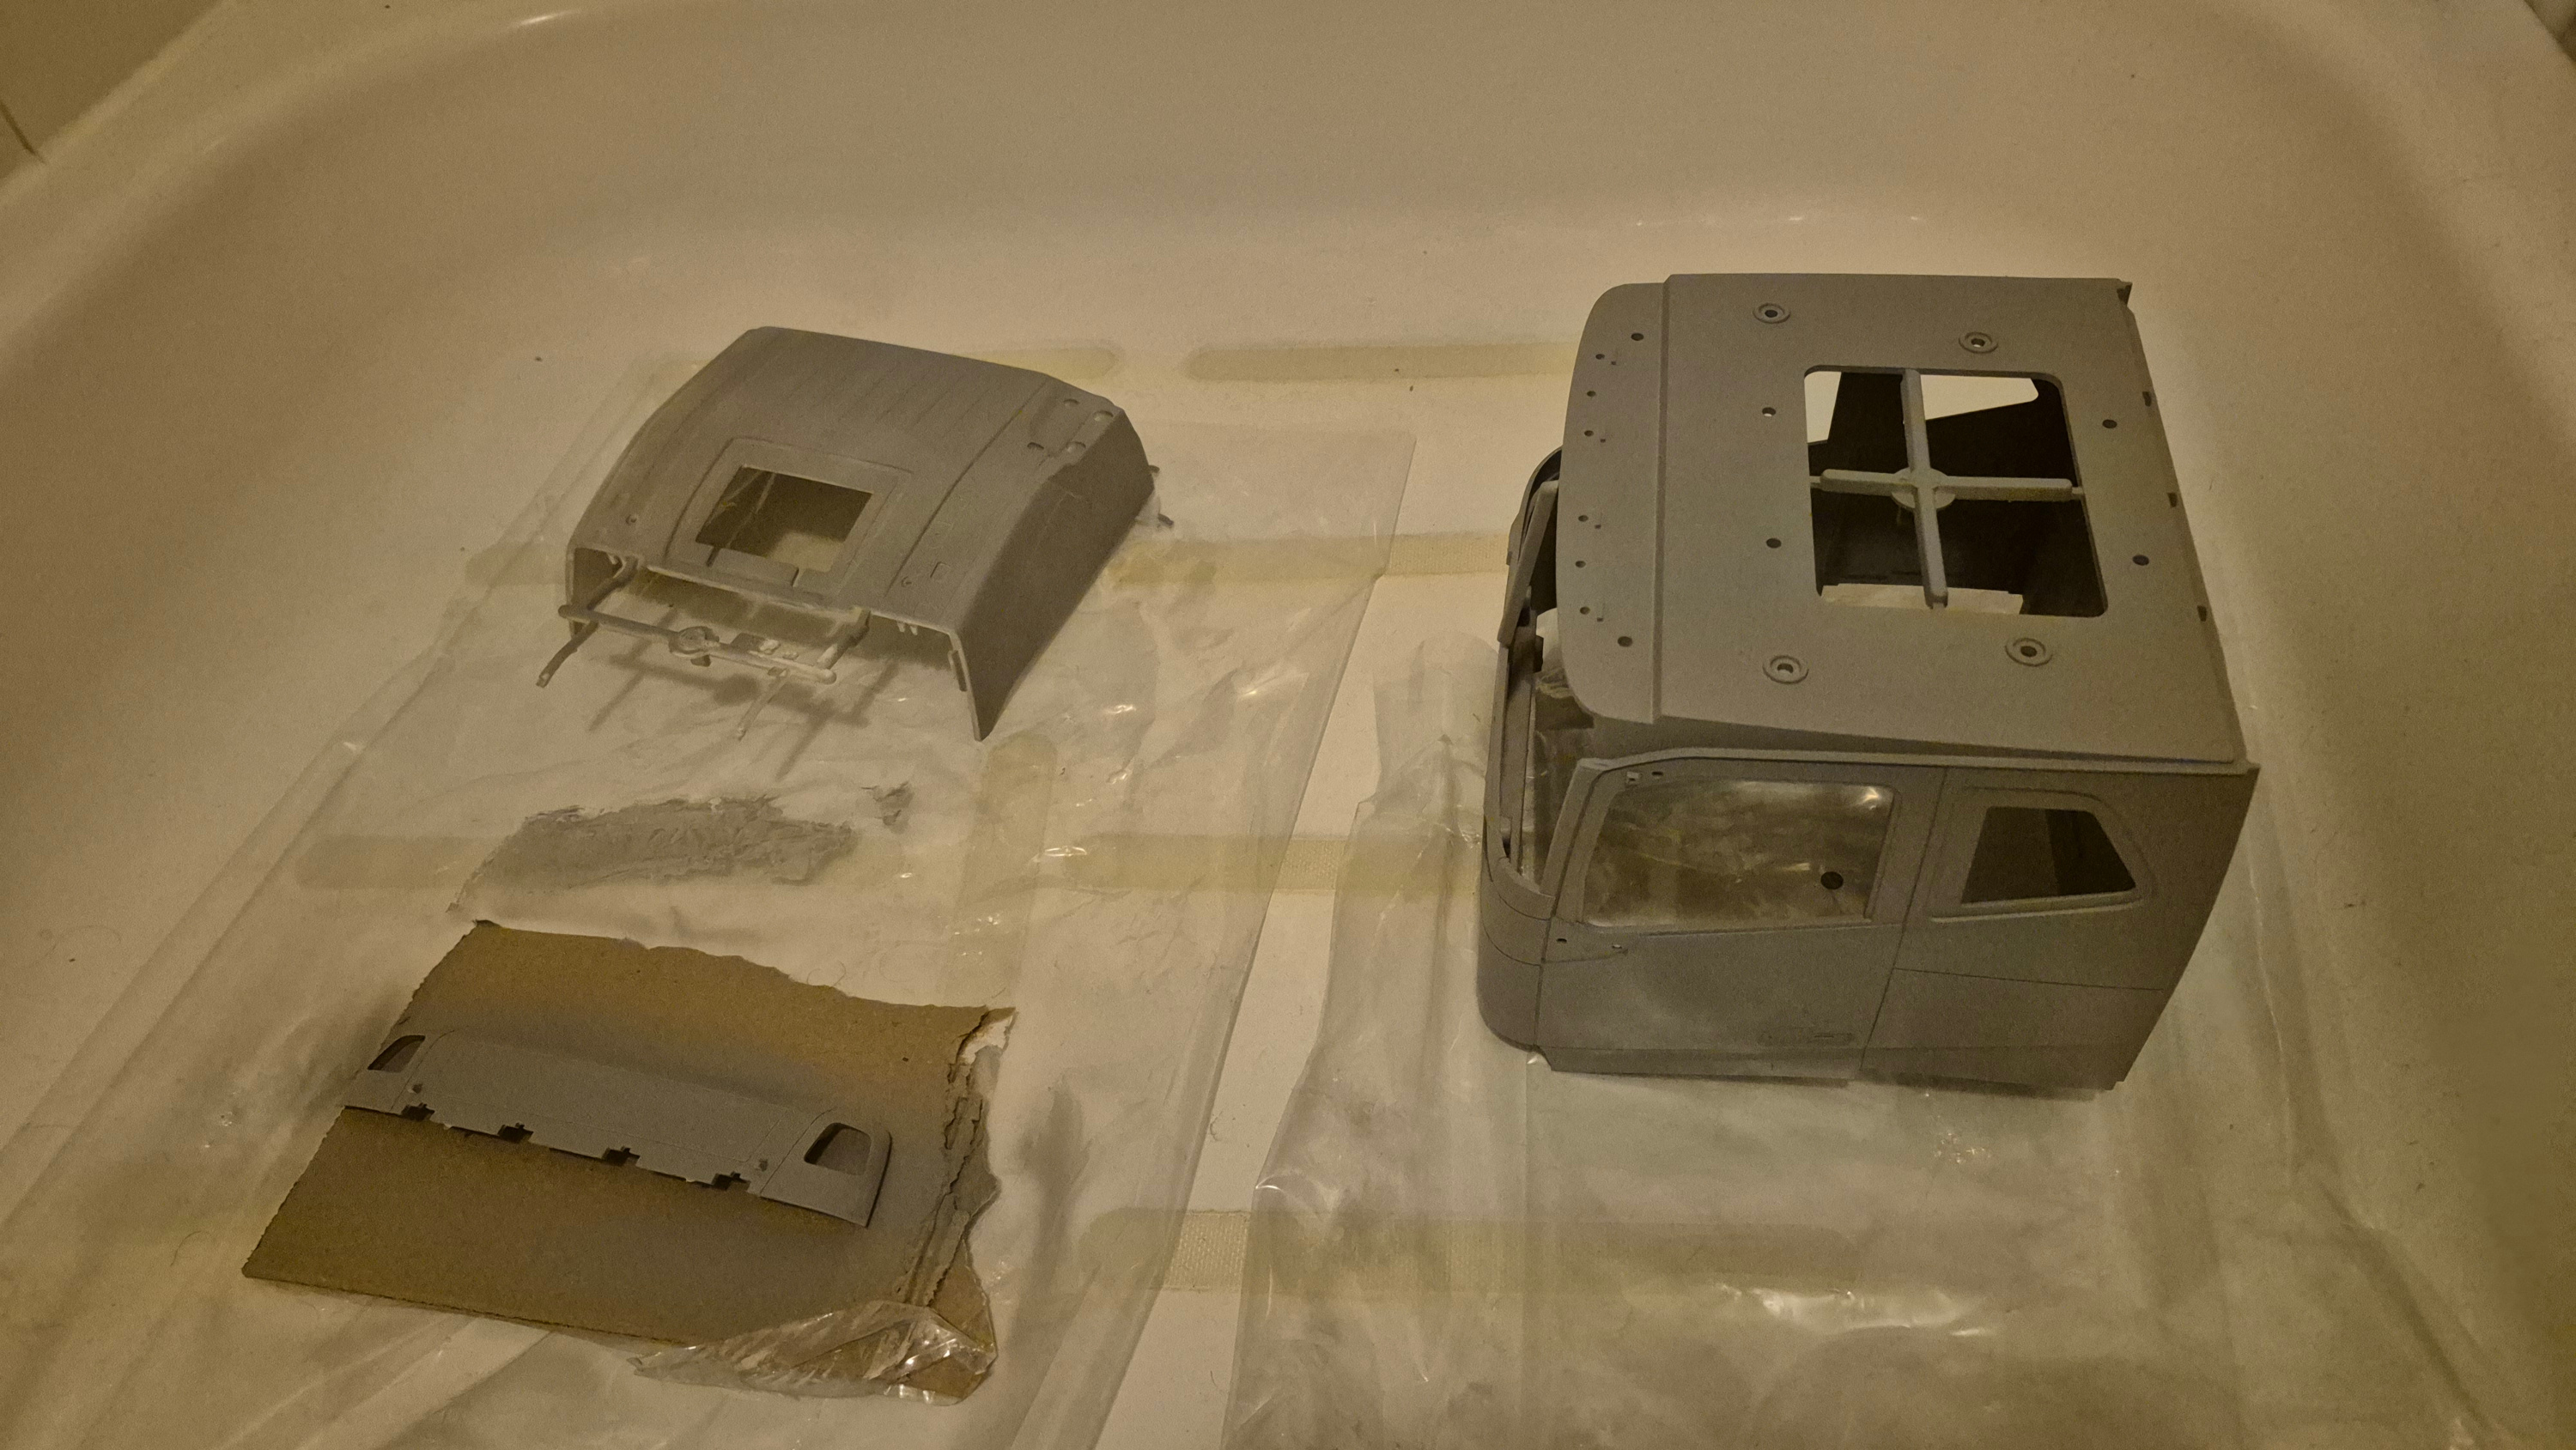 (1471.5 Kb, 3000x1689) The cab and roof parts
|
| 26/01/26(Mon)11:28
|
| 25/01/26(Sun)16:02 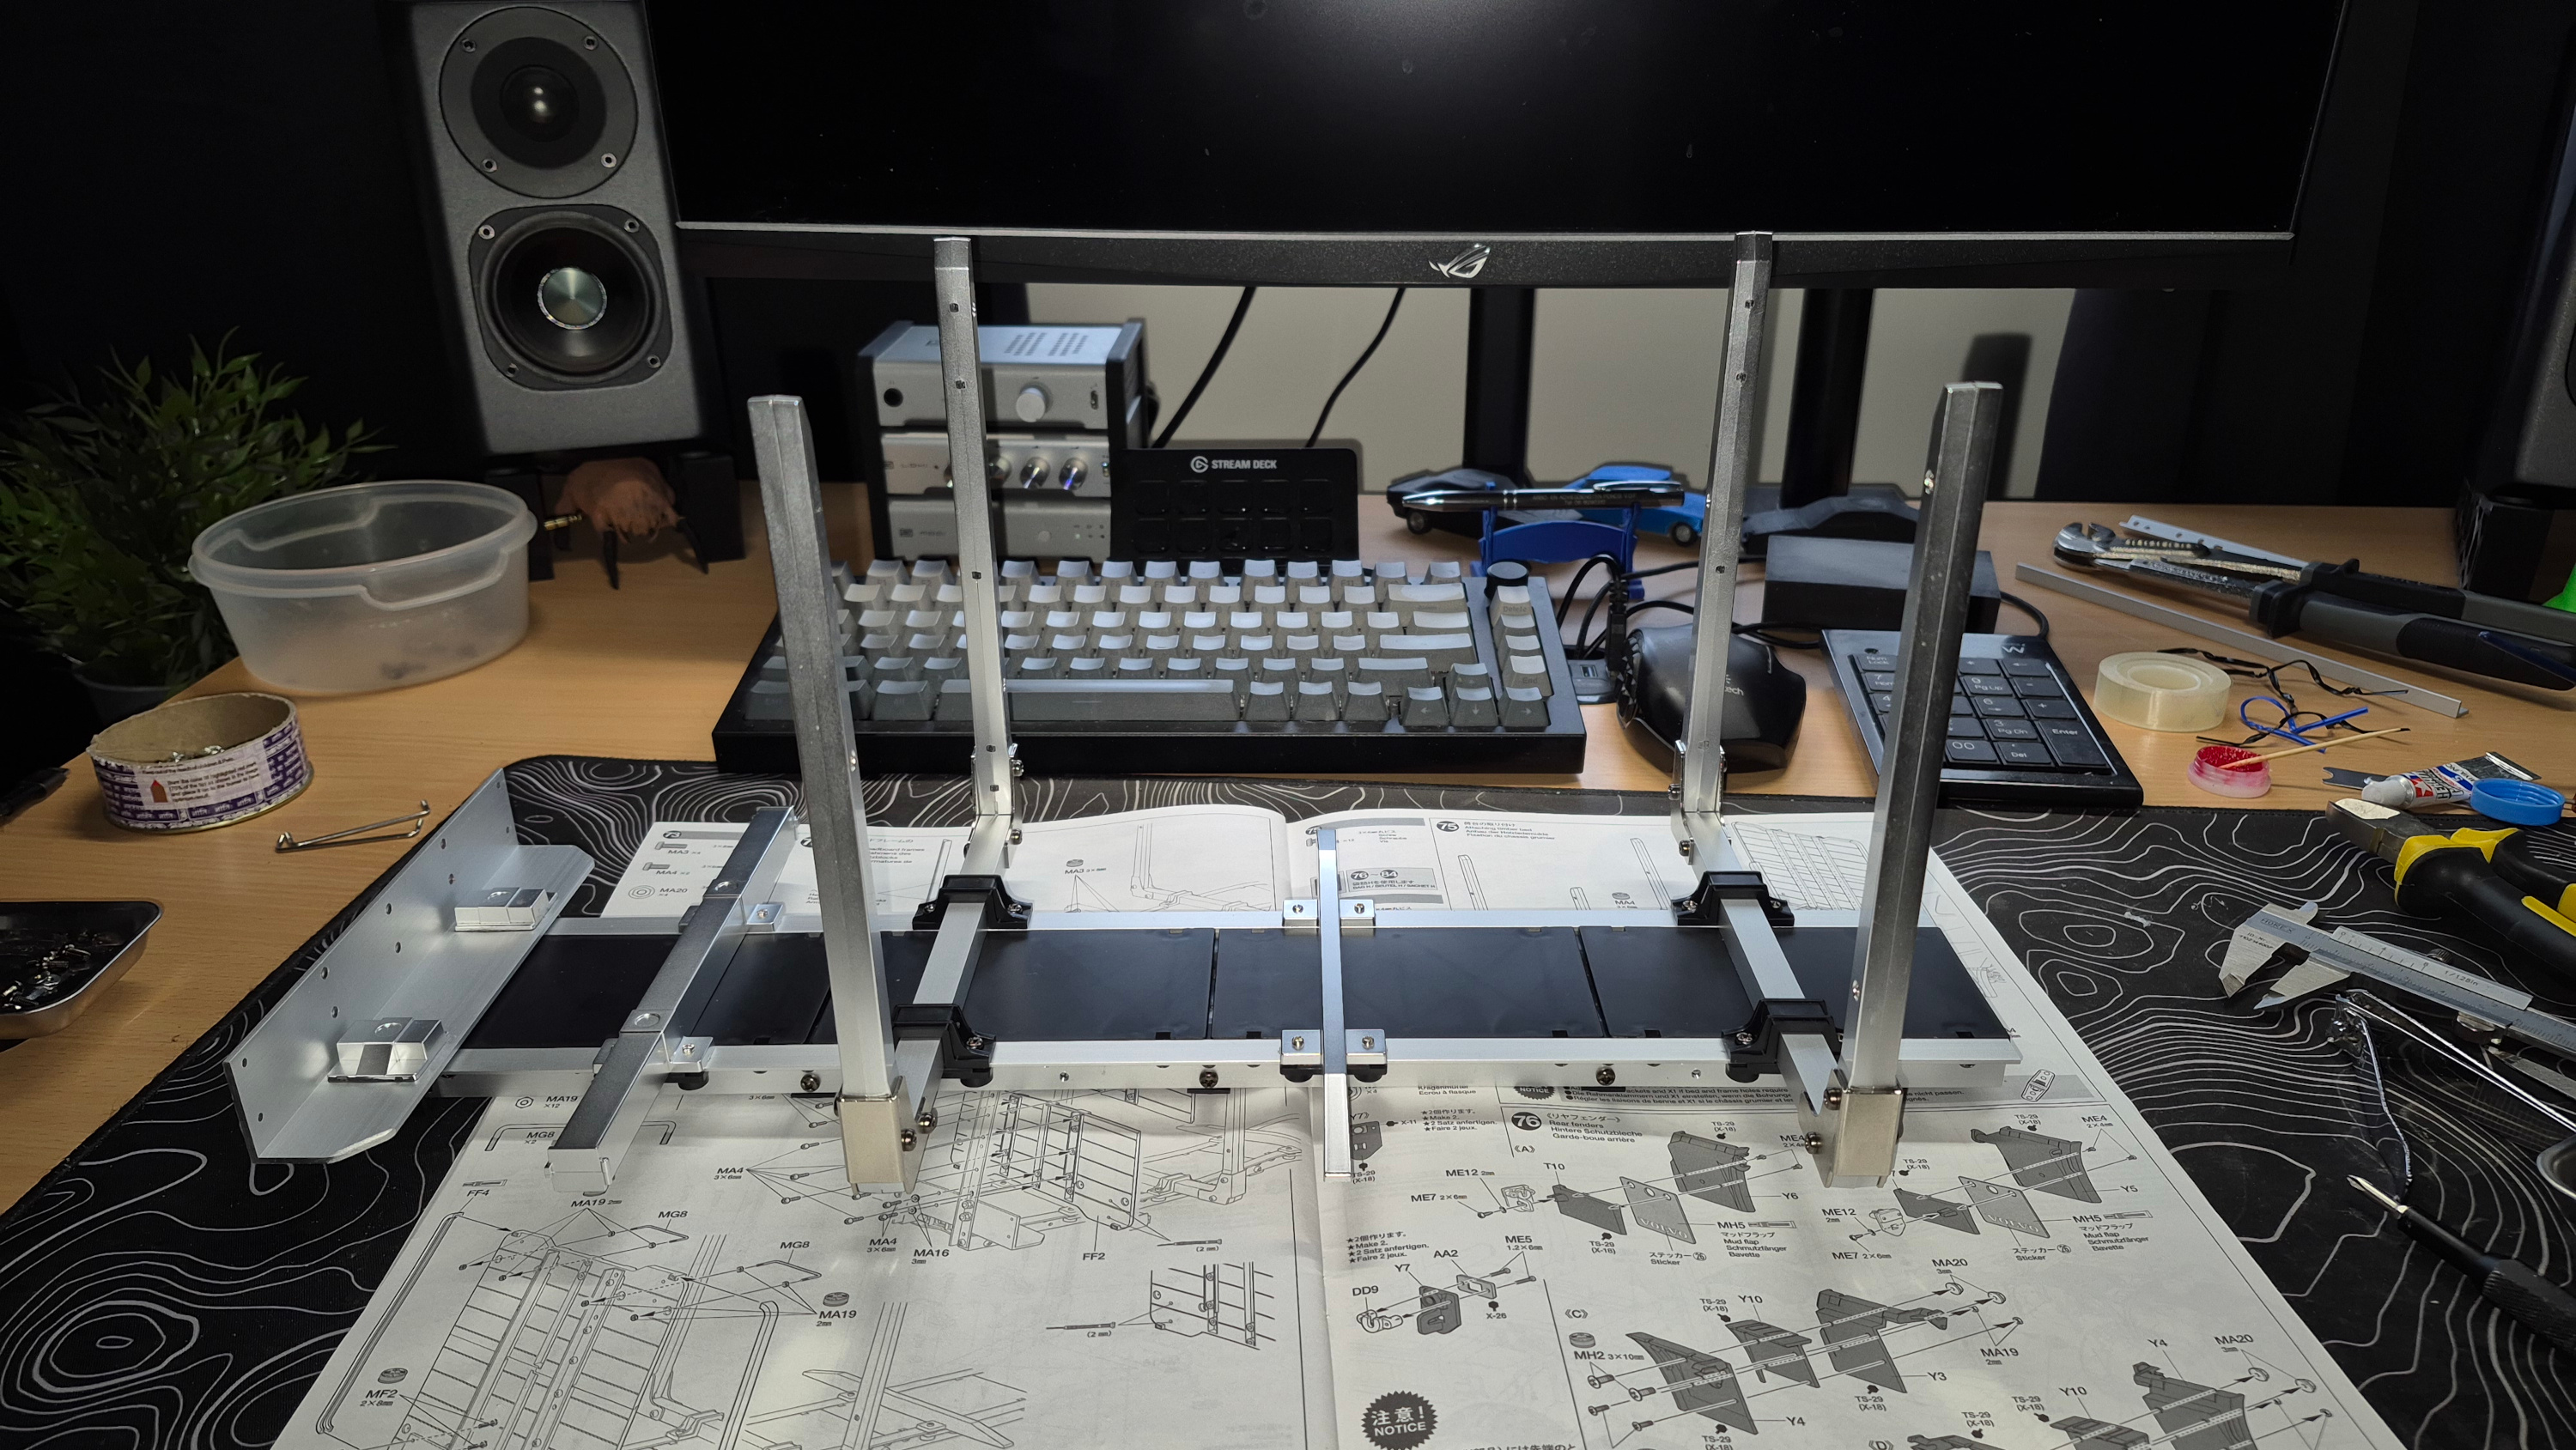 (1548.4 Kb, 3000x1689) Sub frame
|
| 25/01/26(Sun)11:39  (79.5 Kb, 800x800)
|
| 24/01/26(Sat)20:55 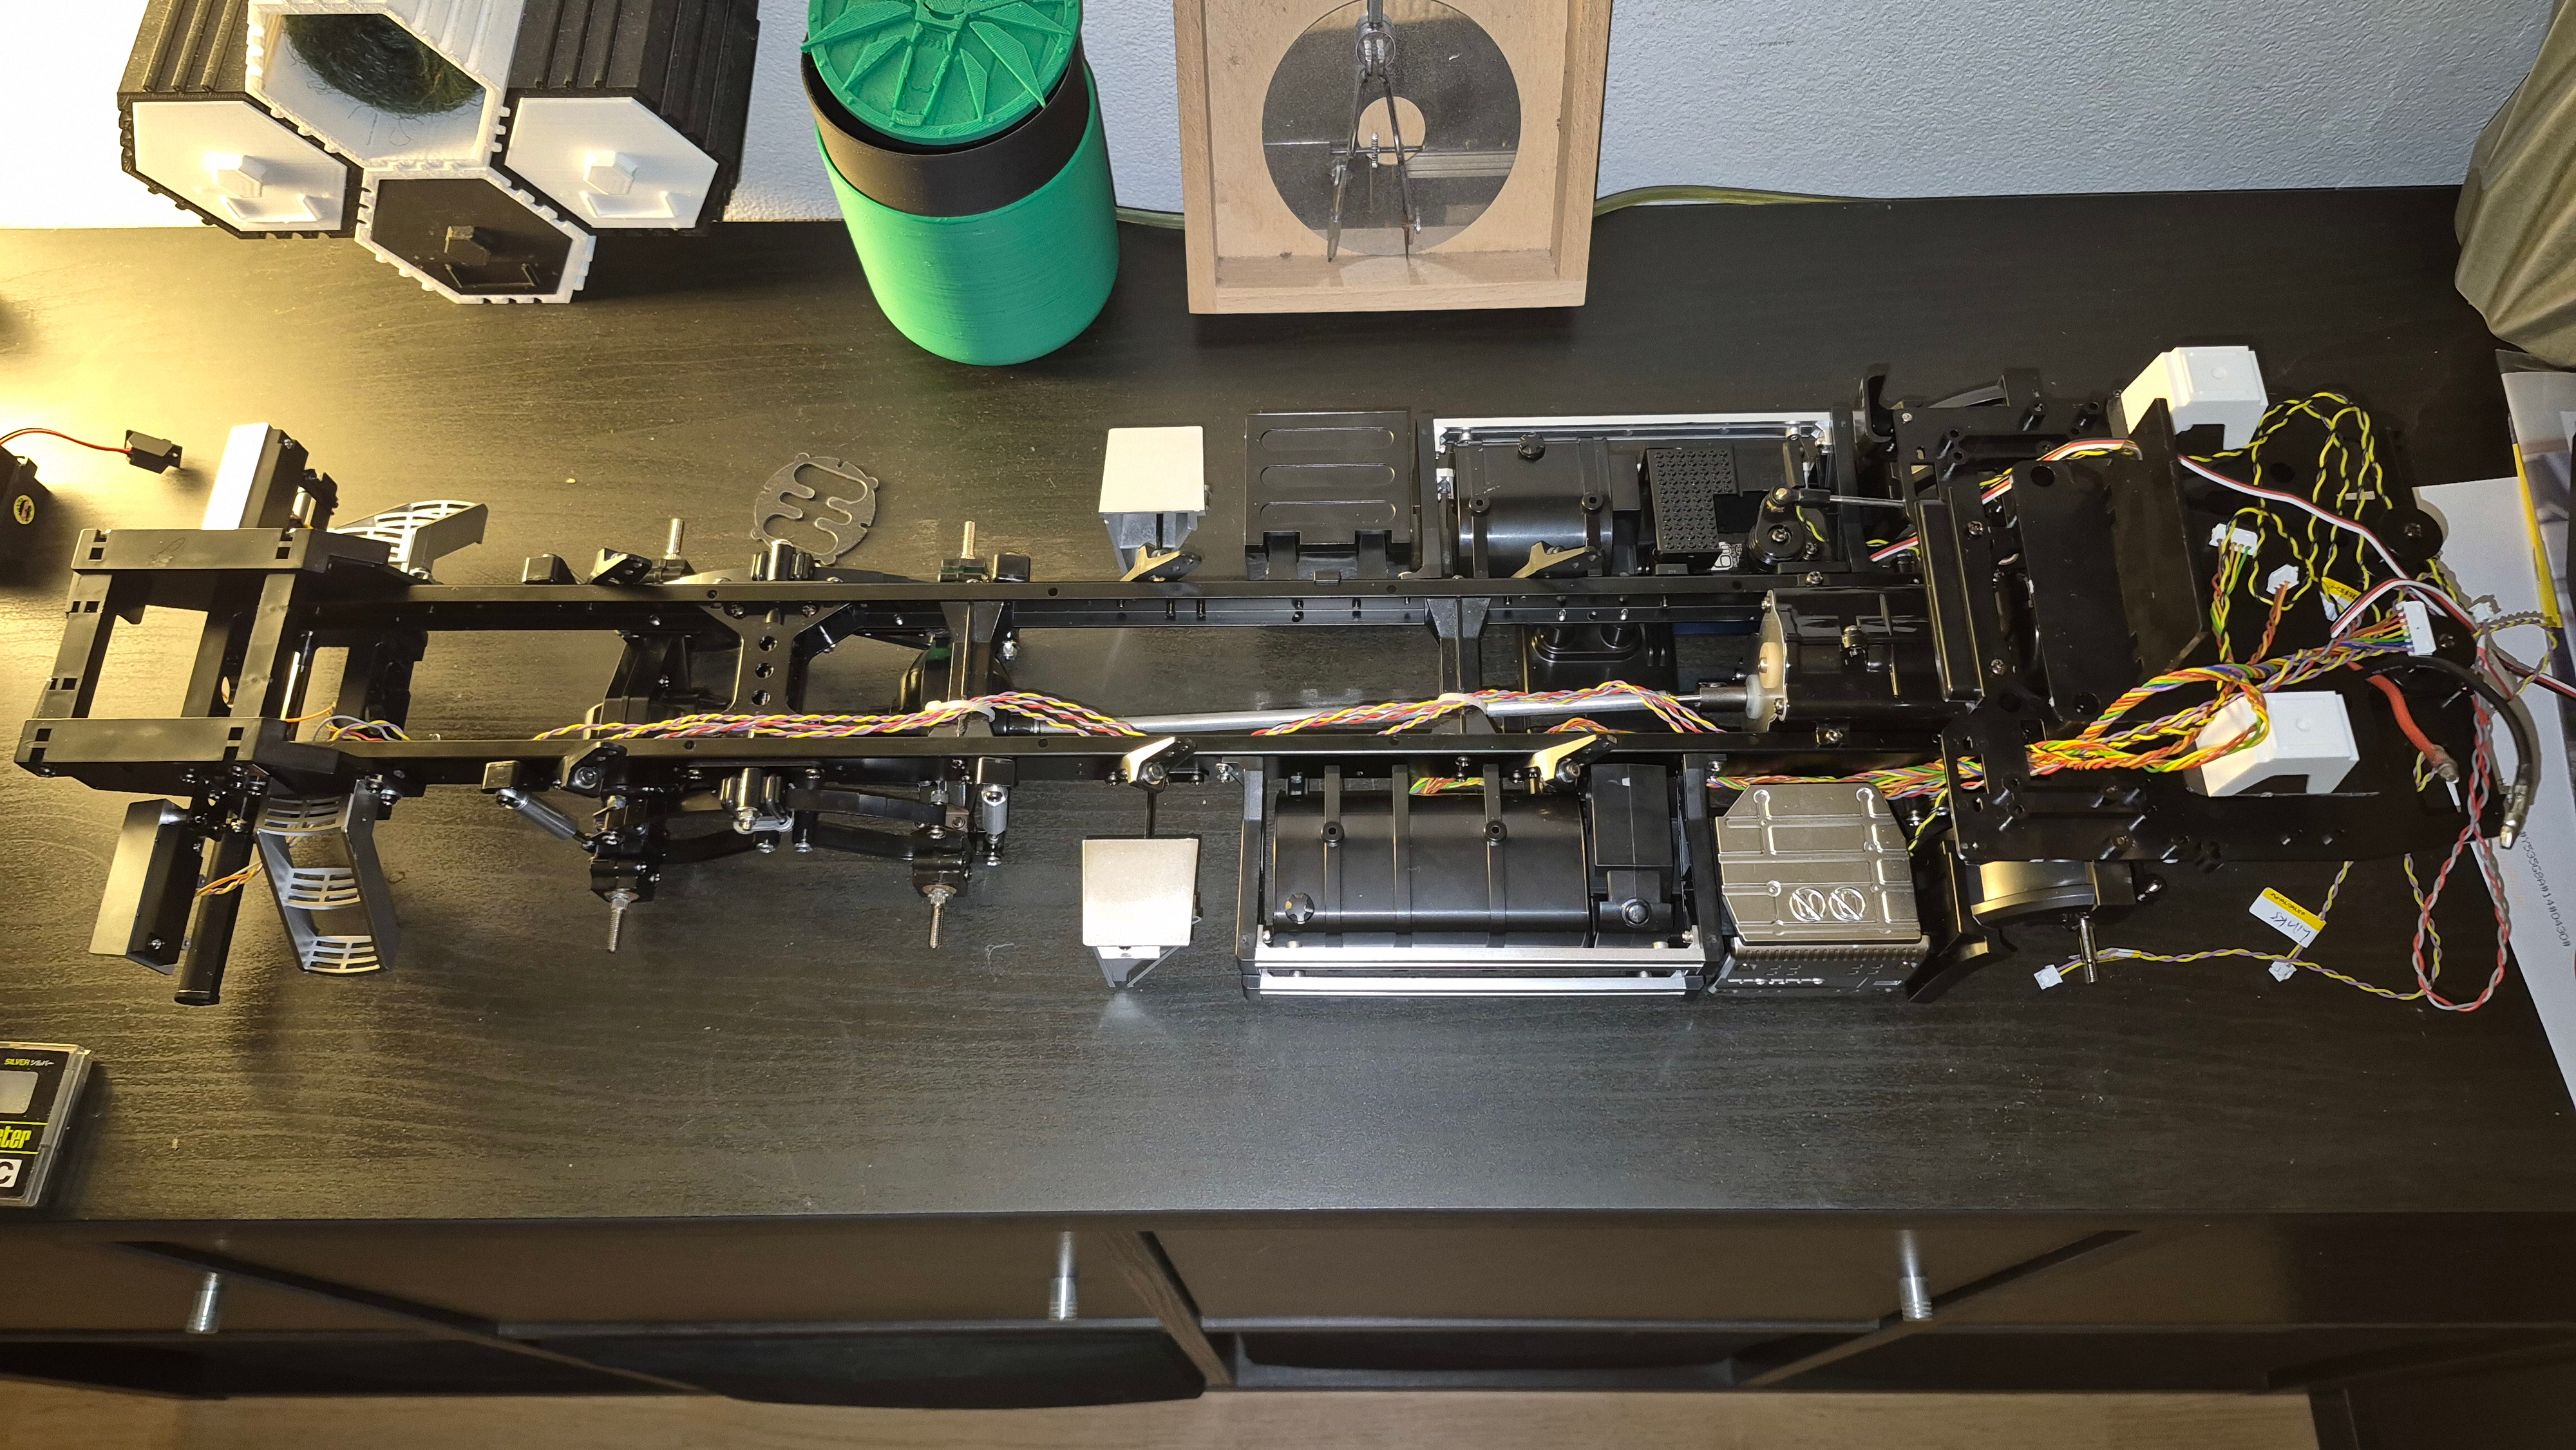 (3341.7 Kb, 4000x2252)
|
| 24/01/26(Sat)19:35  (447.9 Kb, 685x820)
|
| 24/01/26(Sat)19:34 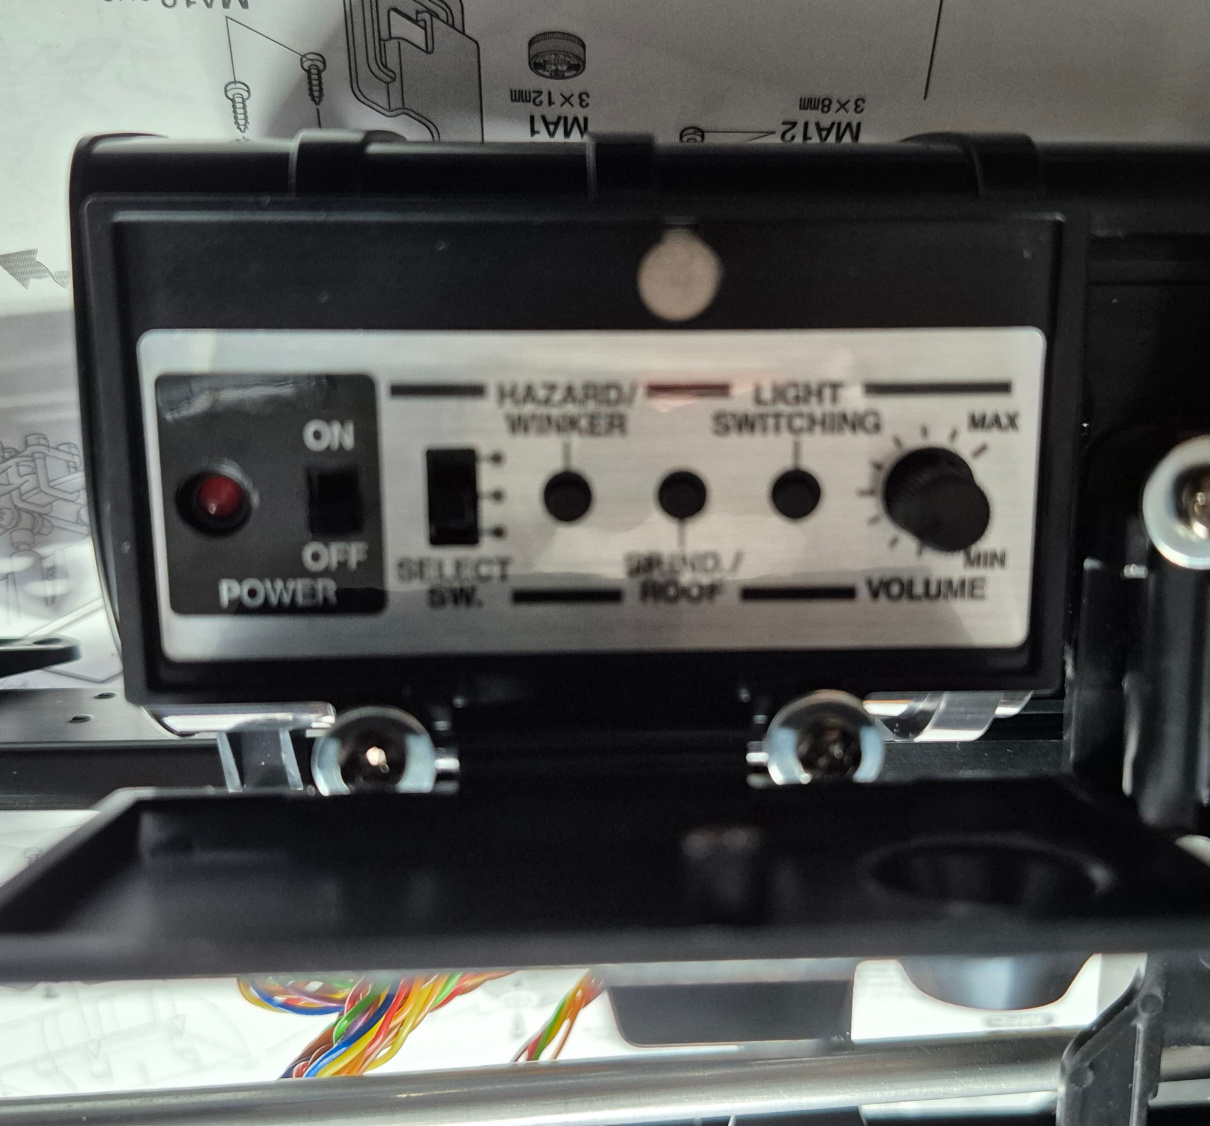 (372.1 Kb, 1210x1126)
|
| 24/01/26(Sat)19:30  (1573.2 Kb, 3000x1689)
|
| 24/01/26(Sat)19:25 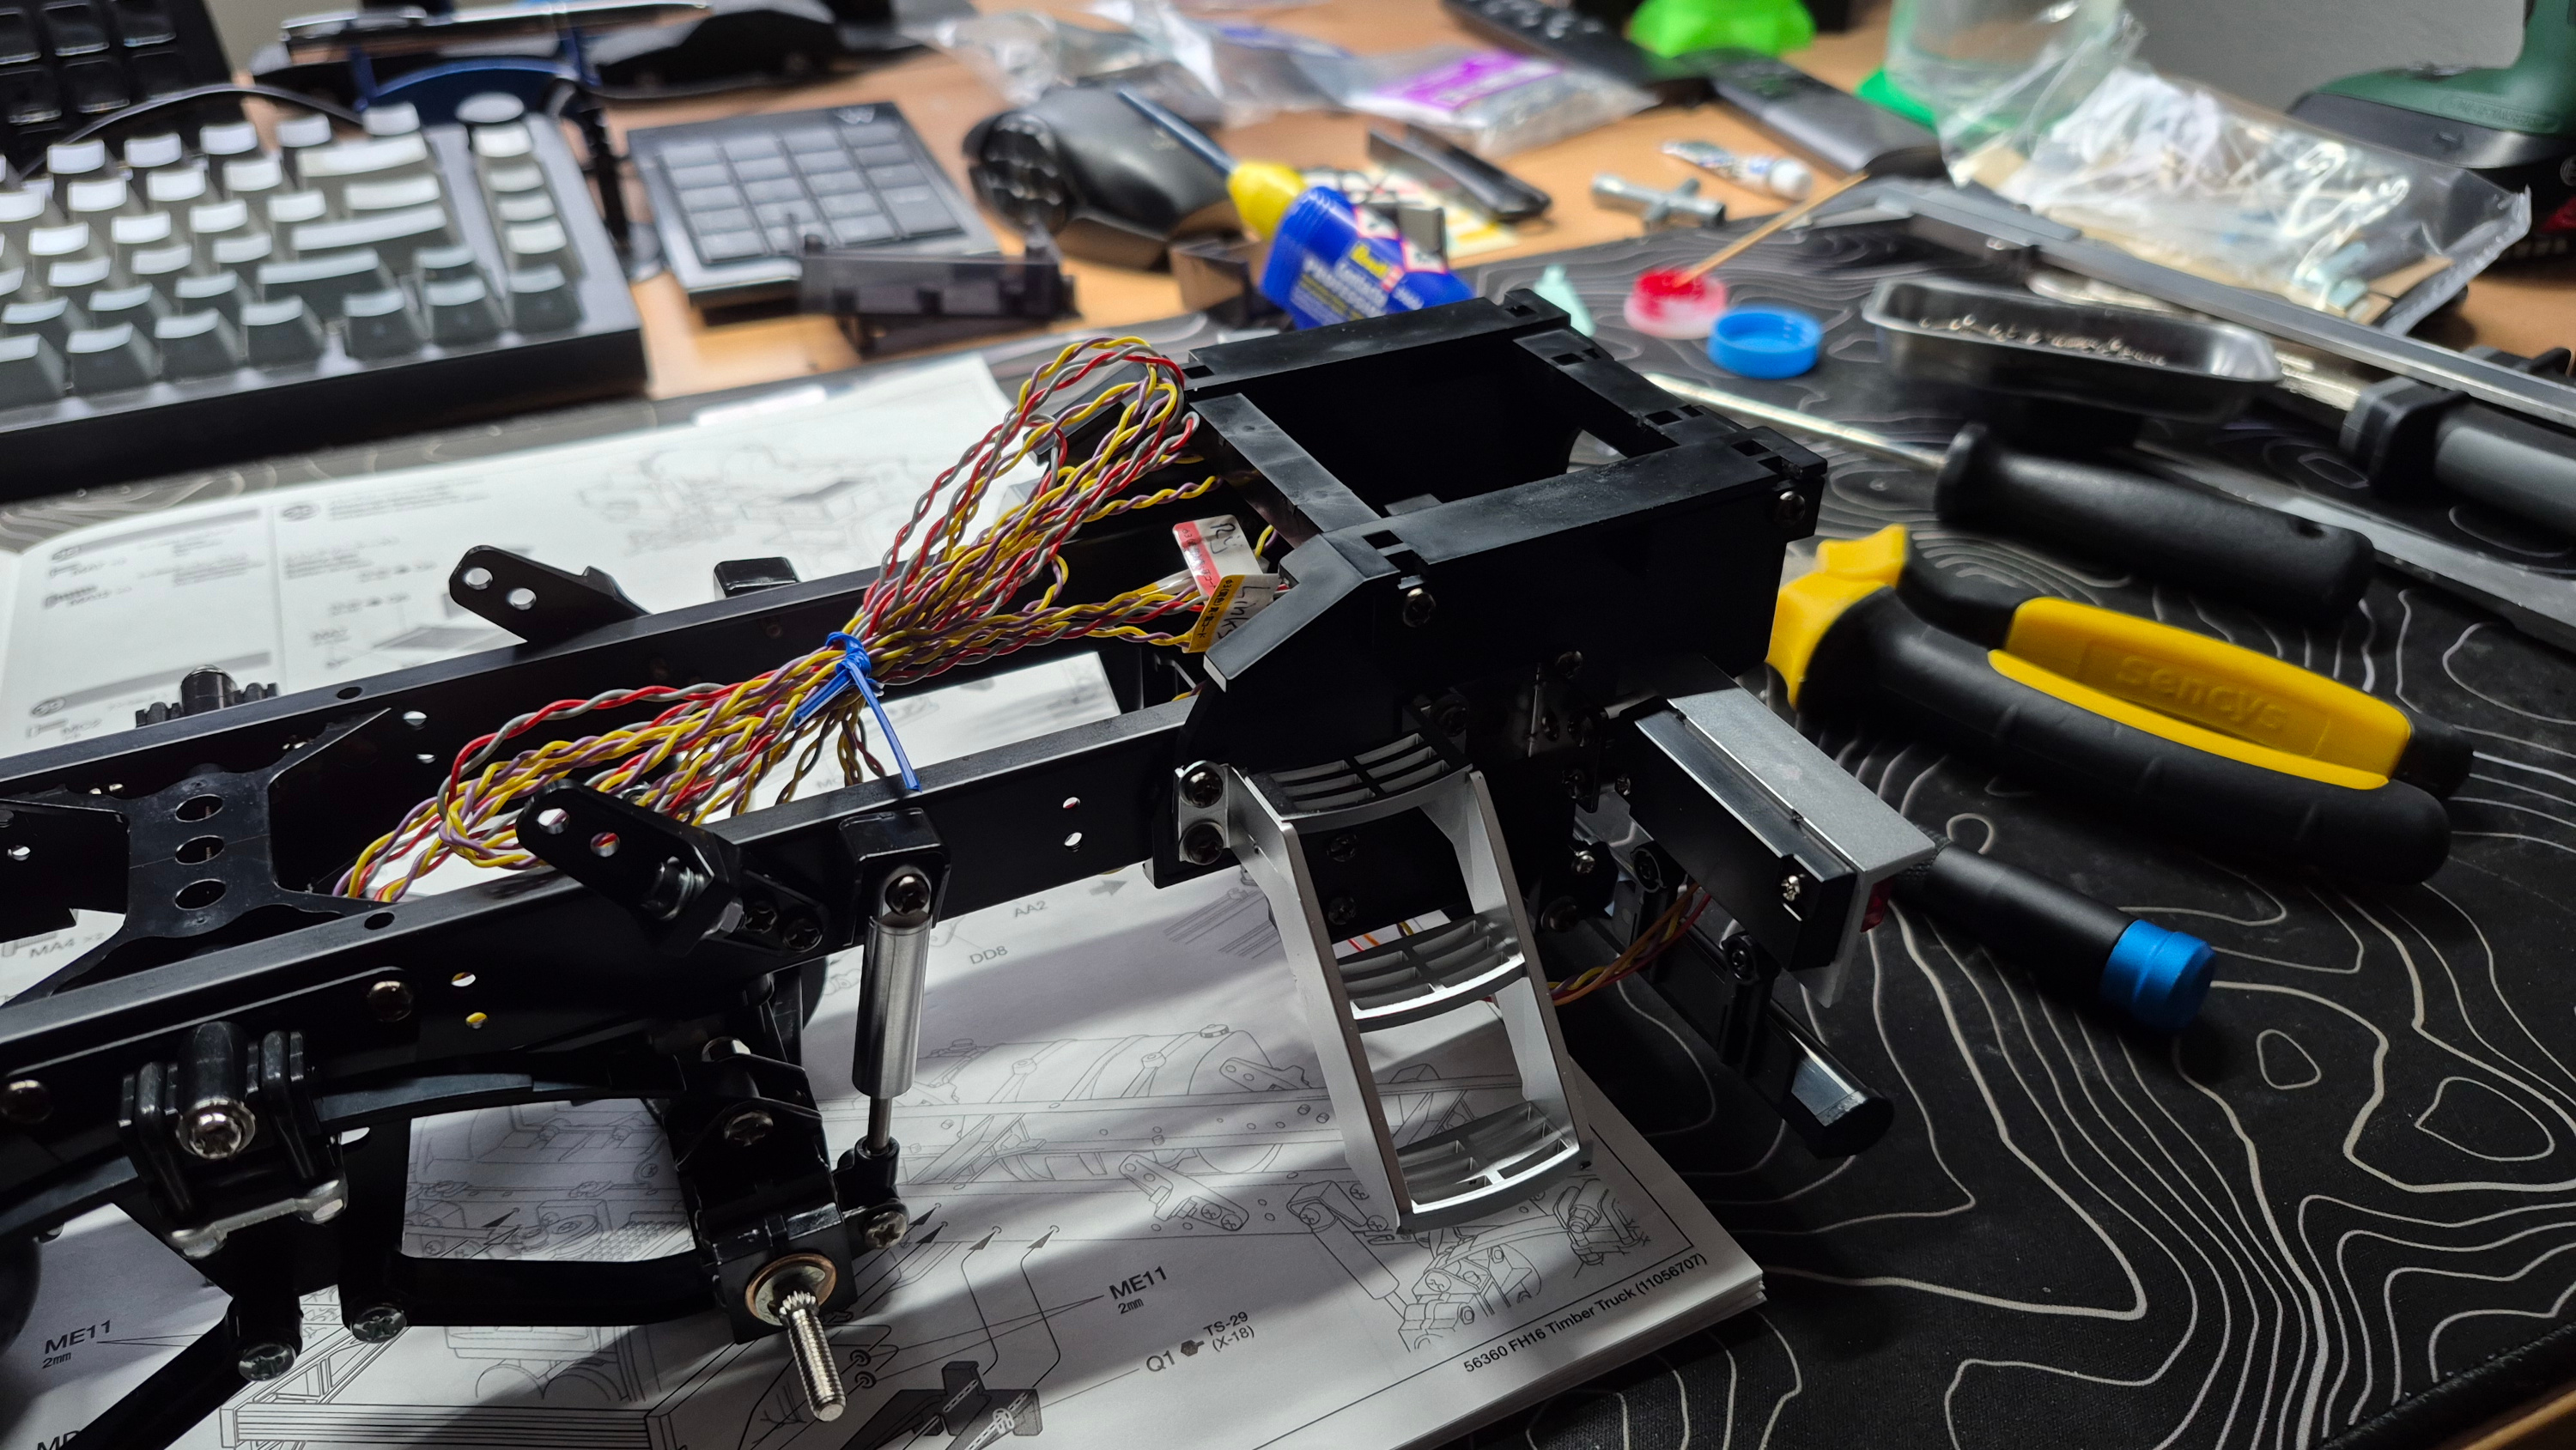 (1626.5 Kb, 3000x1689)
|
| 24/01/26(Sat)19:23  (1873.7 Kb, 1689x3000)
|
| 24/01/26(Sat)19:22  (1212.1 Kb, 2248x1688)
|
| 24/01/26(Sat)19:20  (1553.1 Kb, 3000x1689)
|
| 24/01/26(Sat)19:19  (843.4 Kb, 1683x1625)
|
| 24/01/26(Sat)19:17  (1449.6 Kb, 1689x3000)
|
| 24/01/26(Sat)19:16  (1507.1 Kb, 3000x1689)
|
| 24/01/26(Sat)19:12  (2239.3 Kb, 4000x2252)
|
| 23/01/26(Fri)11:18
|
| 22/01/26(Thu)15:33
|
| 22/01/26(Thu)15:31  (2942.3 Kb, 2252x4000)
|
| 22/01/26(Thu)15:30  (2339.4 Kb, 4000x2252)
|
| 22/01/26(Thu)15:29  (3061.3 Kb, 4000x2252)
|
| 22/01/26(Thu)15:28  (3170.6 Kb, 4000x2252)
|
| 22/01/26(Thu)15:27  (2725.8 Kb, 4000x2252)
|
| 22/01/26(Thu)15:25  (1662.8 Kb, 2252x4000)
|
| 22/01/26(Thu)15:24  (1736.2 Kb, 2864x2240)
|
| 22/01/26(Thu)15:23  (2047.4 Kb, 4000x2252)
|
| 22/01/26(Thu)13:54
|
| 22/01/26(Thu)13:03 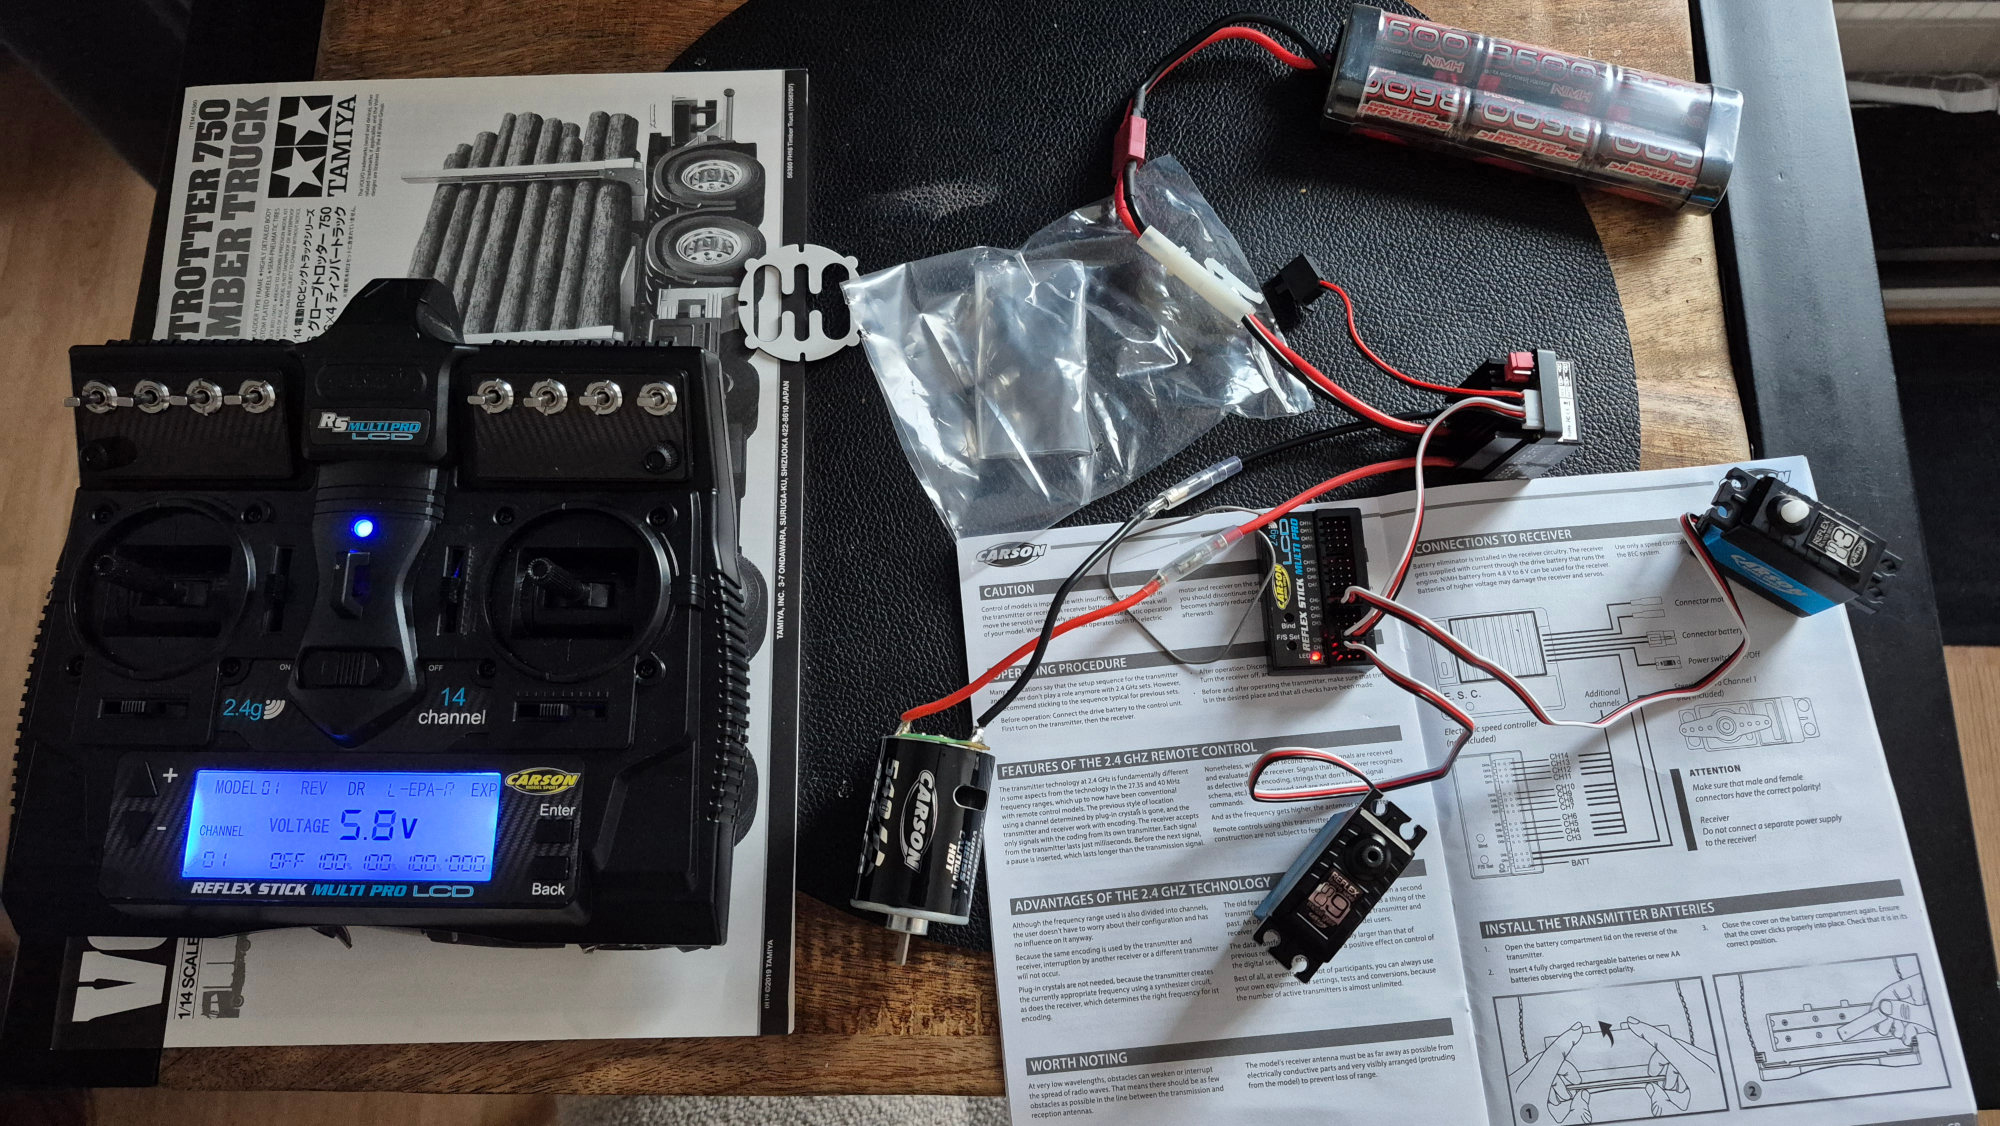 (1909.1 Kb, 2000x1126) Testing the electronic parts
|
| 22/01/26(Thu)12:29  (34.2 Kb, 778x512)
|
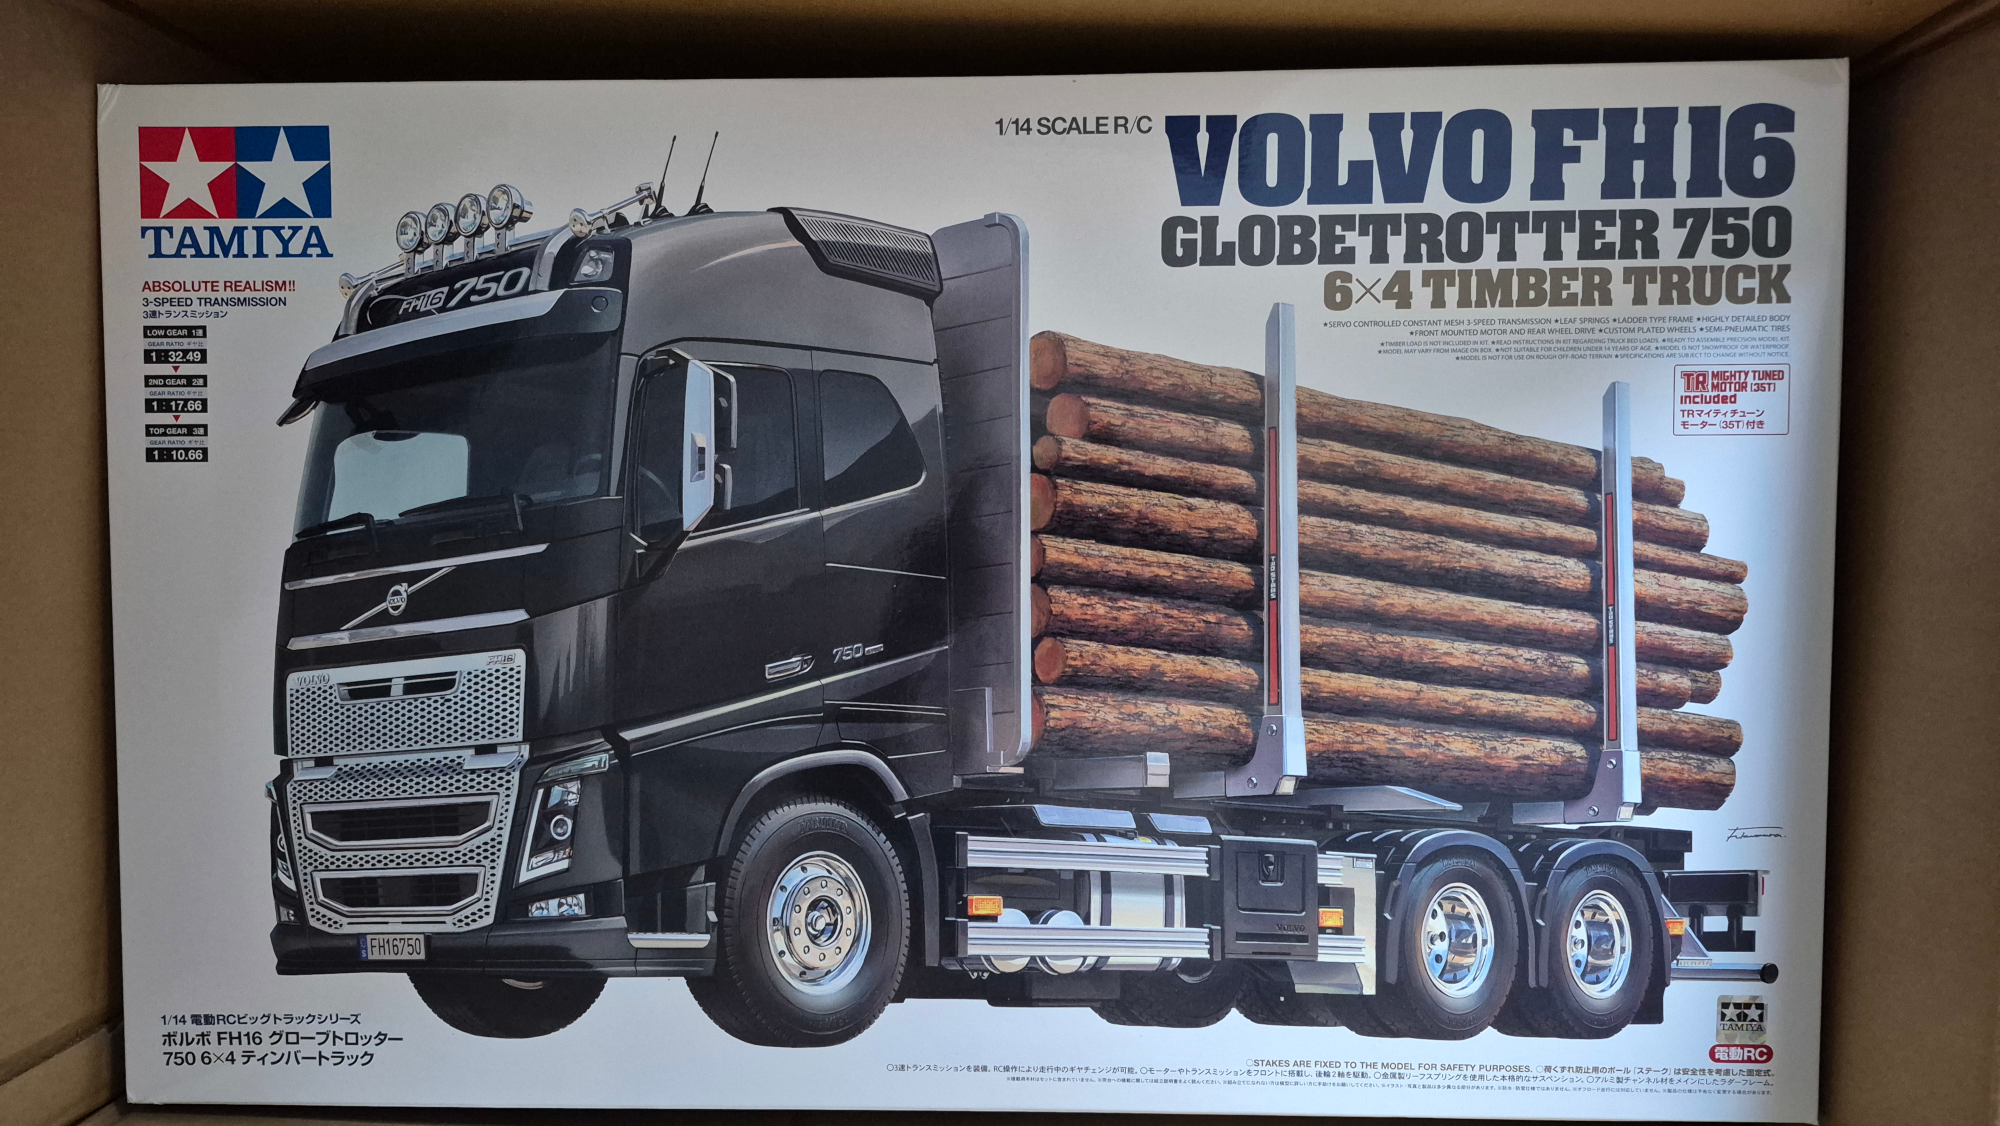
| 20/01/26(Tue)13:46 67 cm long chassis
|