
 30/03/26(Mon)14:28  (5287.1 Kb, 3072x4096) Achievement Unlocked
|
 30/03/26(Mon)12:39  (548.4 Kb, 550x534) Niiiice!
|
| 30/03/26(Mon)11:53  (5644.3 Kb, 4096x3072) Turns out a coat of matt clear can make a turd shine!
|
| 27/03/26(Fri)16:49
|
| 26/03/26(Thu)23:36
|
| 26/03/26(Thu)15:07  (3006.6 Kb, 4096x3072) |
| 26/03/26(Thu)15:06  (2939.7 Kb, 4096x3072)
|
| 26/03/26(Thu)09:53  (24.1 Kb, 920x789) Homer likes it
|
| 25/03/26(Wed)14:54  (4709.9 Kb, 3072x4096) |
| 25/03/26(Wed)14:54 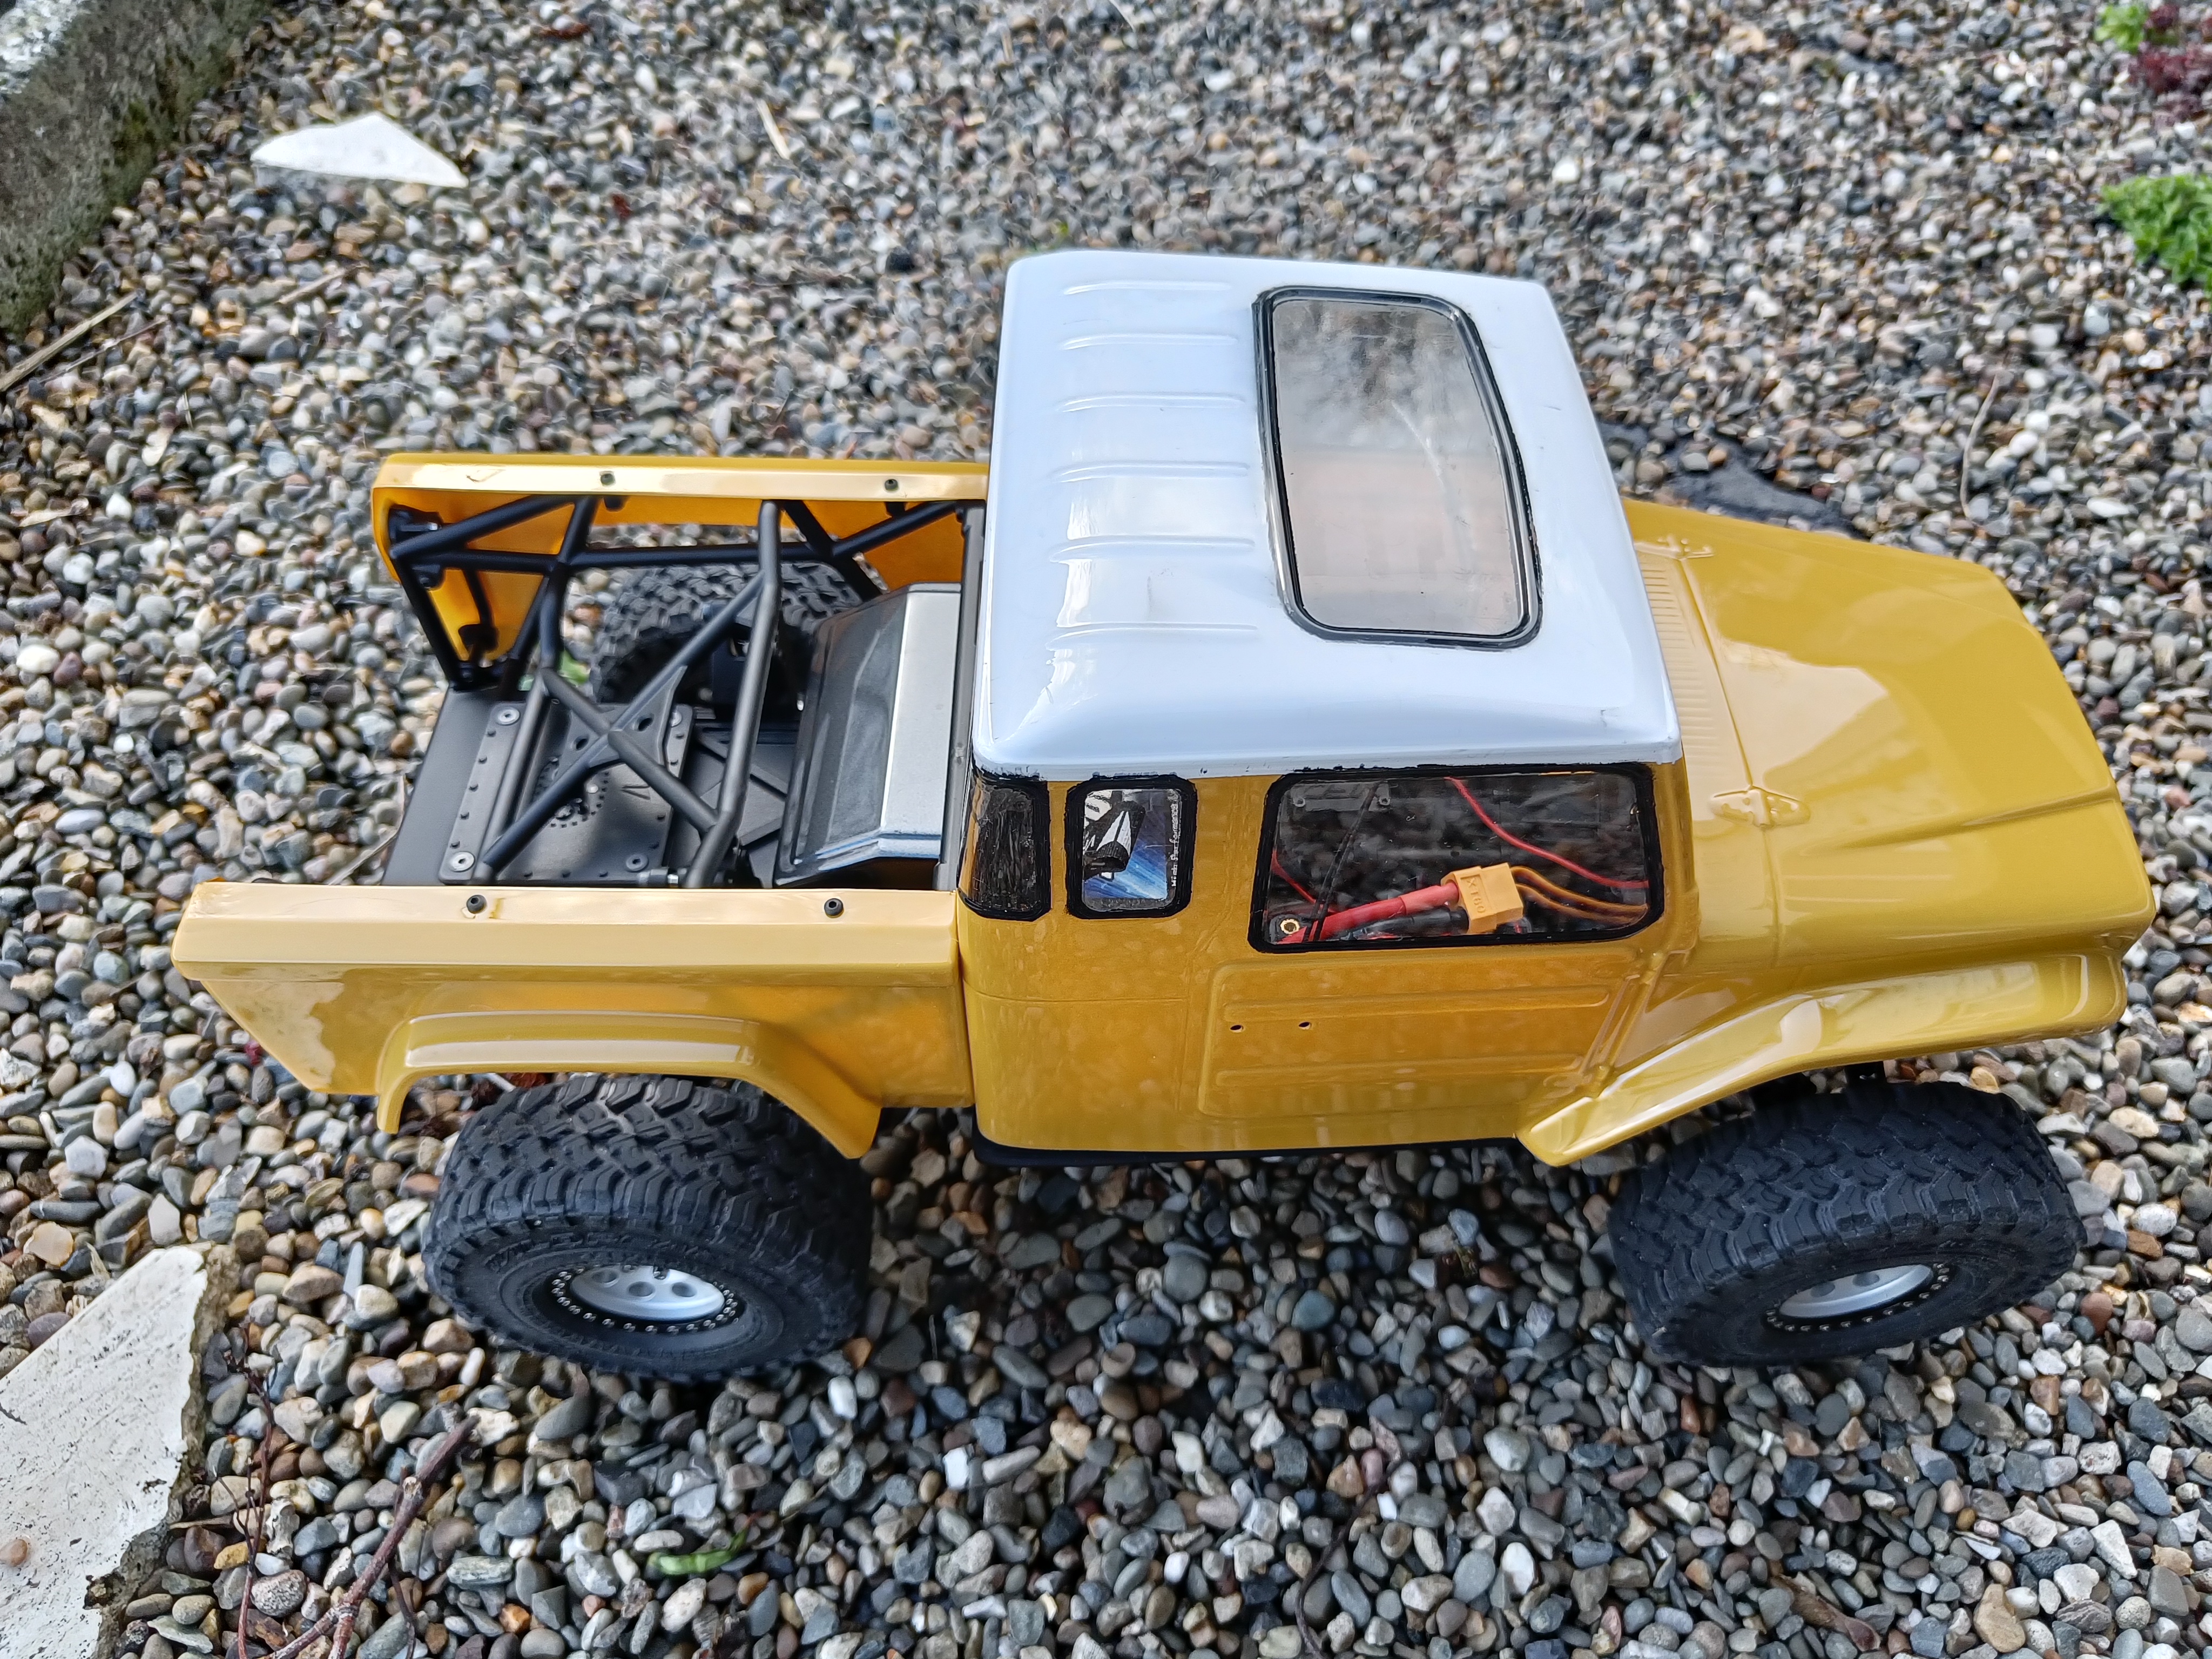 (4958.6 Kb, 4096x3072)
|
| 25/03/26(Wed)14:52  (4741.0 Kb, 3072x4096) |
| 25/03/26(Wed)14:52 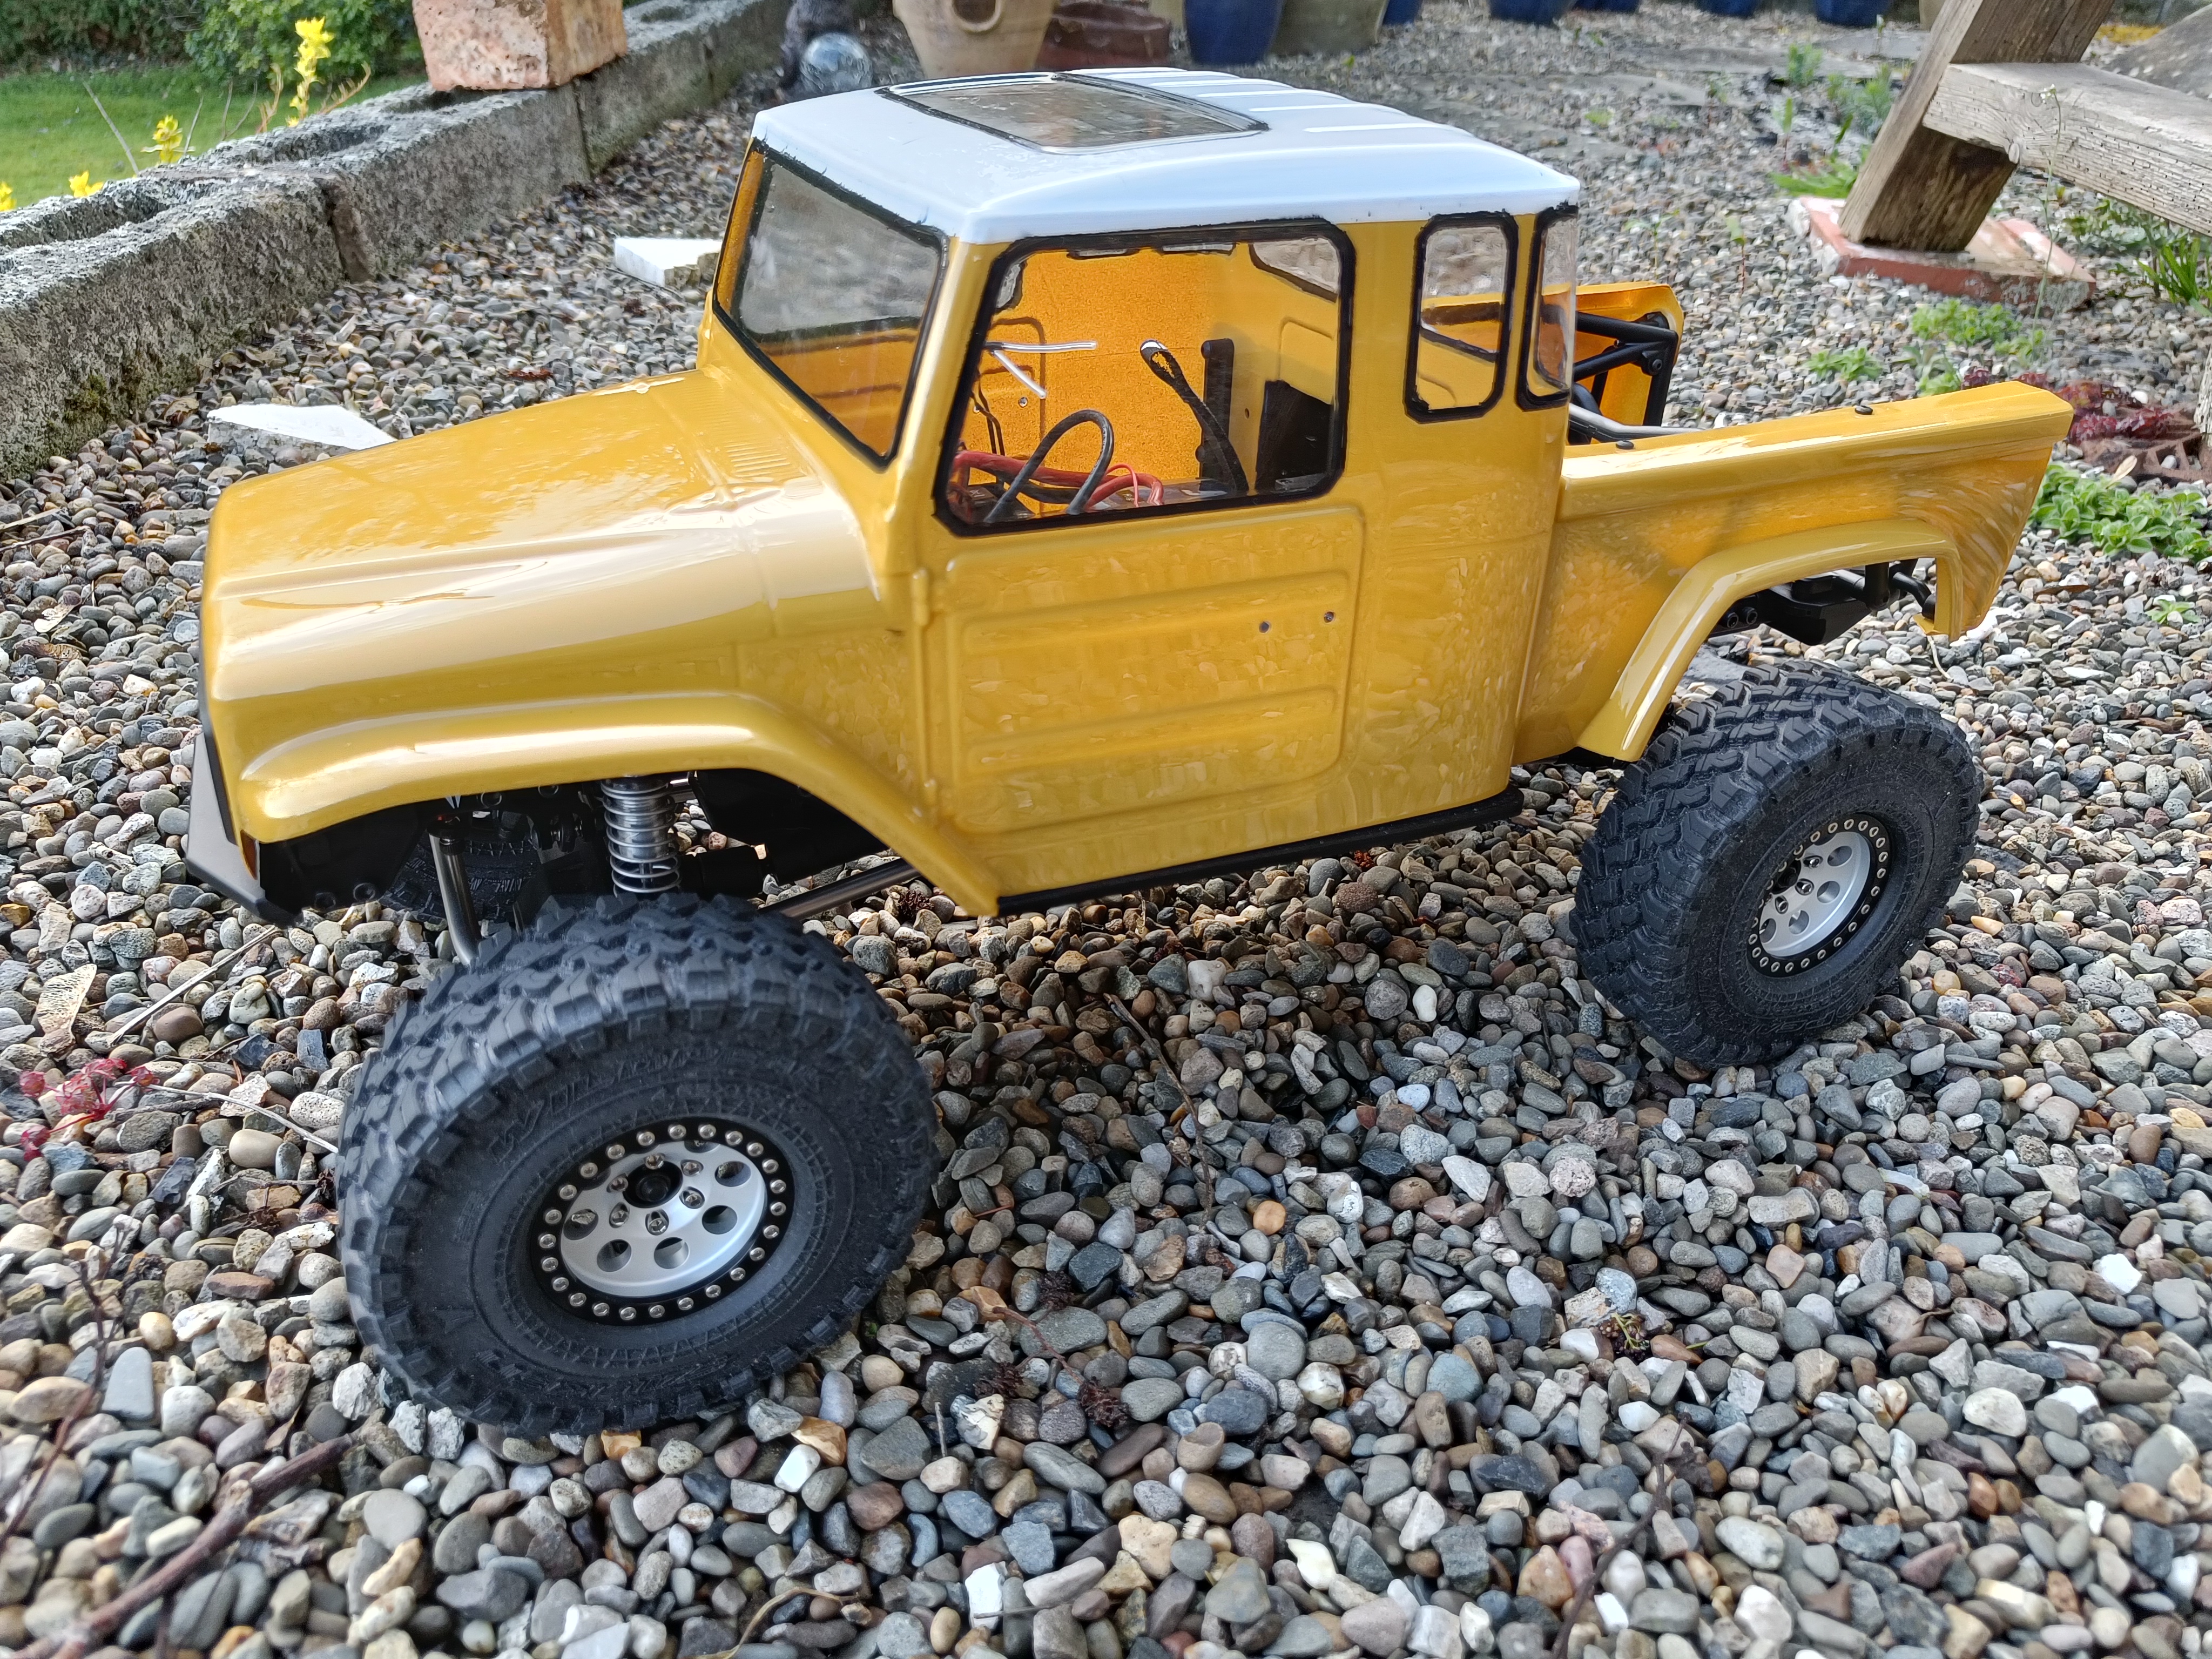 (5692.3 Kb, 4096x3072) I present to you my polished turd paint job |
| 25/03/26(Wed)11:31
|
 24/03/26(Tue)08:43  (722.6 Kb, 1200x1200) No, just no
|
| 16/03/26(Mon)15:35
|
| 14/03/26(Sat)14:28
|
| 13/03/26(Fri)15:08 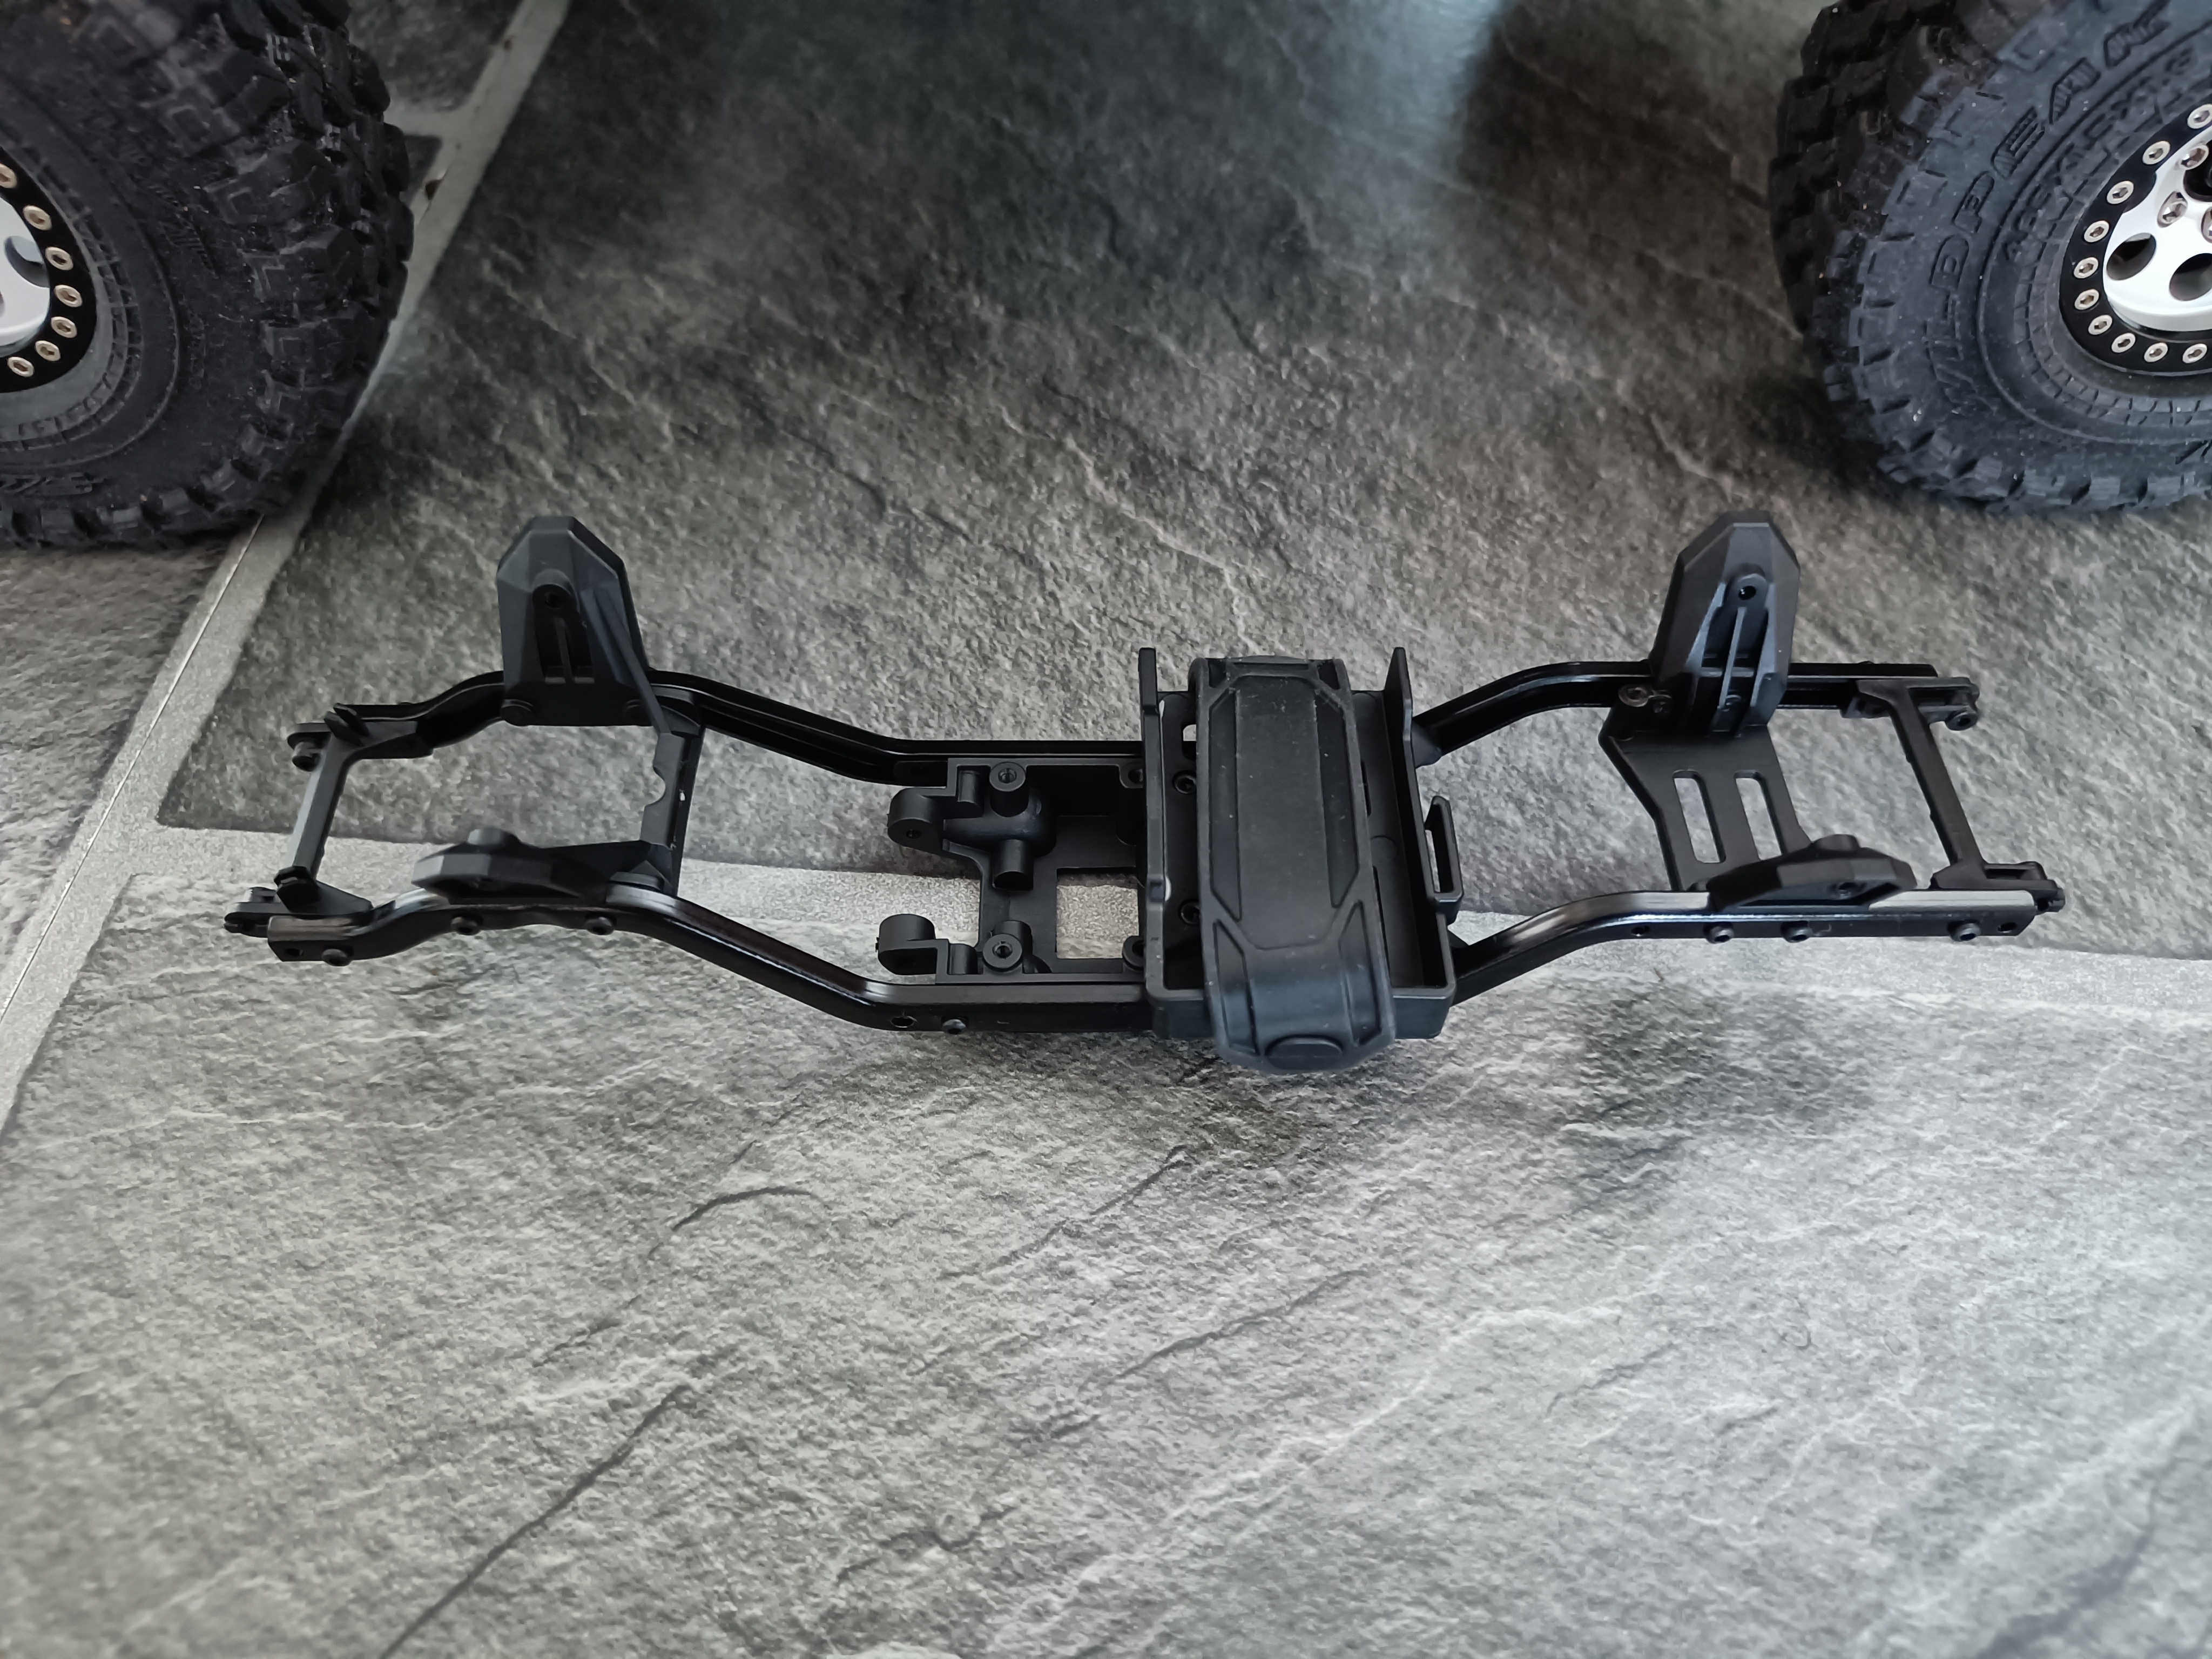 (3669.3 Kb, 4096x3072) |
| 13/03/26(Fri)15:08 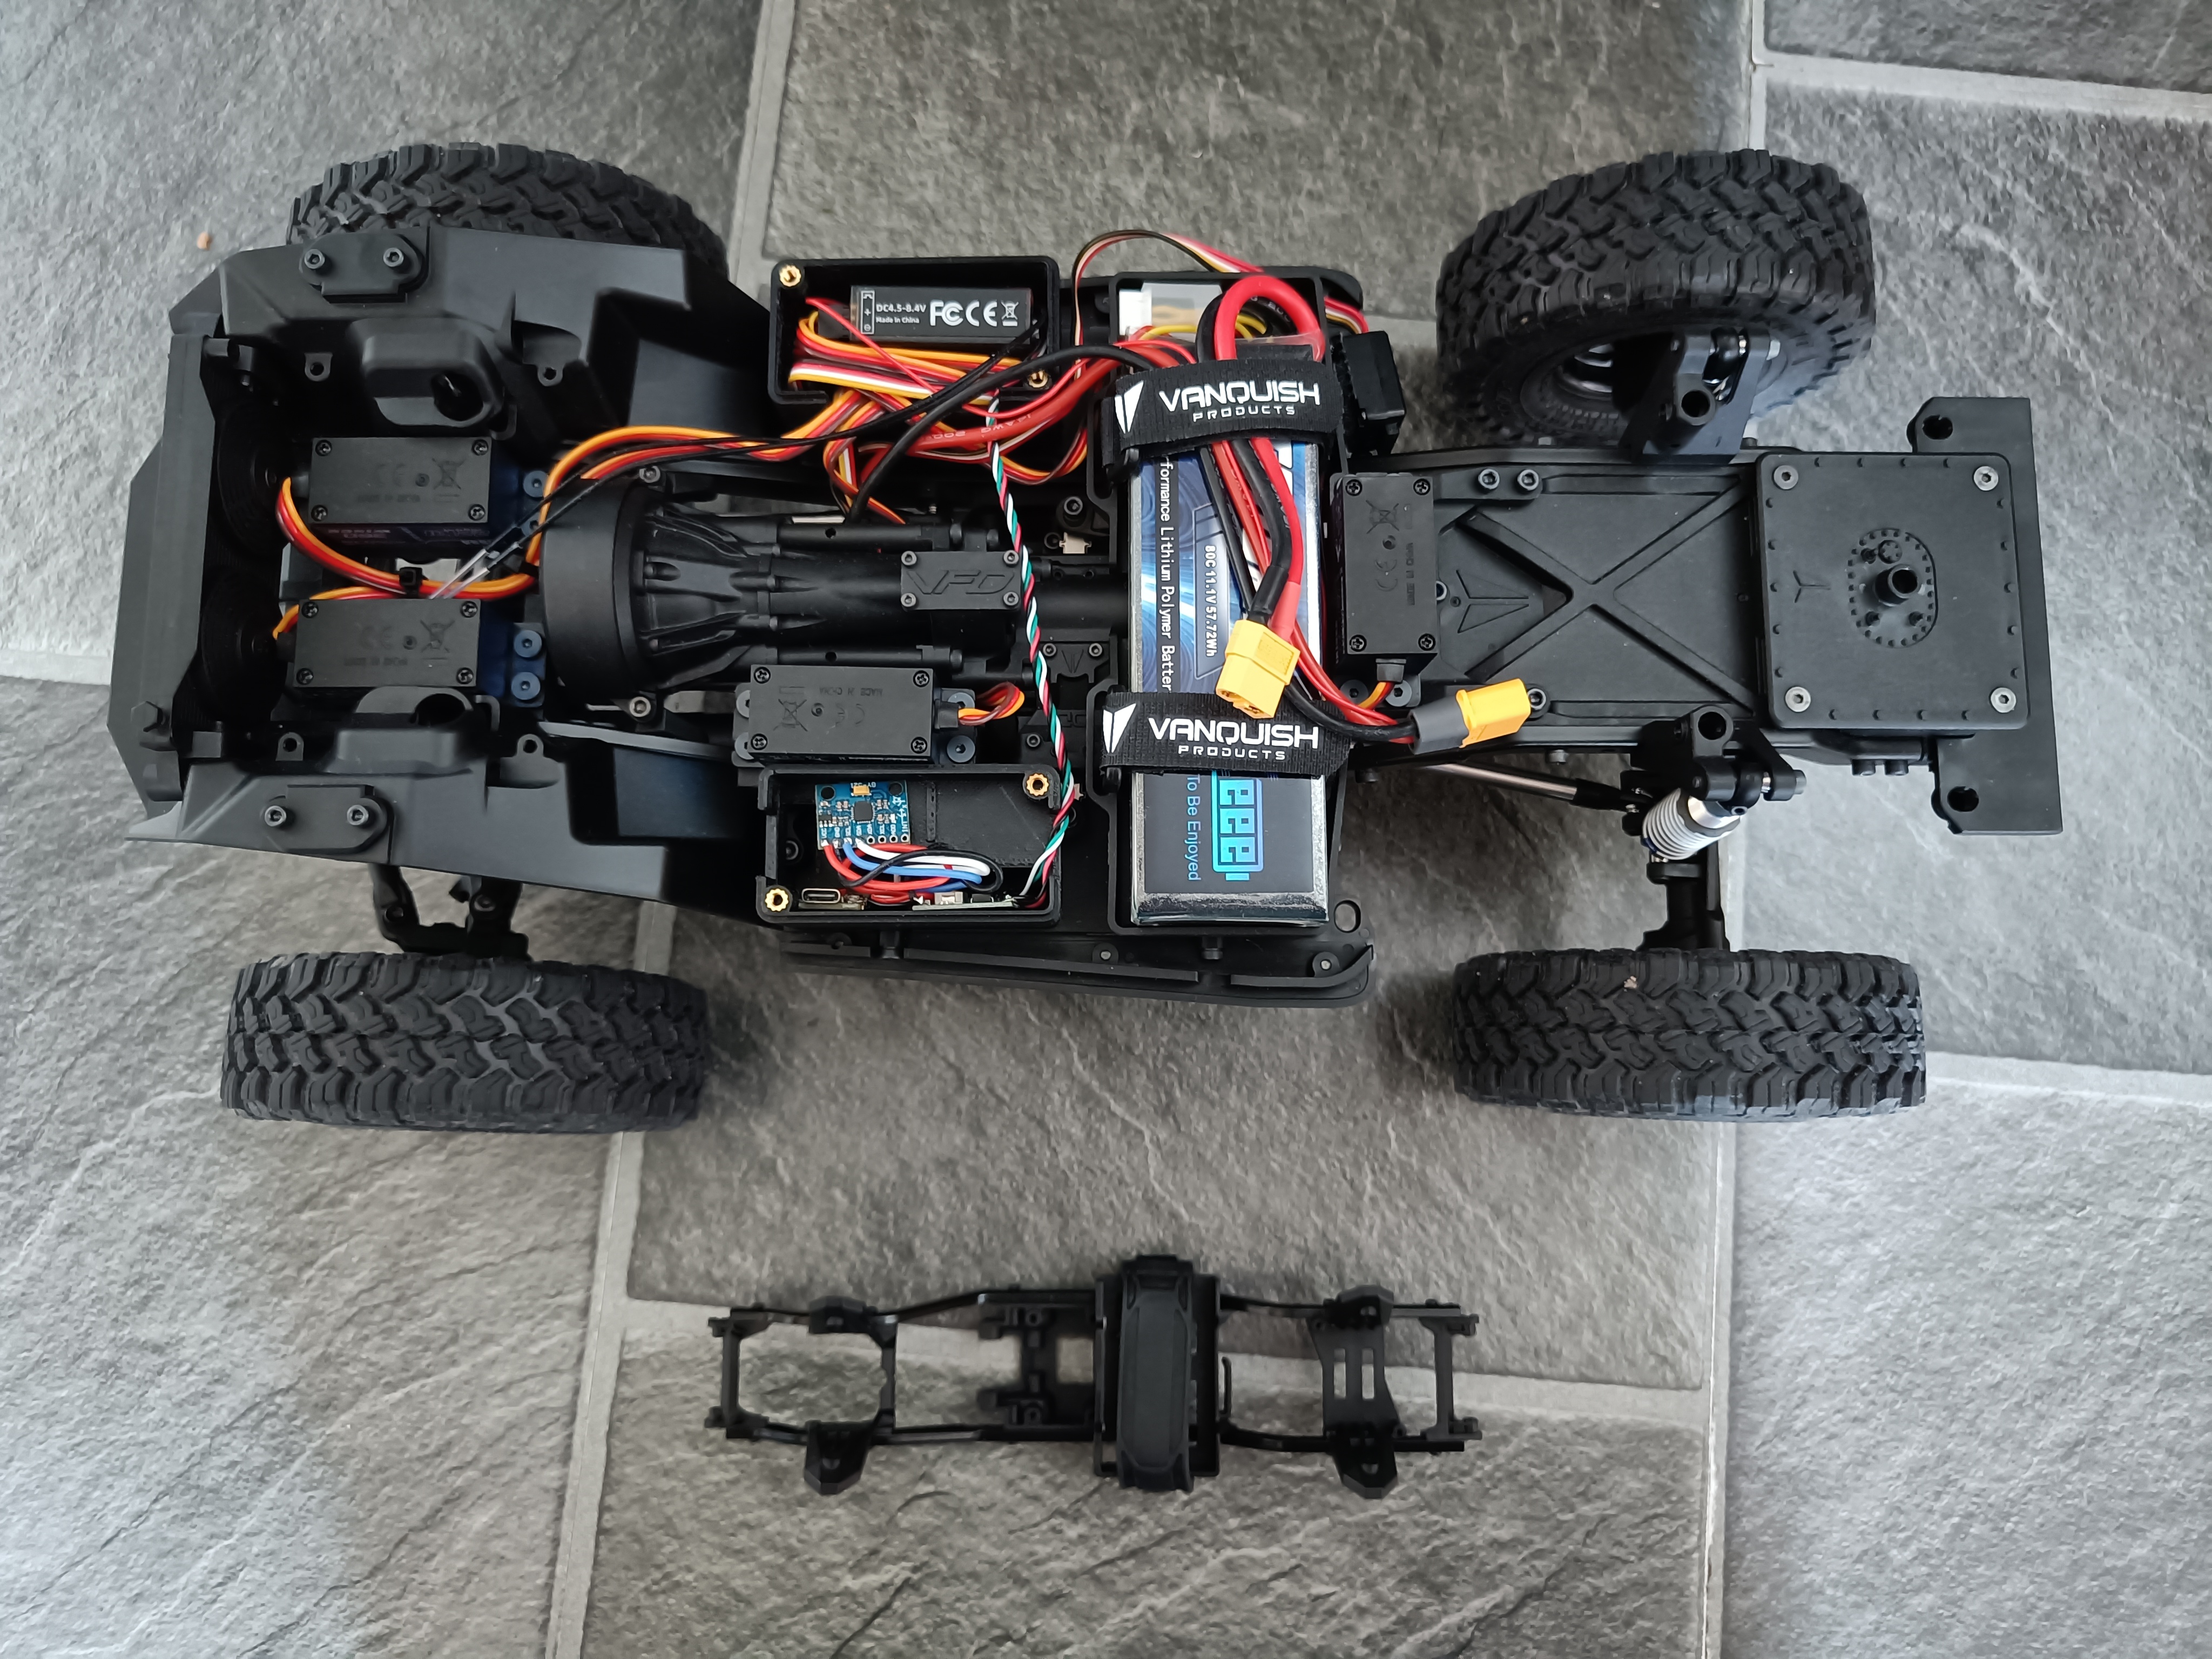 (3538.8 Kb, 4096x3072) It's so cute and tiny XD
|
| 06/03/26(Fri)15:02  (3231.2 Kb, 3072x4096)
|
| 04/03/26(Wed)19:15 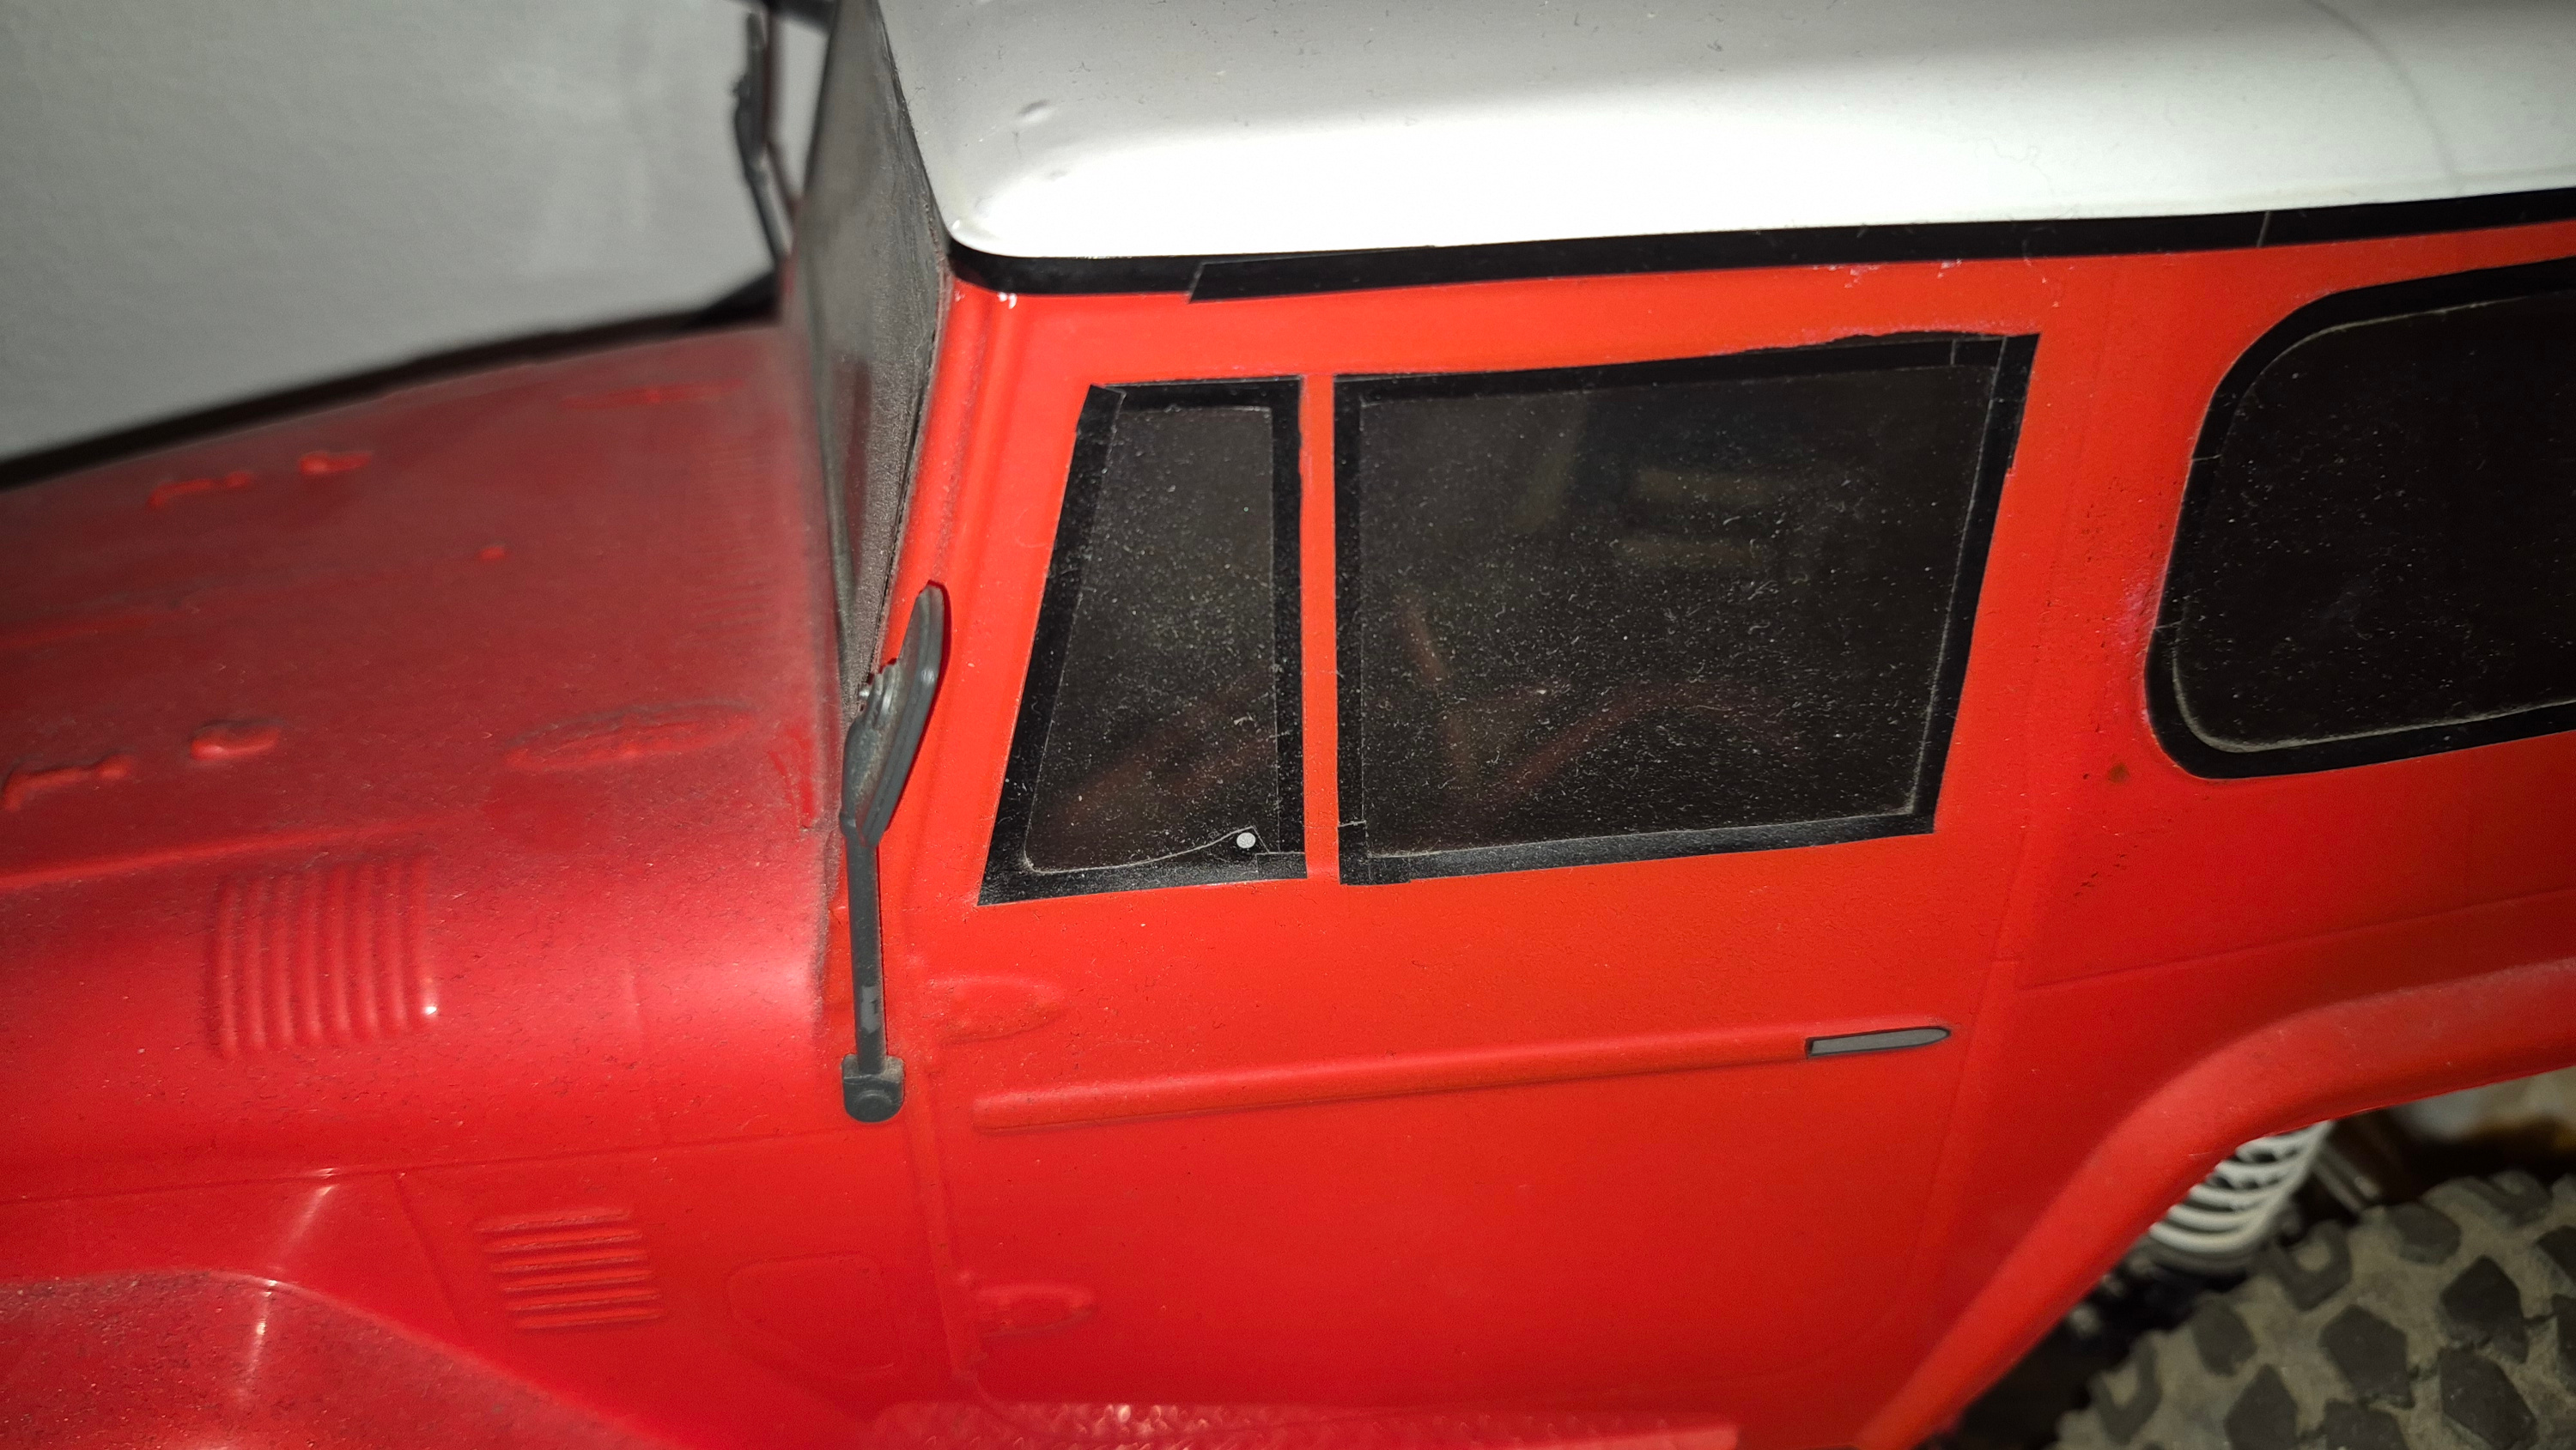 (1577.3 Kb, 3000x1689) My first crawler wasn't perfect either.
|
| 04/03/26(Wed)16:00  (122.3 Kb, 735x540) |
| 04/03/26(Wed)15:53  (2856.4 Kb, 3072x4096) |
| 04/03/26(Wed)15:52 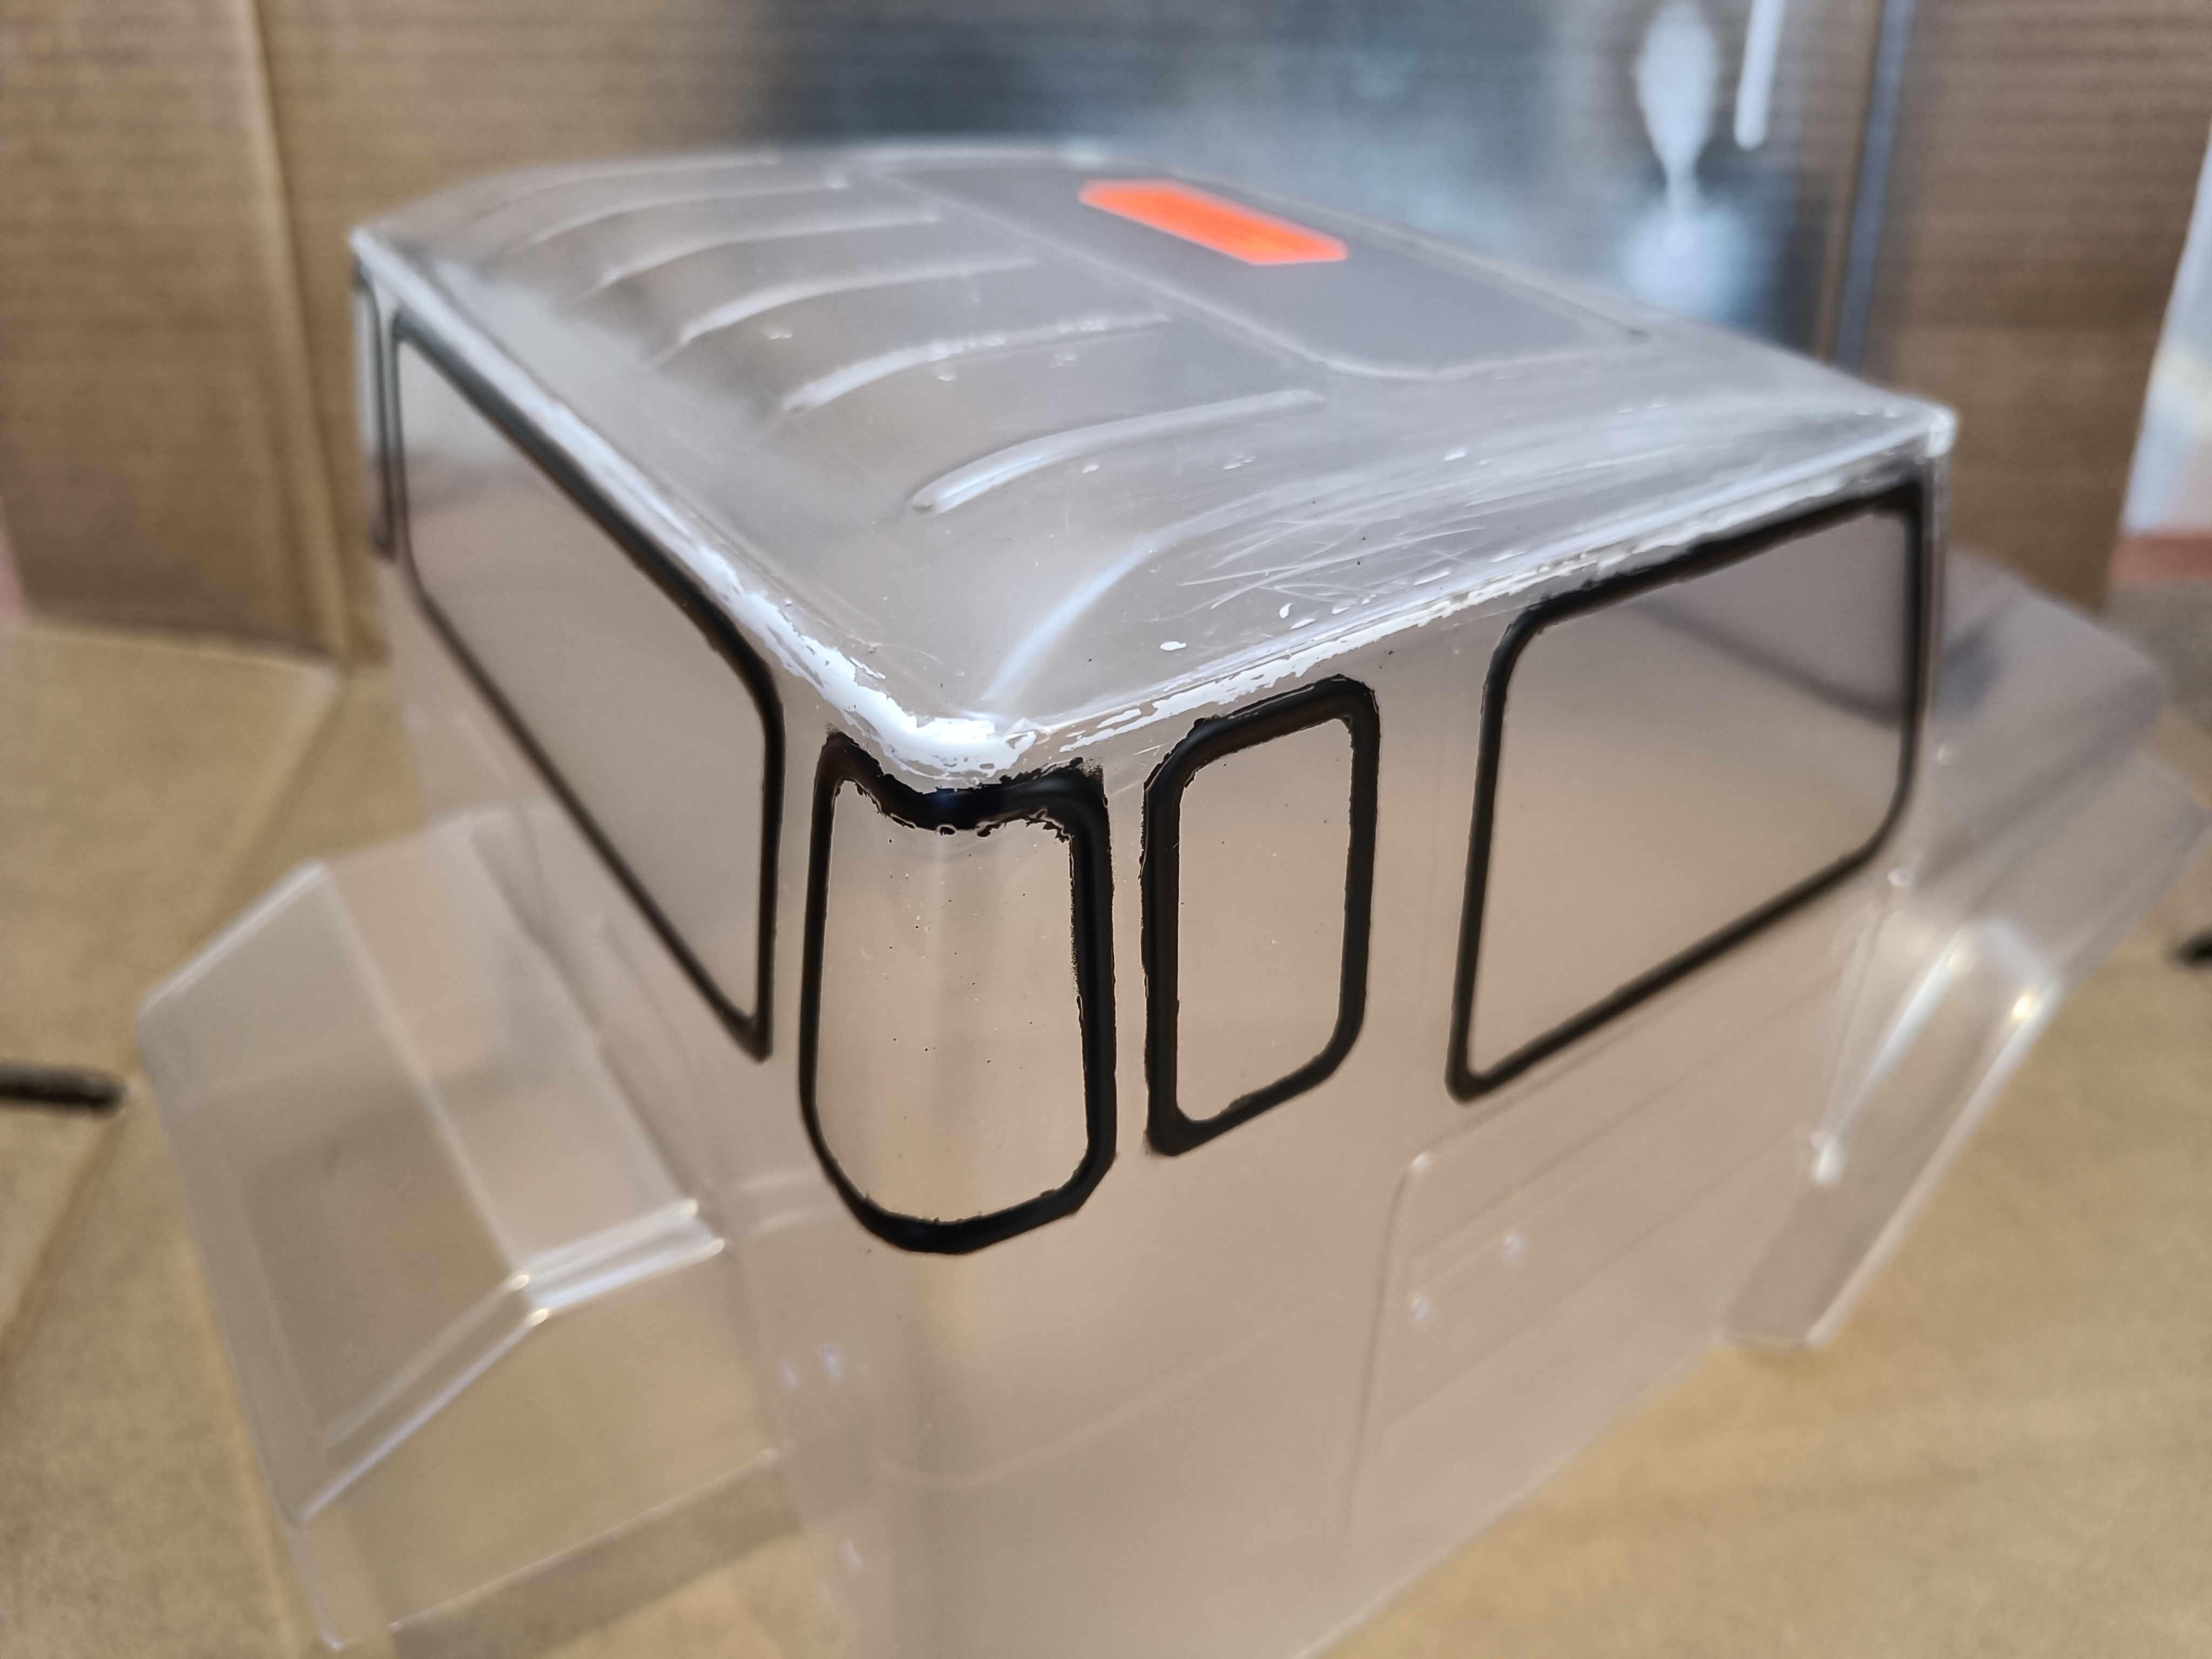 (2562.2 Kb, 4096x3072) |
| 04/03/26(Wed)15:52  (2117.1 Kb, 4096x3072)
|
| 04/03/26(Wed)12:07
|
| 02/03/26(Mon)14:40
|
| 01/03/26(Sun)20:51
|
| 01/03/26(Sun)15:54  (2372.2 Kb, 3072x4096)
|
| 01/03/26(Sun)15:06
|
| 01/03/26(Sun)14:01
|
| 01/03/26(Sun)11:26 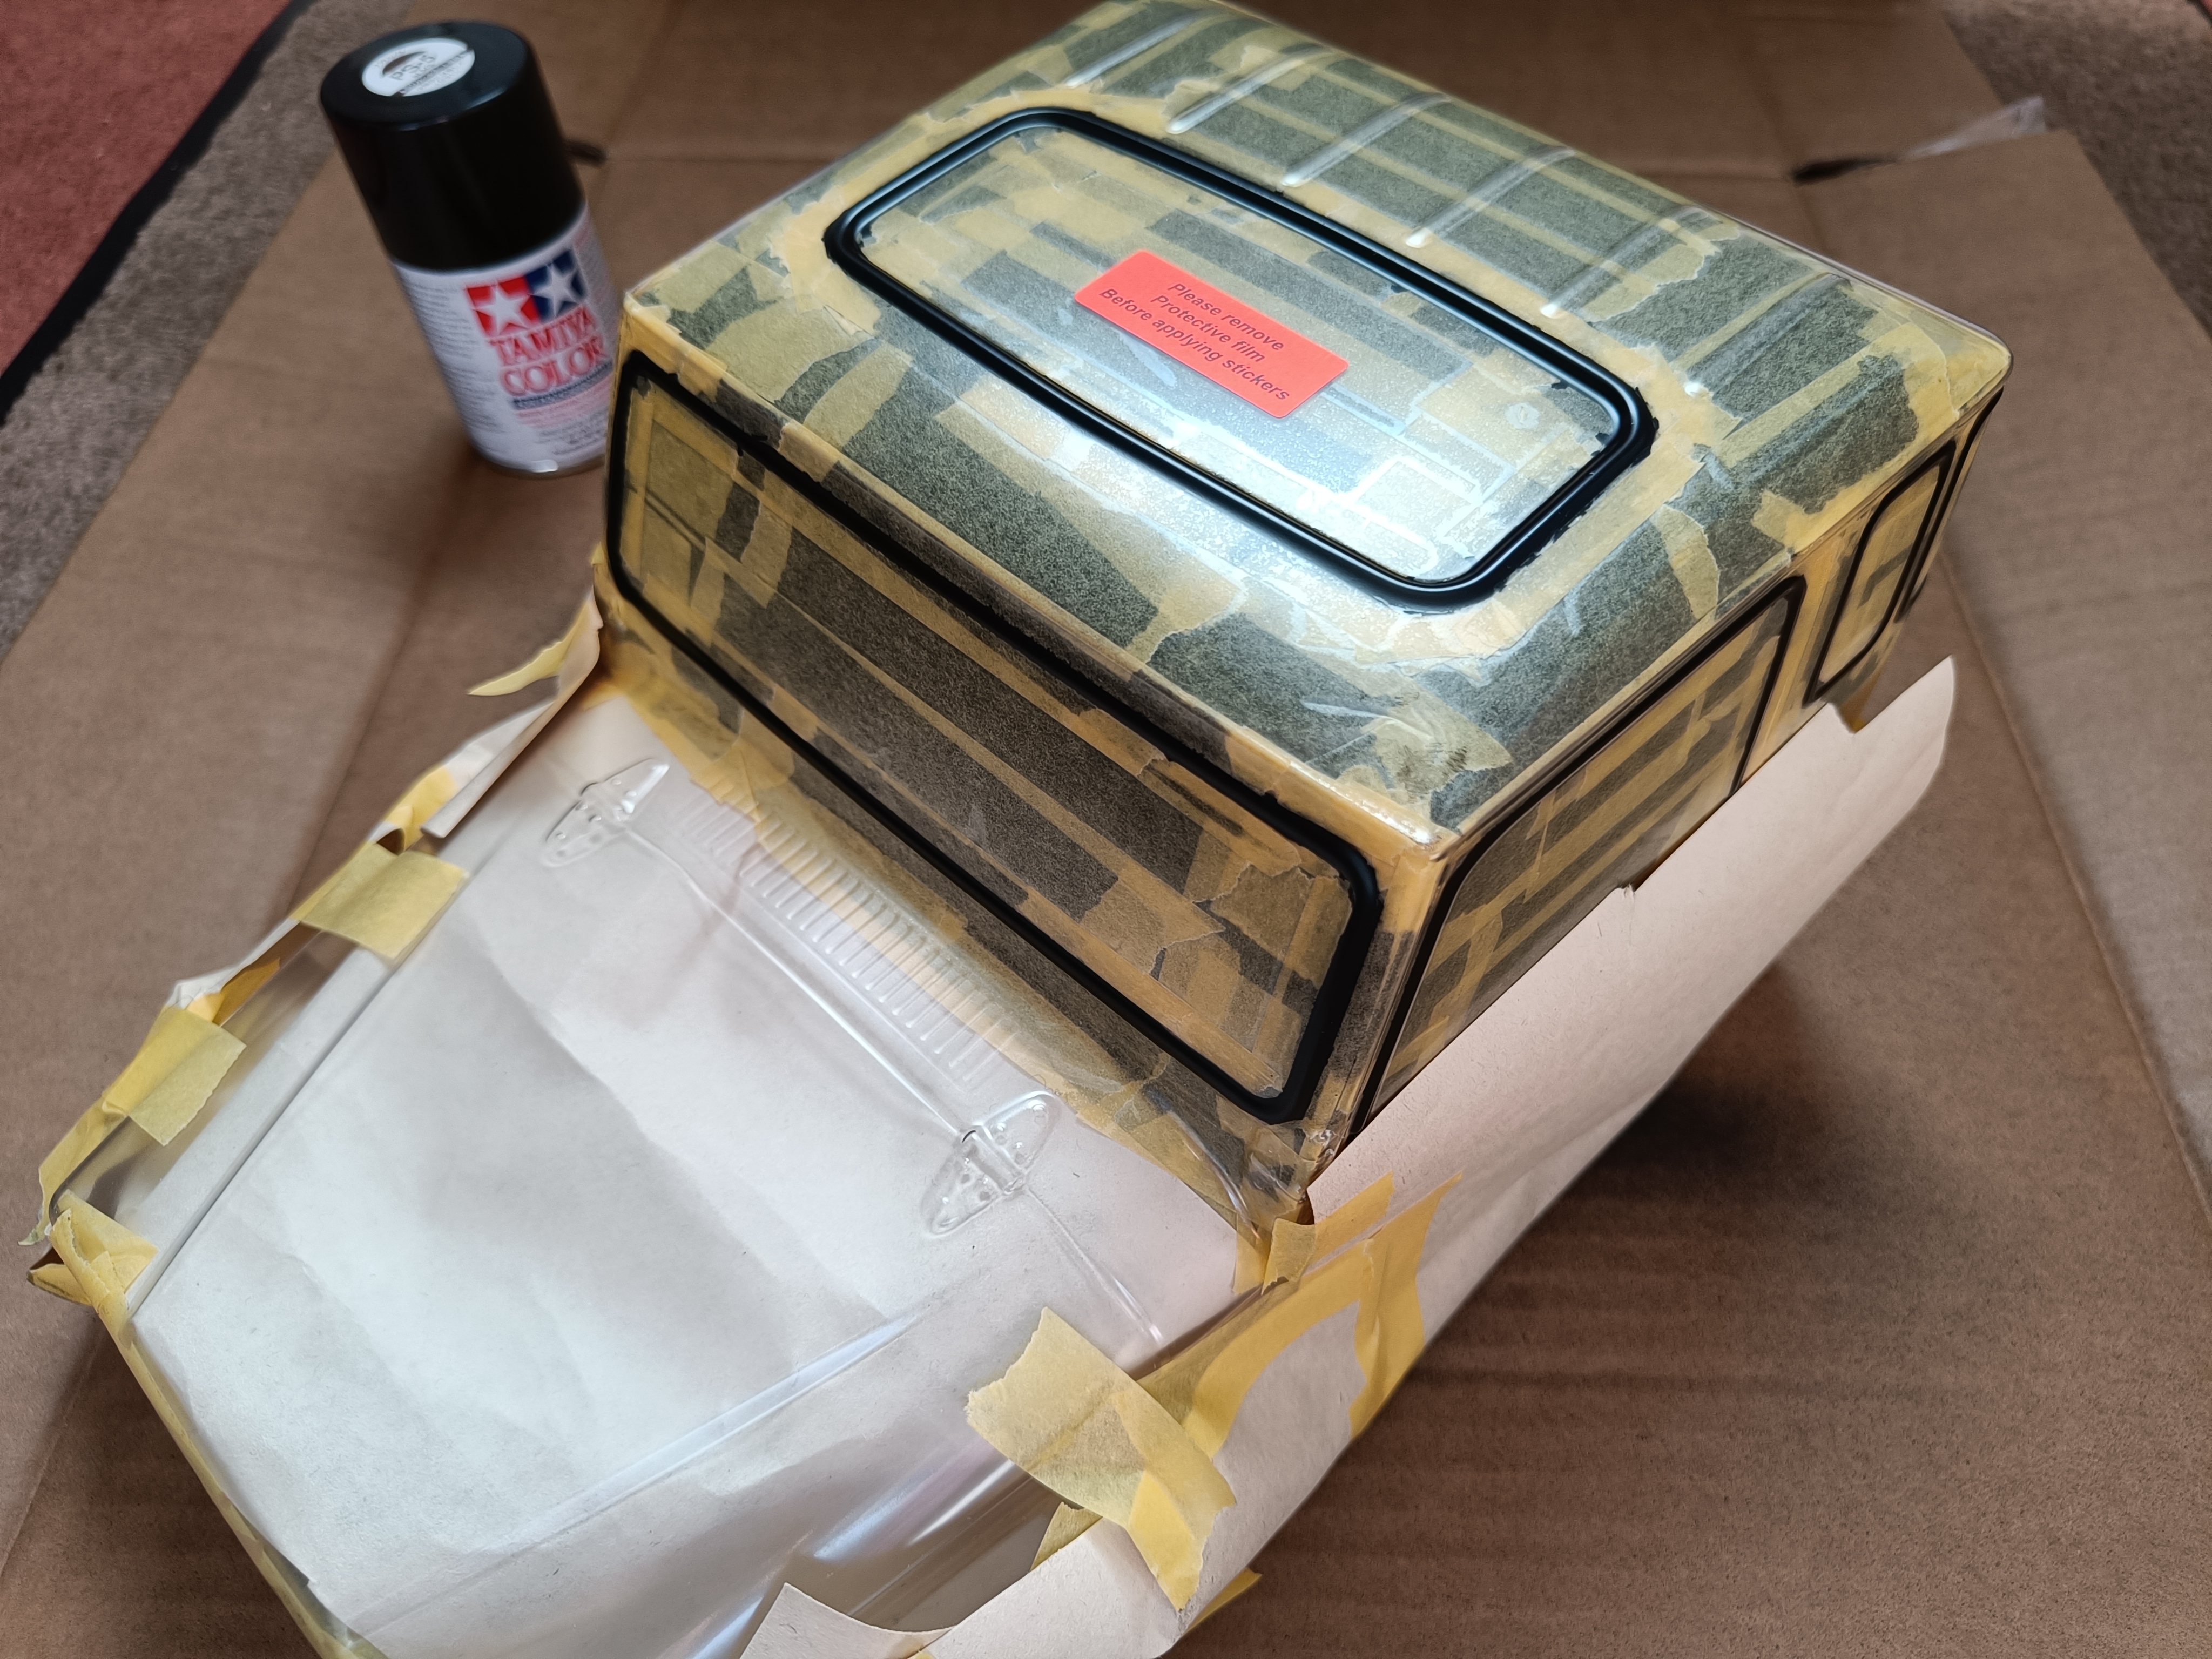 (3991.8 Kb, 4096x3072)
|
| 27/02/26(Fri)12:36 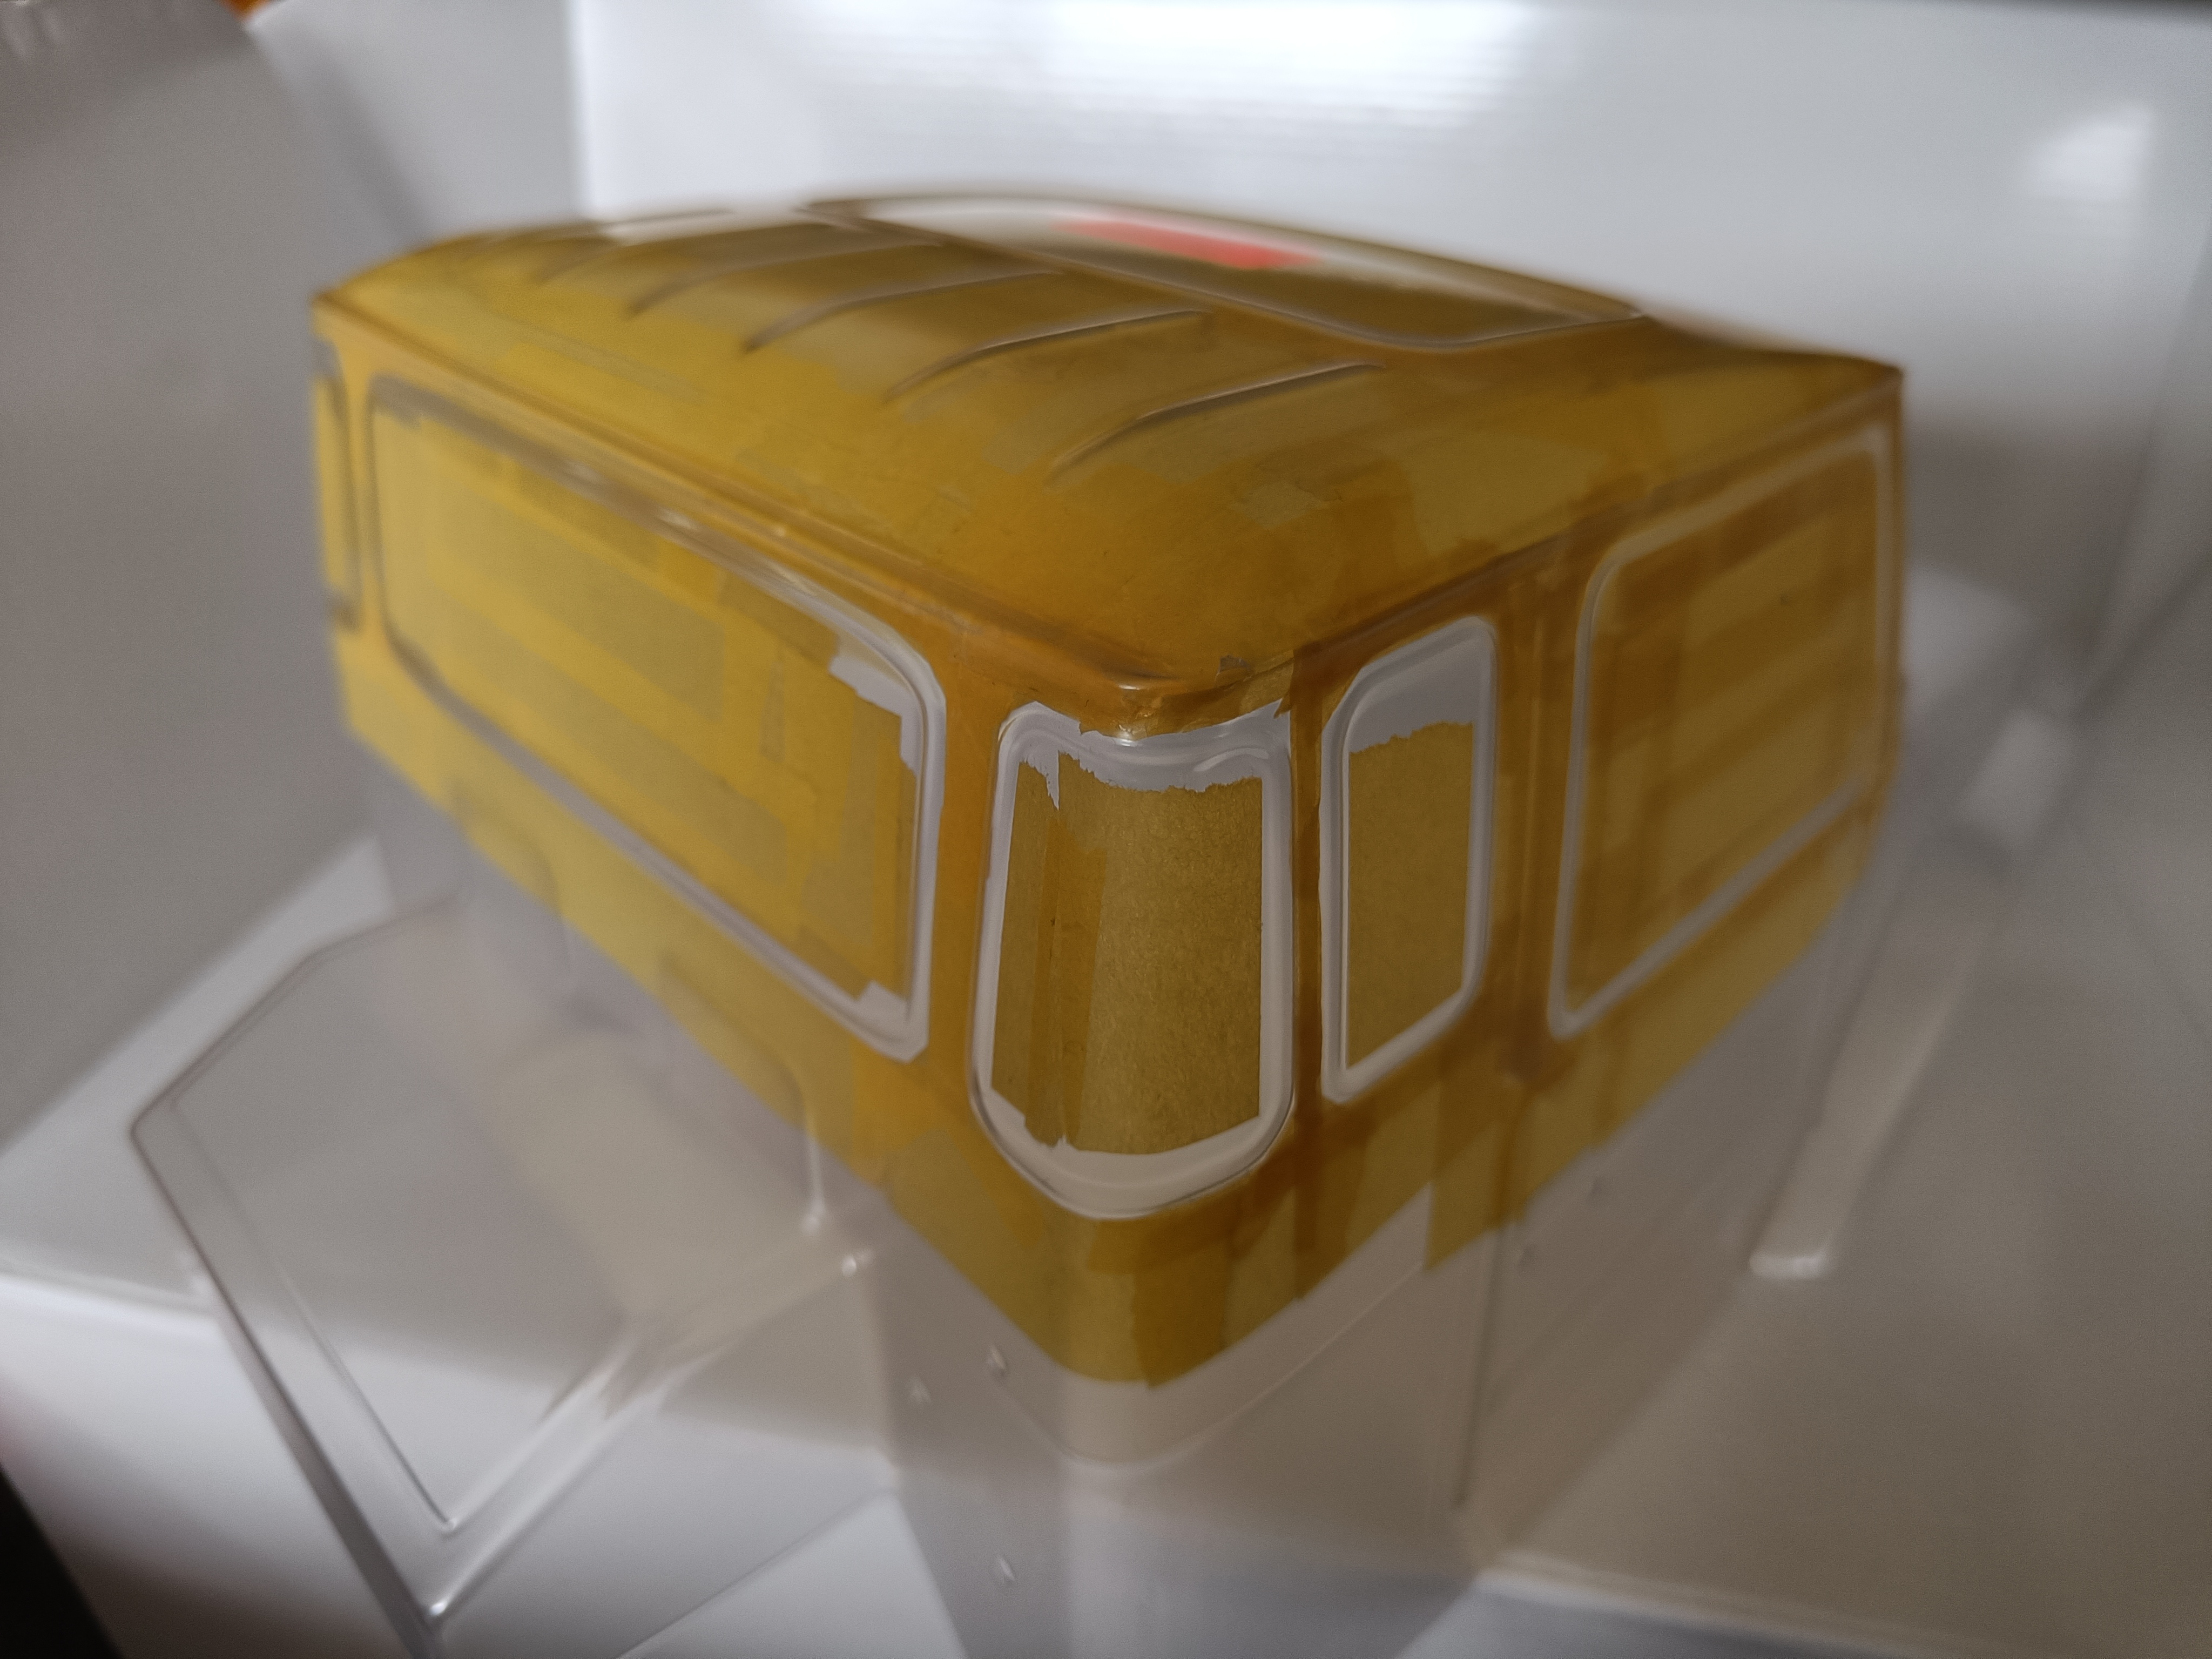 (3668.8 Kb, 4096x3072)
|
| 27/02/26(Fri)12:35 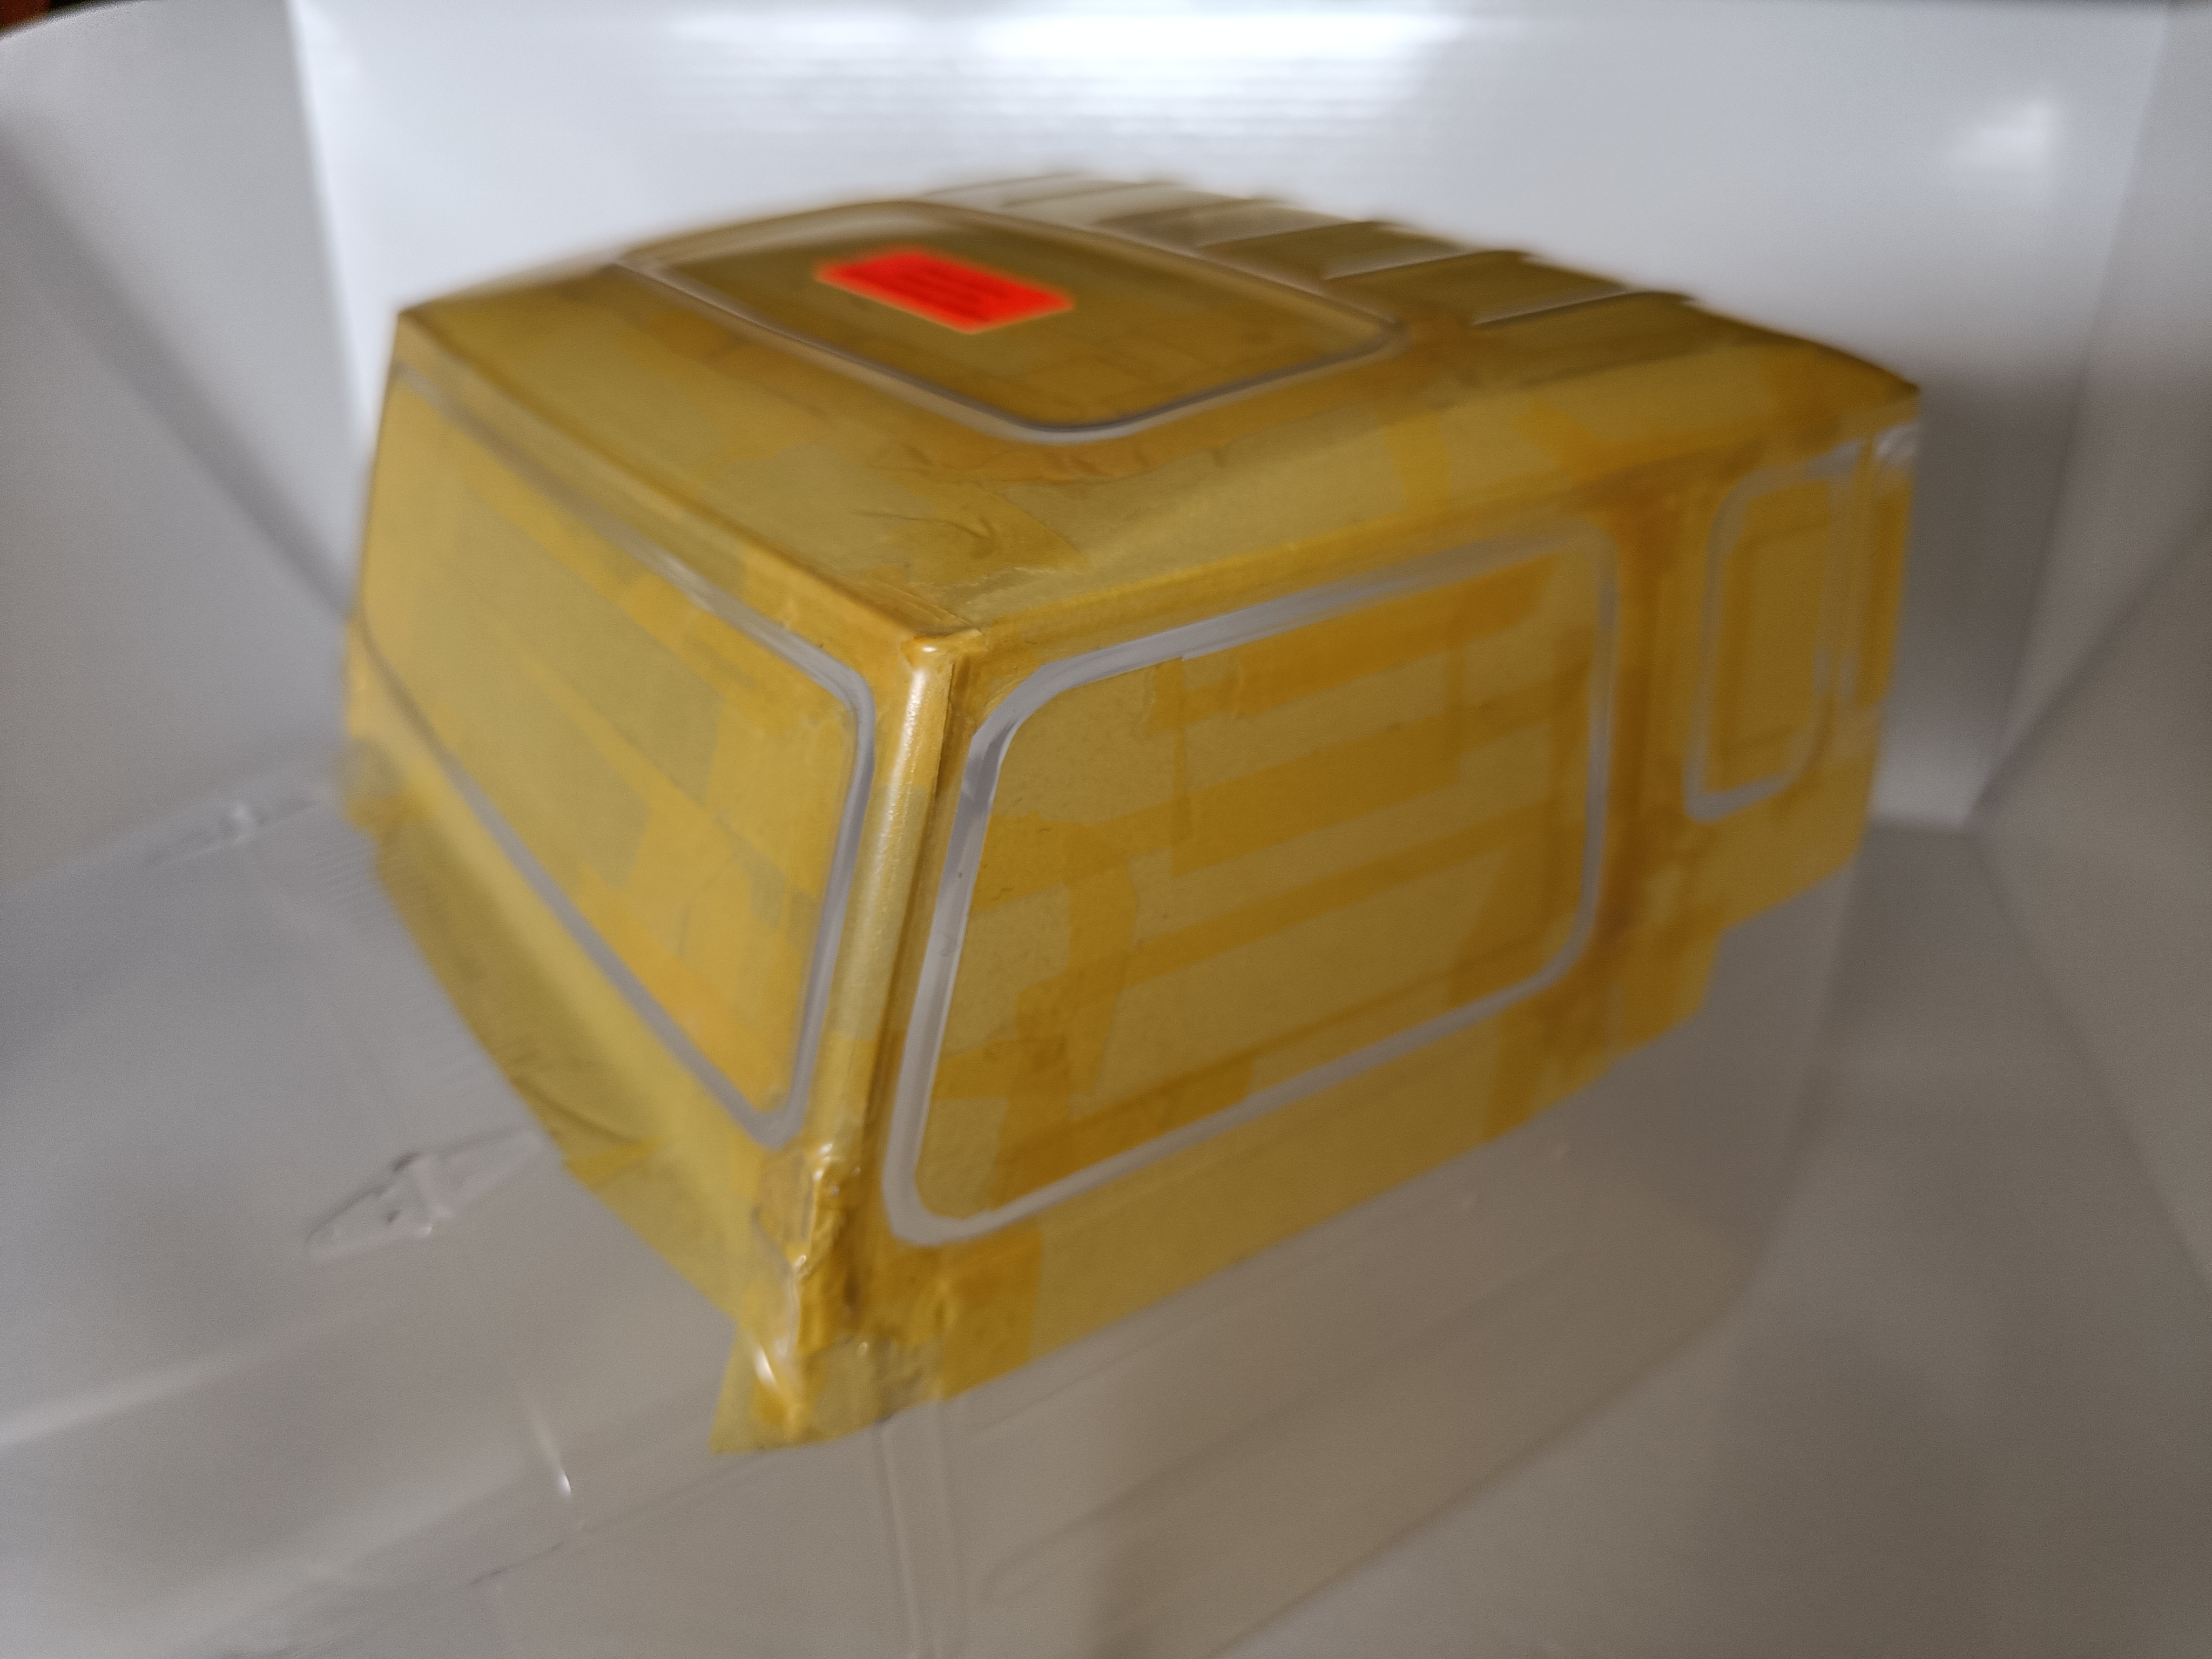 (3755.0 Kb, 4096x3072)
|
| 27/02/26(Fri)10:20
|
| 24/02/26(Tue)18:52
|
| 24/02/26(Tue)14:37
|
| 24/02/26(Tue)00:17 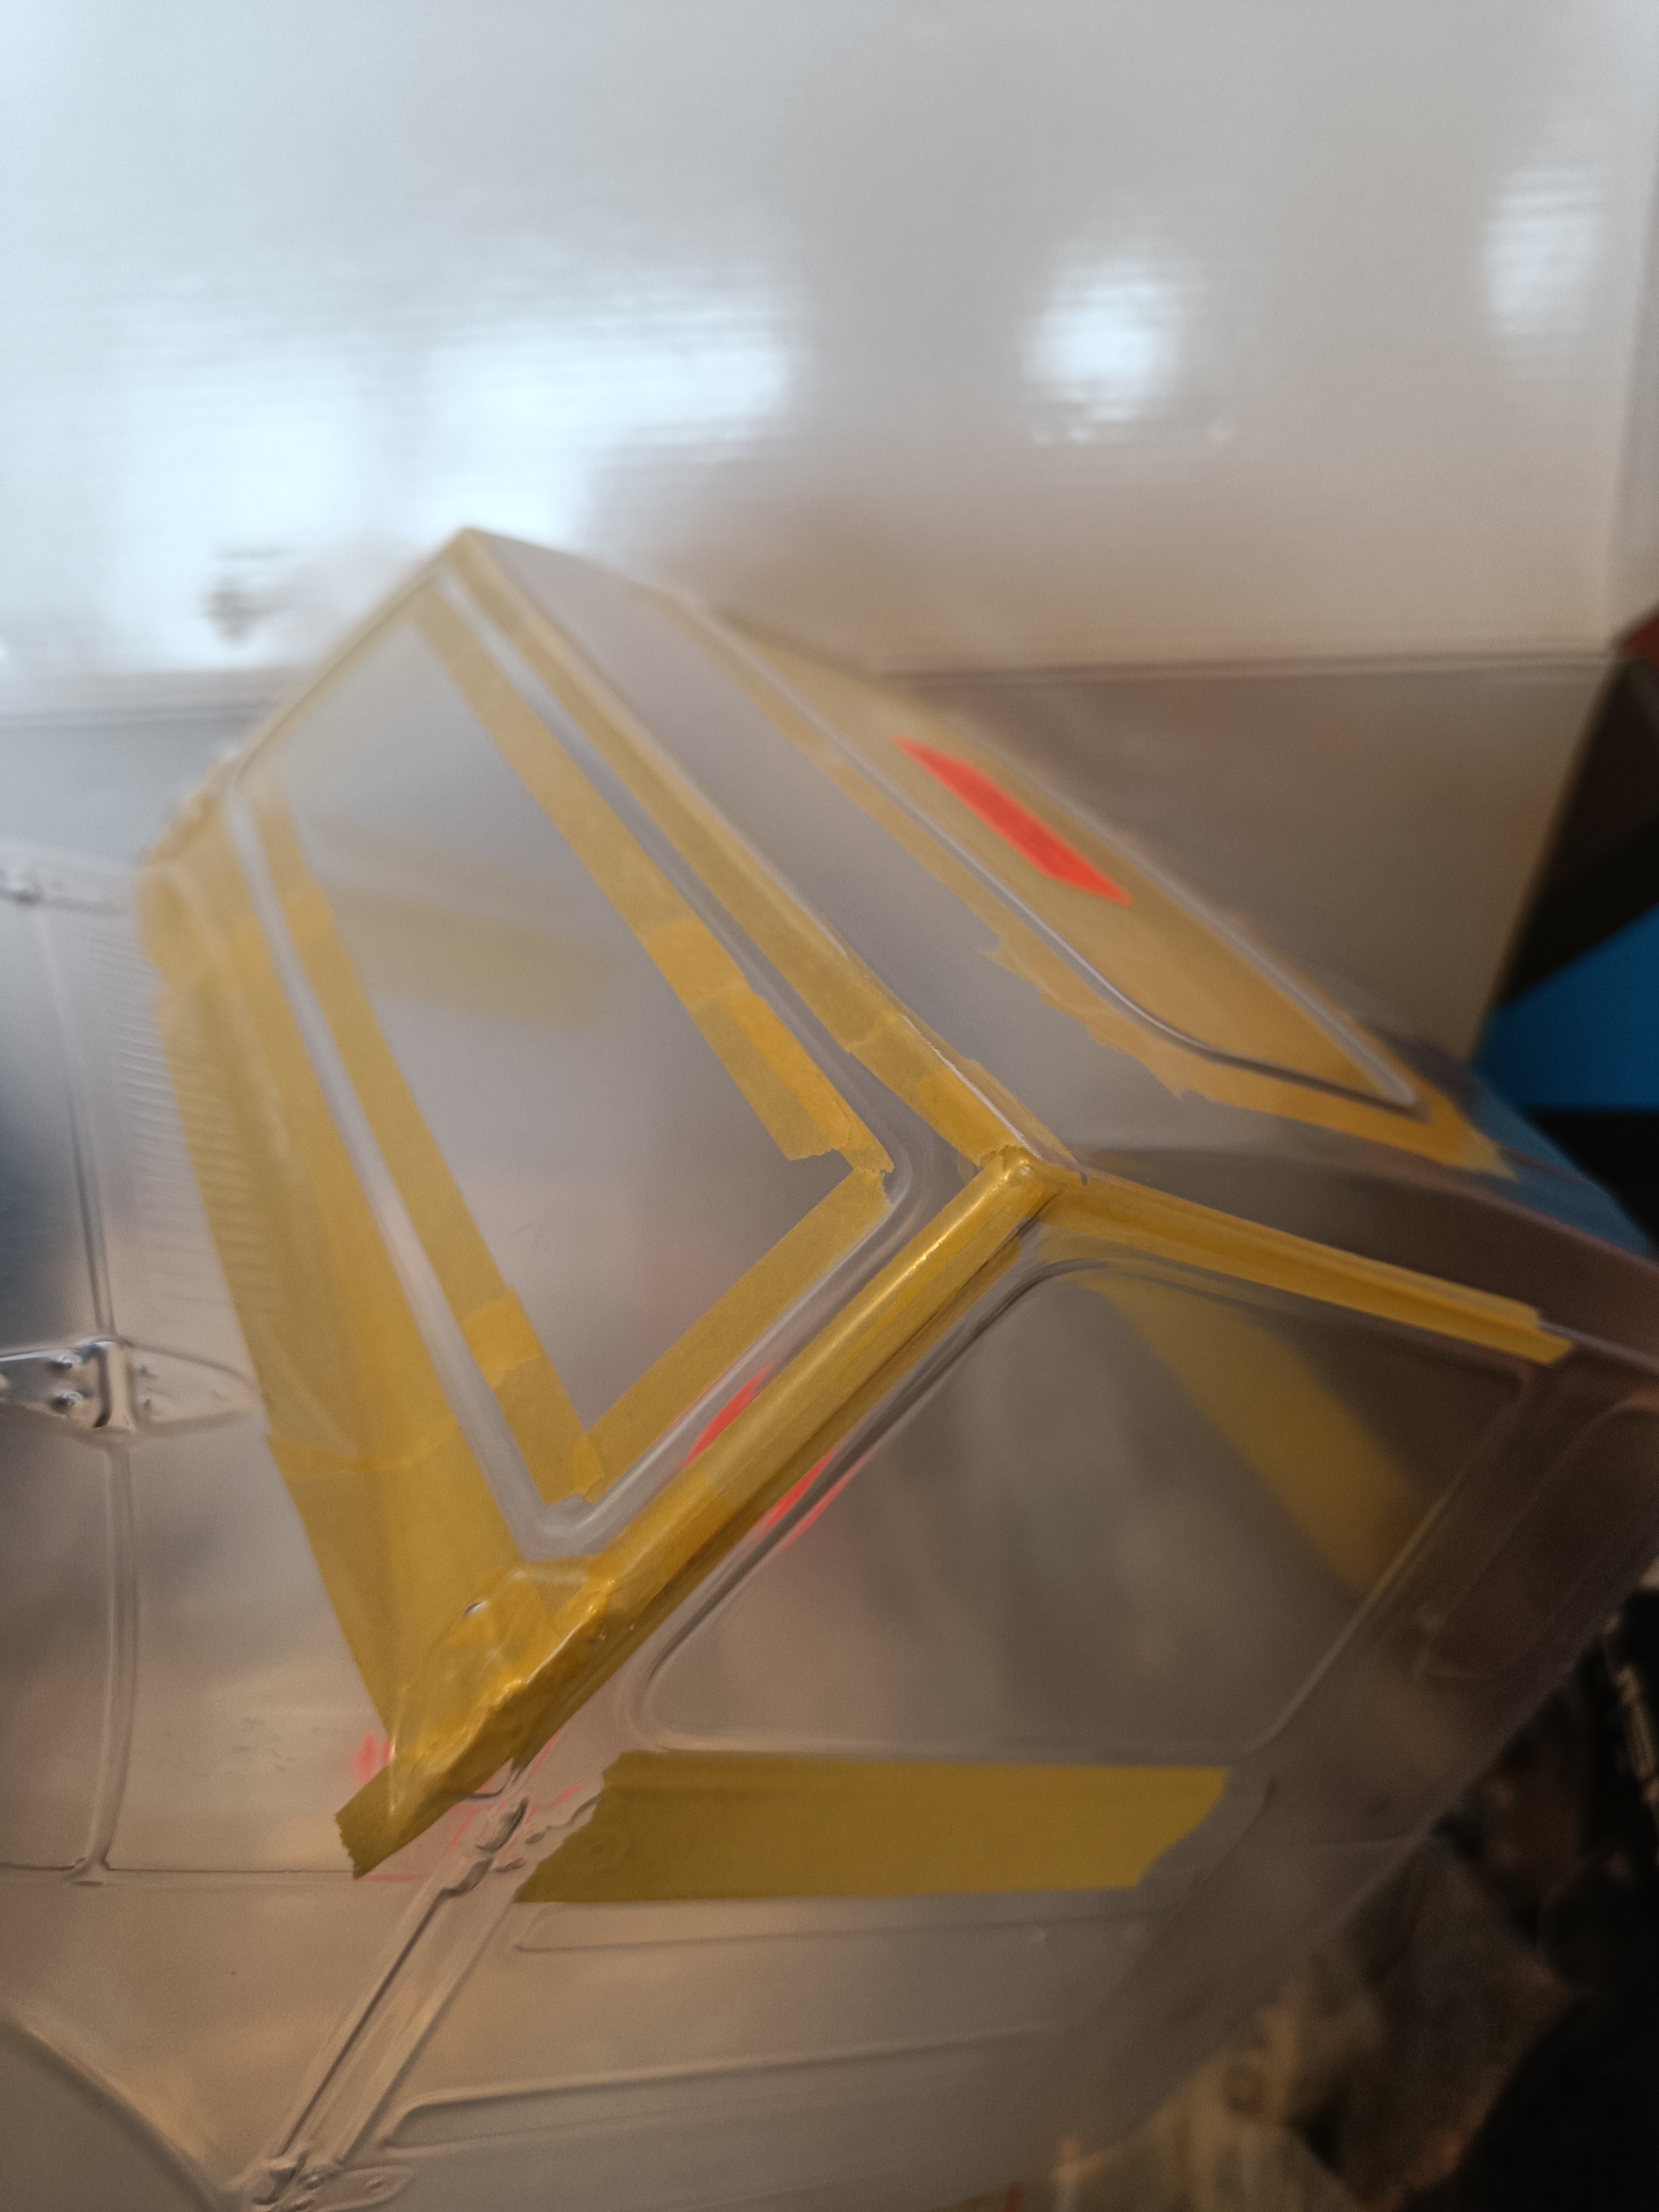 (3669.5 Kb, 3072x4096)
|
| 12/02/26(Thu)15:36
|
| 11/02/26(Wed)08:36  (106.1 Kb, 400x400) Why, Dean&Molex, why?
|
| 10/02/26(Tue)16:48
|
| 10/02/26(Tue)16:32
|
| 09/02/26(Mon)23:12
|
| 09/02/26(Mon)15:07
|
| 08/02/26(Sun)11:29 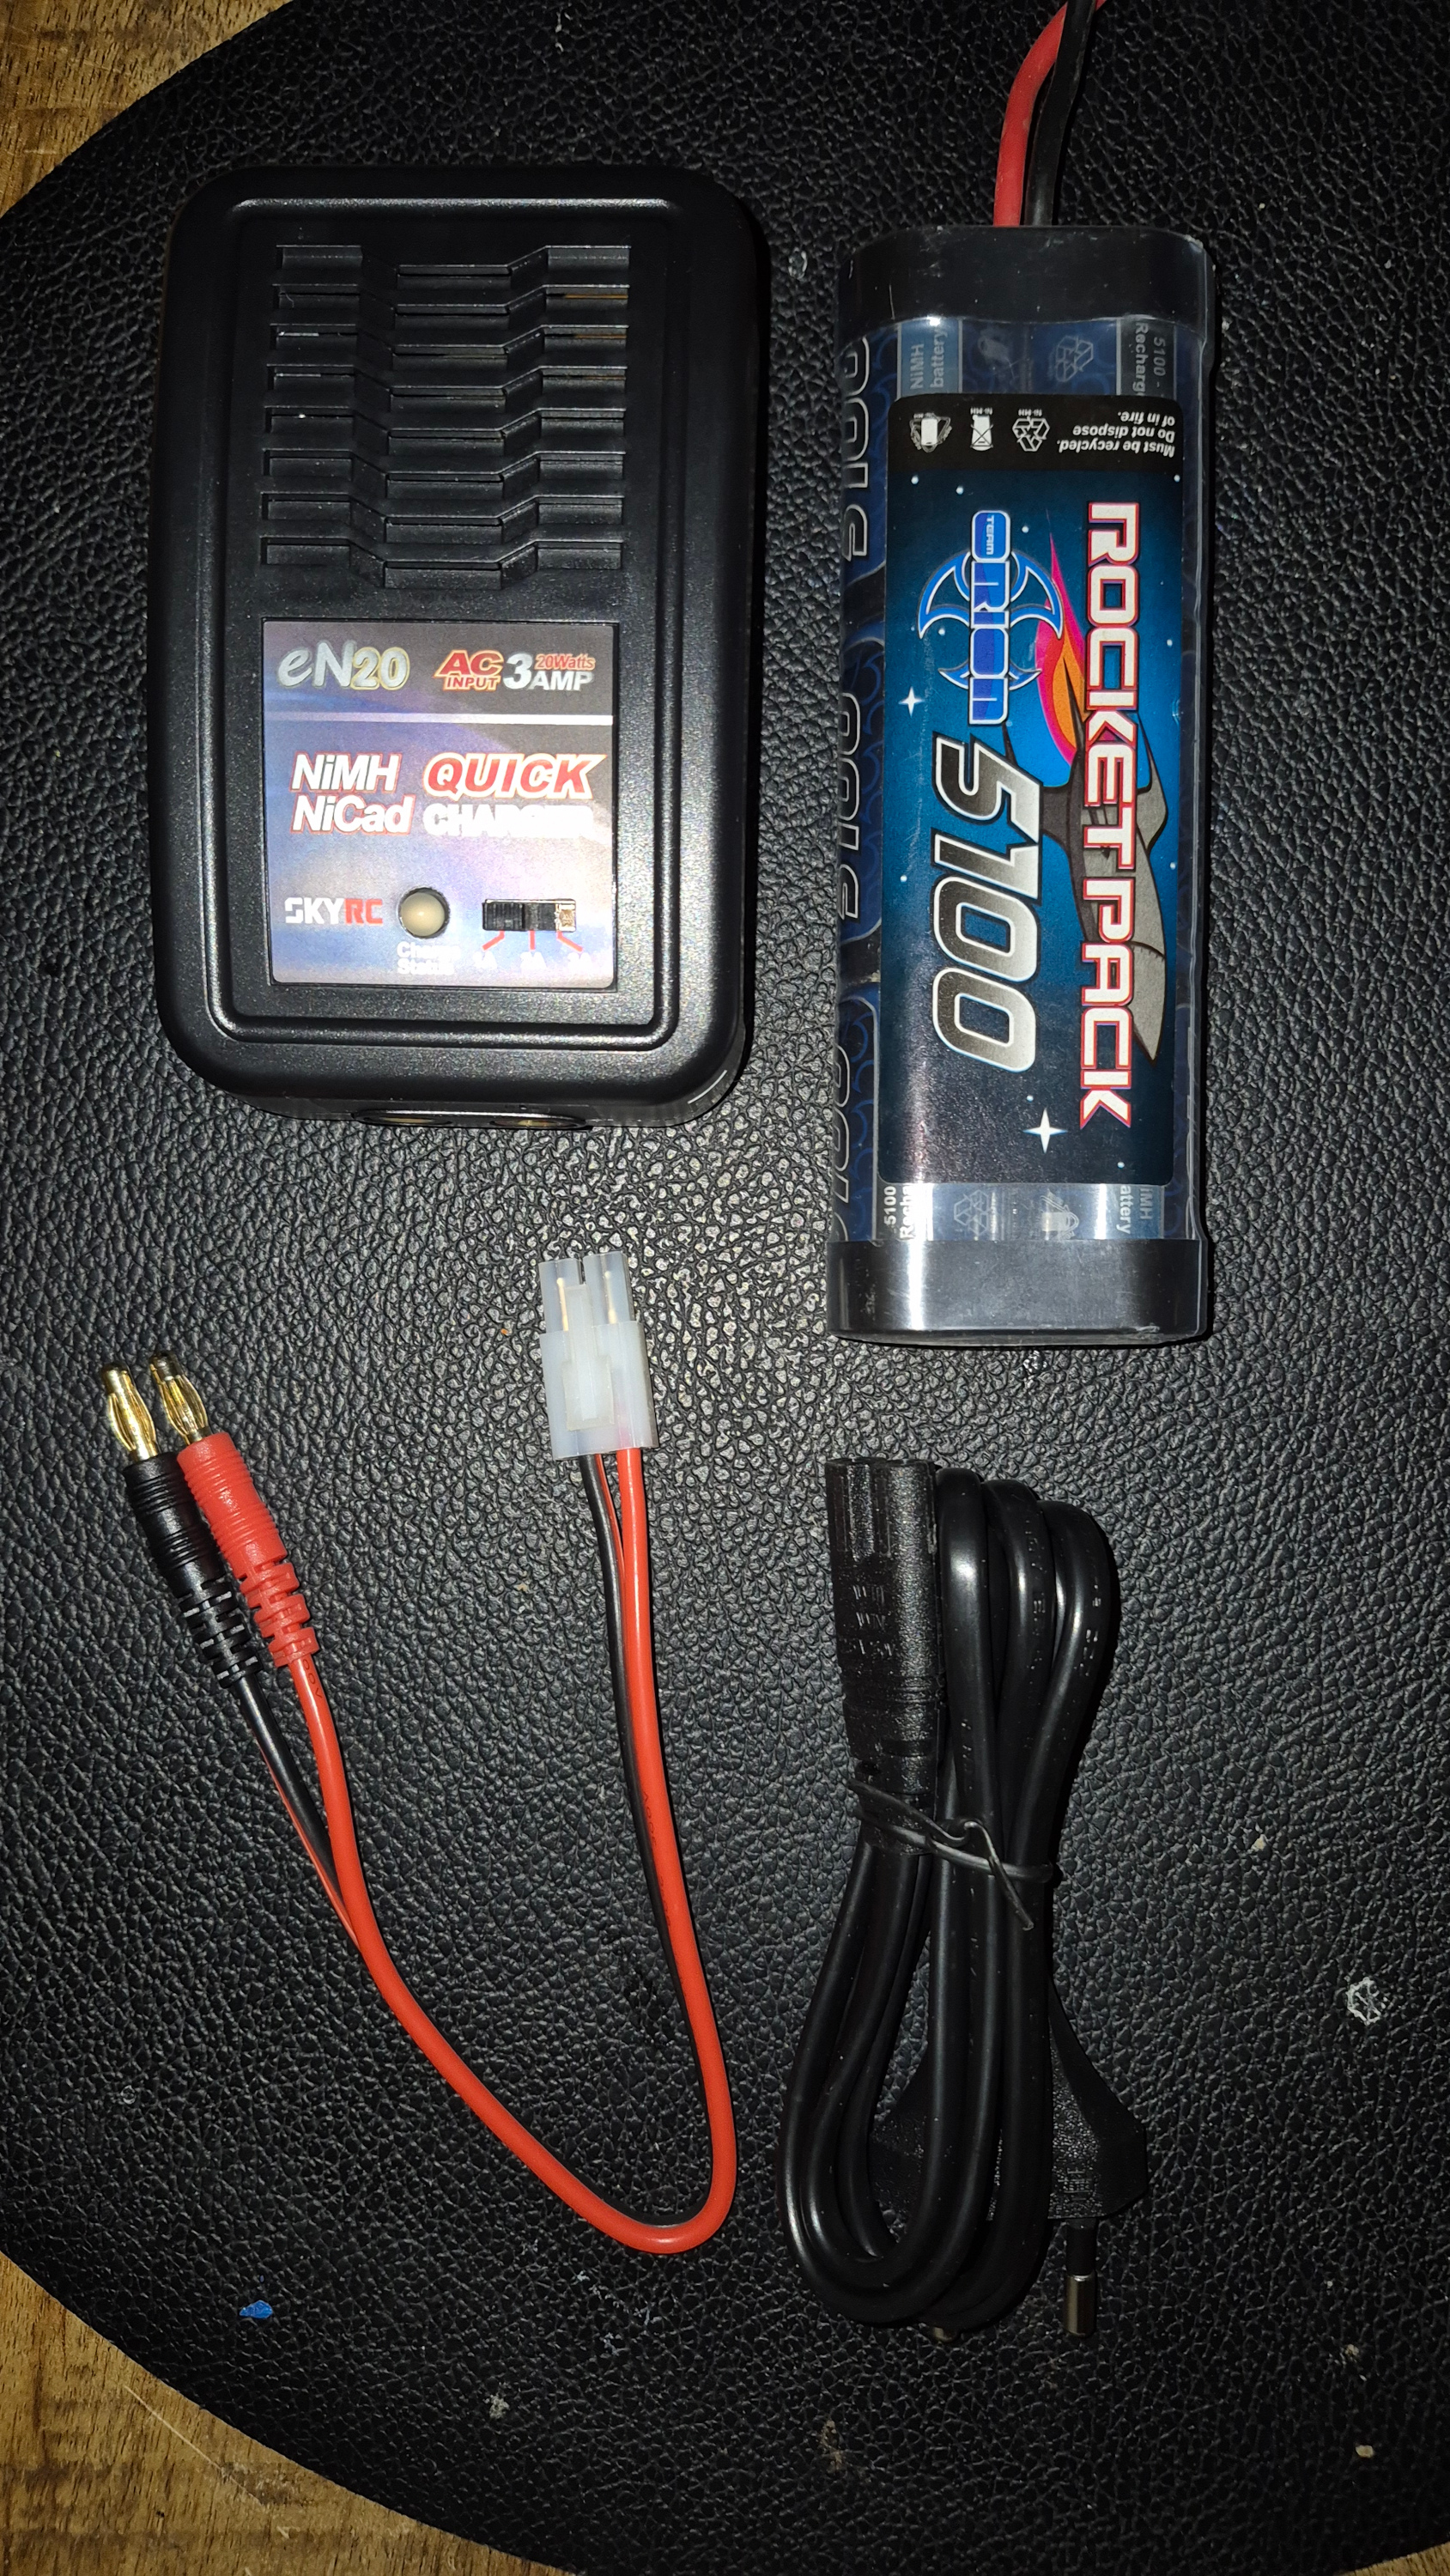 (2585.4 Kb, 1689x3000)
|
| 06/02/26(Fri)23:27  (158.4 Kb, 1324x1500)
|
| 06/02/26(Fri)11:12 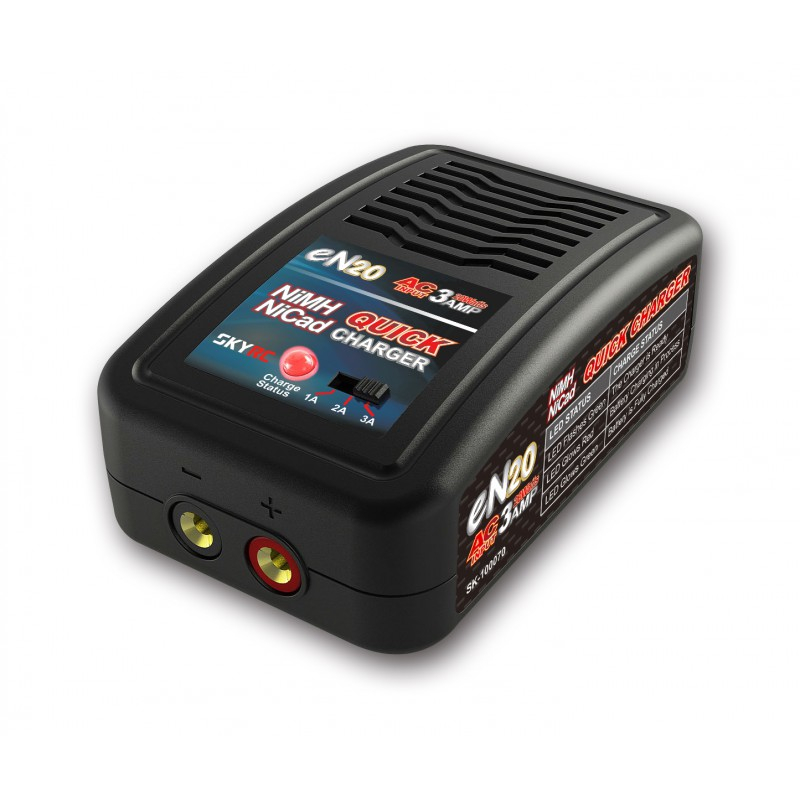 (207.9 Kb, 800x800) SkyRC eN20
|
| 05/02/26(Thu)13:46  (159.7 Kb, 1000x1000)
|
| 04/02/26(Wed)15:17
|
| 30/01/26(Fri)15:11
|
| 29/01/26(Thu)15:01
|
| 29/01/26(Thu)14:17  (400.3 Kb, 997x776)
|
| 29/01/26(Thu)09:01
|
| 28/01/26(Wed)20:59 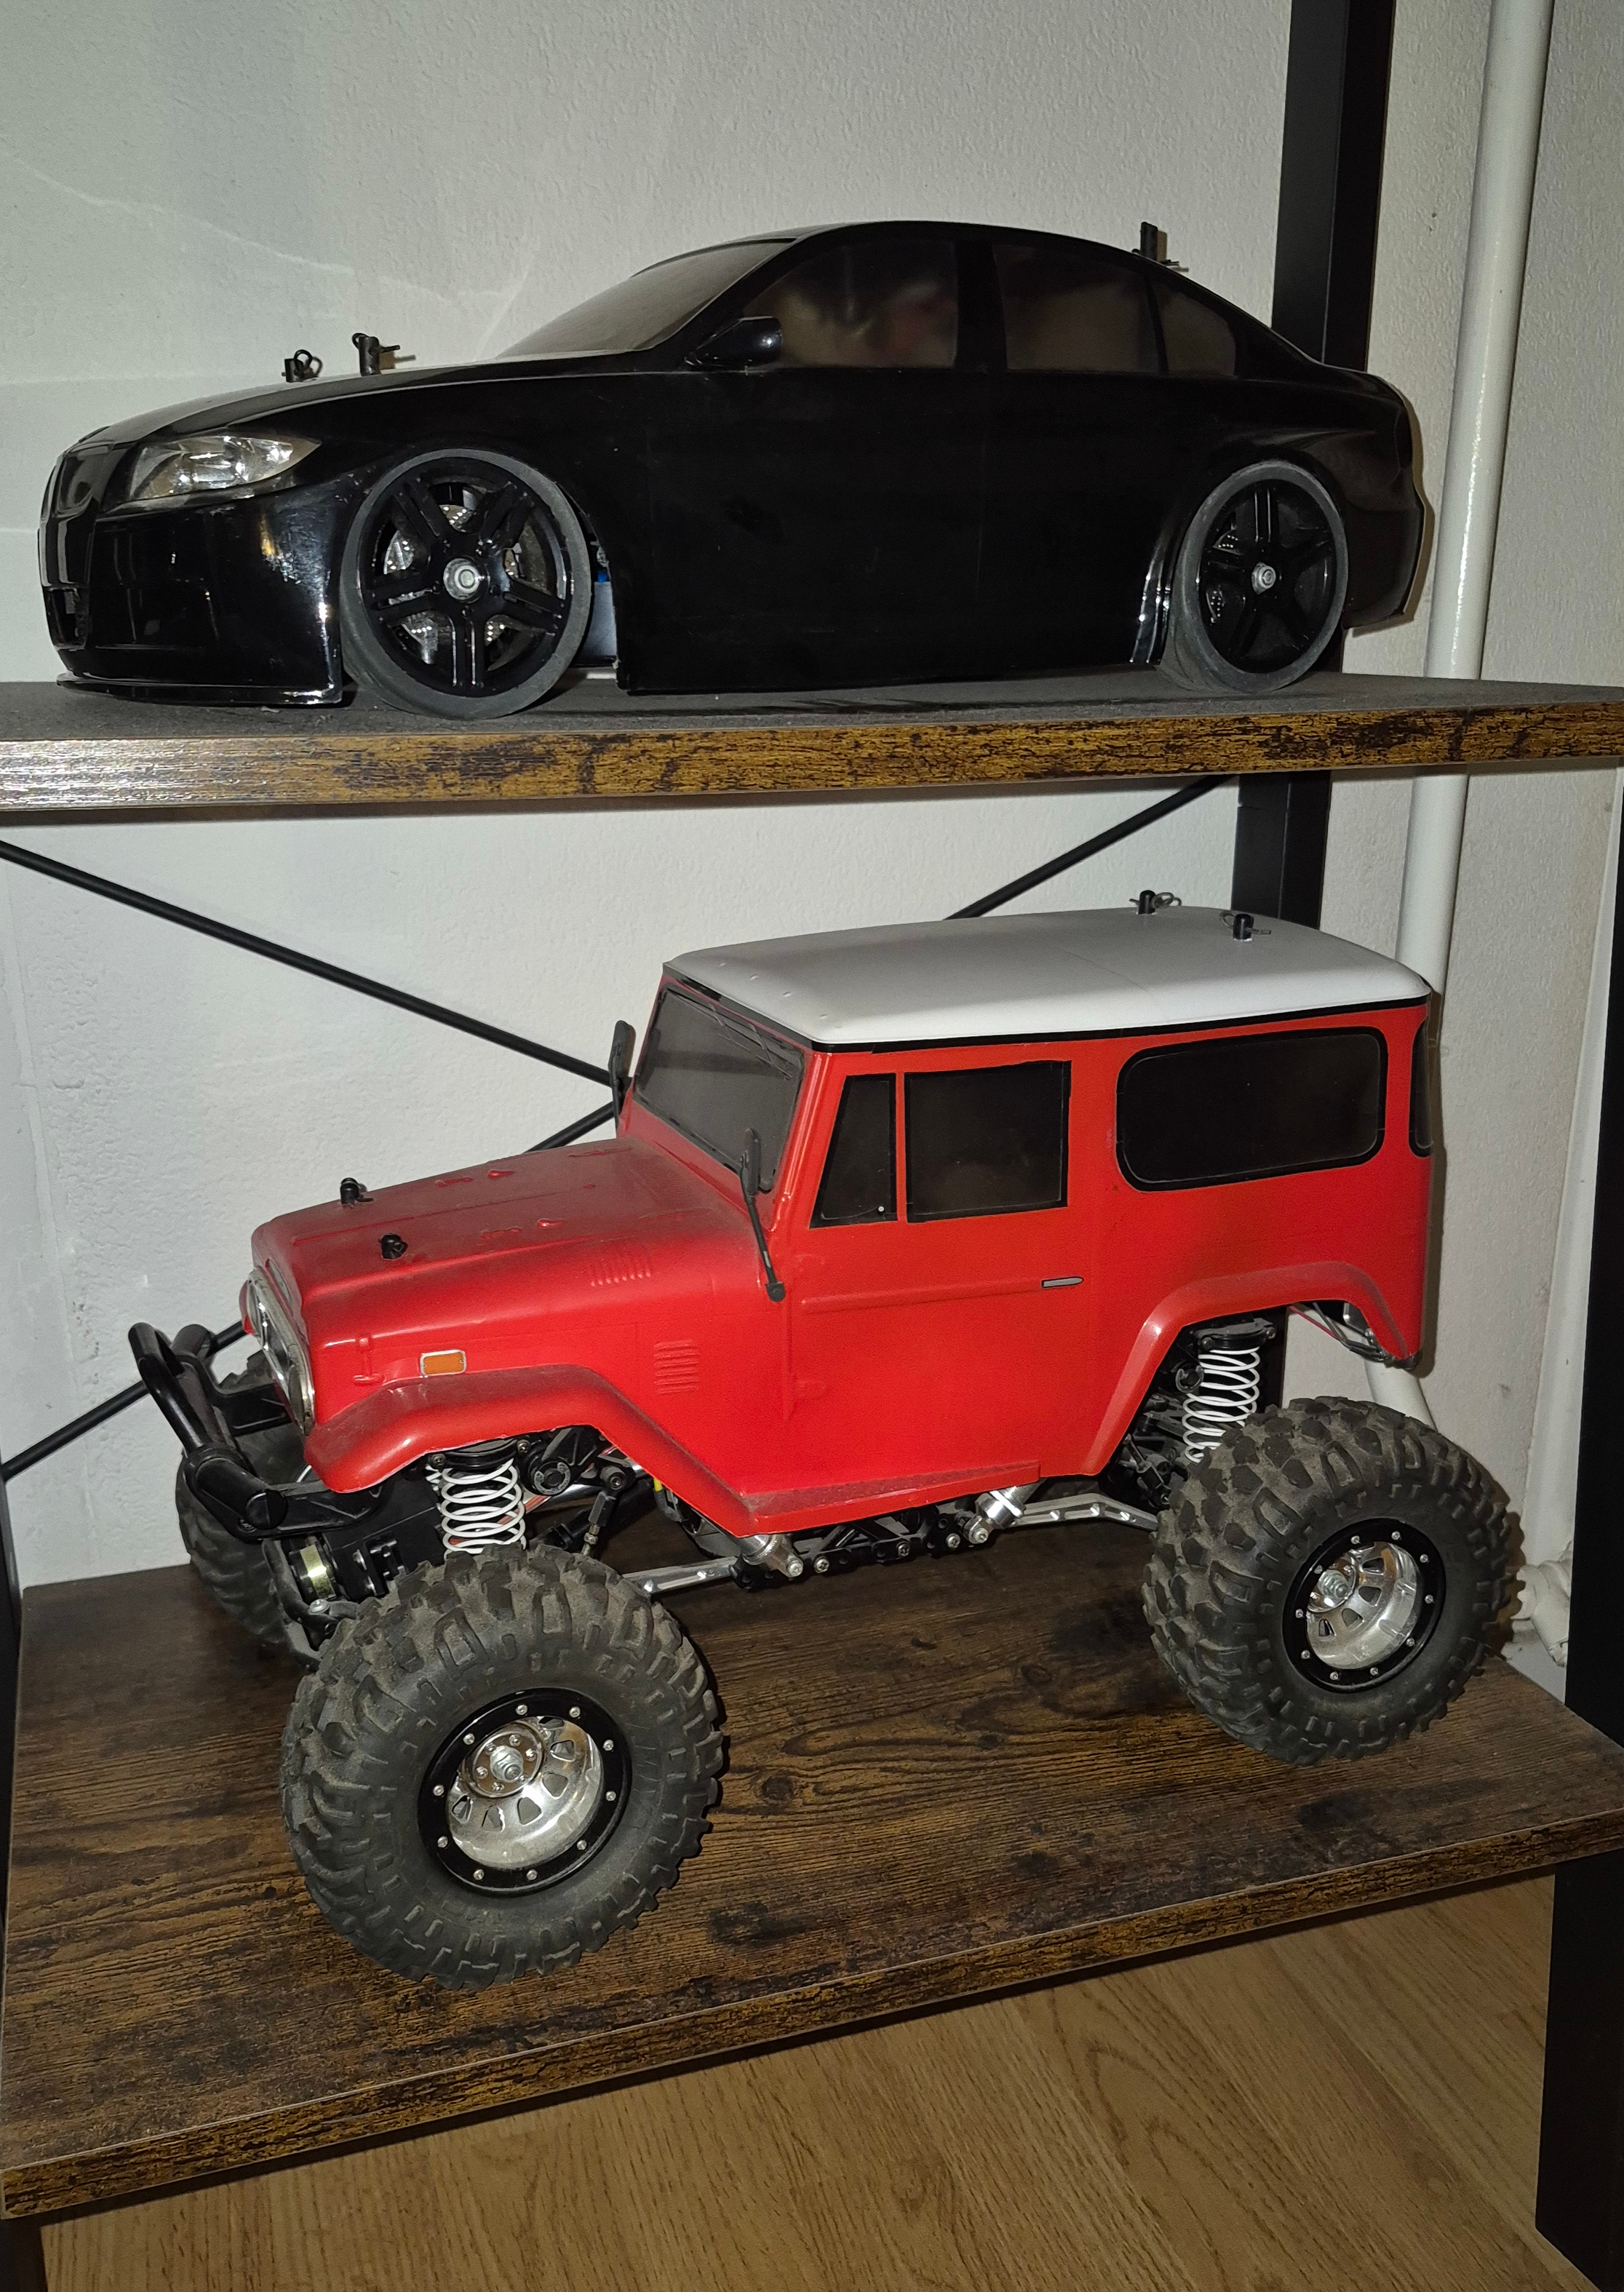 (2495.0 Kb, 2232x3150)
|
| 28/01/26(Wed)13:31  (2157.5 Kb, 3732x1952)
|
| 28/01/26(Wed)12:08
|
| 28/01/26(Wed)11:41
|
| 27/01/26(Tue)18:36
|
| 27/01/26(Tue)16:33
|
| 27/01/26(Tue)14:38
|
| 25/01/26(Sun)12:01 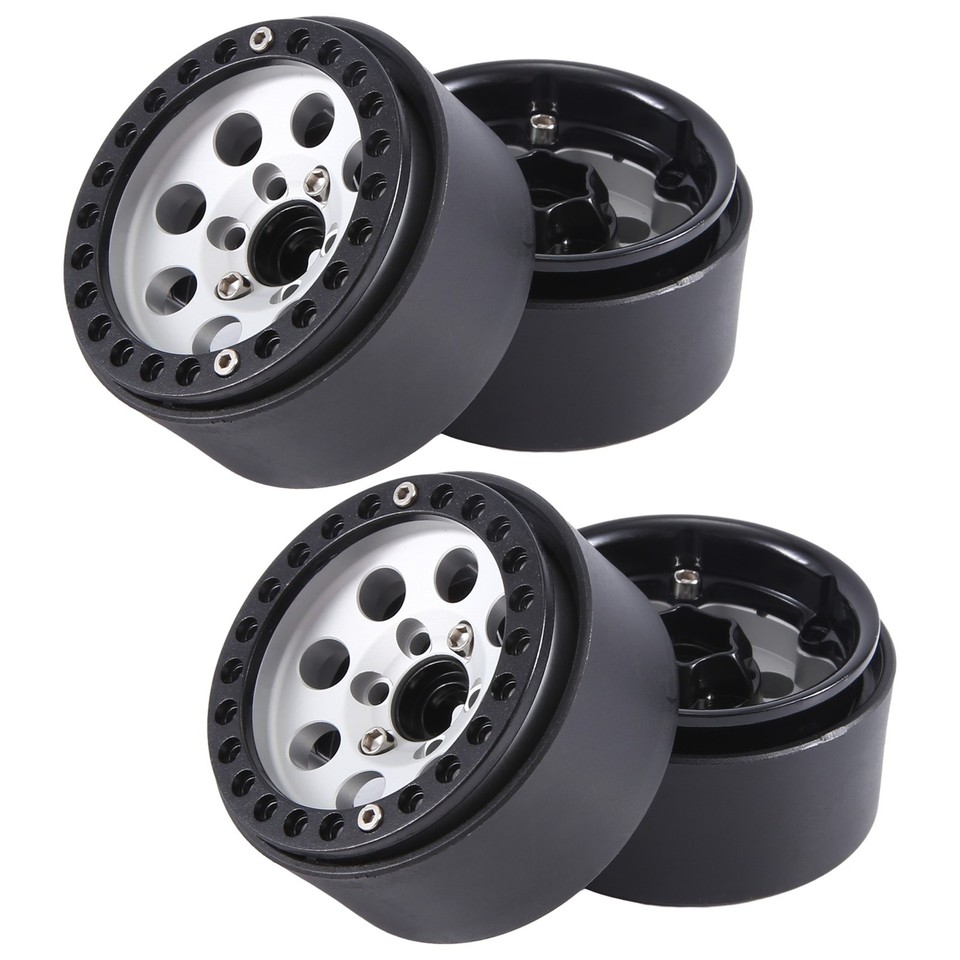 (122.5 Kb, 960x960) Wheely Nice Ride!
|
| 25/01/26(Sun)11:58  (2874.0 Kb, 3072x4096)
|
| 24/01/26(Sat)19:47
|
| 23/01/26(Fri)11:26  (57.2 Kb, 480x320)
|
| 22/01/26(Thu)15:38 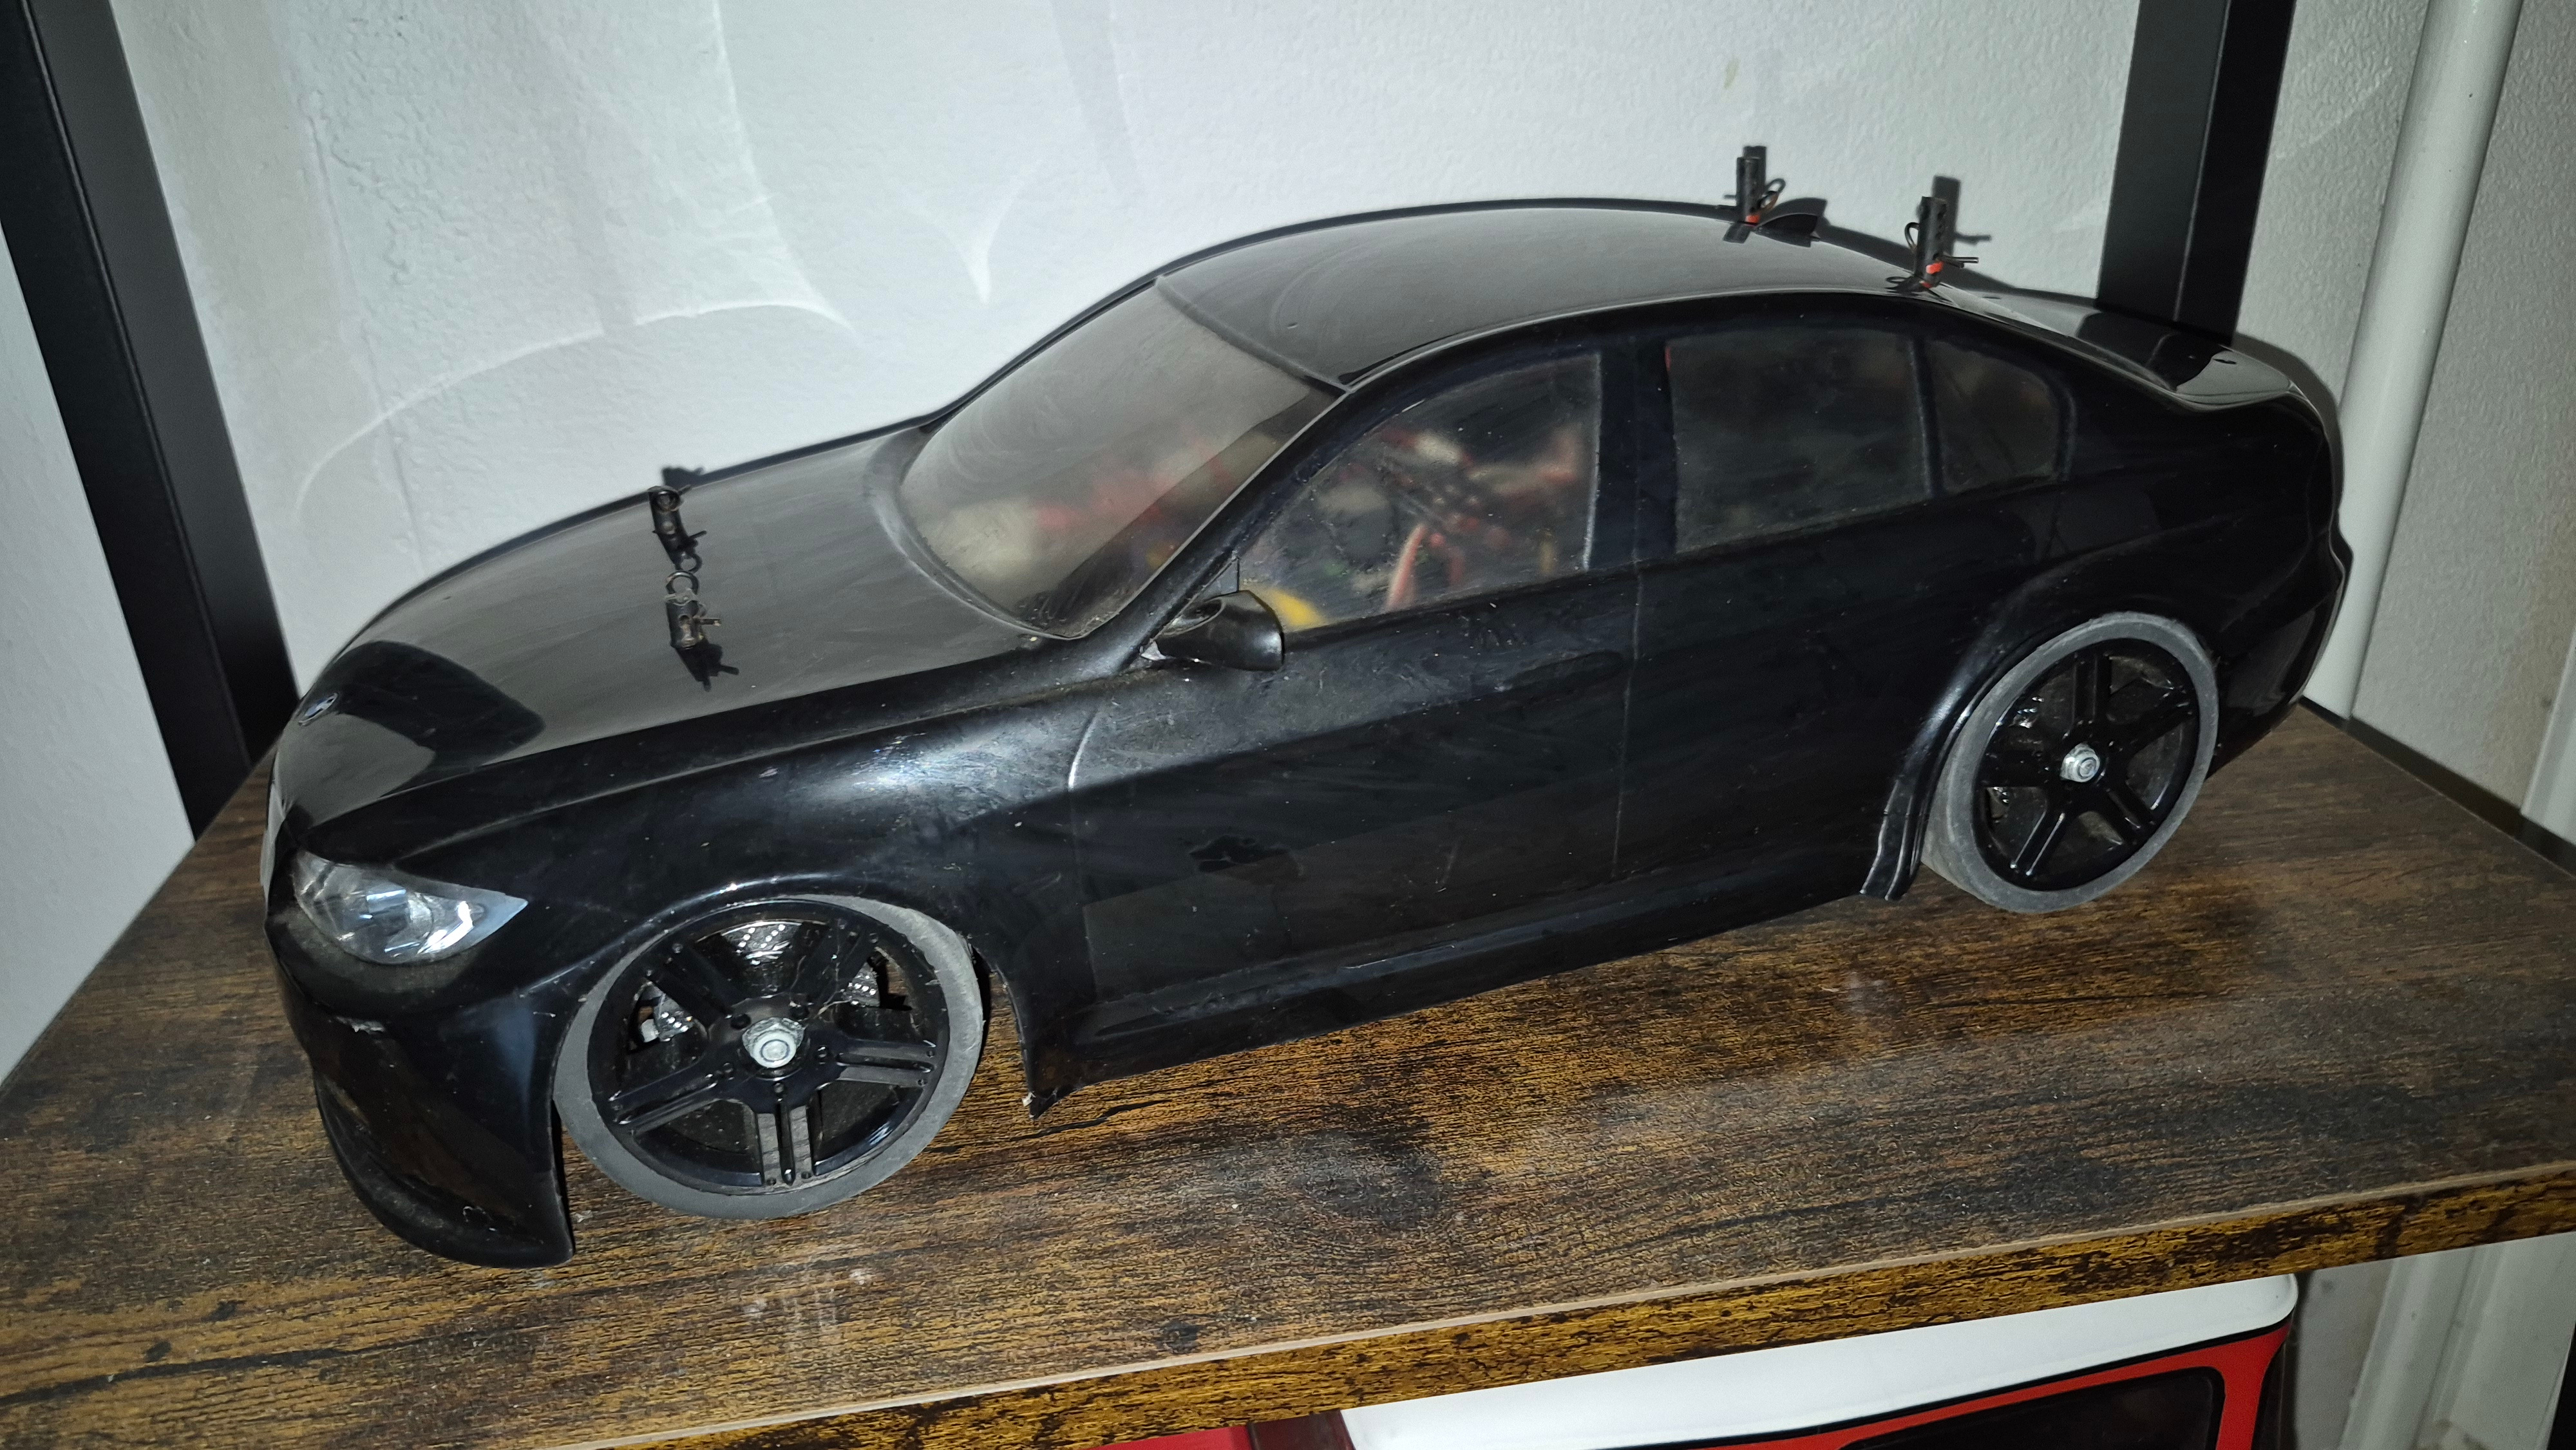 (3105.7 Kb, 4000x2252) Tamiya BMW M5
|
| 22/01/26(Thu)12:22
|
| 20/01/26(Tue)13:41
|
| 20/01/26(Tue)10:30
|
| 19/01/26(Mon)17:03
|
| 19/01/26(Mon)15:27  (73.6 Kb, 274x345)
|
| 17/01/26(Sat)19:01
|
| 17/01/26(Sat)16:12
|
| 17/01/26(Sat)16:08  (1067.1 Kb, 1818x1602)
|
| 17/01/26(Sat)14:58 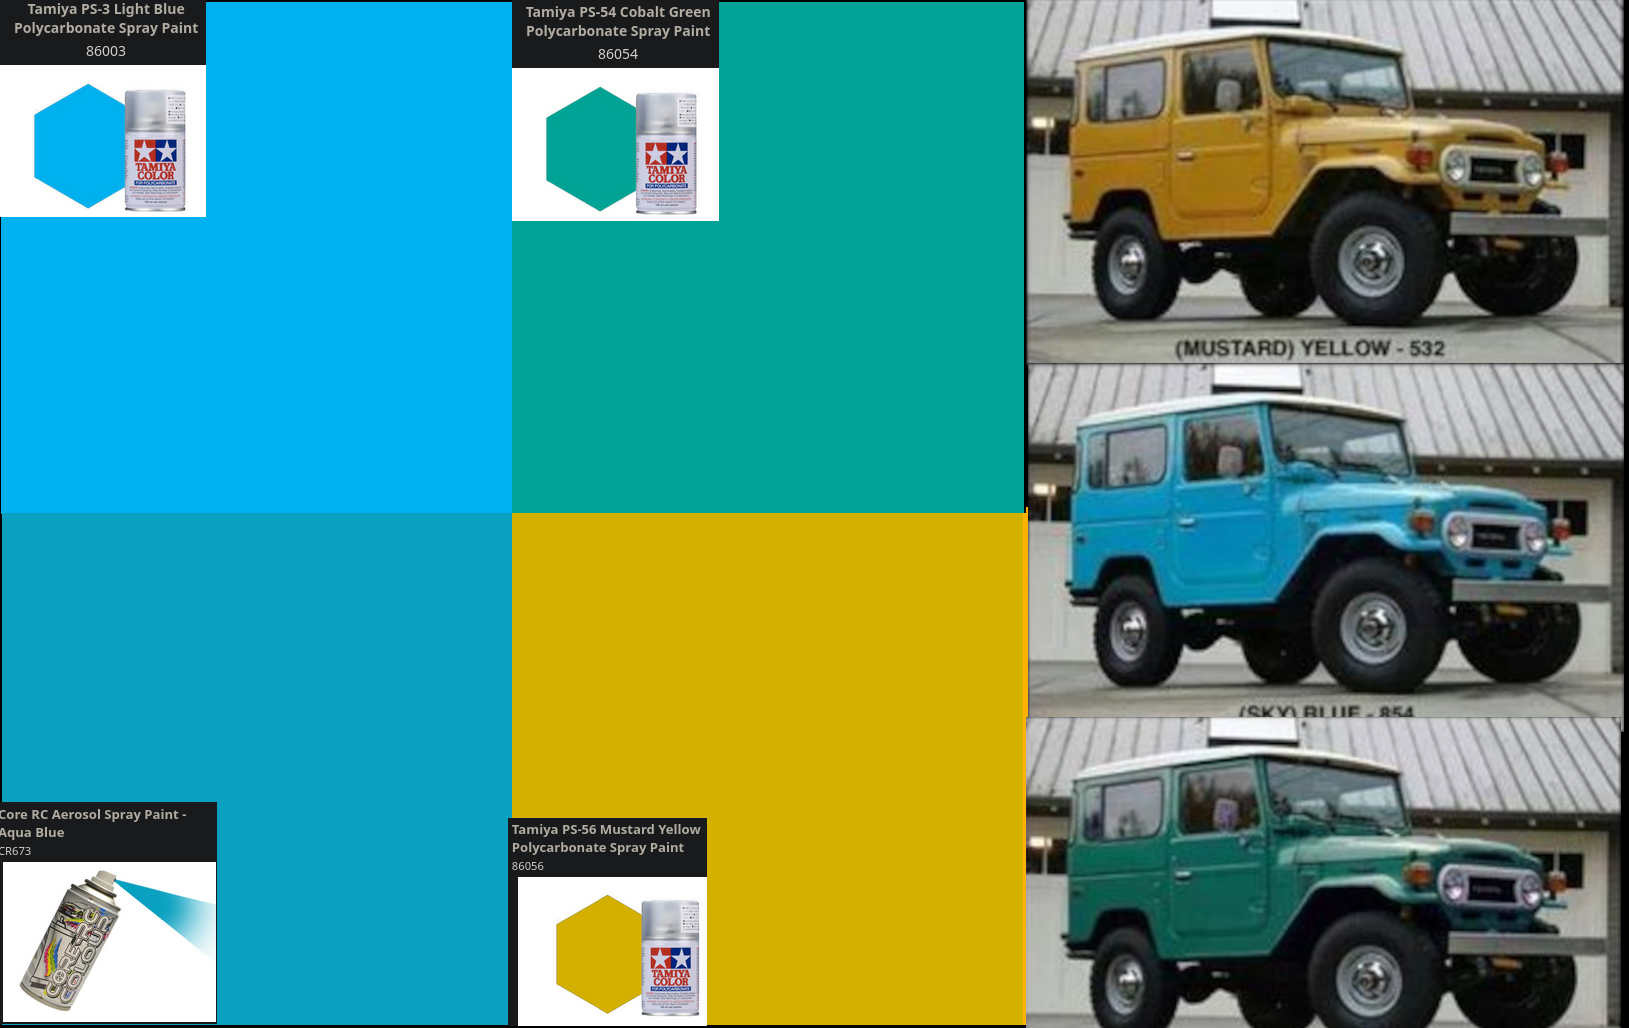 (789.8 Kb, 1629x1028) Which Paint To Choose
|
| 16/01/26(Fri)10:49 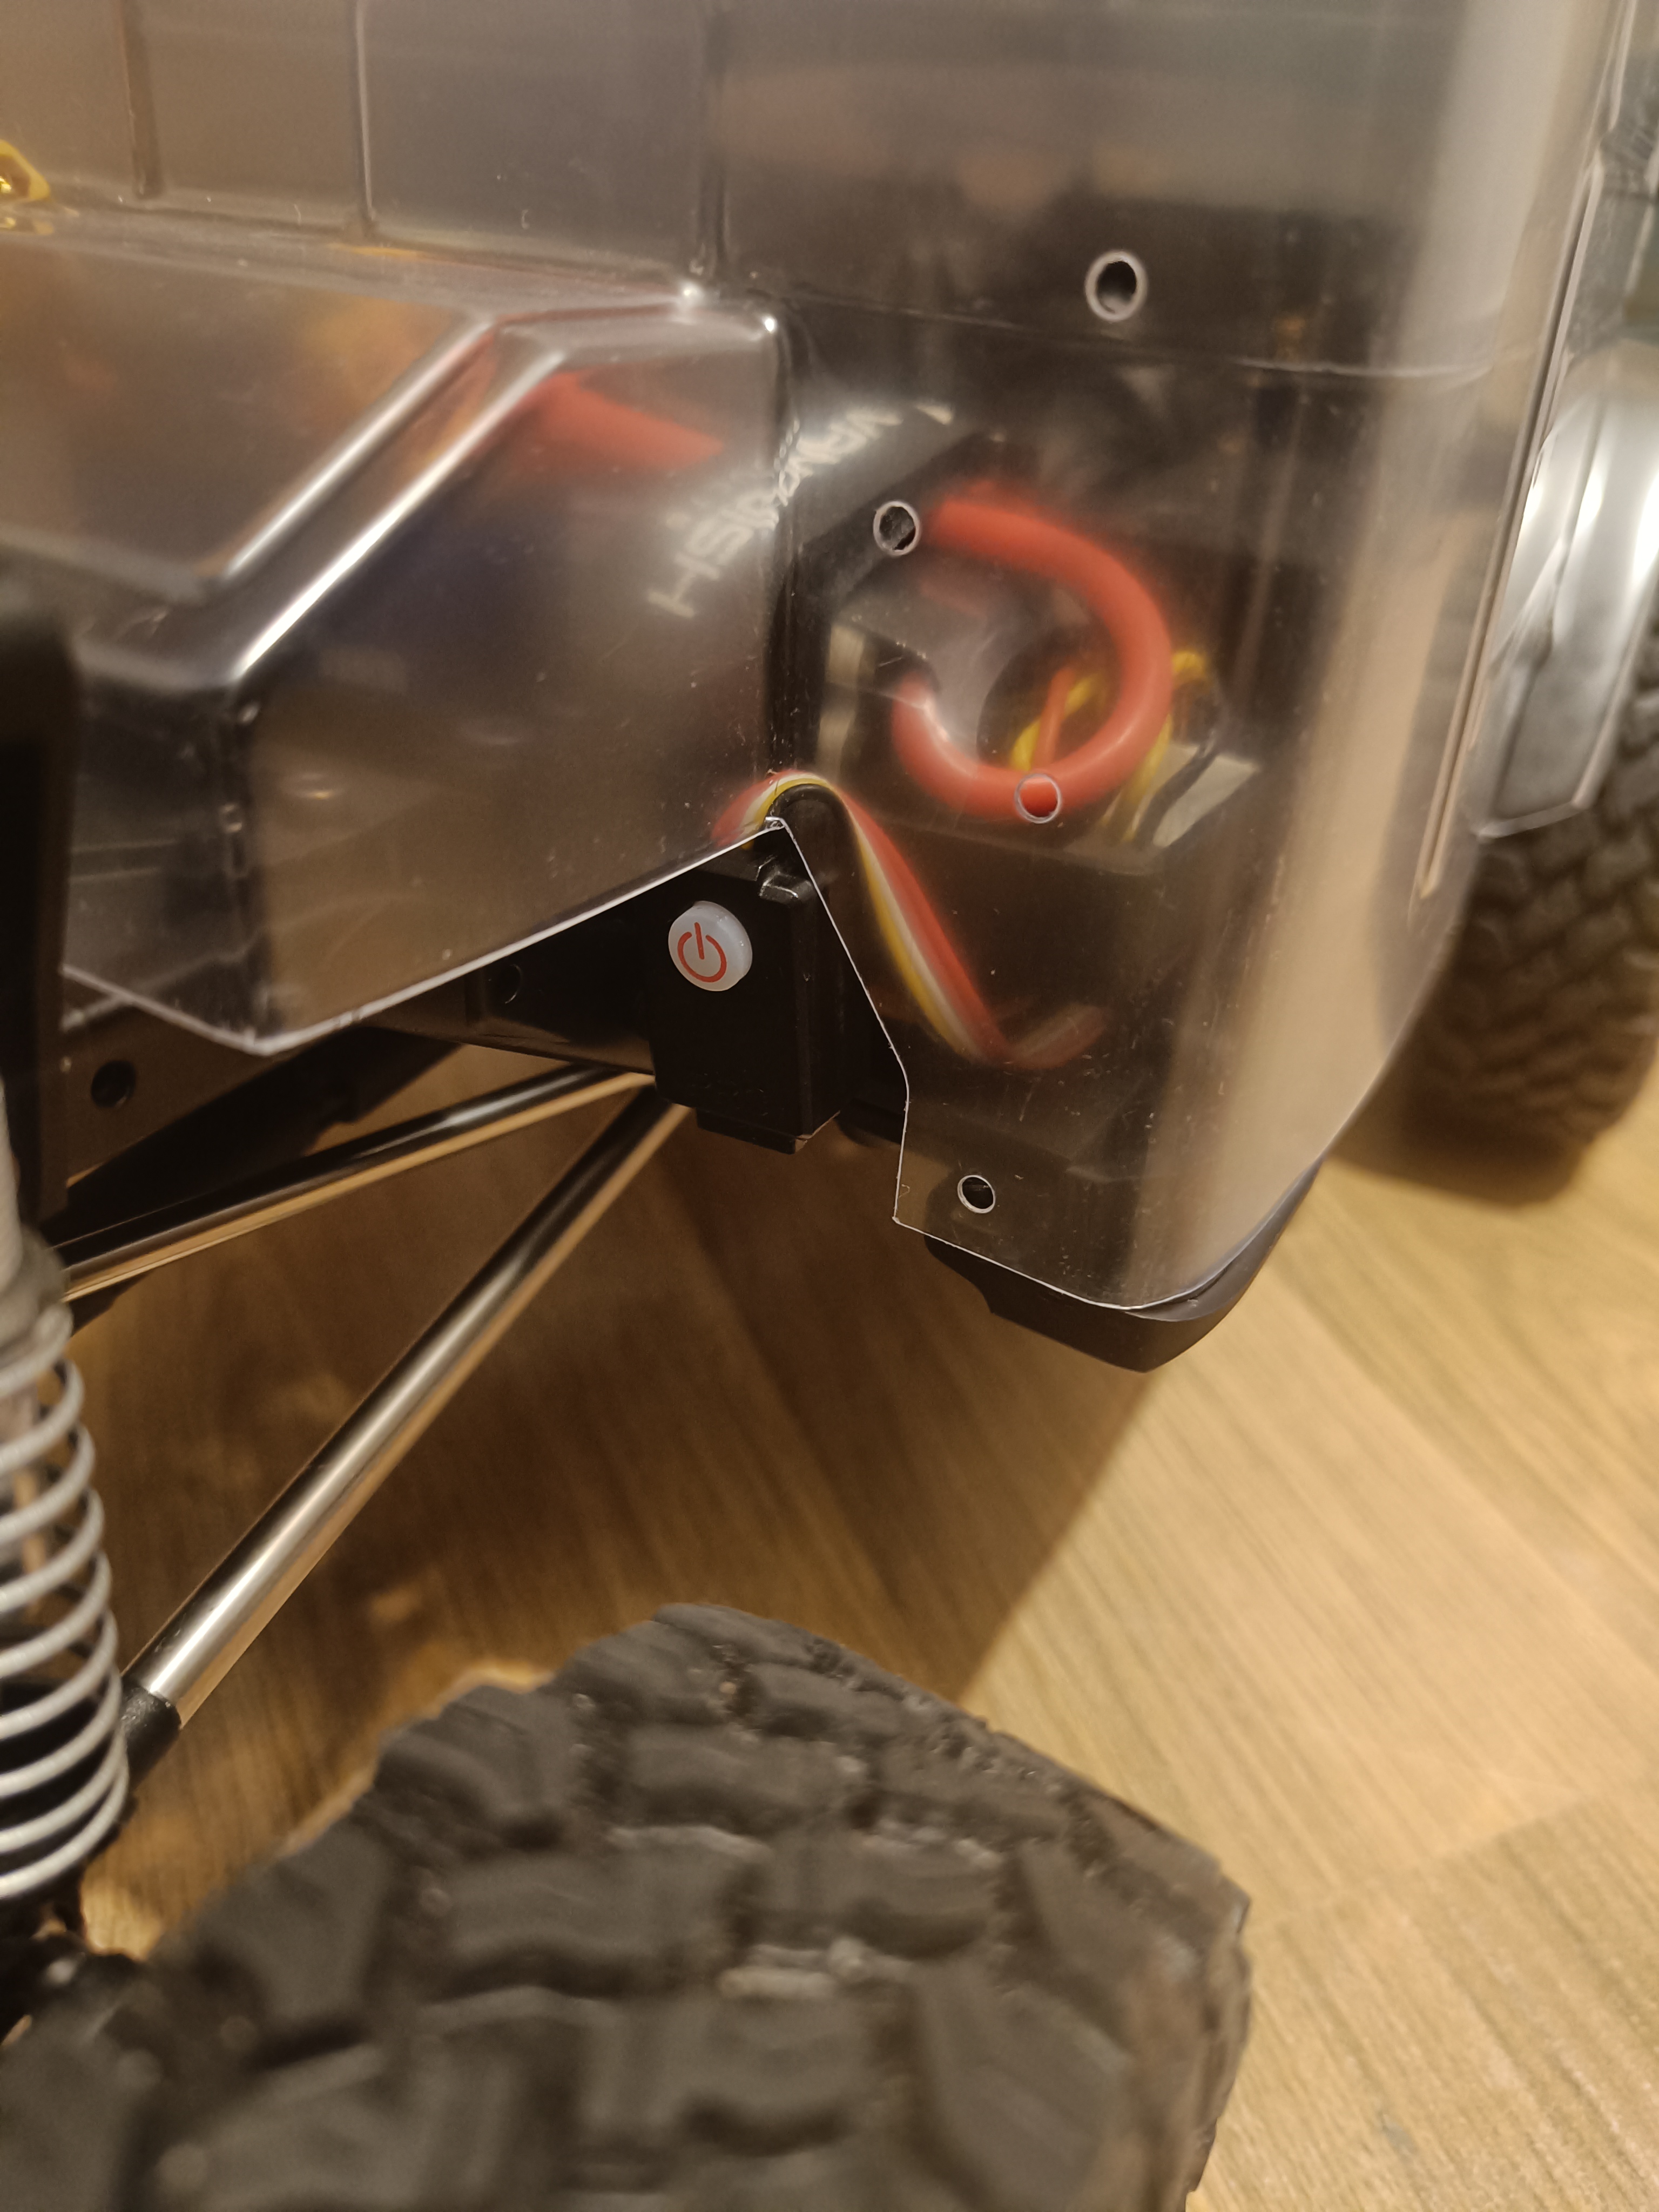 (2593.8 Kb, 3072x4096) Power Button Fitted
|
| 16/01/26(Fri)10:47 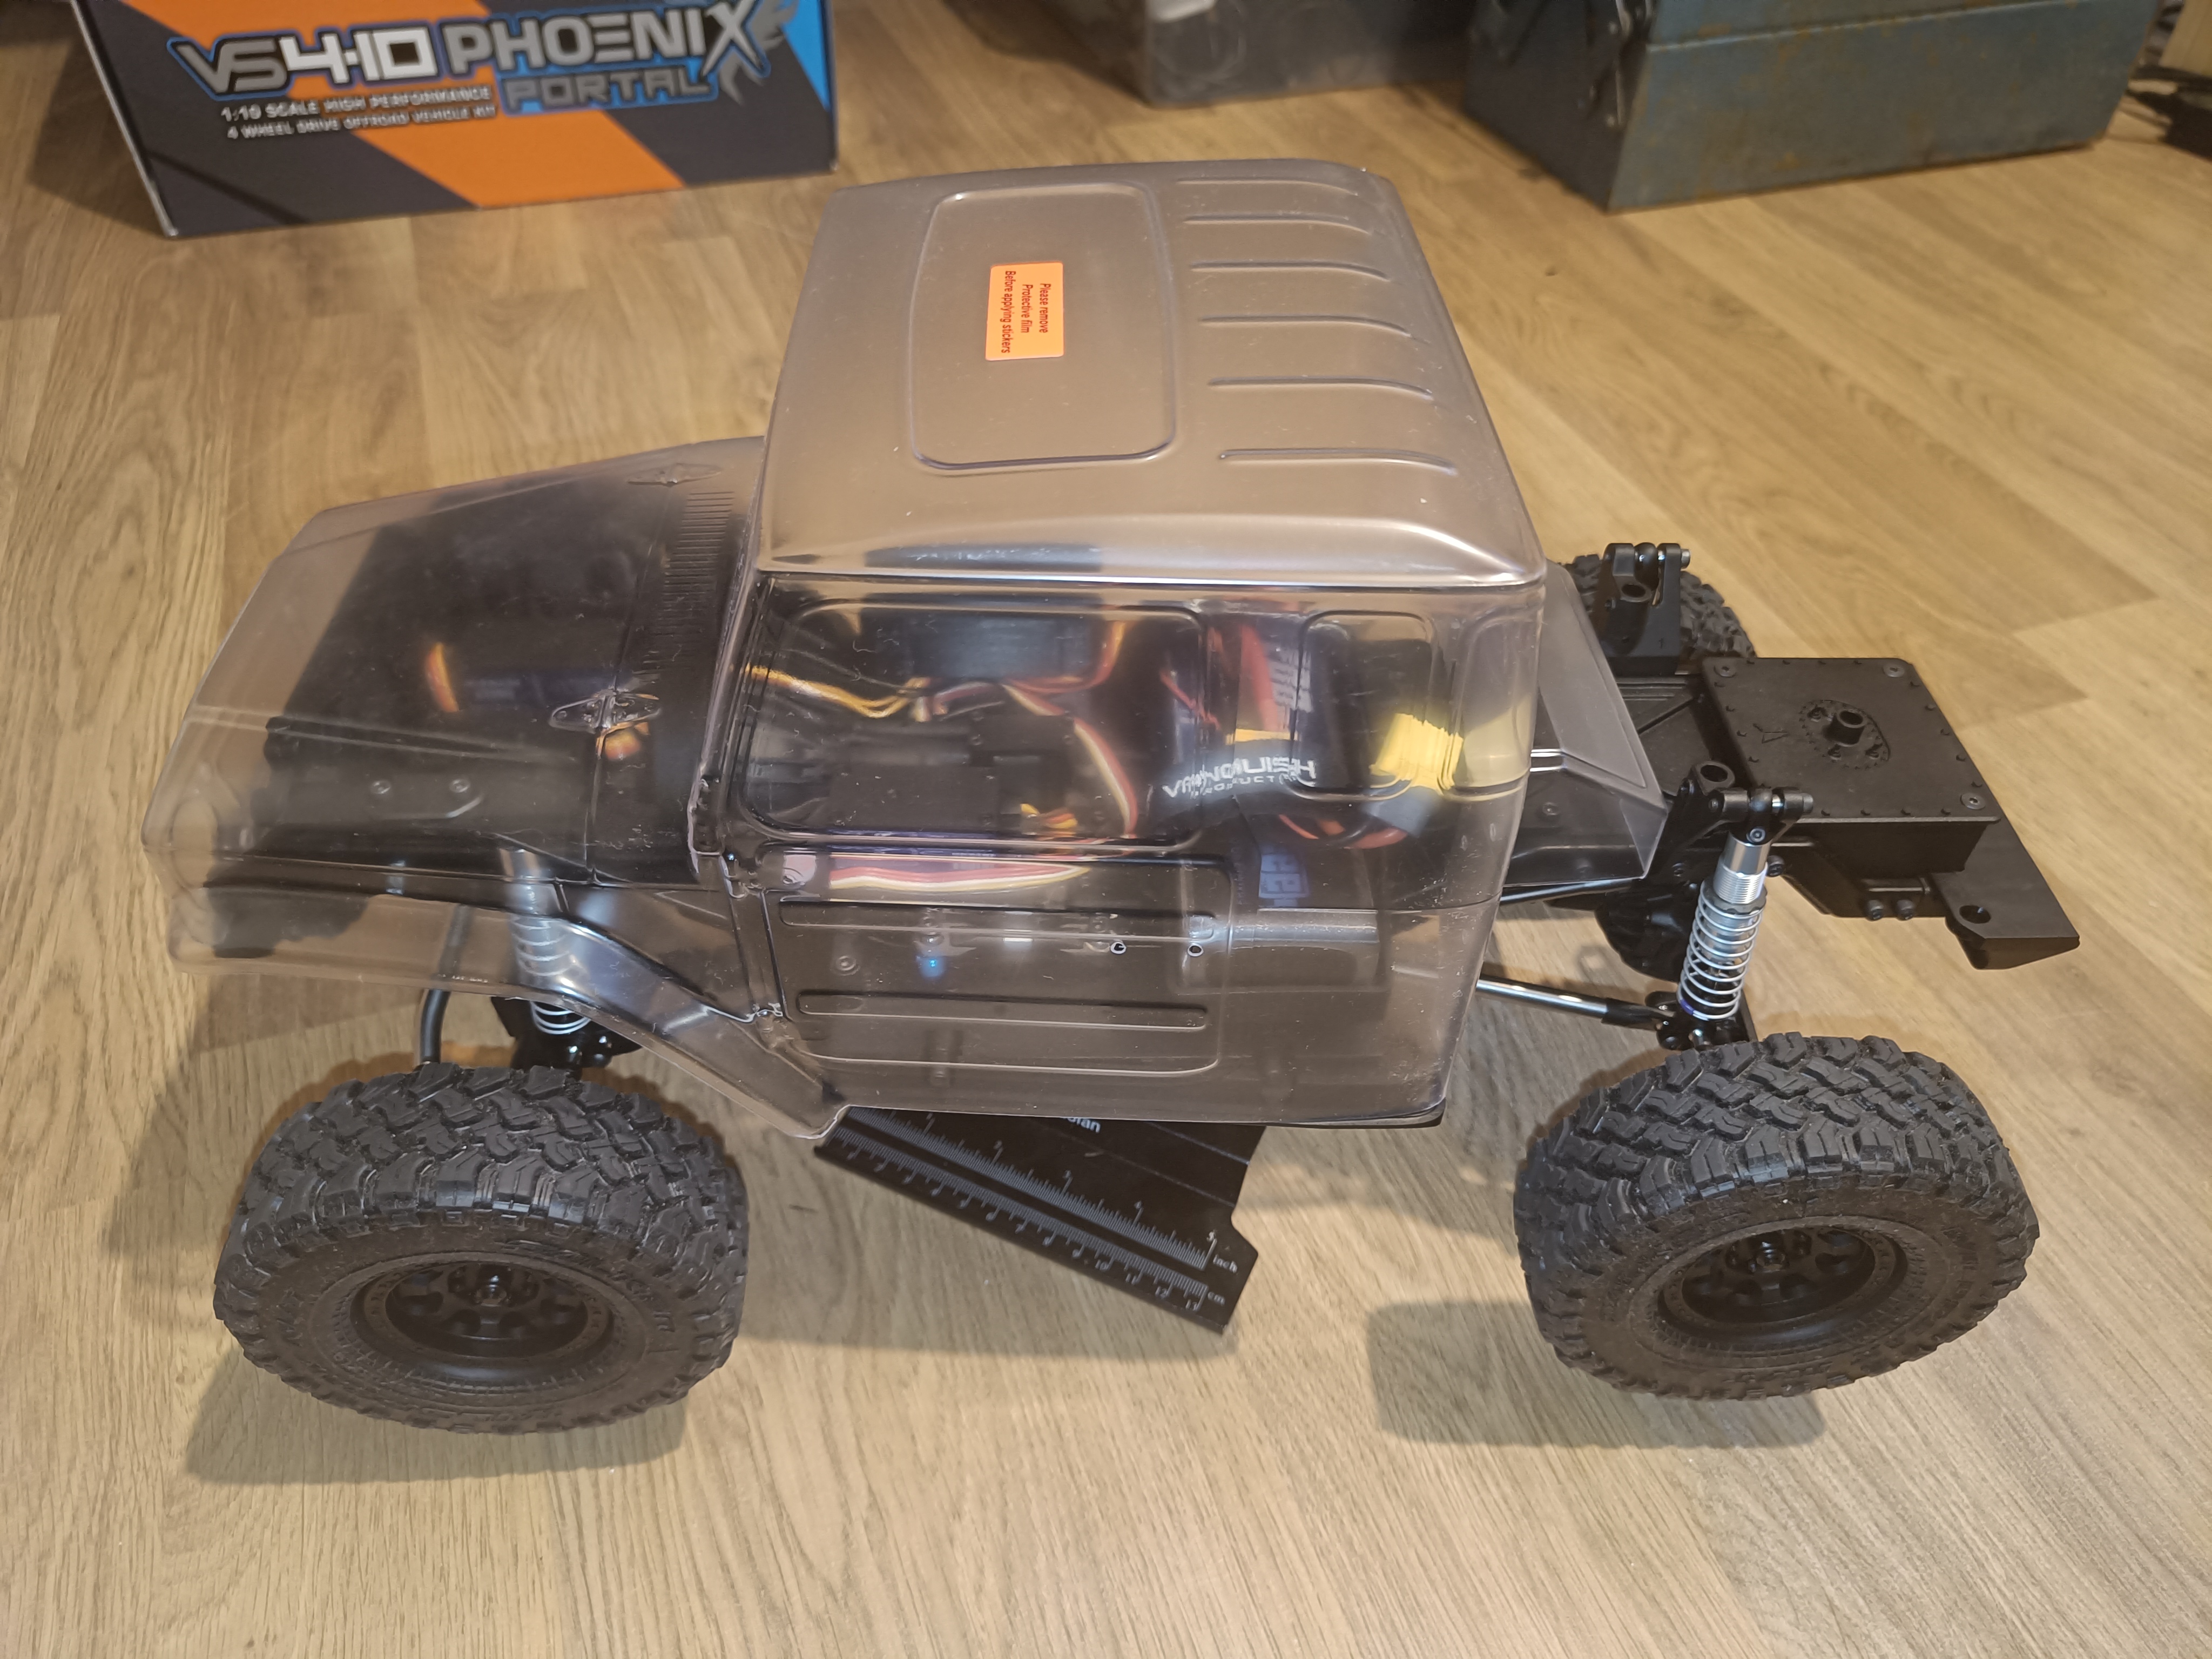 (3097.1 Kb, 4096x3072) Body Test Fit
|
| 16/01/26(Fri)10:46
|
| 15/01/26(Thu)10:36  (536.0 Kb, 810x810)
|
| 14/01/26(Wed)11:27  (4397.0 Kb, 3072x4096) Radio Box Added
|
| 14/01/26(Wed)02:09  (656.6 Kb, 1000x1000)
|
| 12/01/26(Mon)14:35
|
| 12/01/26(Mon)14:00  (33.5 Kb, 474x474)
|
| 12/01/26(Mon)08:32
|
| 09/01/26(Fri)14:21  (116.0 Kb, 800x600)
|
| 09/01/26(Fri)14:18
|
| 08/01/26(Thu)14:31  (511.6 Kb, 165x181) ..what? ...how?
|
| 07/01/26(Wed)14:10 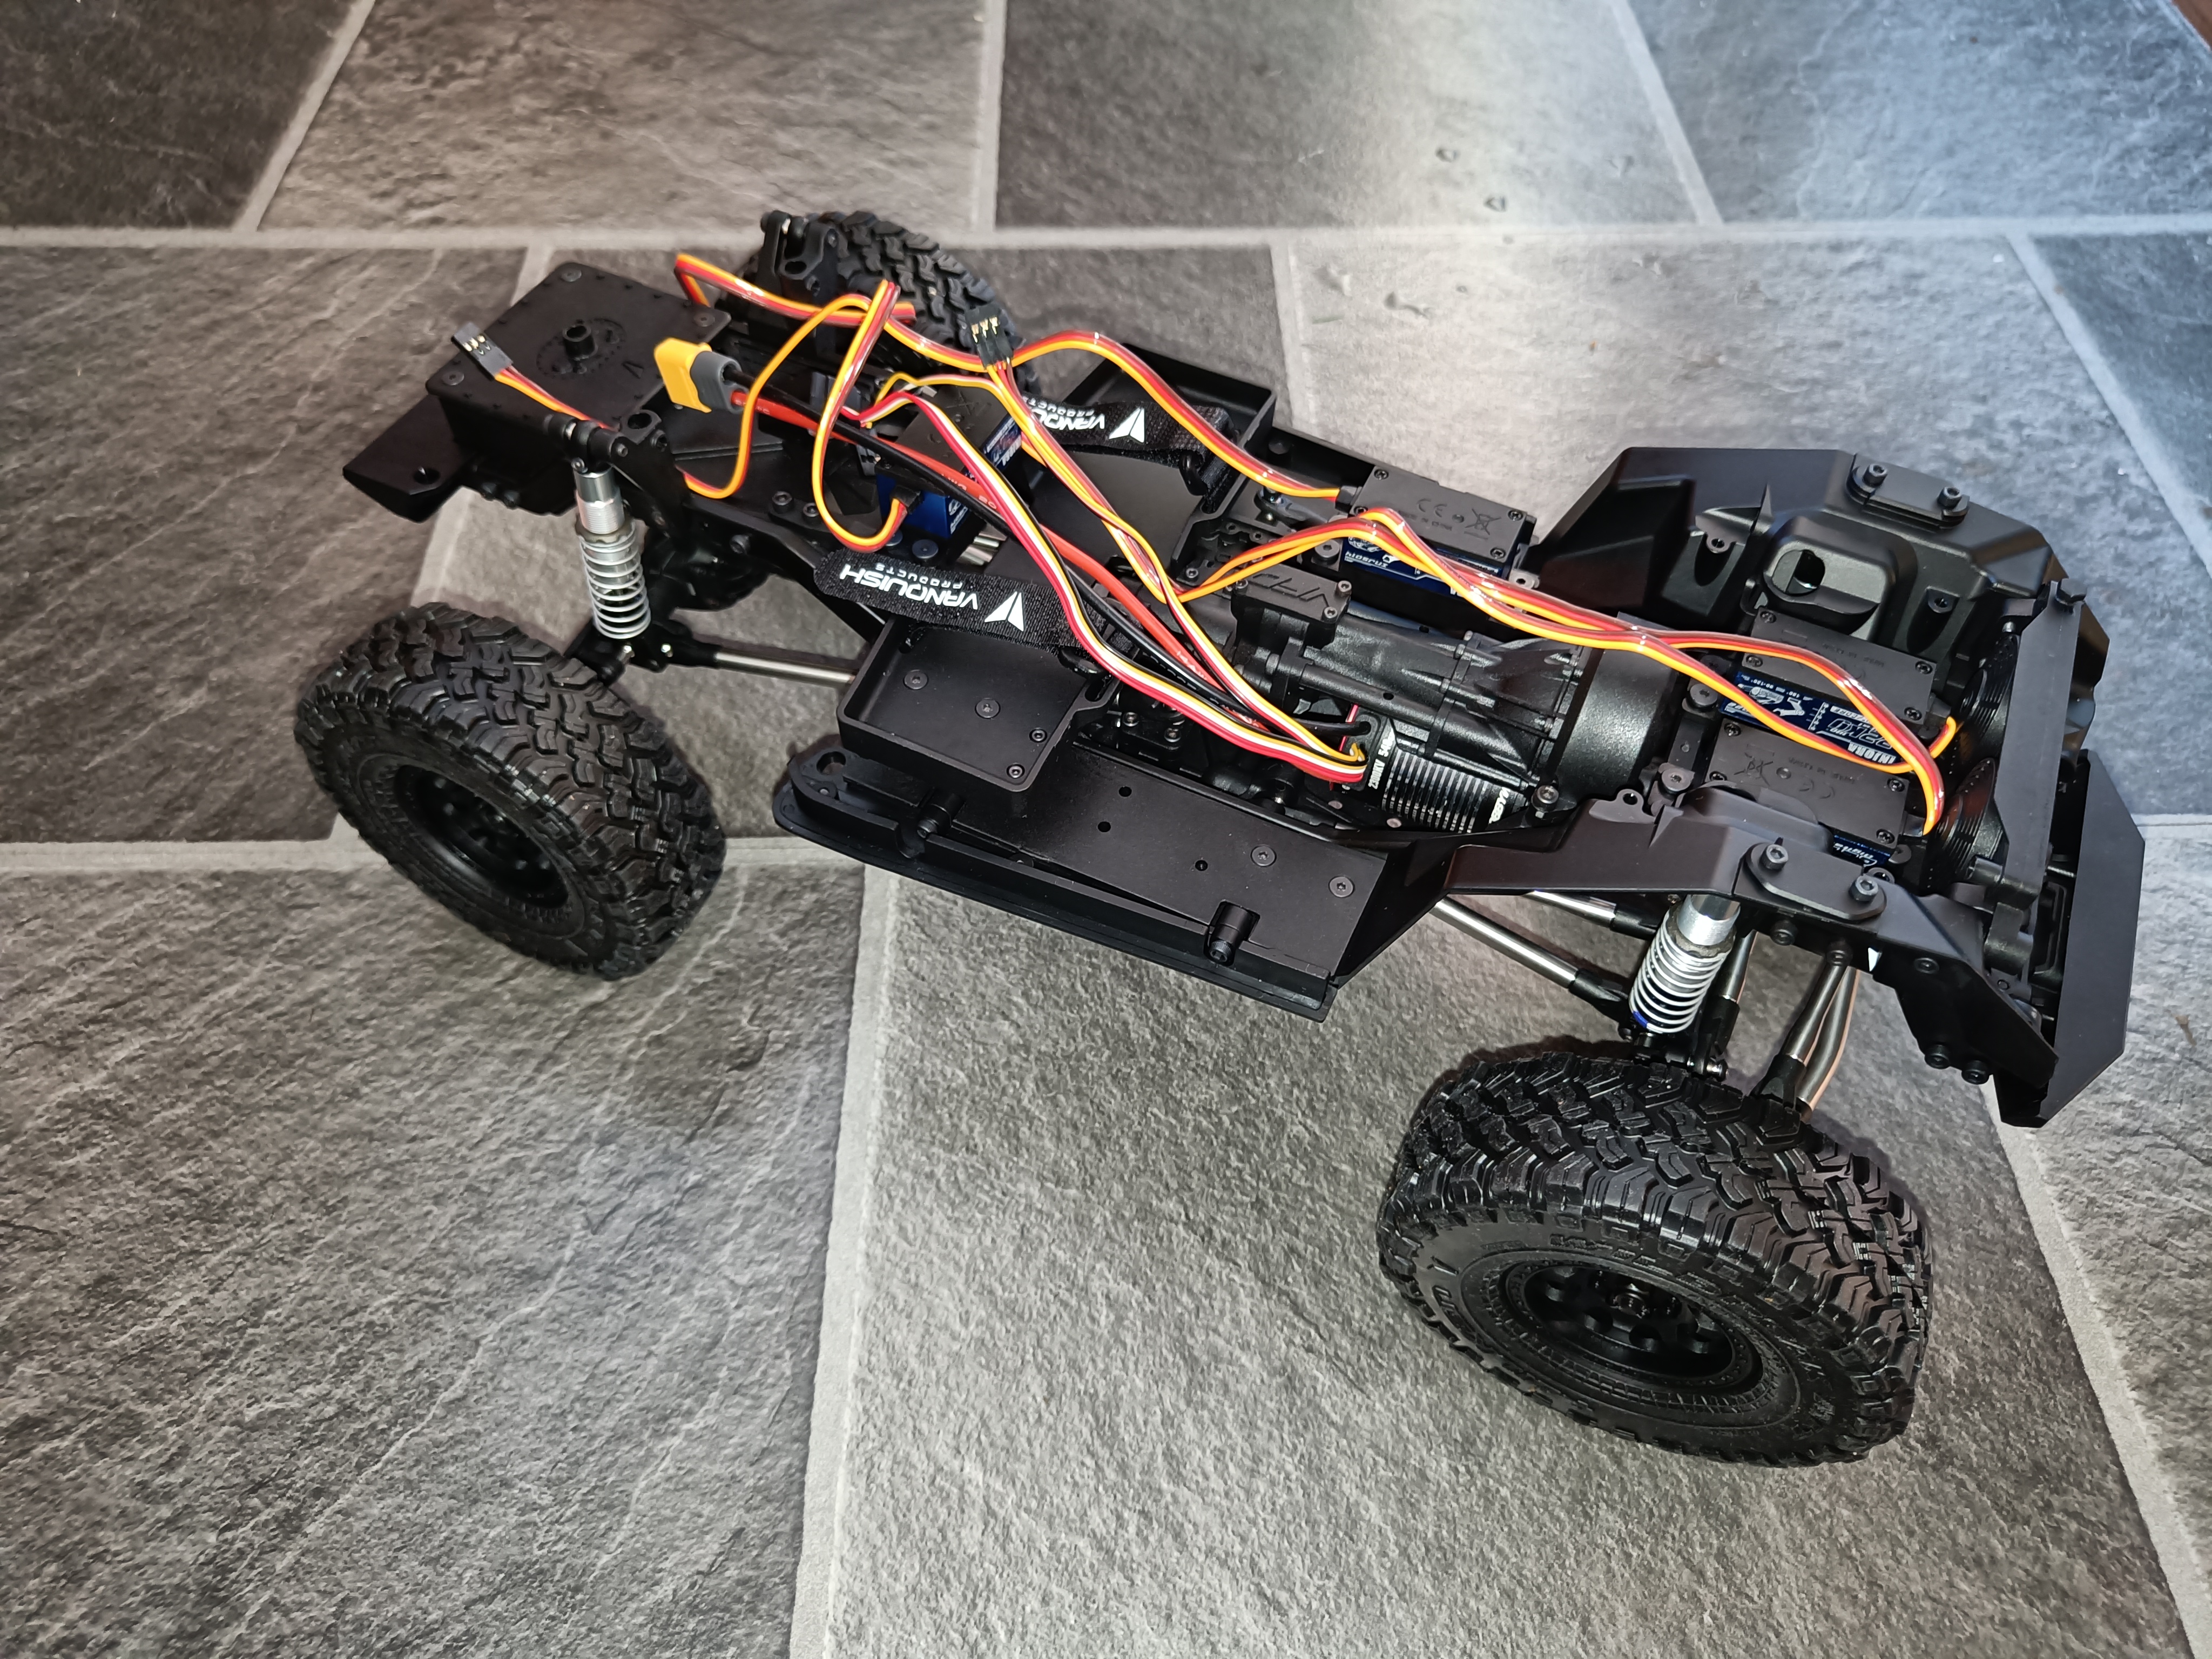 (4454.8 Kb, 4096x3072) Surprise! I was building a car all along!
|
| 07/01/26(Wed)14:04
|
| 07/01/26(Wed)12:33
|
| 06/01/26(Tue)15:47 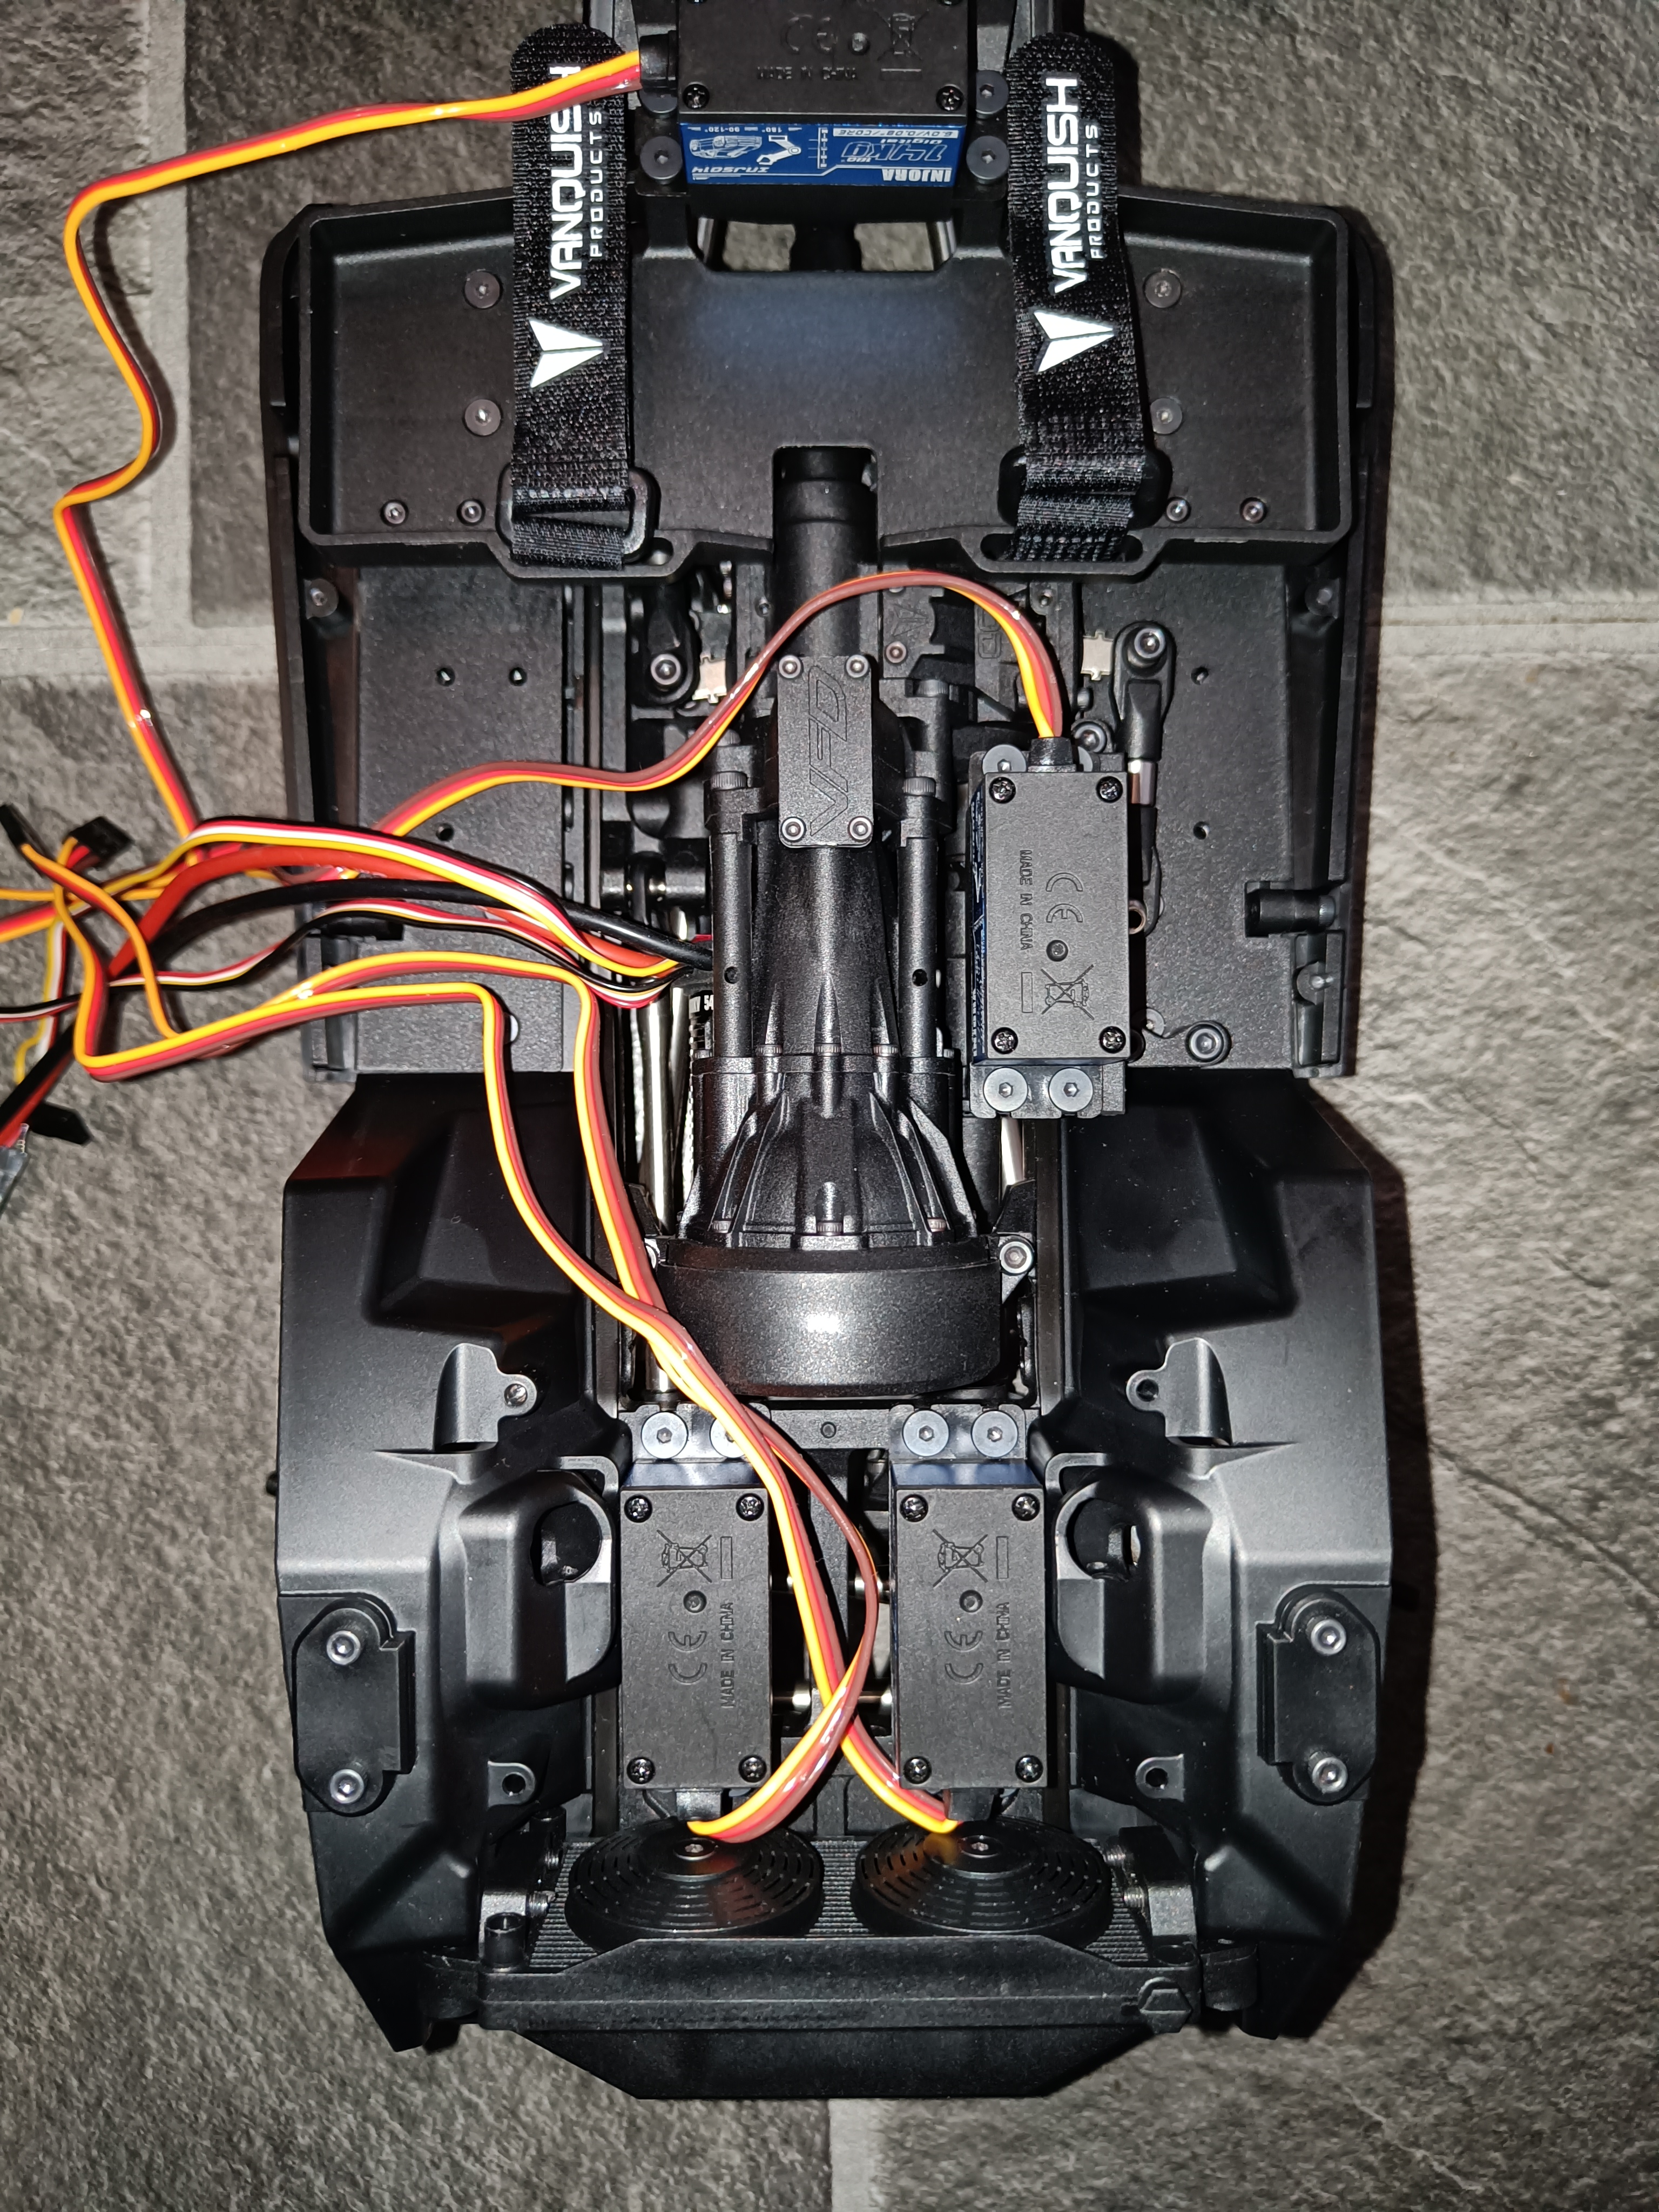 (4299.2 Kb, 3072x4096) Fitted out the chassis with stuff...
|
| 06/01/26(Tue)08:22
|
| 04/01/26(Sun)00:05
|
| 02/01/26(Fri)12:19  (322.0 Kb, 500x472) >>39423>>39422
|
| 01/01/26(Thu)17:03 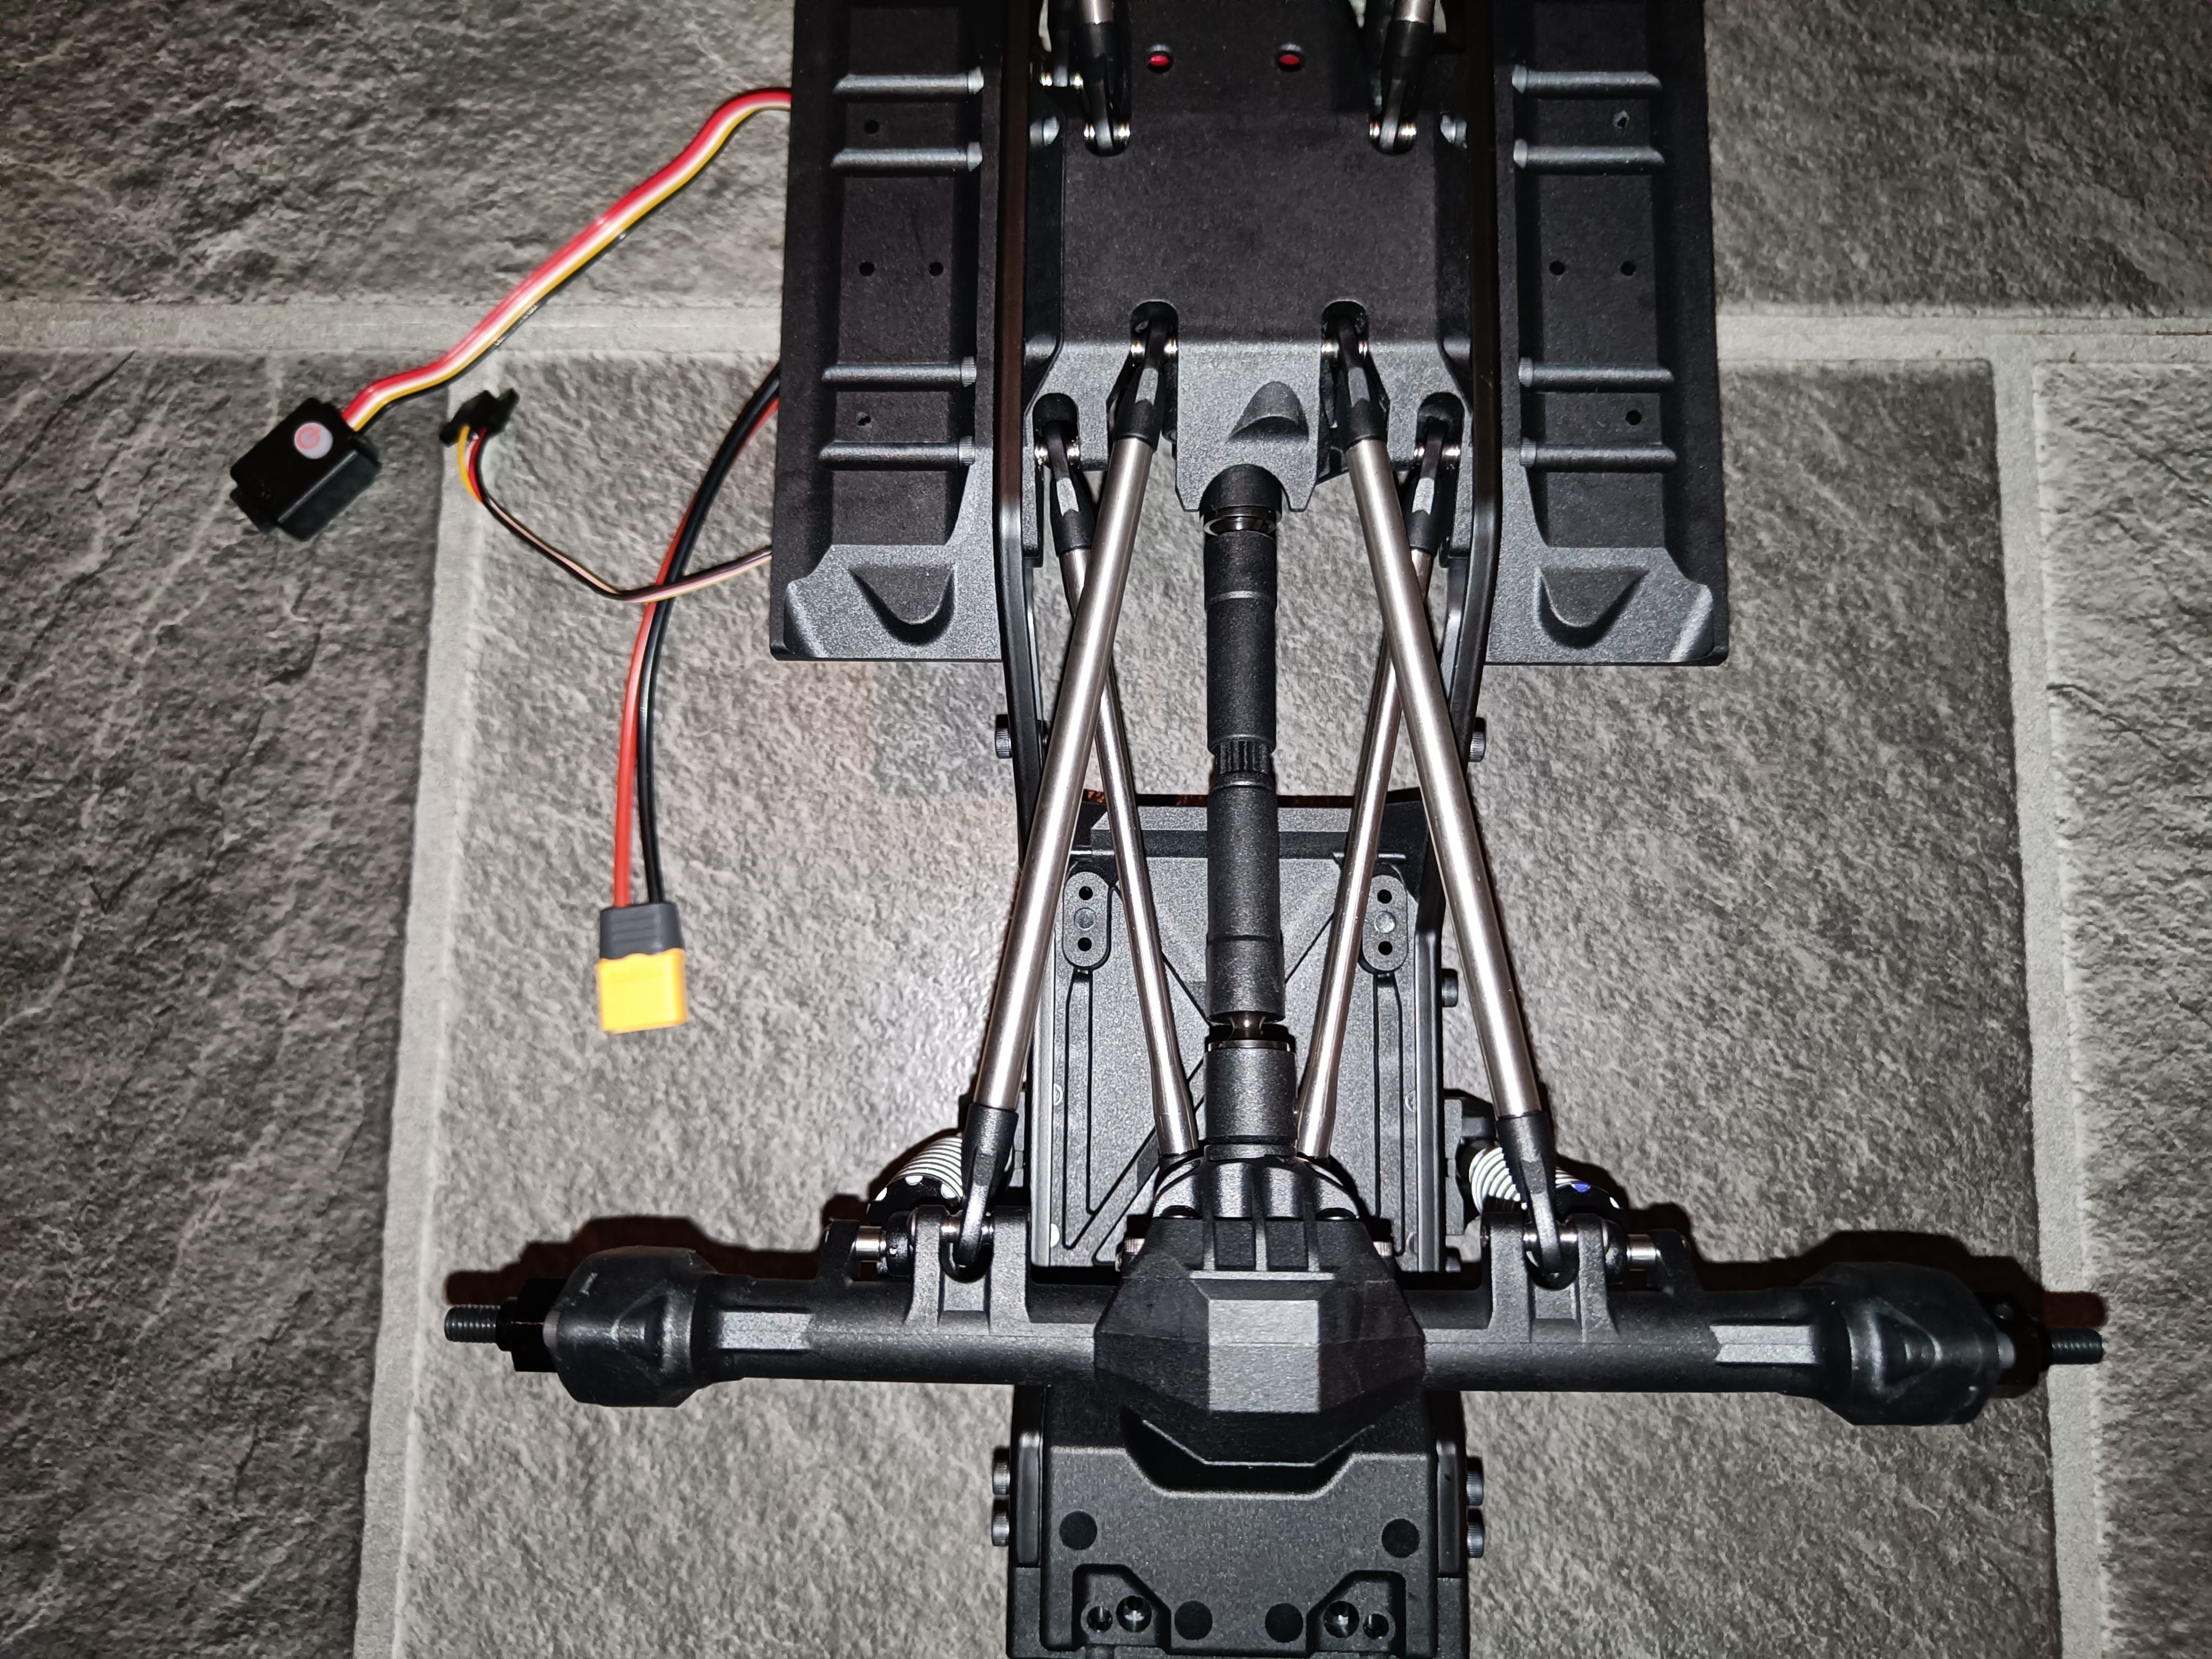 (4508.9 Kb, 4096x3072) Rear Links and Shocks Installed |
| 01/01/26(Thu)15:50 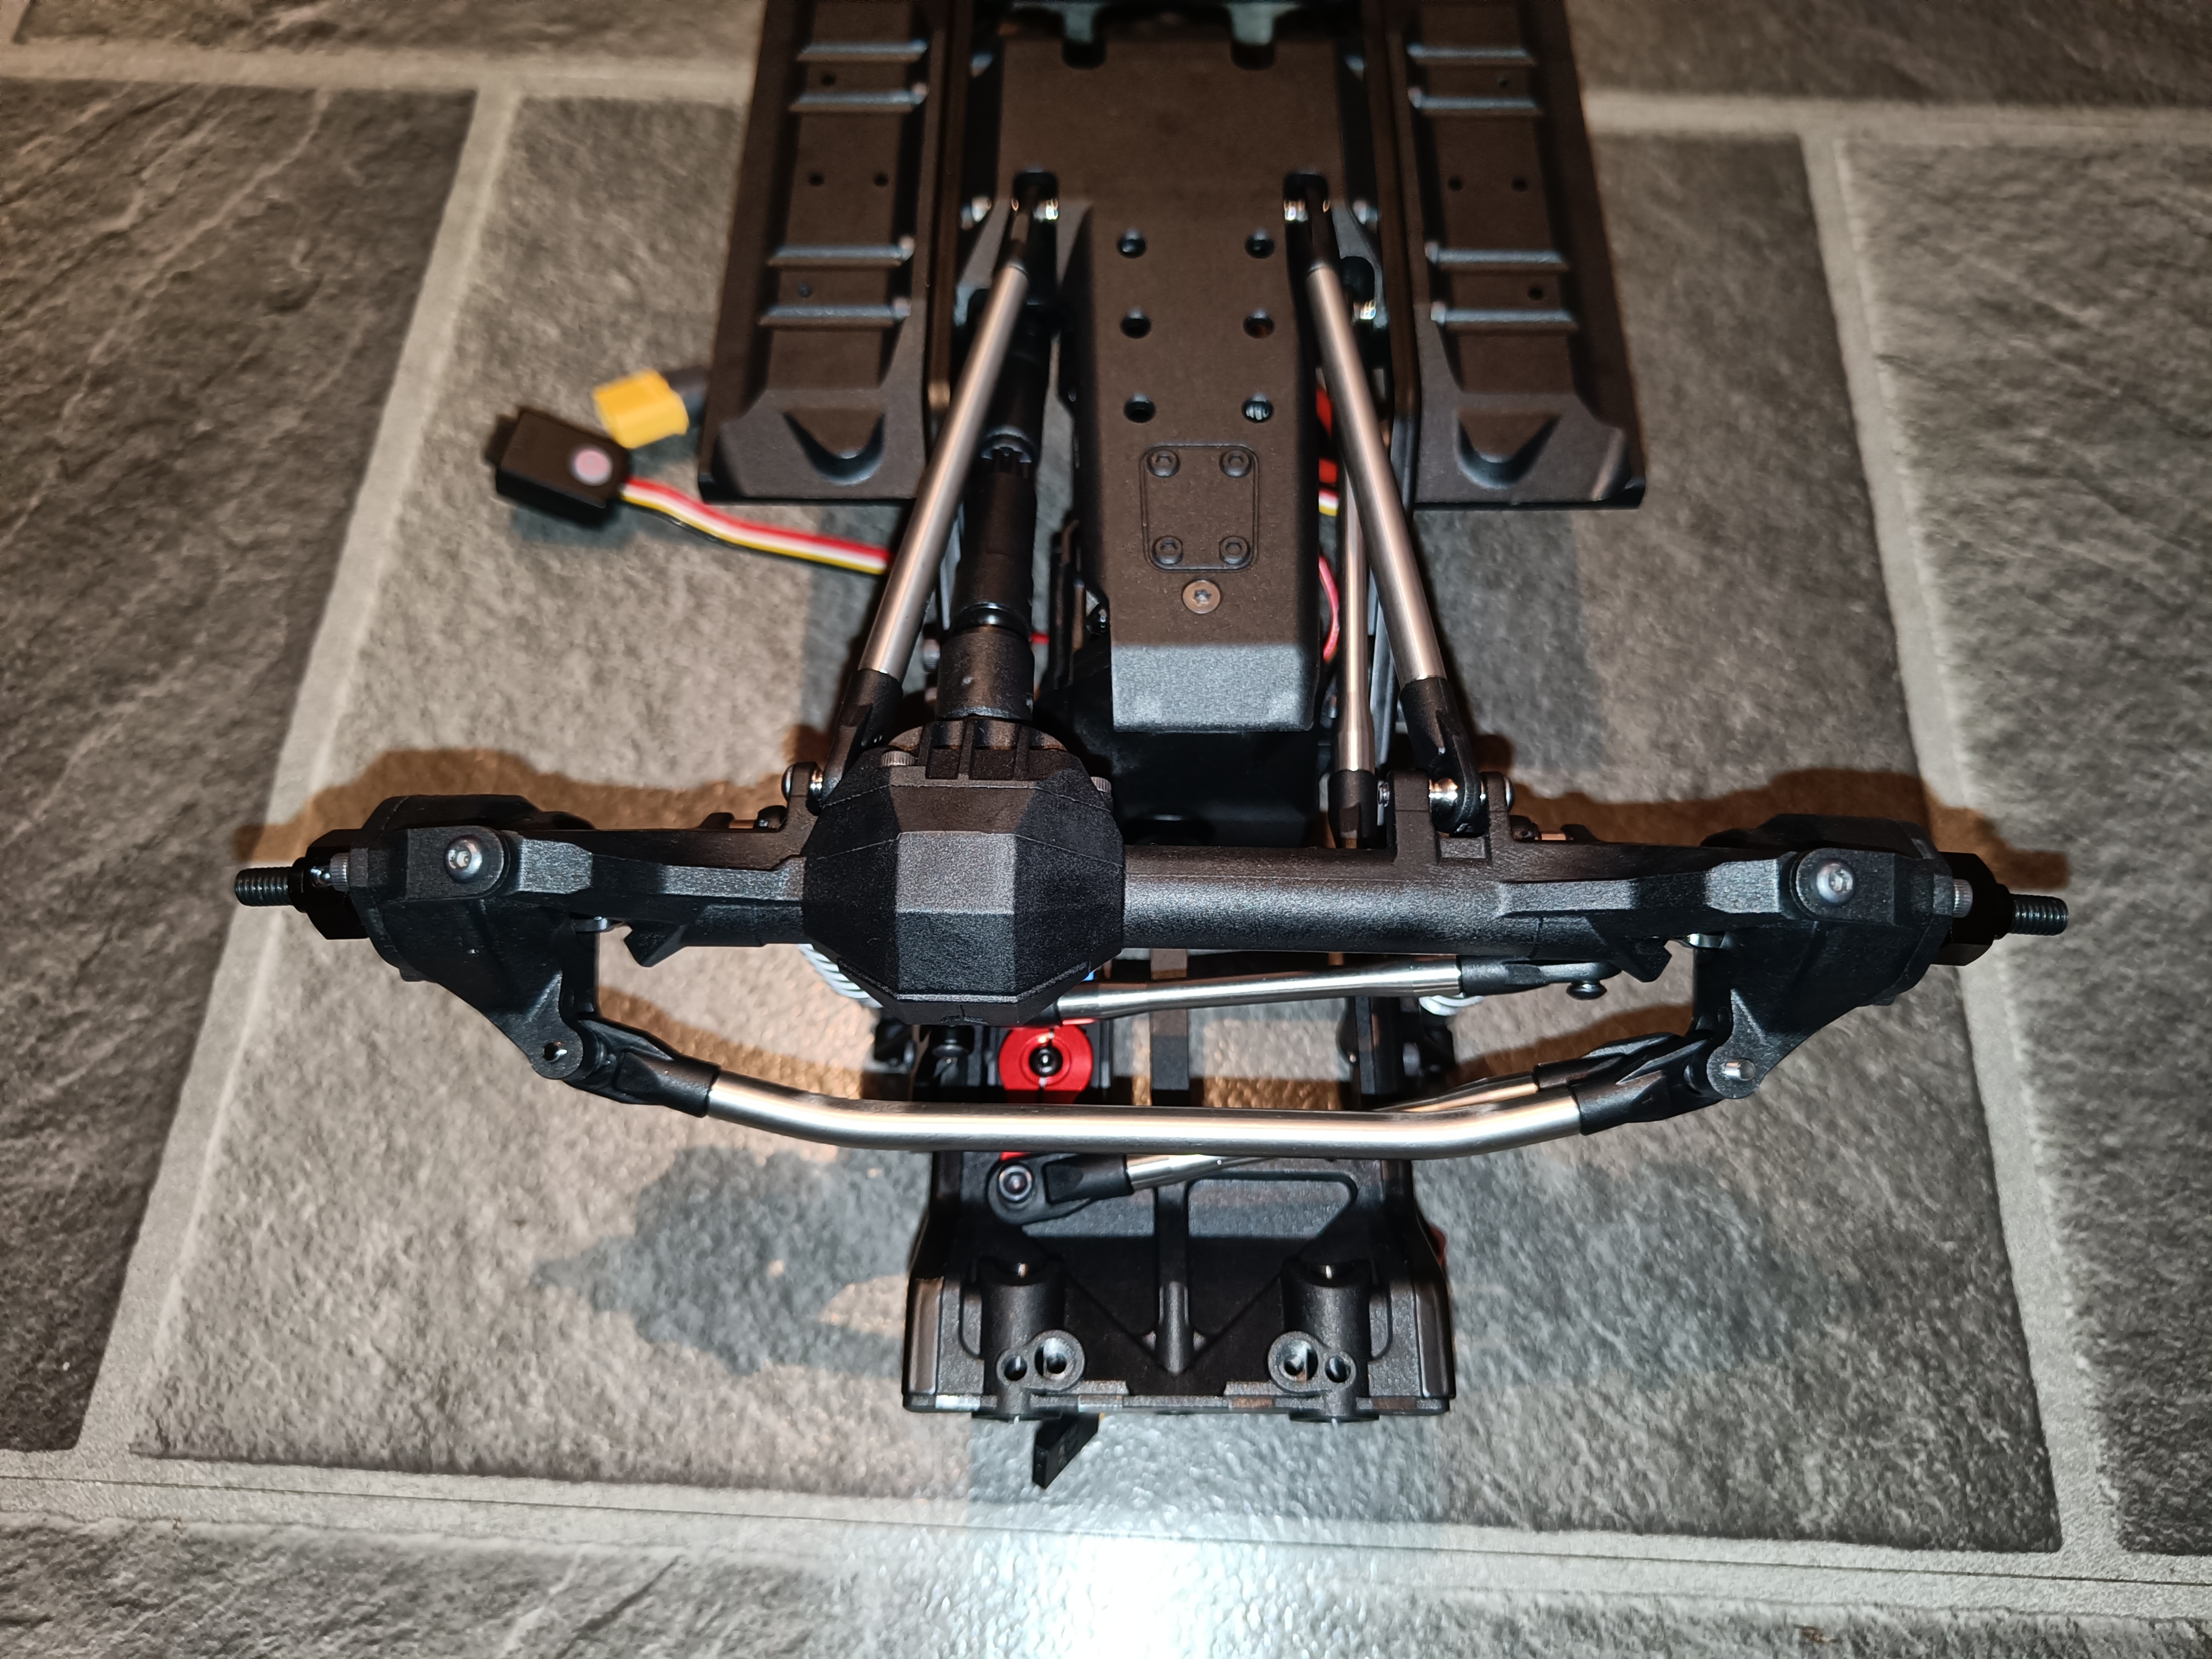 (3618.5 Kb, 4096x3072) Front Links and Shocks Installed
|
| 01/01/26(Thu)13:52
|
| 30/12/25(Tue)20:33  (506.6 Kb, 1482x1086)
|
| 29/12/25(Mon)16:43 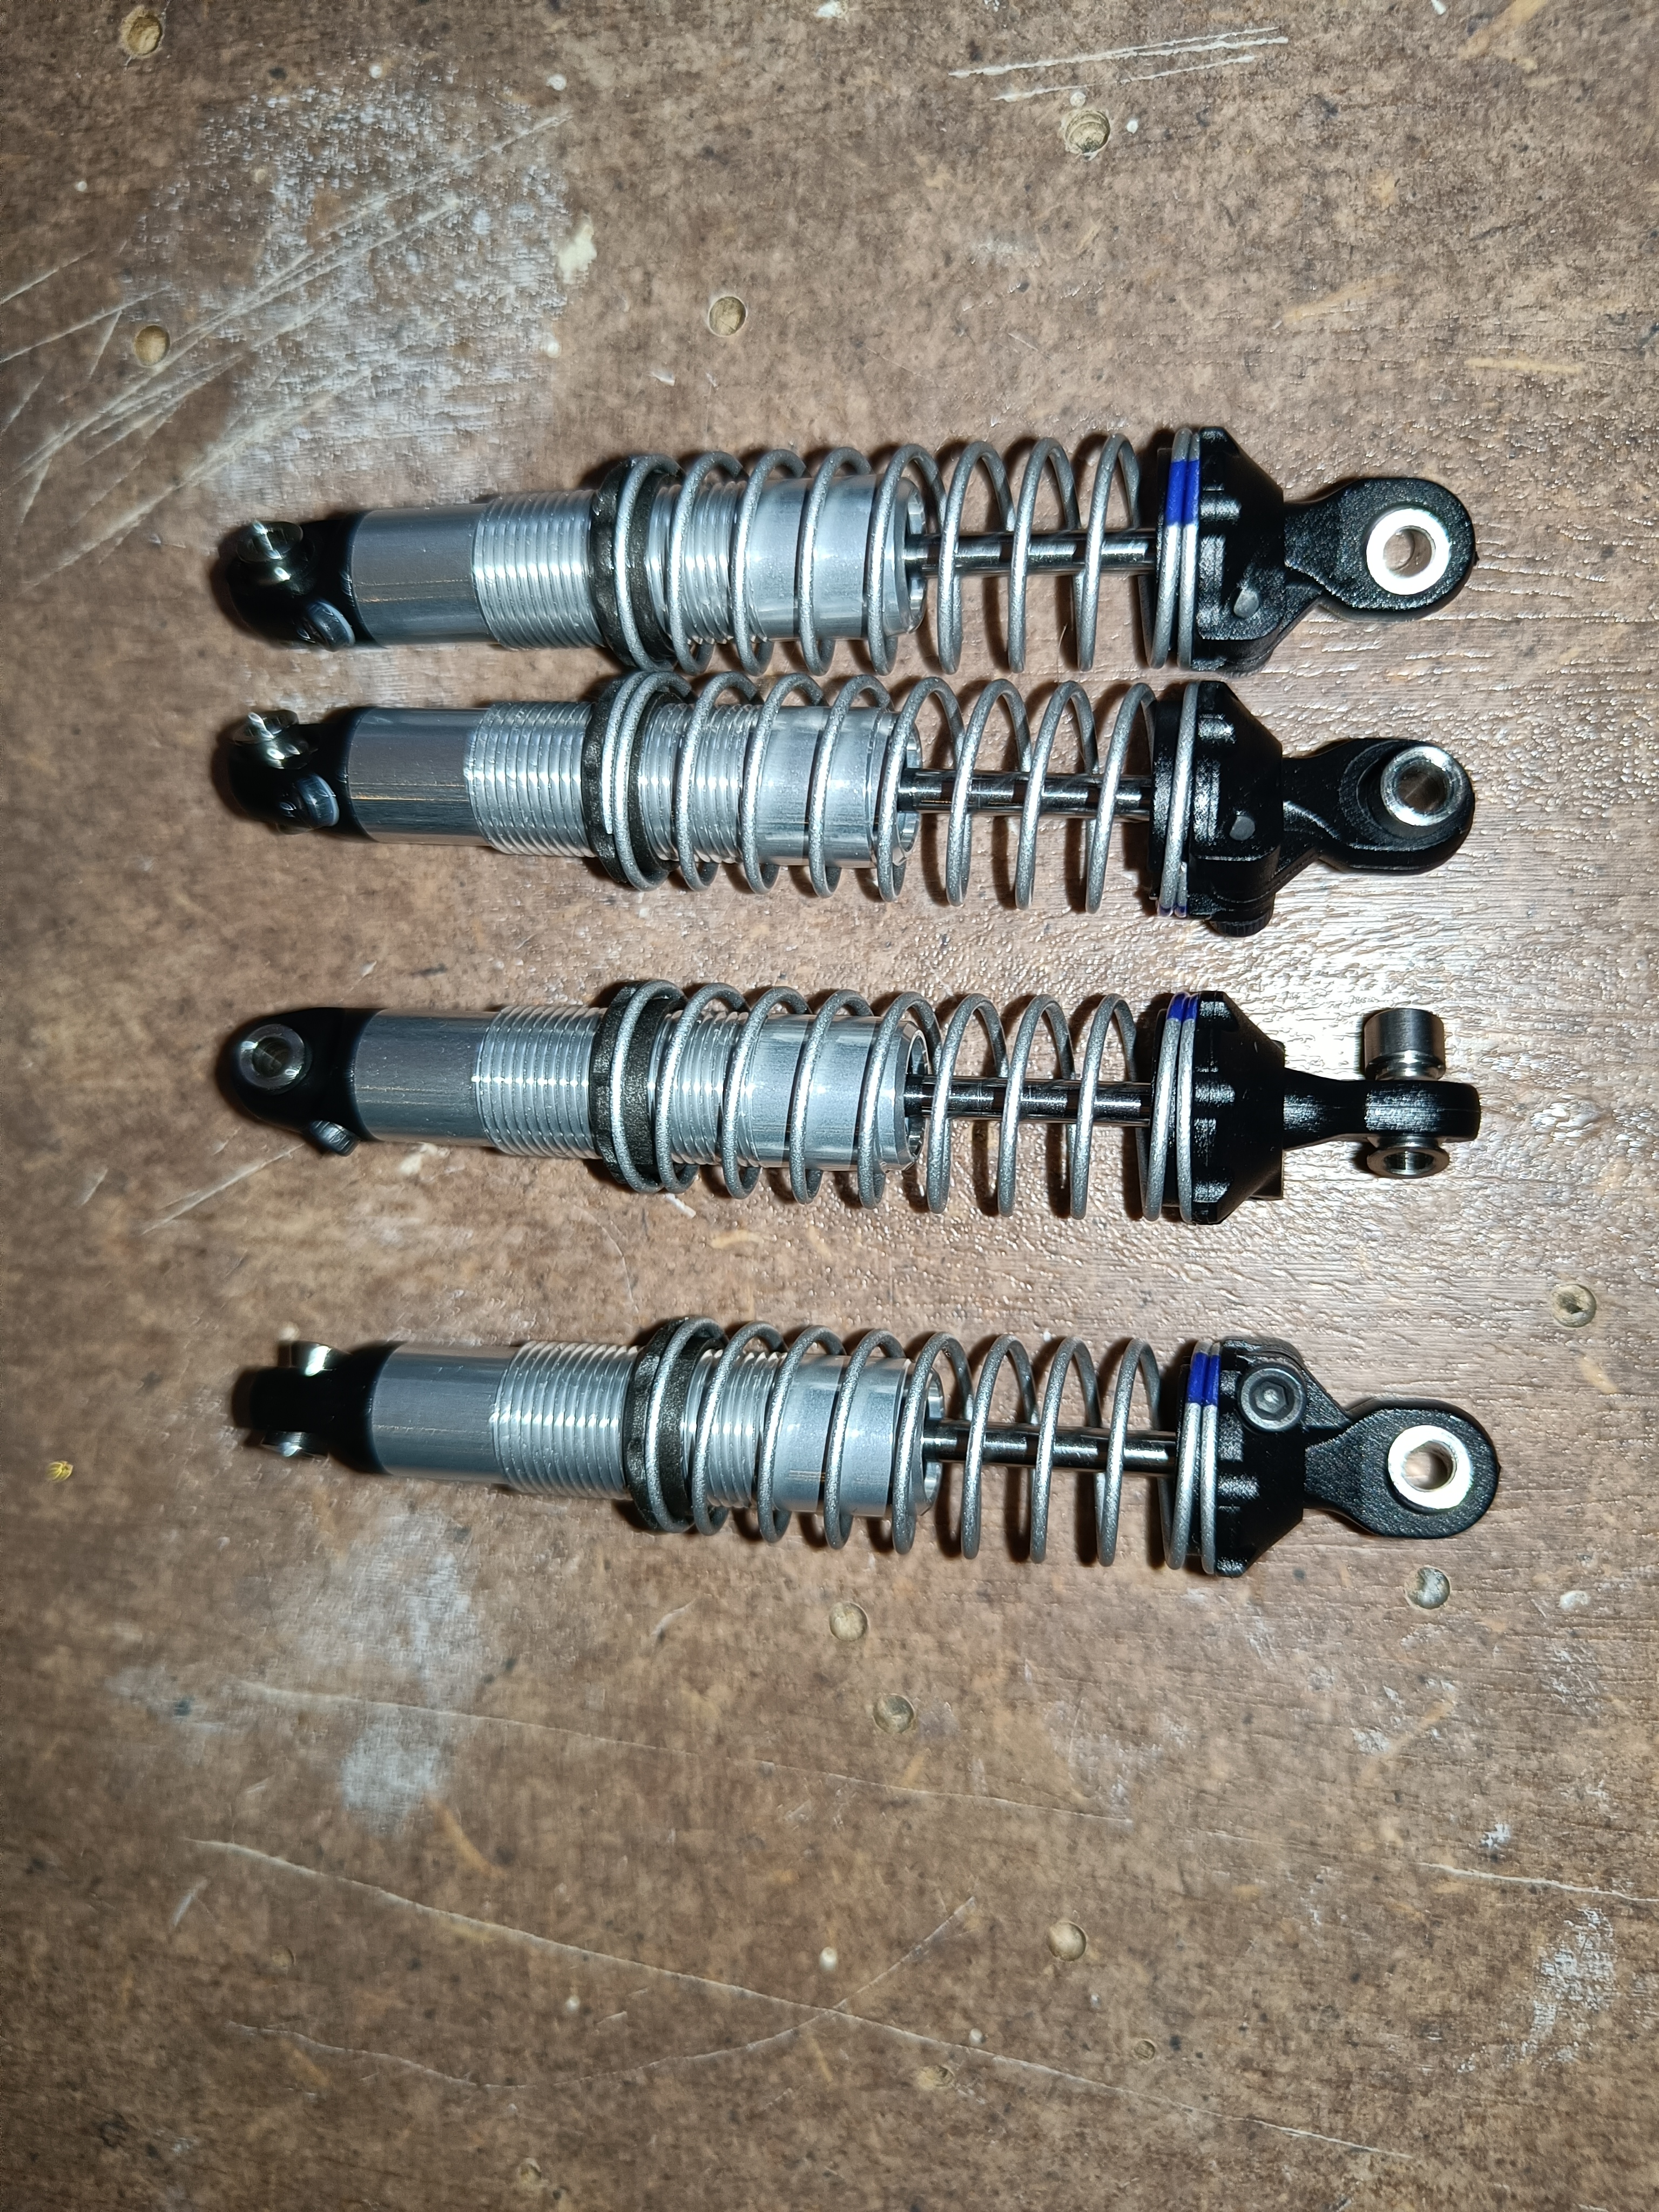 (5610.7 Kb, 3072x4096) Can I build the suspension? The answer may SHOCK you ;P
|
| 29/12/25(Mon)16:40
|
| 29/12/25(Mon)12:56  (391.9 Kb, 1200x675)
|
| 28/12/25(Sun)18:30  (151.2 Kb, 800x600)
|
| 28/12/25(Sun)18:28 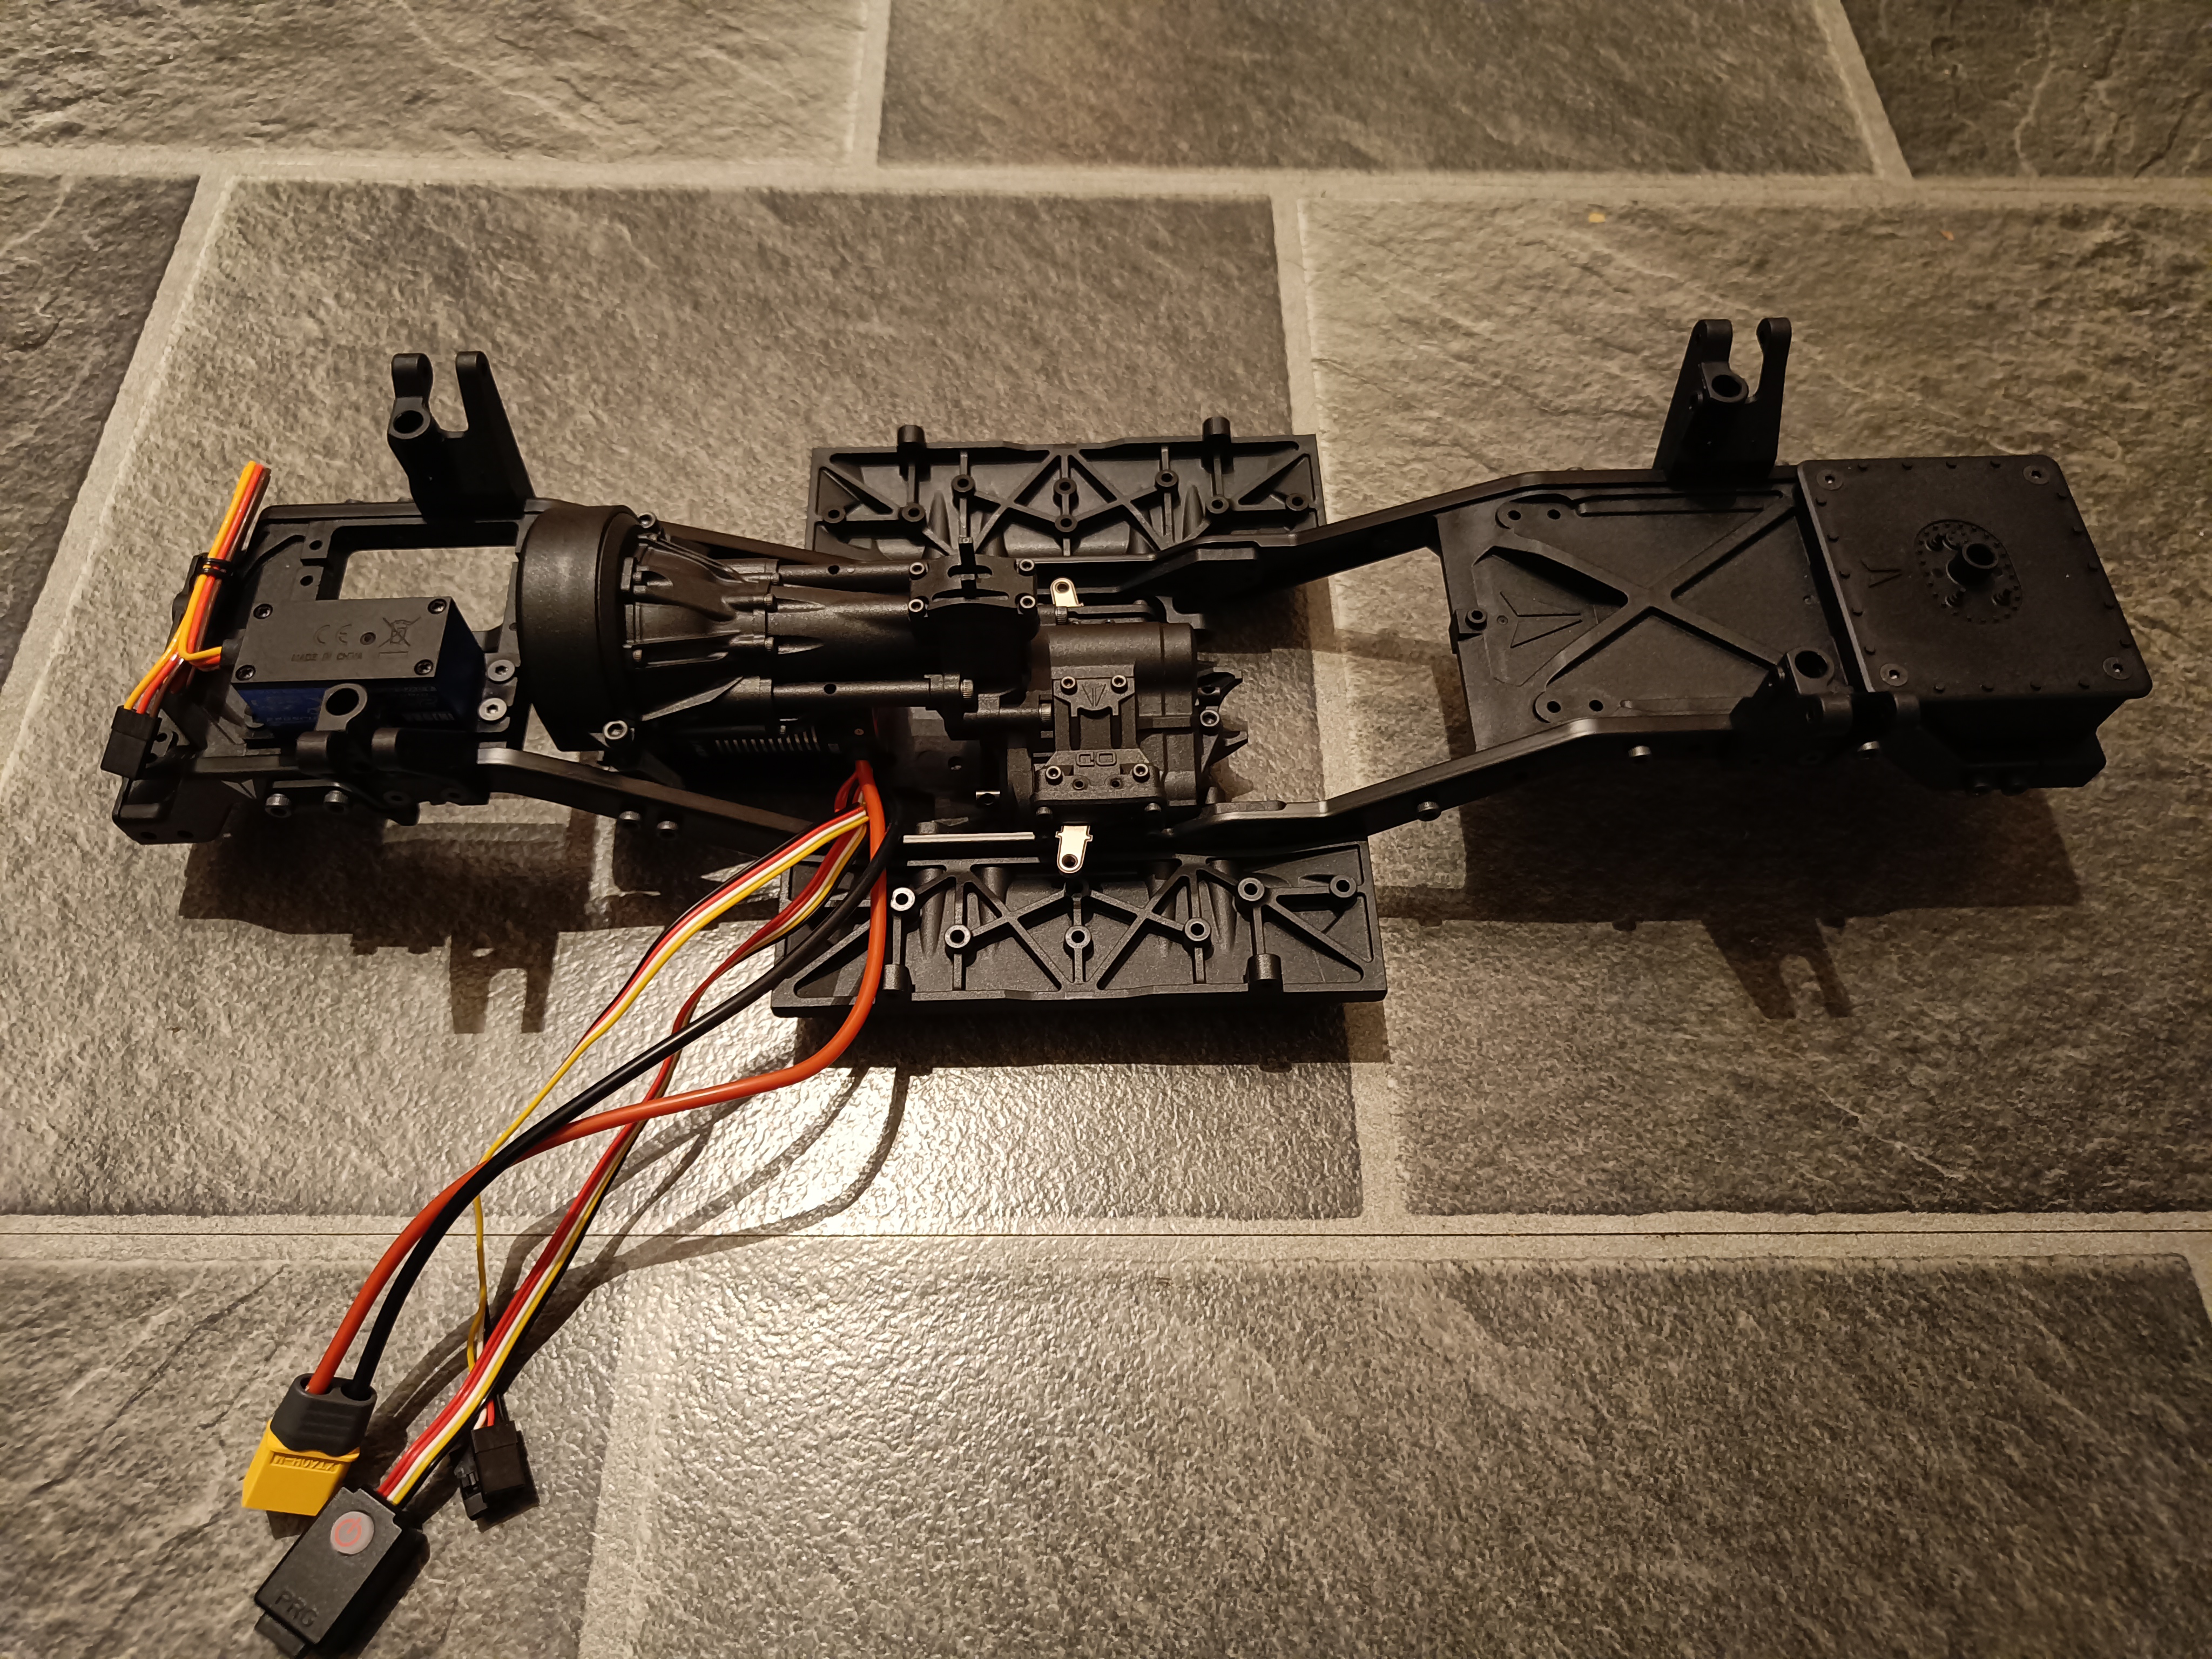 (4457.2 Kb, 4096x3072) And there she sits, low in the chassis
|
| 28/12/25(Sun)18:27 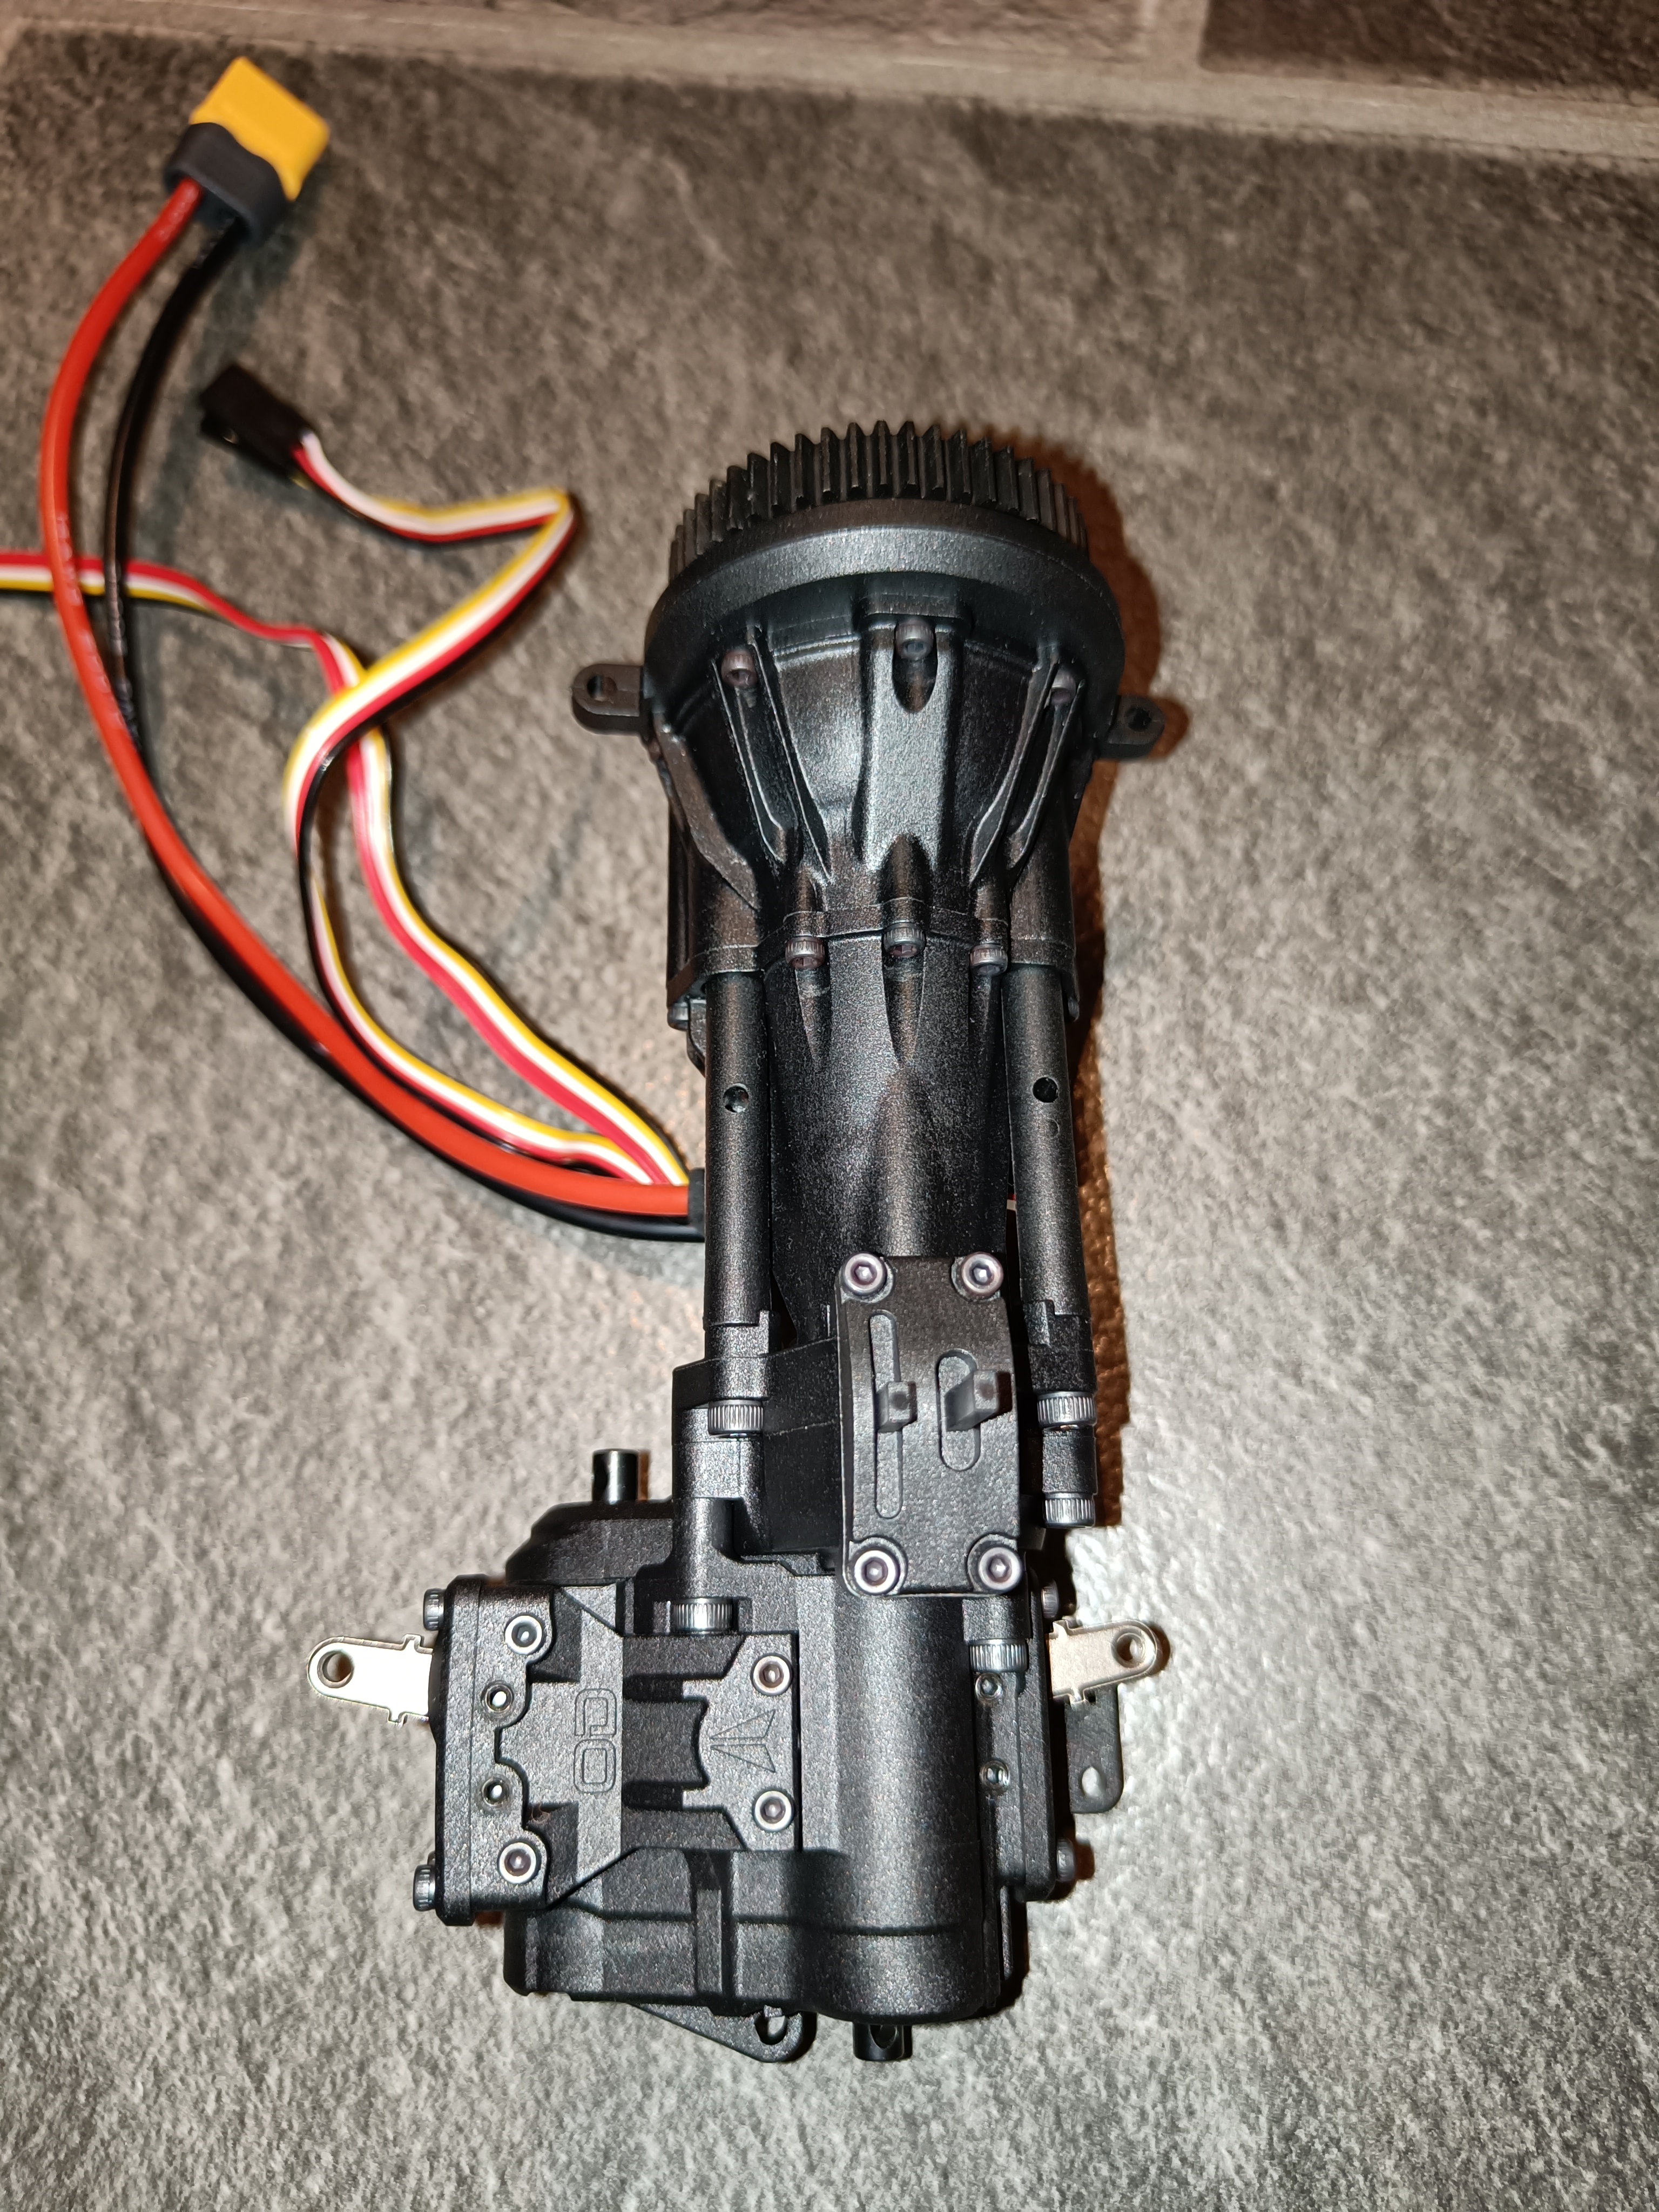 (4350.7 Kb, 3072x4096) Overdrive and Dig levers added |
| 28/12/25(Sun)18:27 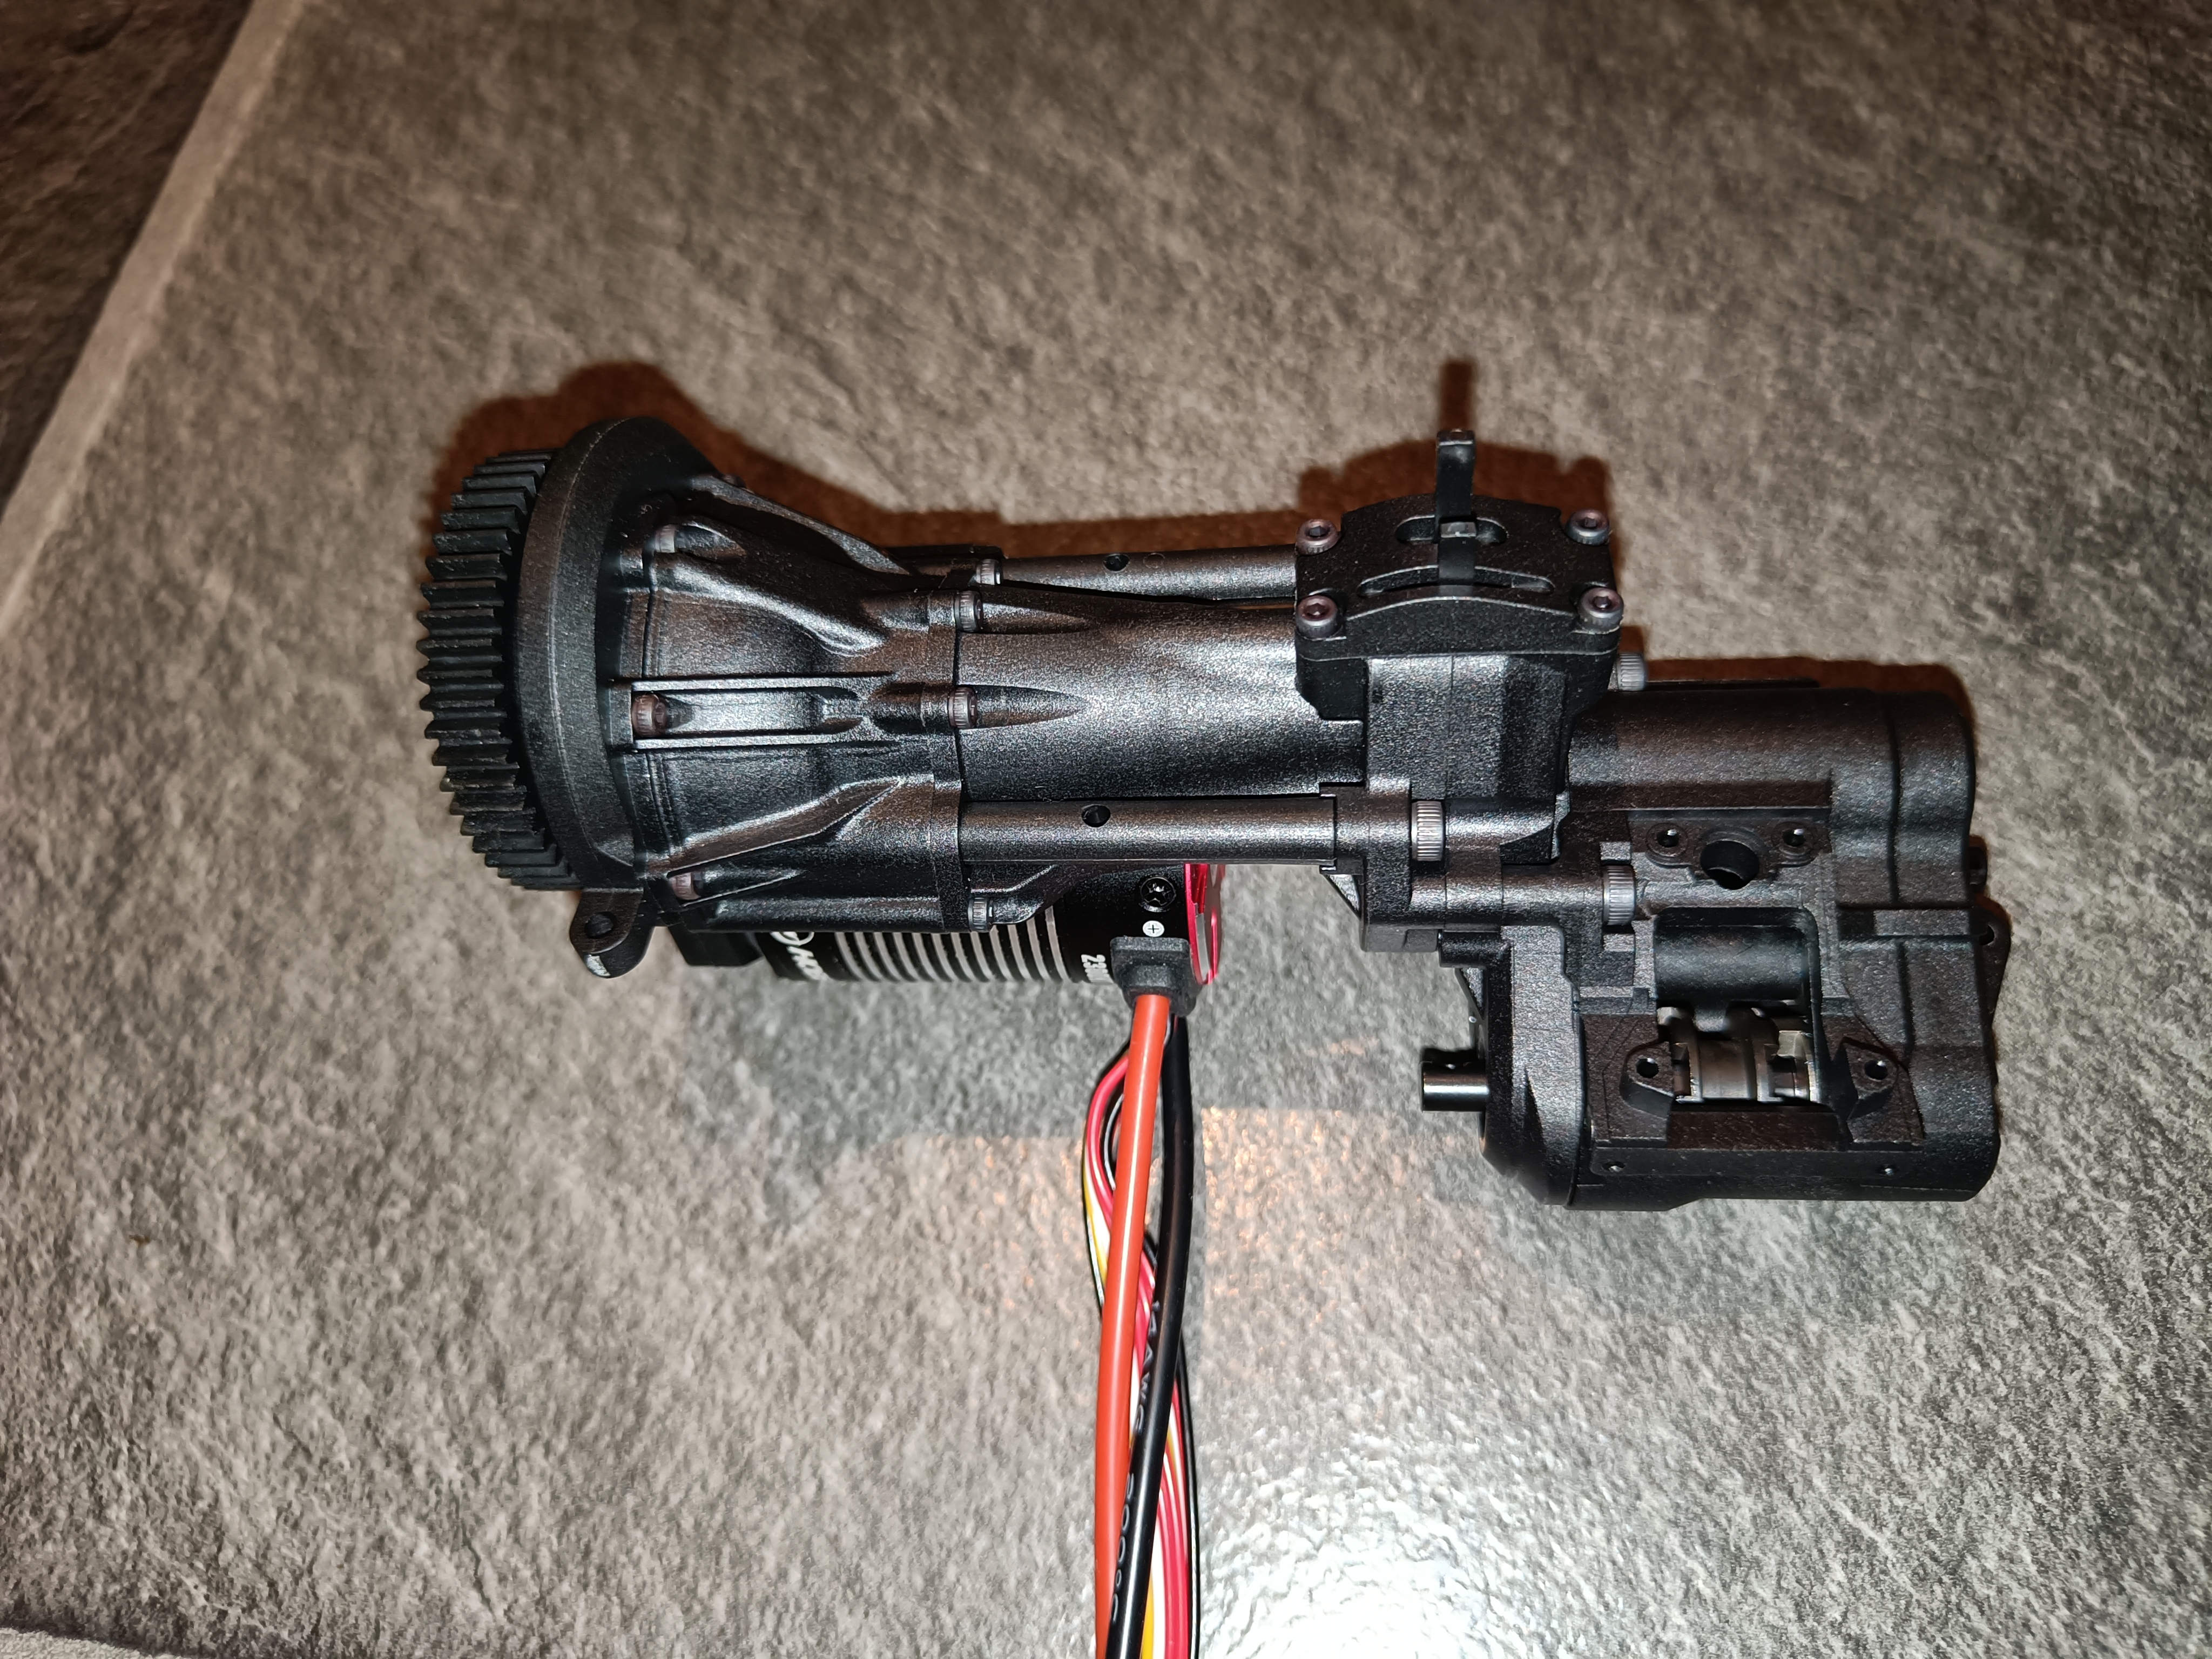 (4397.1 Kb, 4096x3072) Cover on |
| 28/12/25(Sun)18:26  (4654.1 Kb, 3072x4096) Sexy gears! |
| 28/12/25(Sun)18:26
|
| 28/12/25(Sun)18:06  (596.9 Kb, 1500x1050) WANT
|
| 28/12/25(Sun)15:40  (4607.0 Kb, 4096x3072) The beginning of the gearbox...
|
| 28/12/25(Sun)13:55 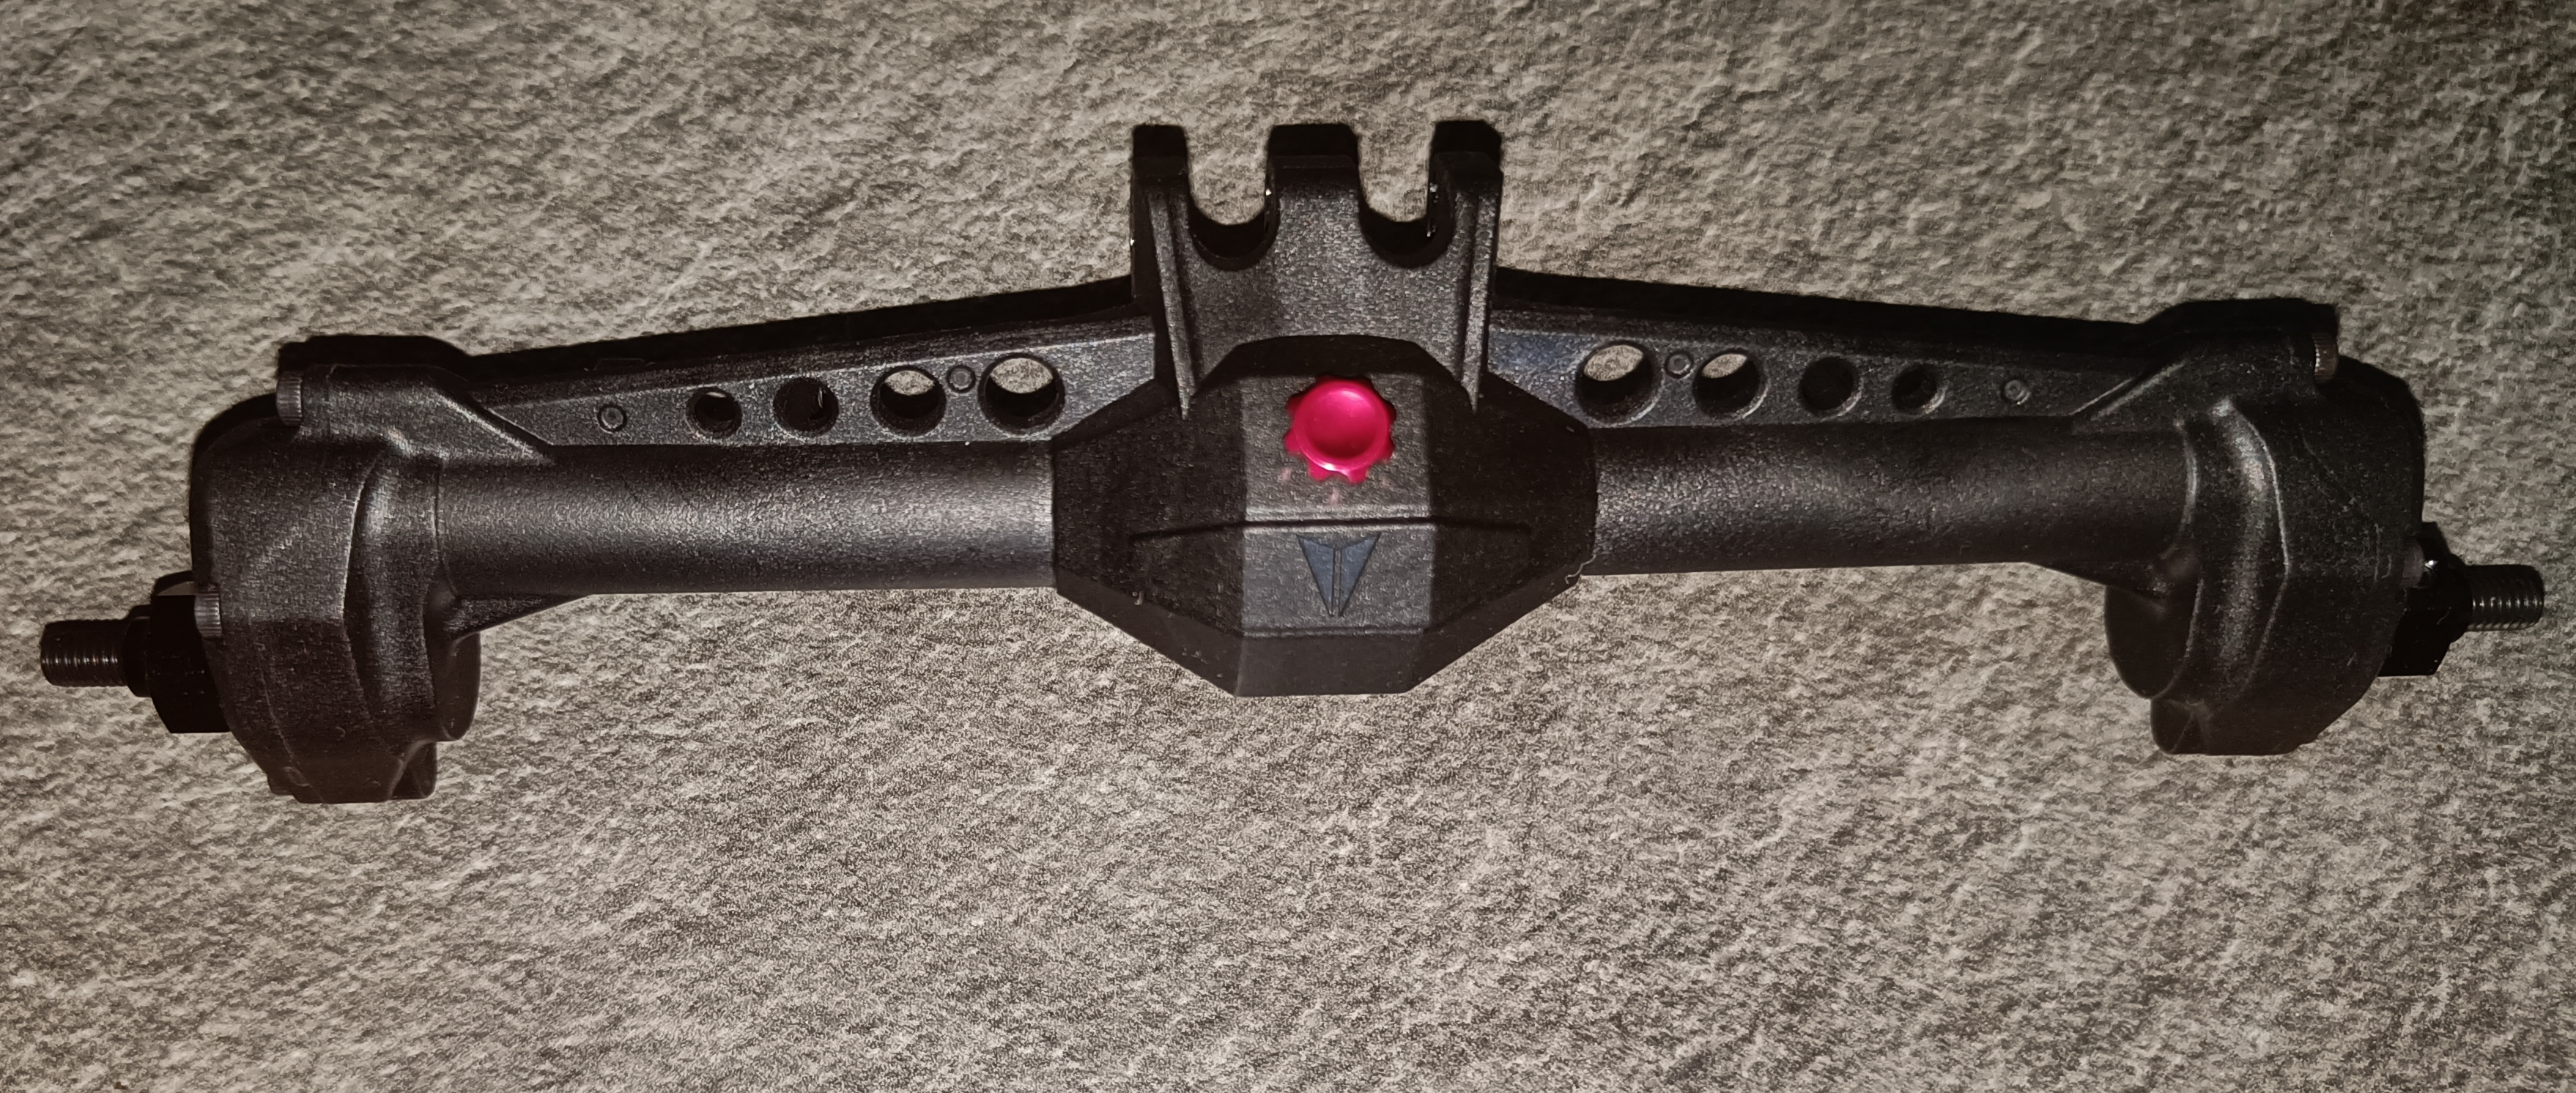 (2222.0 Kb, 3516x1492) Nice little details...
|
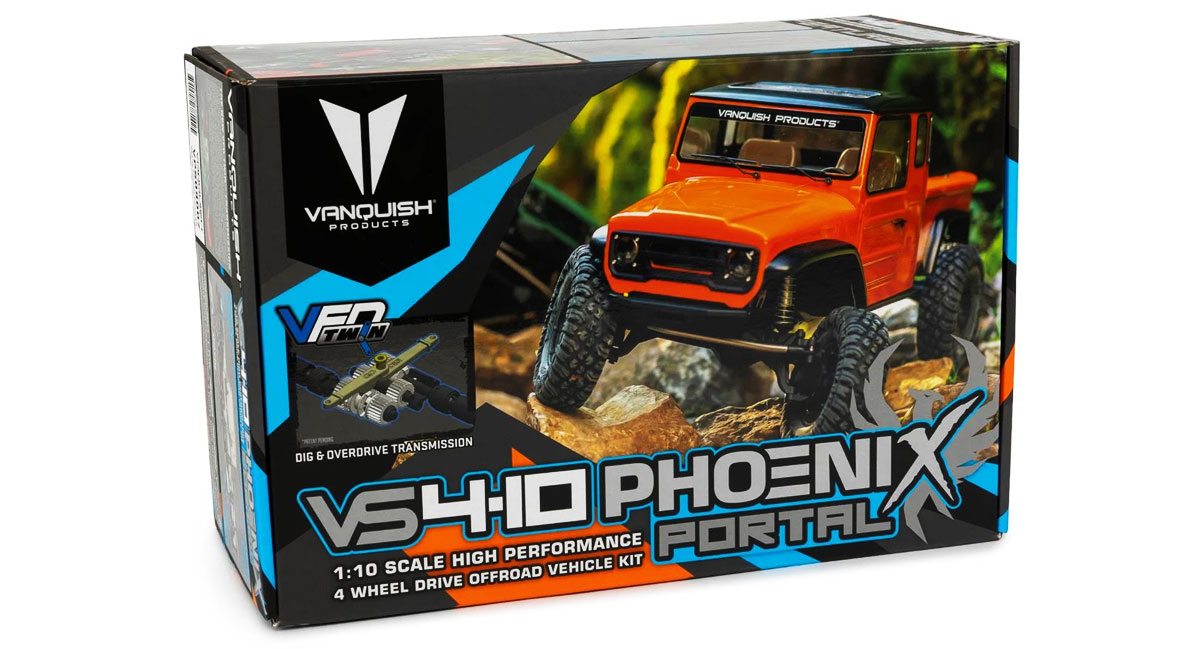
| 28/12/25(Sun)13:47  (309.8 Kb, 2048x1536) It's gonna be a big boy!
|
| 28/12/25(Sun)13:44  (2055.8 Kb, 3576x1632) The main chassis is coming along...
|
| 28/12/25(Sun)13:41 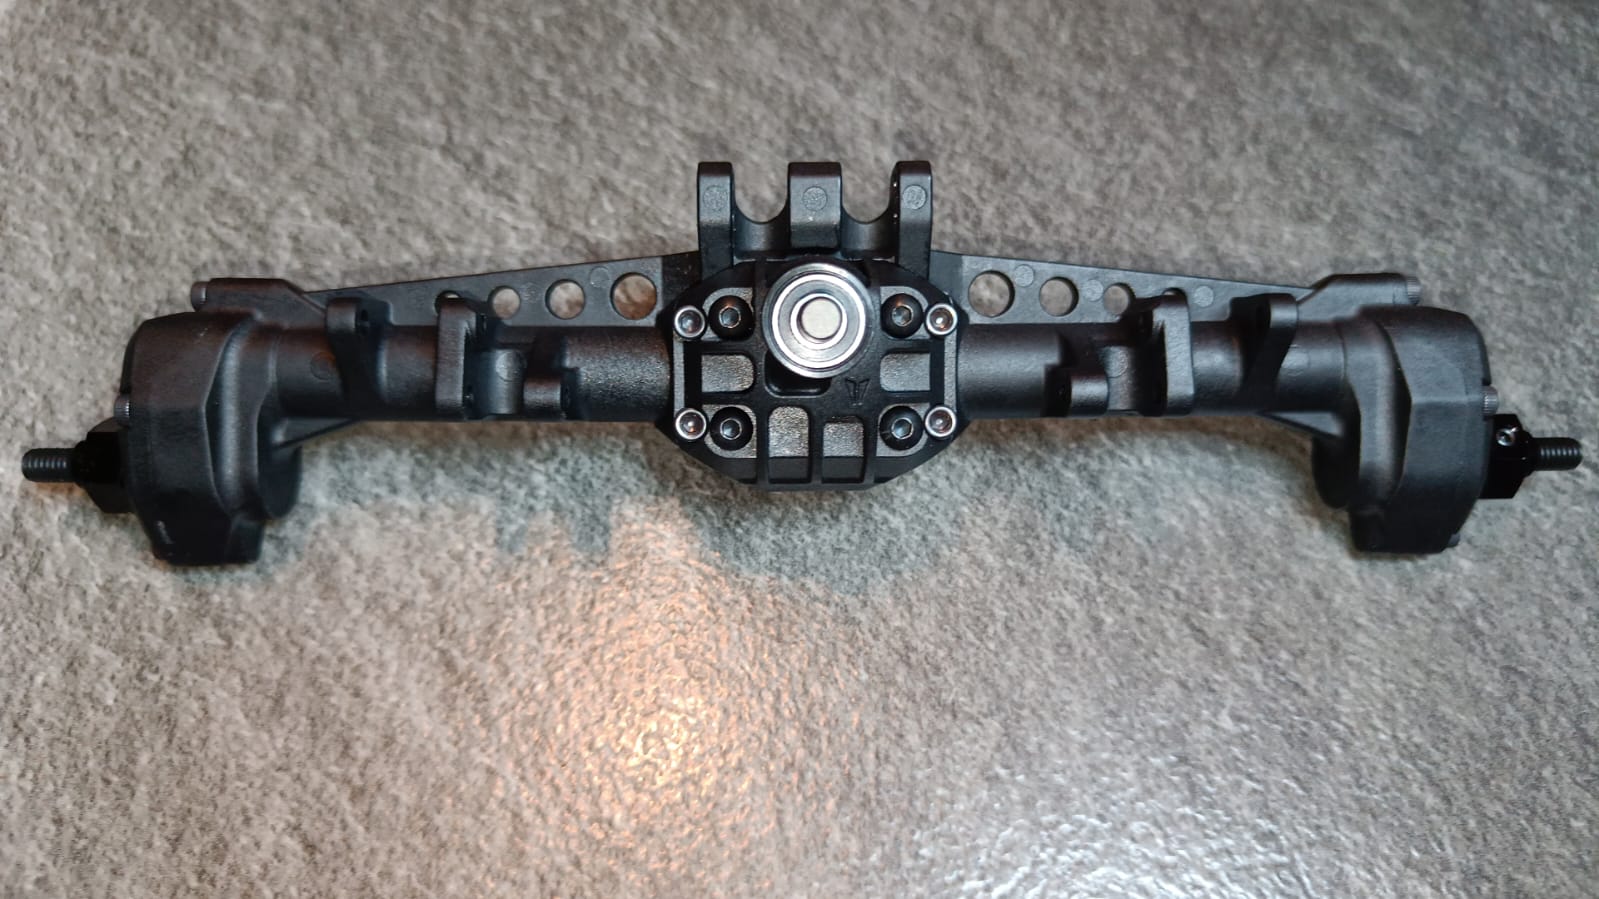 (177.9 Kb, 1599x899) Rear axle went together without any problems
|
| 28/12/25(Sun)13:35  (2738.9 Kb, 4096x2288) First we build the front axle...
|