RIP G13
12/05/19(Sun)12:53


After 10 years my logitech G13 has passed away. I even tried to reanimation..but alas.

  • Supported file types are: GIF, JPG, PNG
  • Maximum file size allowed is 8000 KB.
  • Images greater than 200x200 pixels will be thumbnailed.
Subject (Optional)
Comment
File (Optional)
Submit

02/07/19(Tue)23:19
522.0
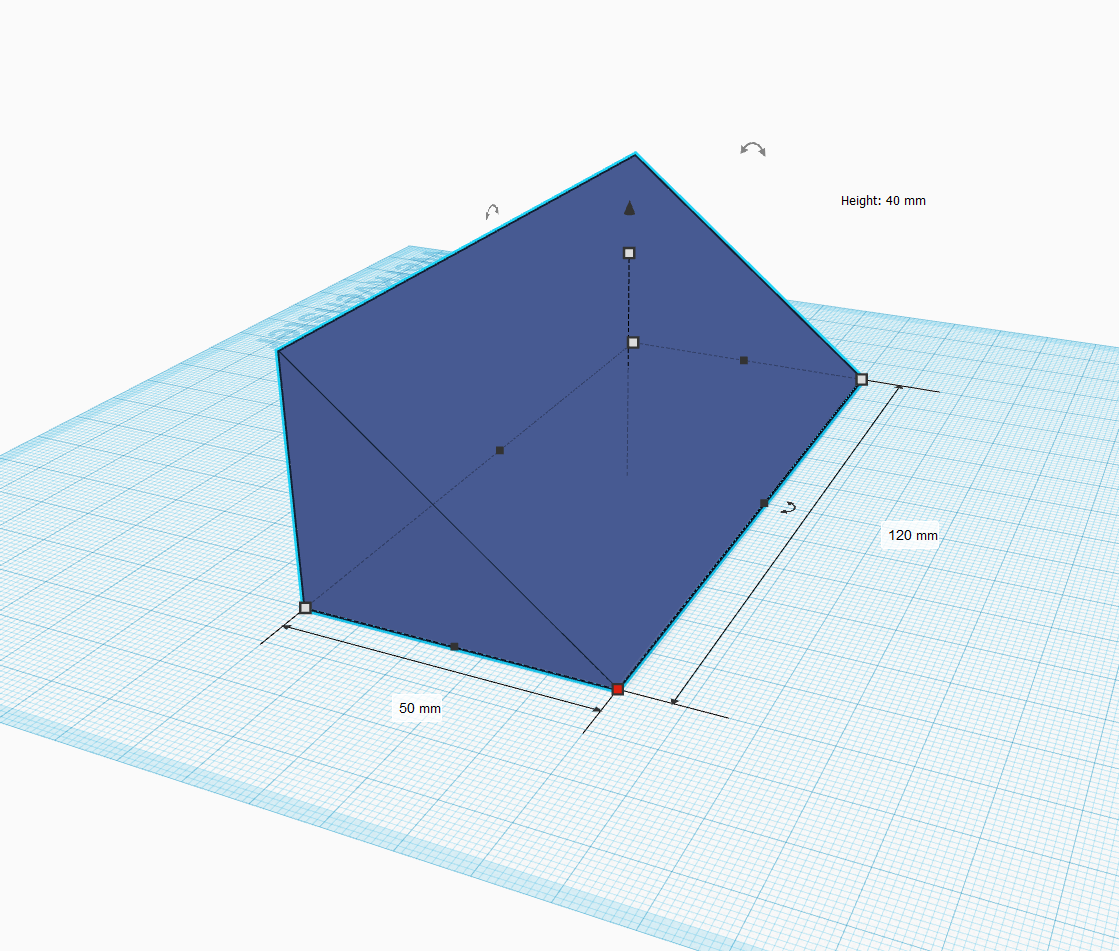
(522.0 Kb, 1119x951)
LCD Case v2

It took a bit longer than expected but I made a new design, this time somewhat smaller.
length x width x height: 50 x 120 x 40 mm
However I have no idea how to insert a cut-out for the display or a cut-out for the cable. But you guys may fiddle with my design.
Also I have no idea on how to attach the sides together, glue would be easiest (and I have plenty) but screws or other methods would/could be handier.
Last bit would be shipping which might be the biggest cost. Let me know if you need anything.

I'll put the link here: https://www.tinkercad.com/things/4goD5JDnoLB (ps the site is free, although you do need an account to download designs)

02/07/19(Tue)23:19
3631.9
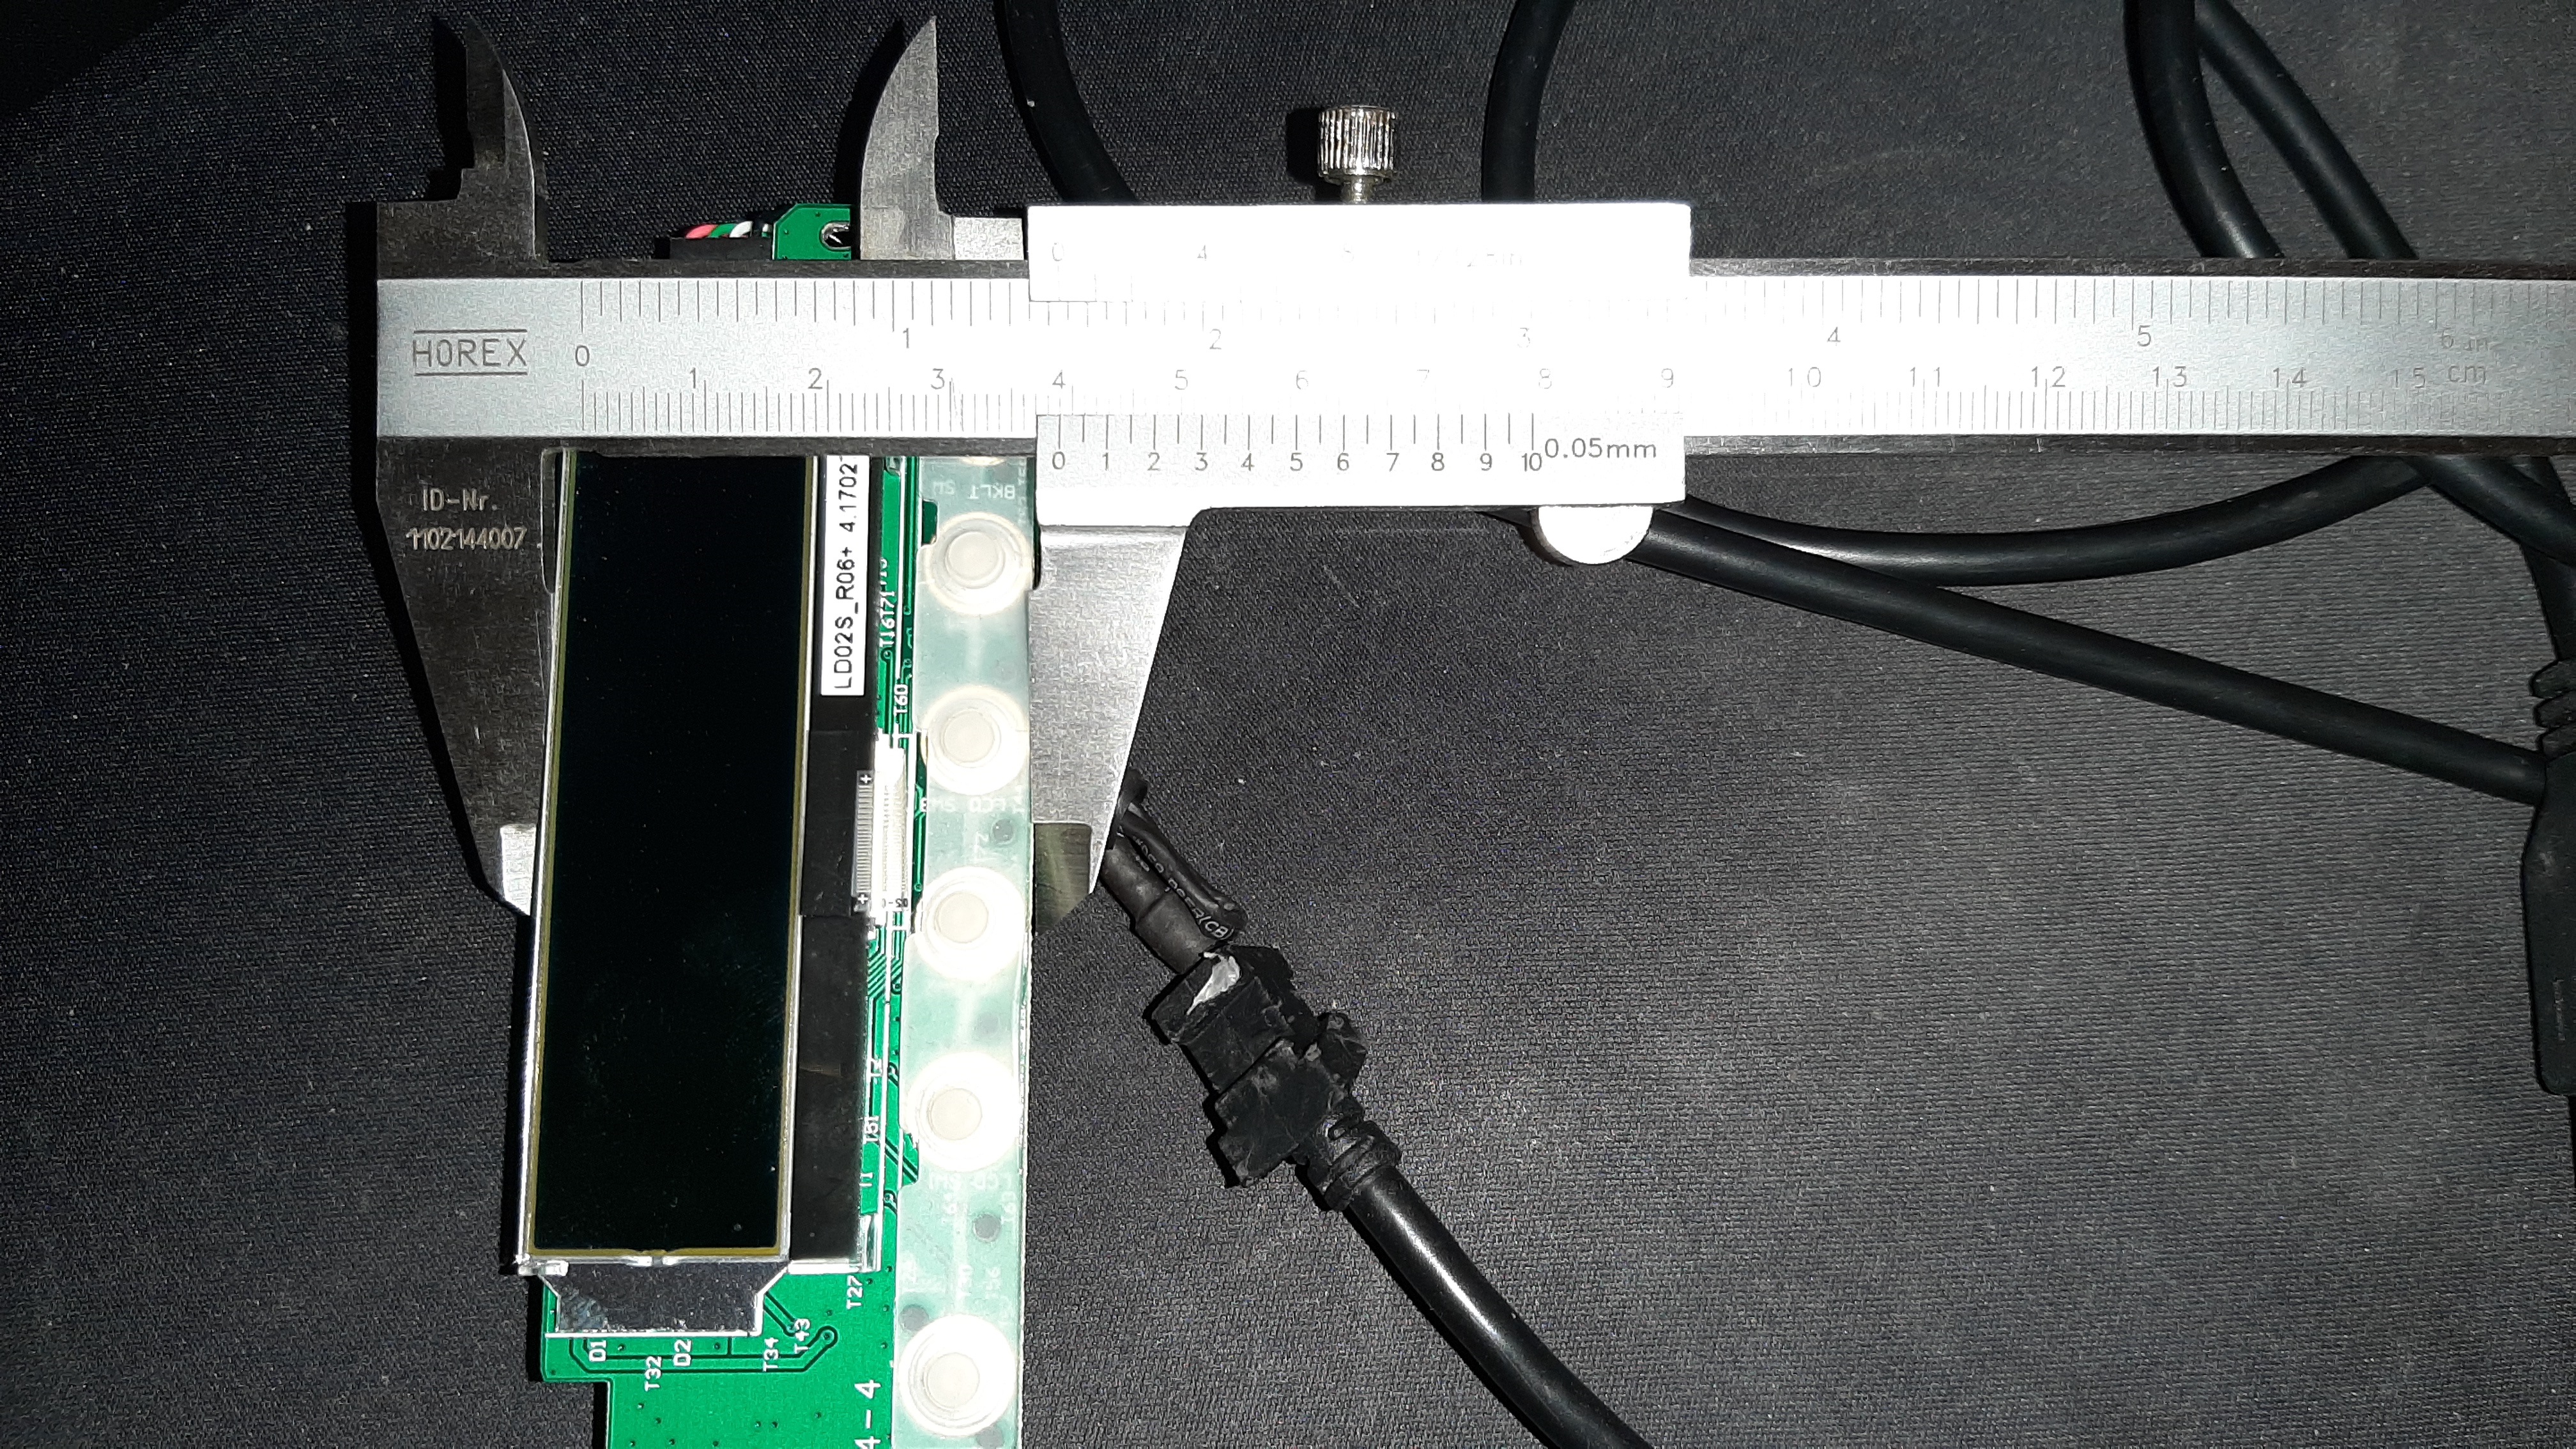
(3631.9 Kb, 4032x2268)

02/07/19(Tue)23:16
4207.4
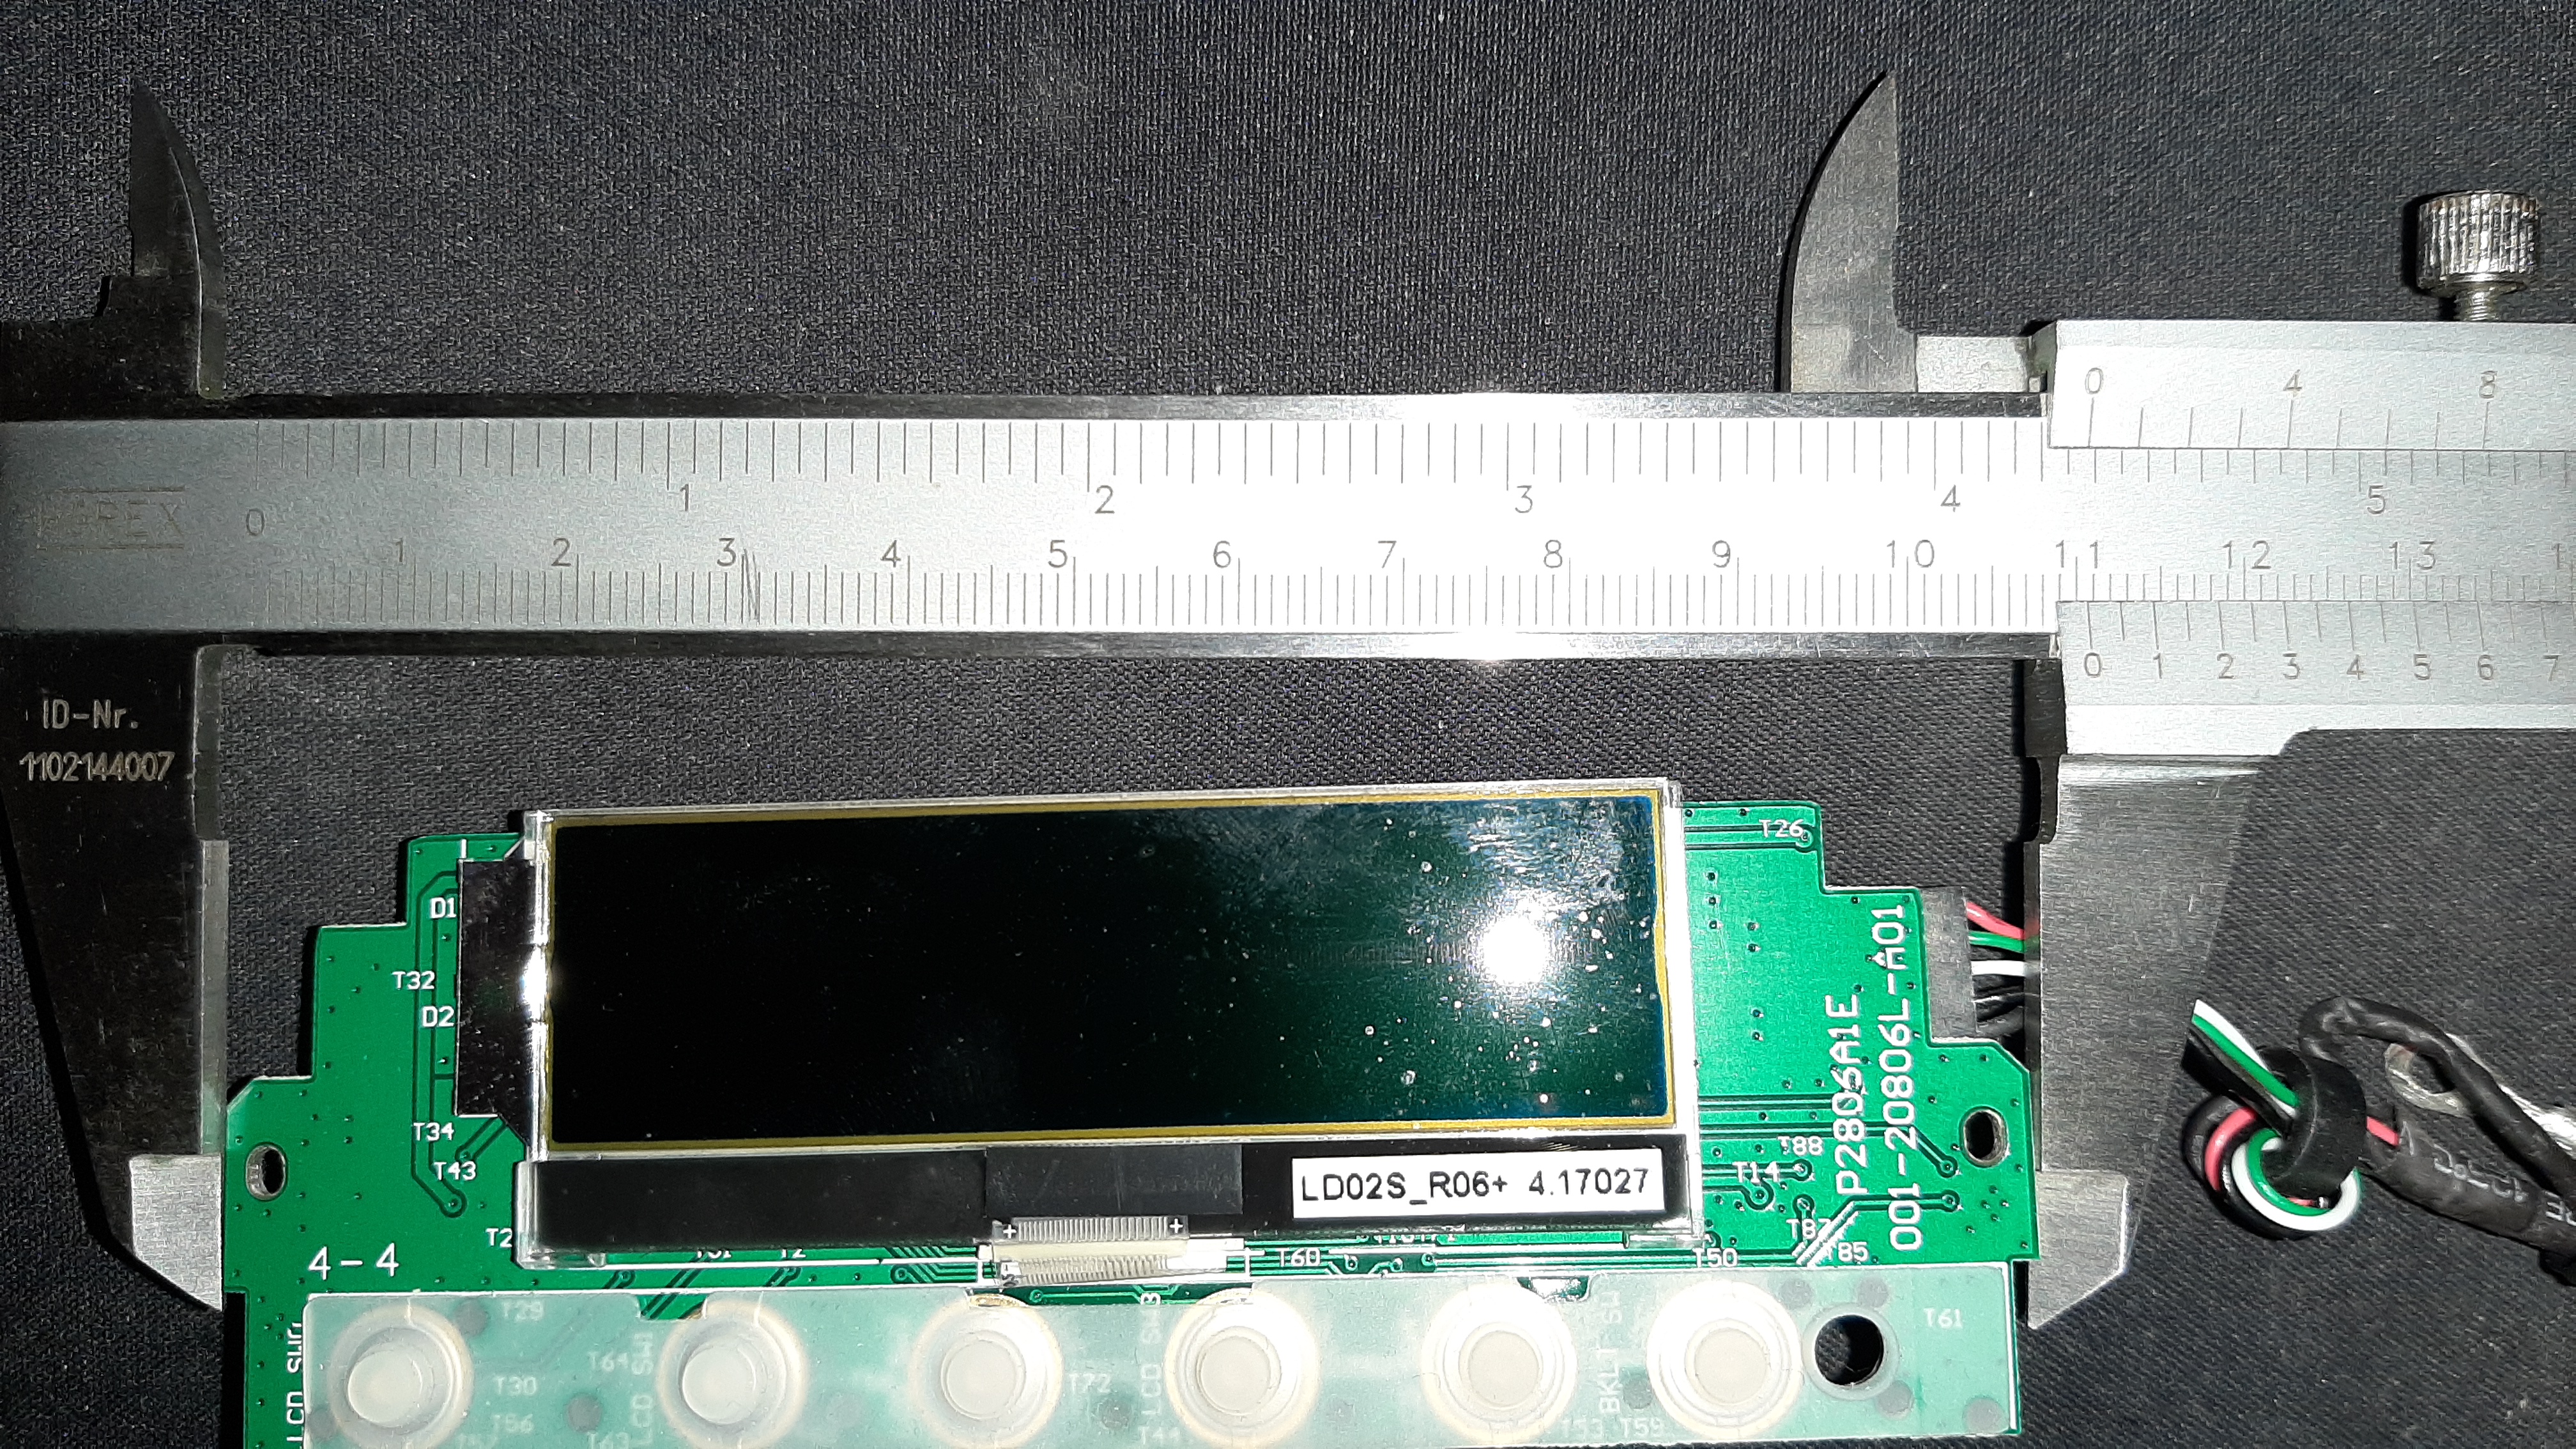
(4207.4 Kb, 4032x2268)
new design v2

13/06/19(Thu)19:51

>>35511 Sweet!

03/06/19(Mon)19:56

>>35510 That sounds cool, master balls. I'll make some more snaps with better measurements but it will probably be later this week, cause it's really busy at work.

ps: I just found out that I can remove the joystick, which would make the new design even smaller :D

03/06/19(Mon)15:08

>>35509 A local STEM classroom that I volunteer and teach in, has offered to allow me to print items on their 3D printer. The material is typically ABS. Robust printed parts of this size, I typically design around 2-3 mm thick.

28/05/19(Tue)19:41
1050.7
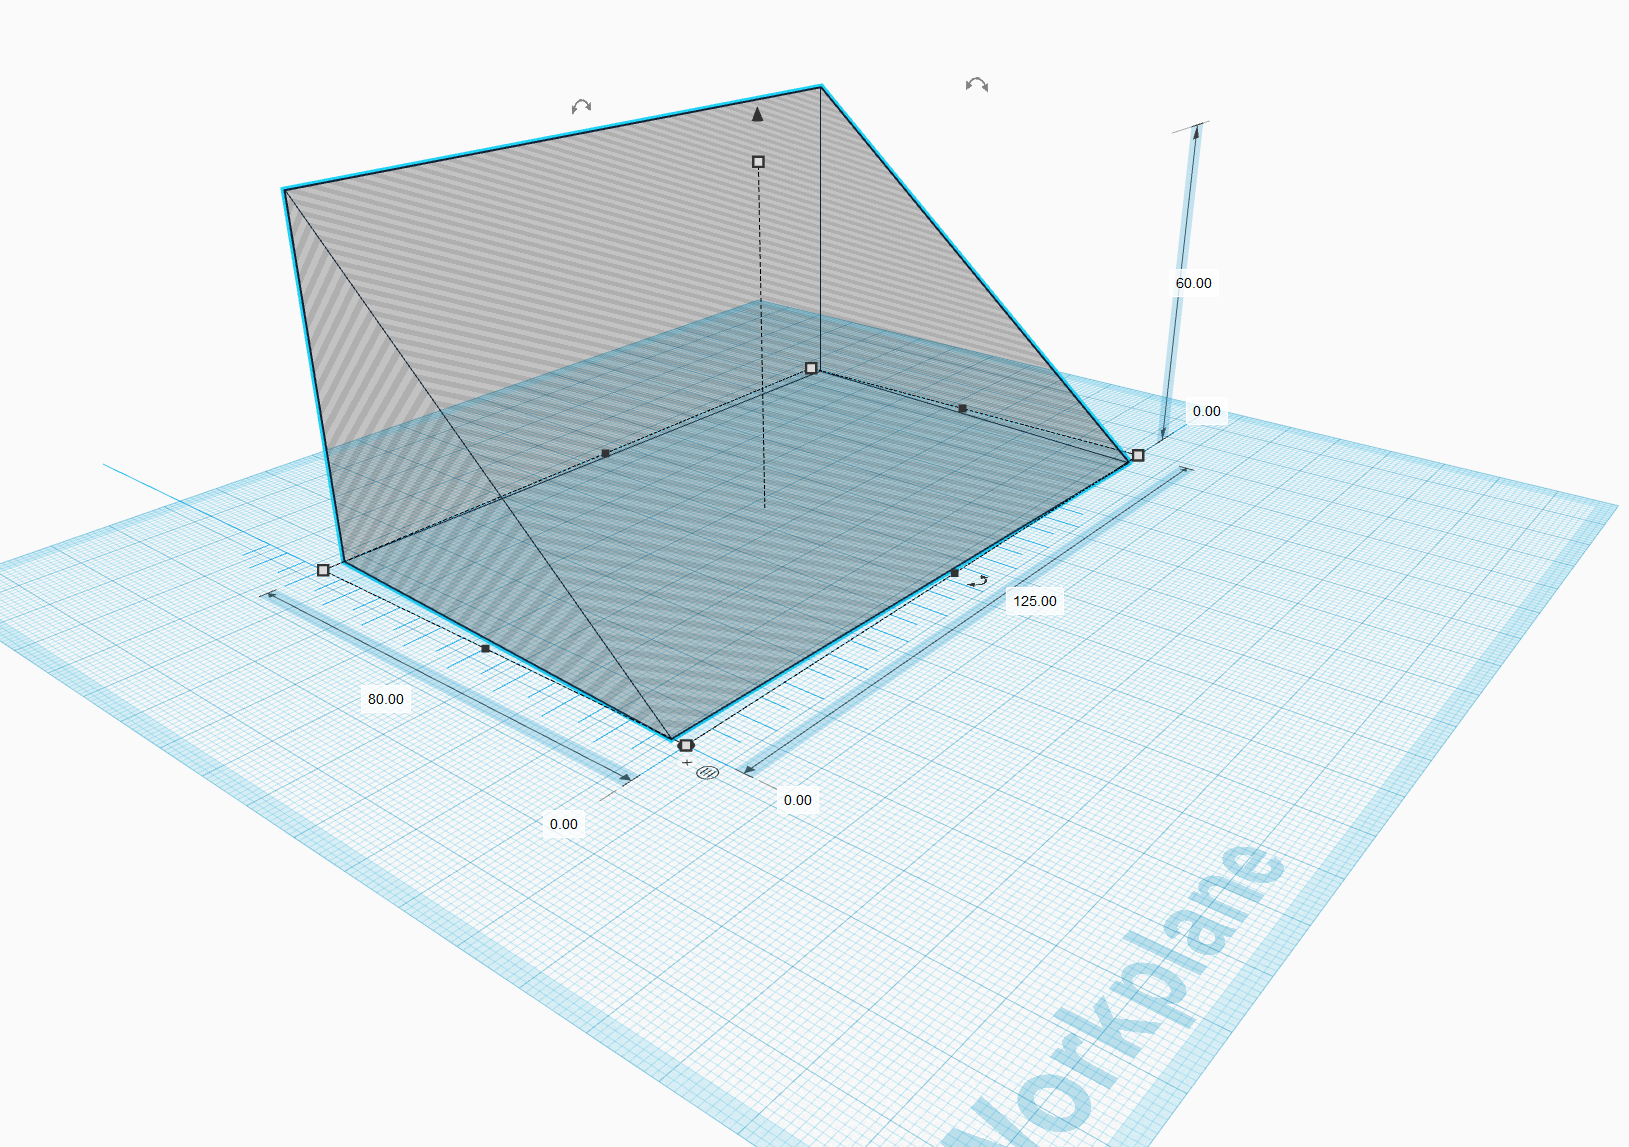
(1050.7 Kb, 1629x1147)
Internal measurements

Dear Oldballs,

What kind of material do you have in mind? >>35493

Depending on the thickness of said material the internal measurements needs to be at least 80 x 125 x 60 mm (length x width x height). [see image]

I have created this wedge shape (not finished yet). The reason is so that the display would be screwed on the sloped side so I can see the display better and can press the buttons easier. I still need to figure out how to add a hole for the power cord..or maybe I'll drill that later, again depending on the material used.

To be continued..

28/05/19(Tue)19:05
1445.5
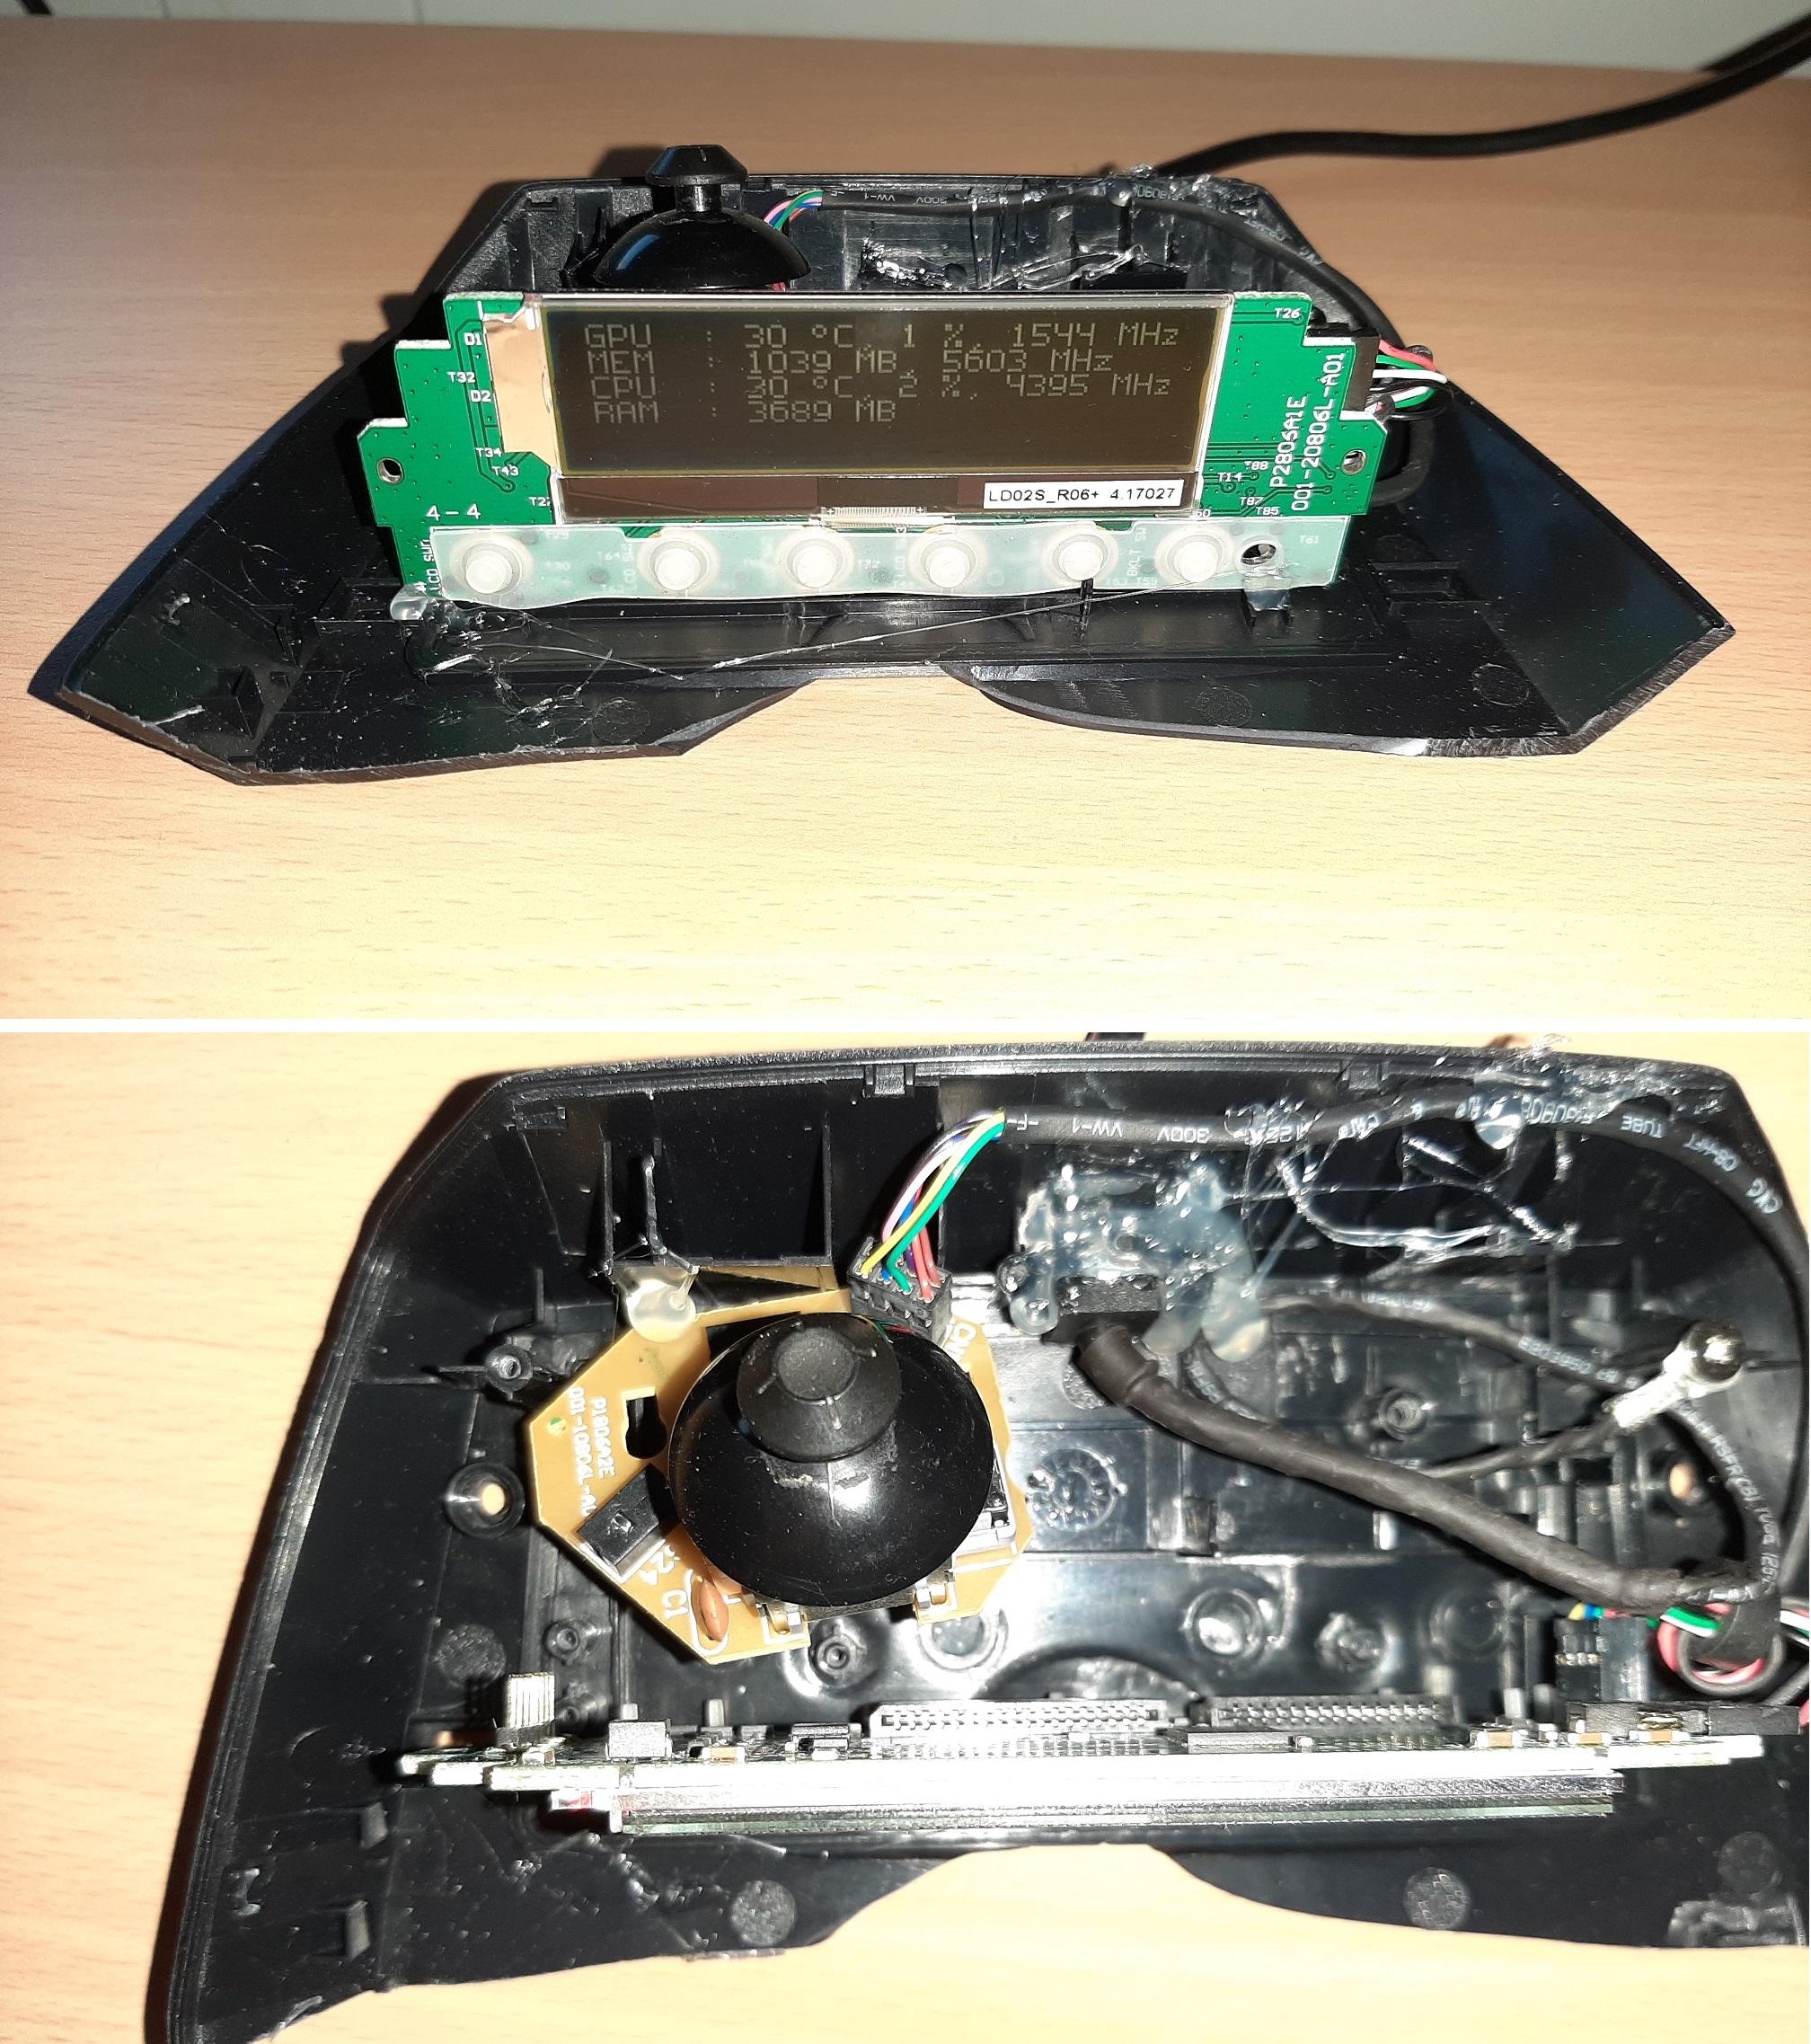
(1445.5 Kb, 2016x2275)

Current DIY solution. View front/back

28/05/19(Tue)19:05
1369.0
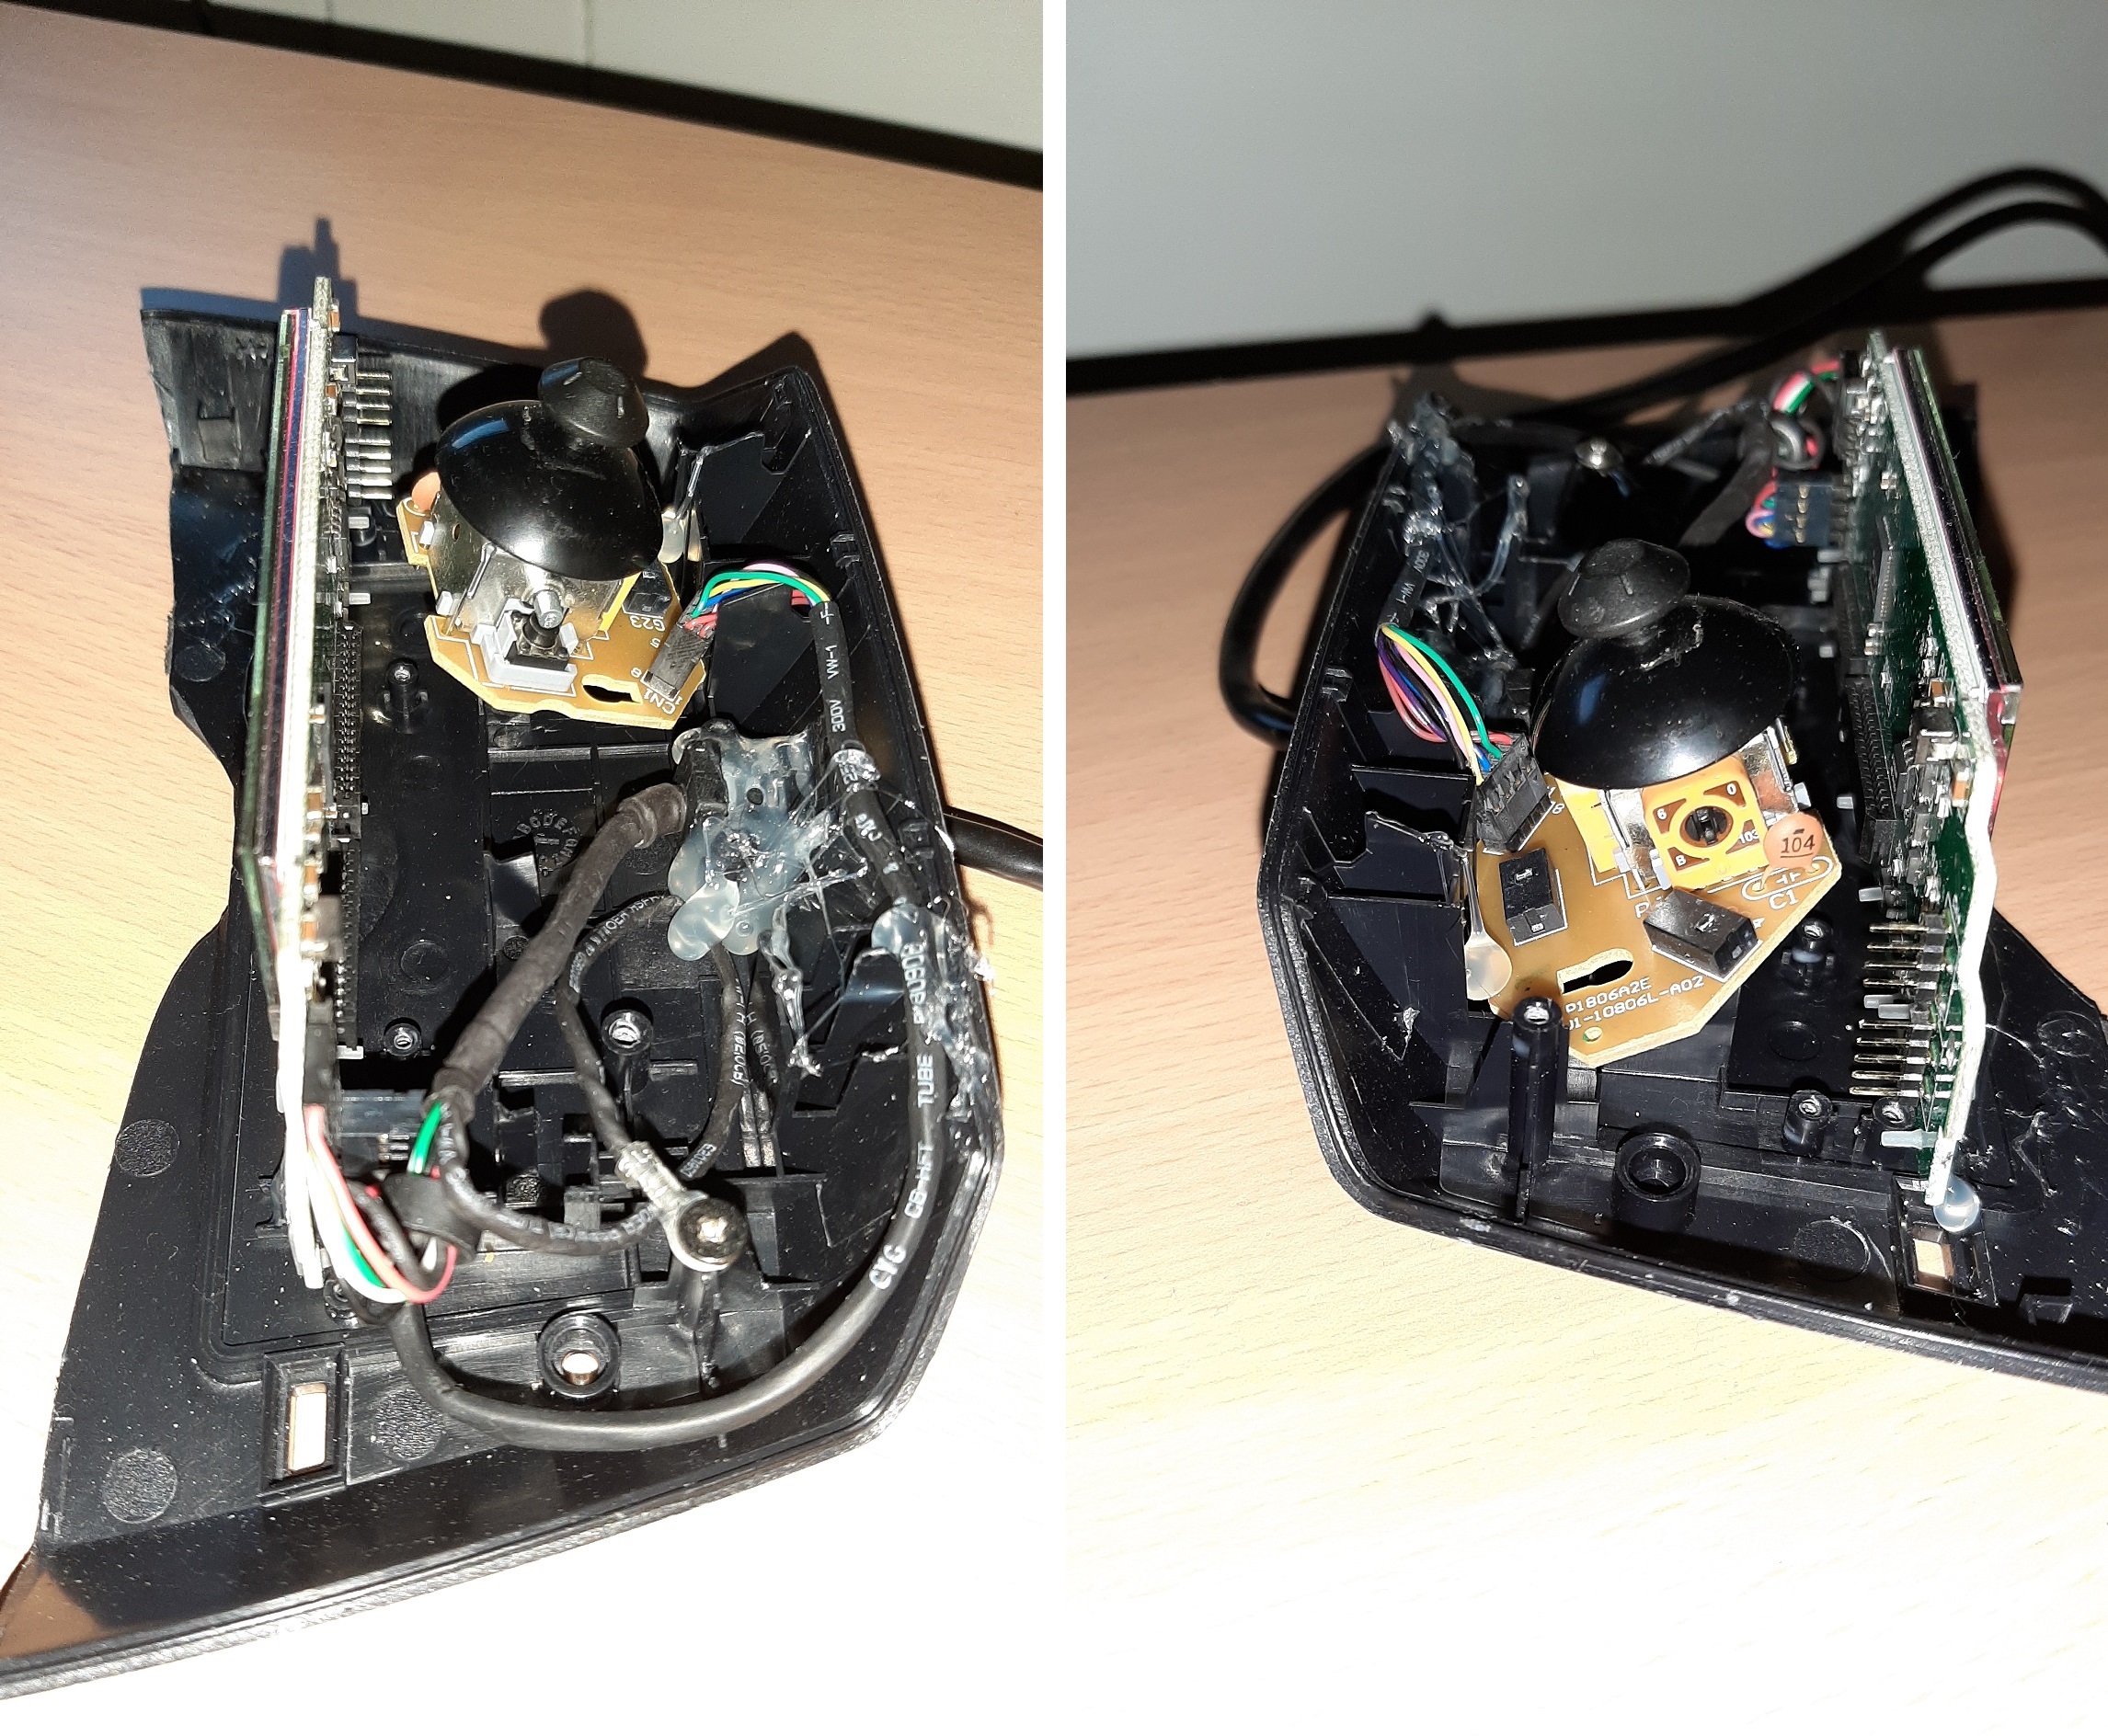
(1369.0 Kb, 2292x1888)

Current DIY solution. View left/right

17/05/19(Fri)21:53
246.3
(246.3 Kb, 590x775)
Oldballs

For now I hot glued it to the original base, which works okay.

>>35489>>35493 I appreciate that, dear sirs.
I don't know what STEP or STL files are, Oldballs, but I'll look into that.
Atm, money is tight and I need to purchase more pressing matters (glasses, and a washing machine).
But once I get my vacation money I'll measure it and snap a few shots, and then we can all think of a sweet design.

17/05/19(Fri)14:55

If you have a design, I could check with the school I help out, for a build. STEP or STL files are best. If you had decent dimensions and a sketch of what you are looking for, I'd be willing to model something for you.

15/05/19(Wed)17:48

There are companies that will print out and post to you a 3D design you come up with but I have no idea what the price is like.

15/05/19(Wed)14:16

Currently I use a portion of the original frame. The new housing must be big enough because the joystick is attached too, it gave random numbers without it.
But I'll start my search for little plastic boxes.

14/05/19(Tue)16:12

Bummer!

You might be able to find a little plastic box you use to house the LCD. It's what I used to do.

12/05/19(Sun)13:00
3099.3
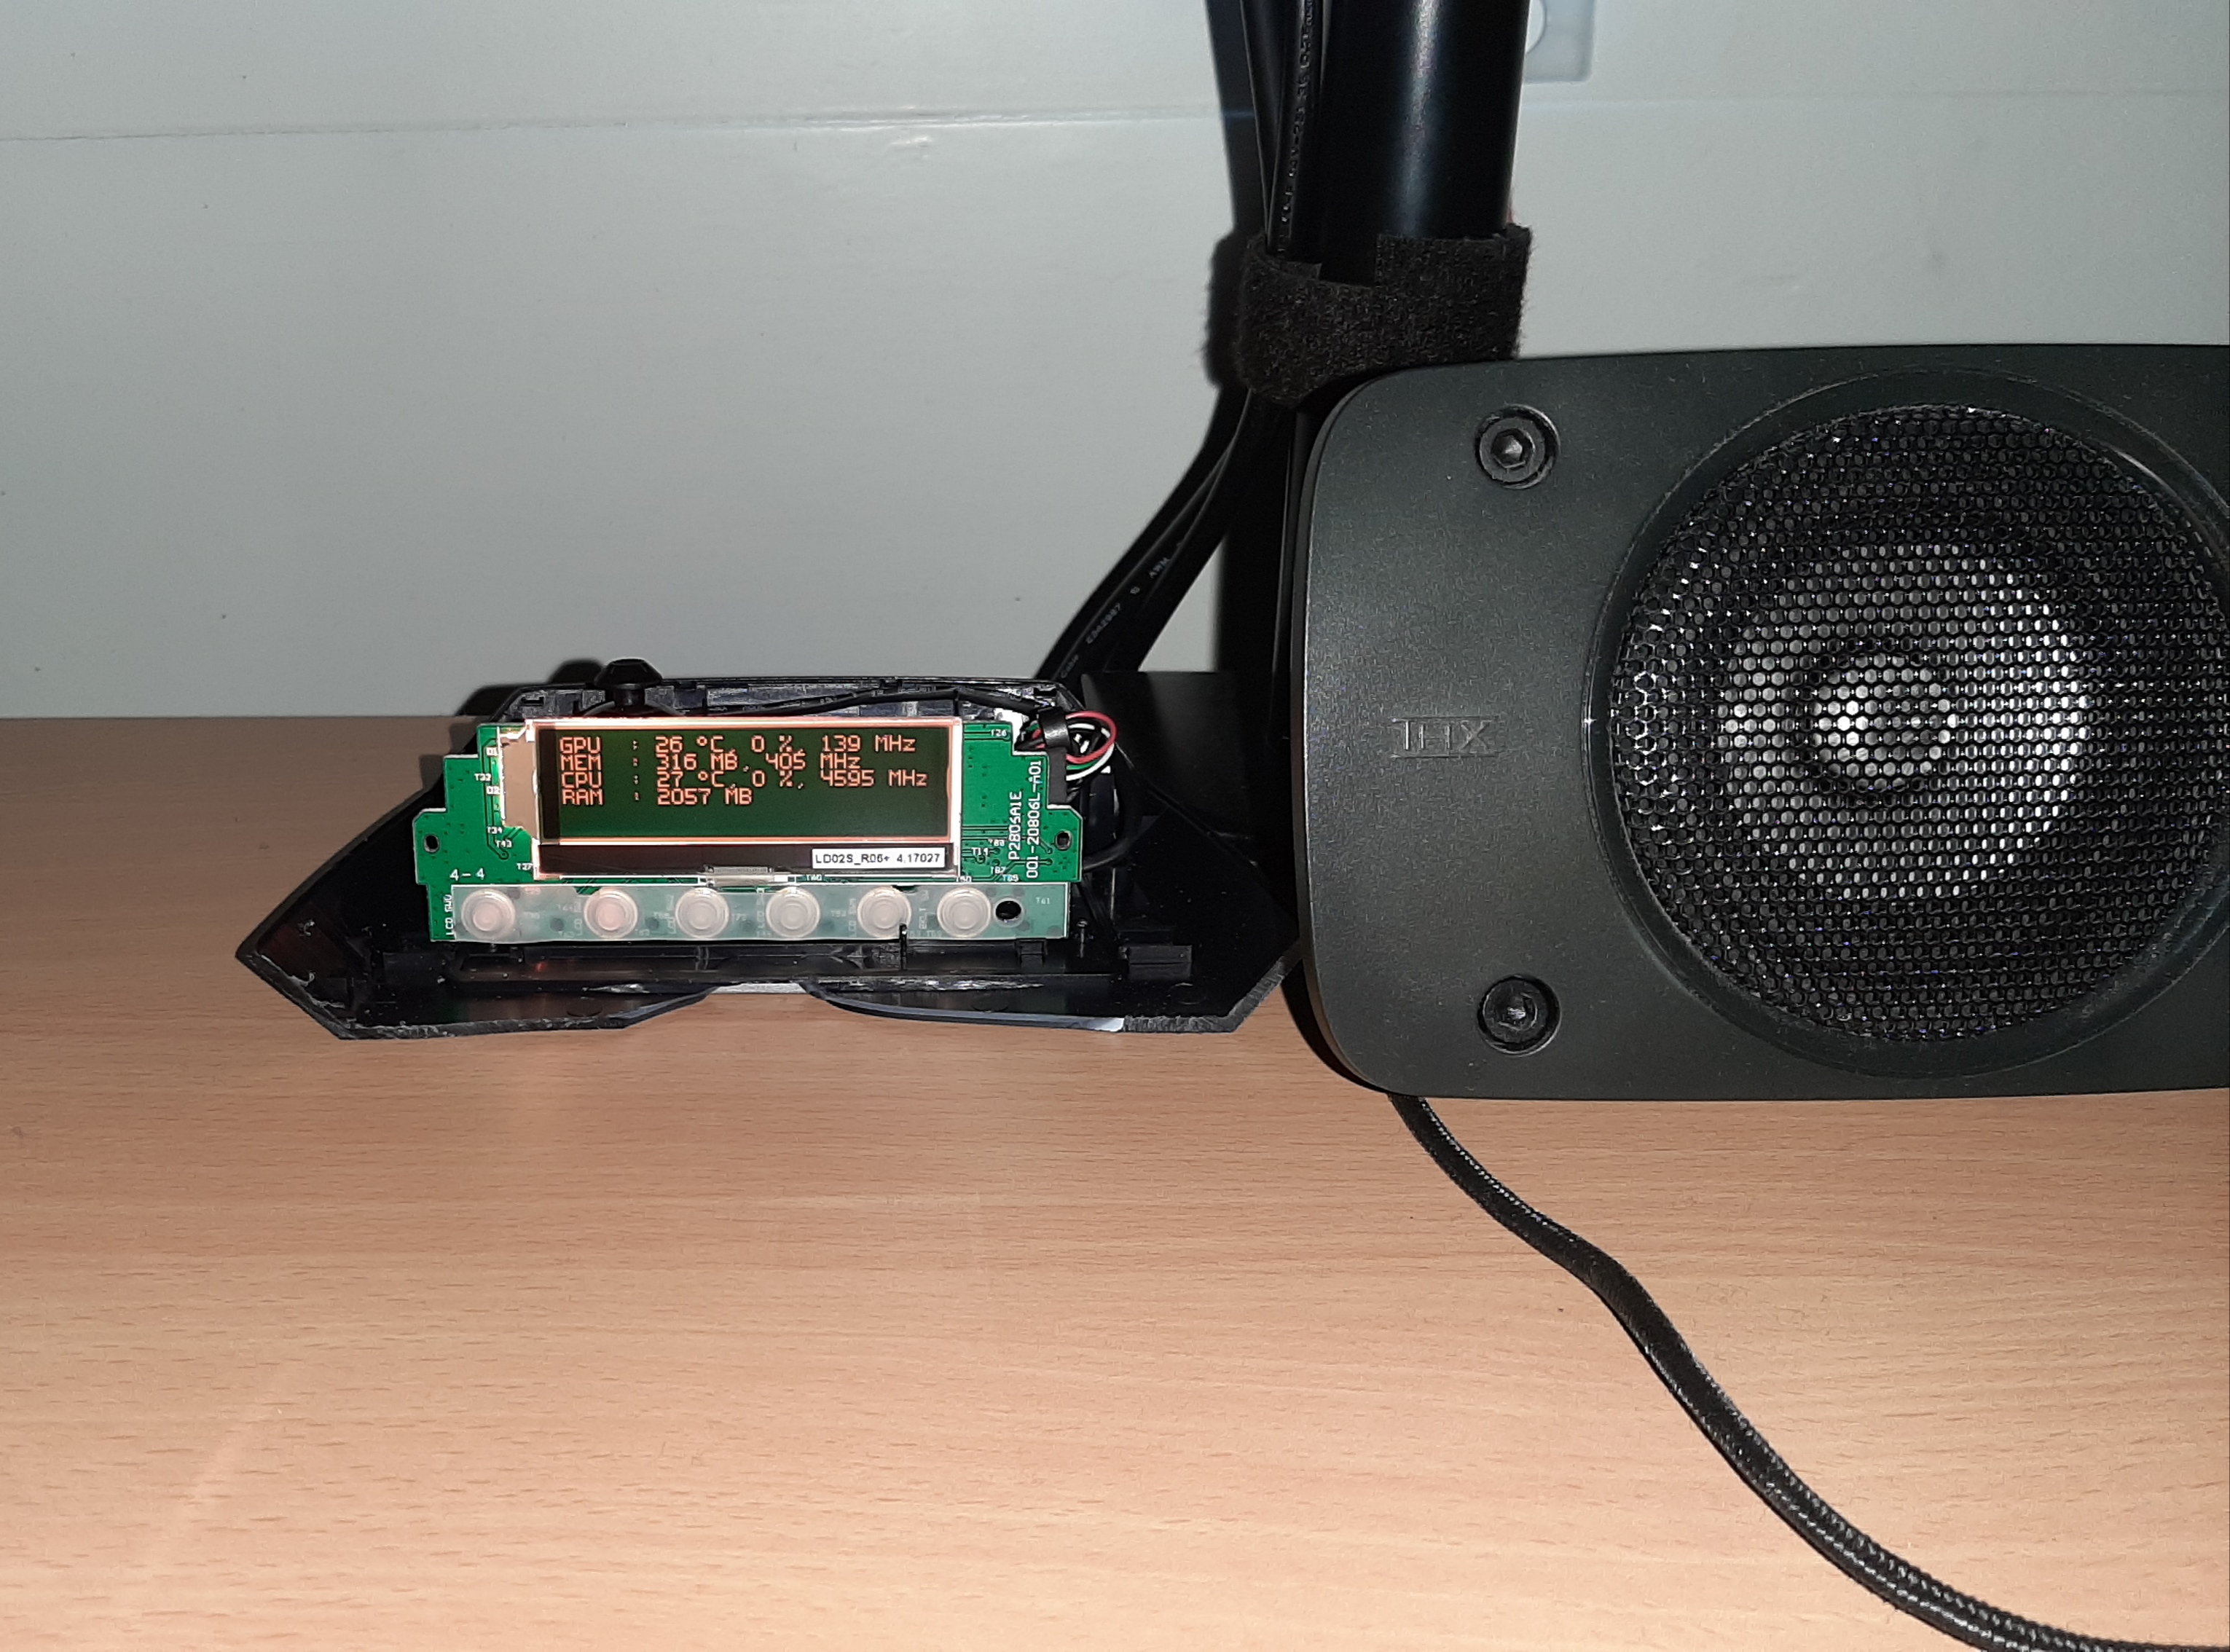
(3099.3 Kb, 3061x2268)

However I did salvage the LCD screen. At least now I can still see cpu/gpu temps or the time.

I should really buy a 3D printer, so that I can make a cover.